Learn how to install a dust collection system for your own garage or workshop space with this simple and cost effective method.
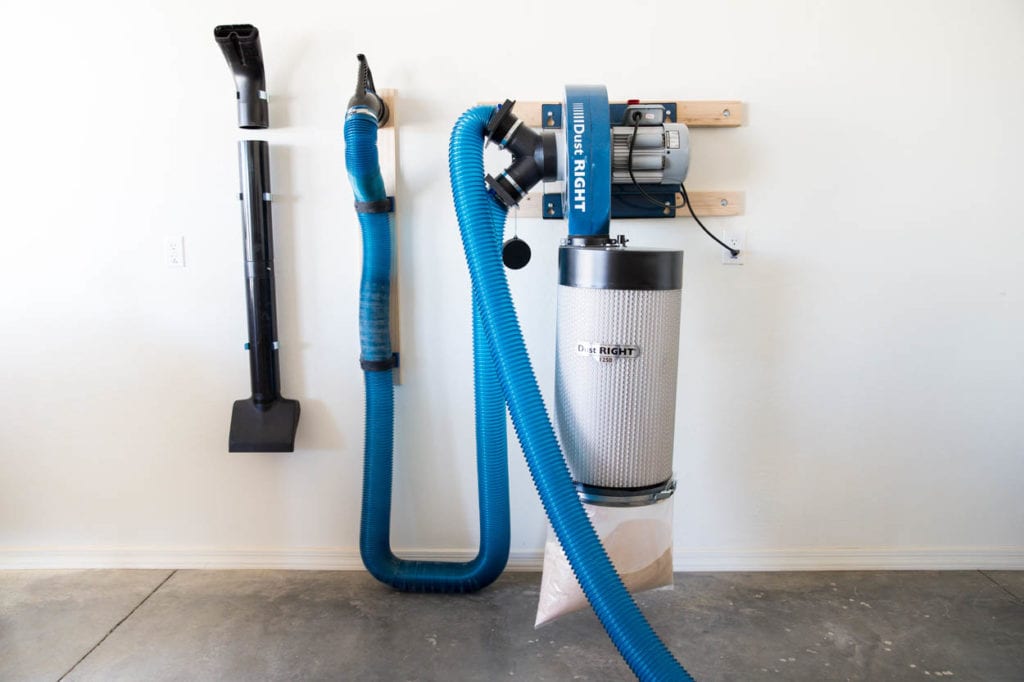
For years I’ve been thinking and planning out the idea of an amazing dust collection system in my workshop. Something that would make my life easier and my productivity higher. My old method just wasn’t working and it drove me crazy. I’m partnering with Rockler Woodworking and Hardware to show you how I improved my time in the shop with their Dust RIGHT 1250cfm dust collector and how you can do the same!
It doesn’t need to be complicated
I’ll be honest, the reason it took me so long to finally get around to this is because I had this idea in my head that this needed to be complicated. In my head, it would be a ton of ducting running all through my shop. I’d need to plan out everything to the letter. The intimidation factor of that was so high that I just kept putting it off. Not to mention how much it was probably going to cost in materials. Besides, if you have been following me for any amount of time, you know I HATE to have things permanently stuck in one place.
Yes, I understand that a wall mounted dust collector goes against what I just said. This is the one exception! While the dust collector is static, the tools I use are all mobile. If I want to move them I can! That’s because the helpful experts on Rockler’s support team suggested an entirely different plan altogether!
Watch the YouTube Video
I’ve put together a YouTube video showing the entire process of setting up my new dust collection system.
What you’ll need:
While everyone’s needs for dust collection are different, here is a list of the supplies I ordered for mine:
- DustRIGHT 1250cfm Dust Collector
- Canister Filter for DustRIGHT 1250cfm
- 21′ x 4″ expandable hose
- 28′ x 4″ expandable hose
- 4″ quick change shop & tool set
- 2 sets of 4″ tool ports
- 4″ hose clamps
- 2 – 4″ blast gates
- 4″ hose & handle docking port kit
How to install the dust collector
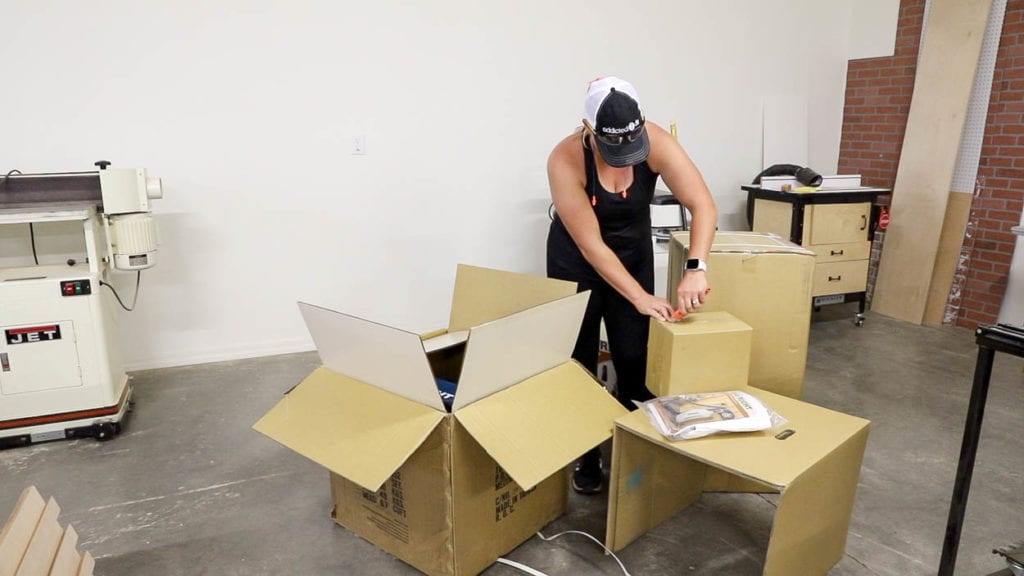
Before getting started installing the dust collector, unbox all of the pieces. Gather you’ll tools and supplies needed to begin. The dust collector and canister filter come with detailed instructions.
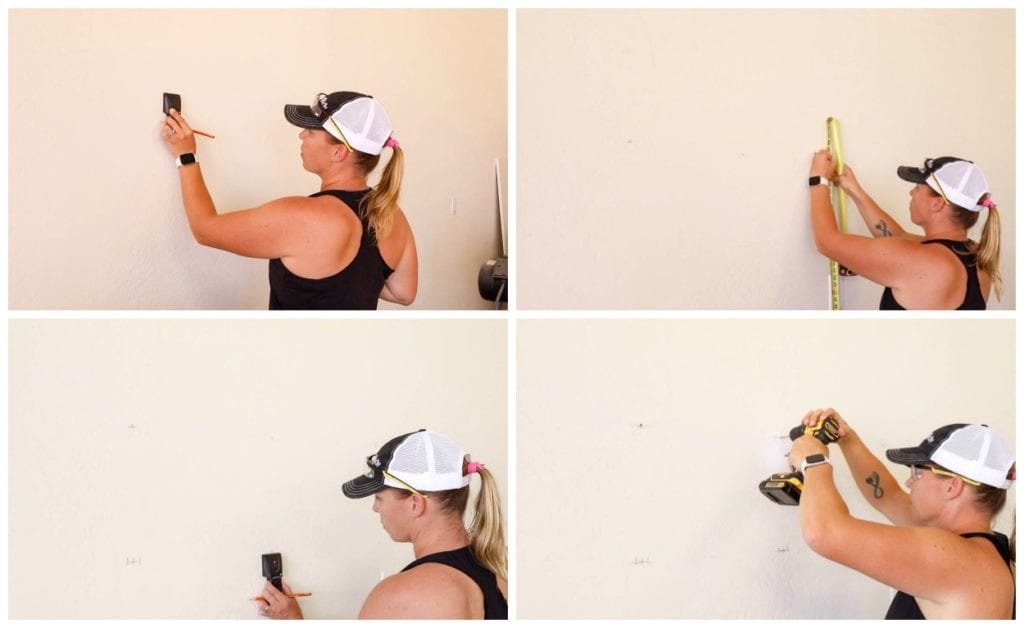
Decide where you would like the dust collector mounted. Make sure there is an outlet nearby. For a finished wall, you’ll need to use 2×4 cleats. Find the studs and mark the center point on each of them. Measure at least 65″ from the floor and mark the studs at that location. Measure 12″ down from each of those three studs and mark the center point of the stud there. Drill 3/16″ pilot holes through the wall and into the stud.
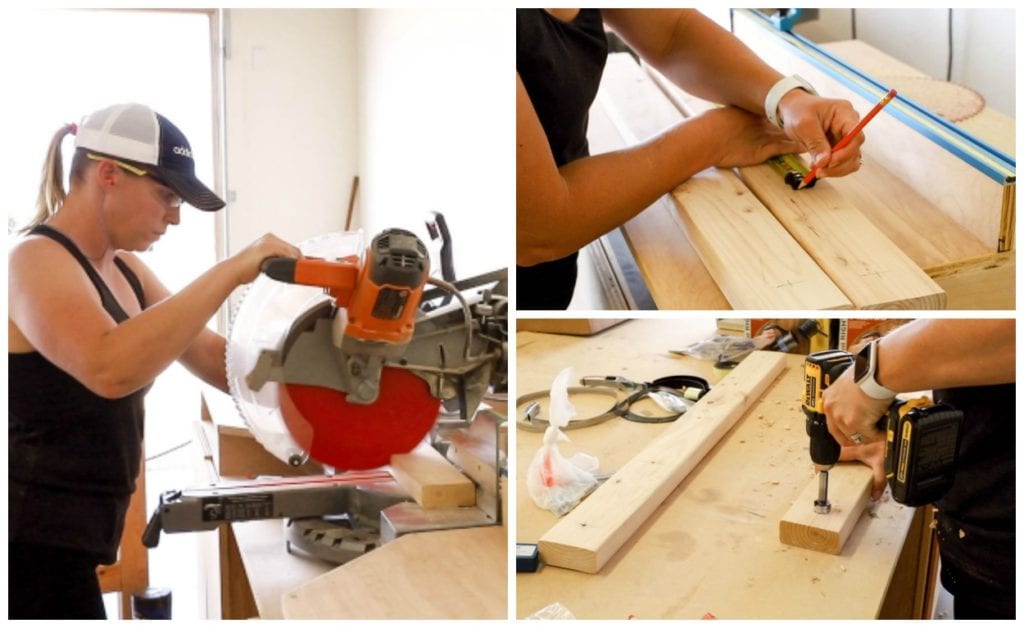
You’ll need two 2×4 cleats cut to 36″ long. Find and mark the center of the 2×4. Measure and mark 16″ each direction from that center mark. Measure 8″ in each direction and make a mark as well. These marks will be where the dust collector mounts. Drill 5/16″ pilot holes in the three marks for the studs. Drill 3/16″ pilot holes for the marks where the dust collector mounts. Use a 1″ forstner bit to drill countersunk holes approx 1/4″ deep in the larger pilot holes for the studs.
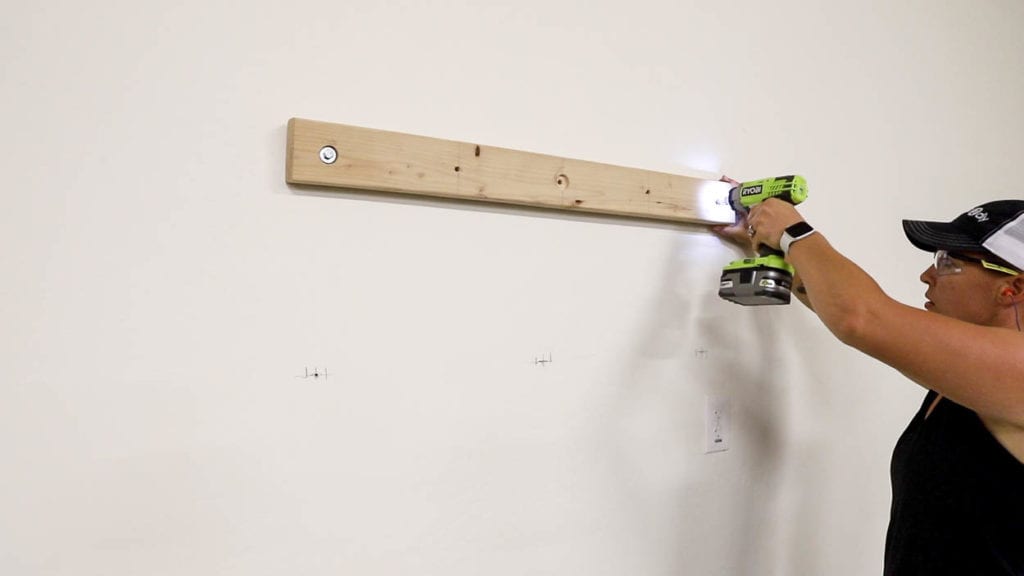
Attach the cleats to the wall with 4″ x 5/16″ lag bolts and washers. Use the pilot holes in the wall as a guide for mounting. Ensure the lag bolts are driven tightly into the wall studs.
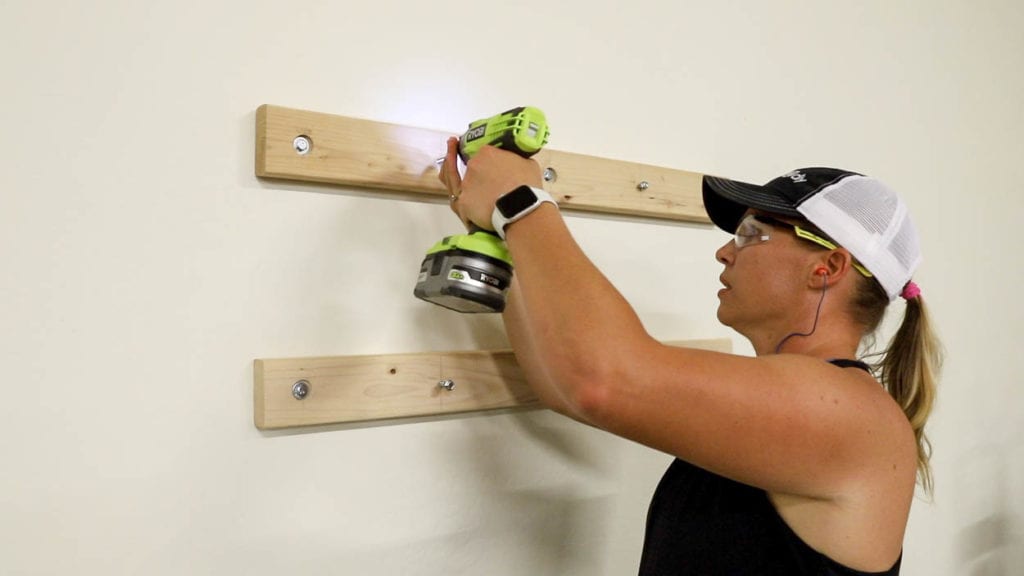
Drive the included 3″ x 5/16″ lag bolts into the cleats, leaving them out about 1″.
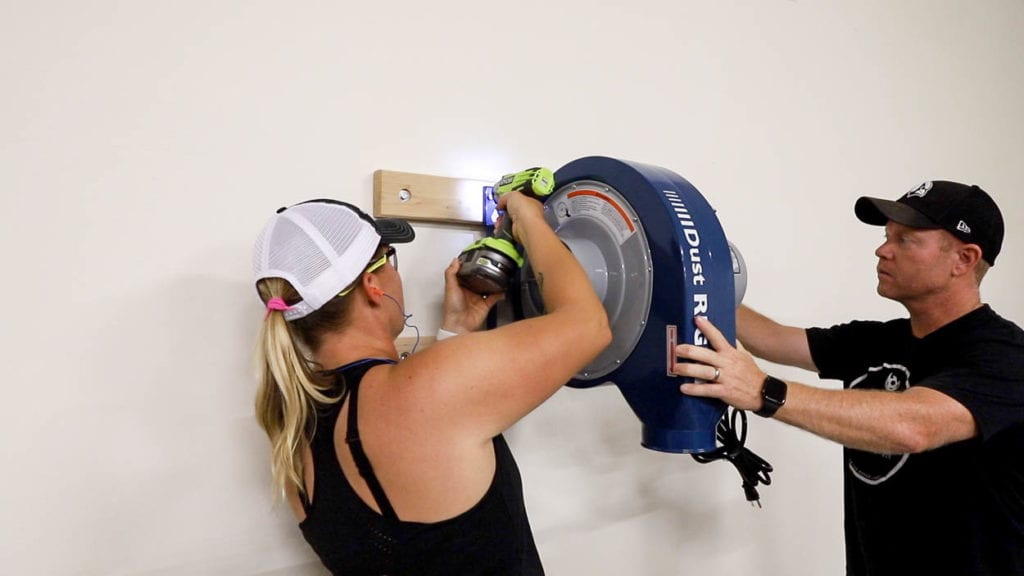
Add the vibration dampening shims to the lag bolts, then (with help) hang the dust collector from the lag bolts. Tighten the bolts to the cleats.
Installing the canister filter
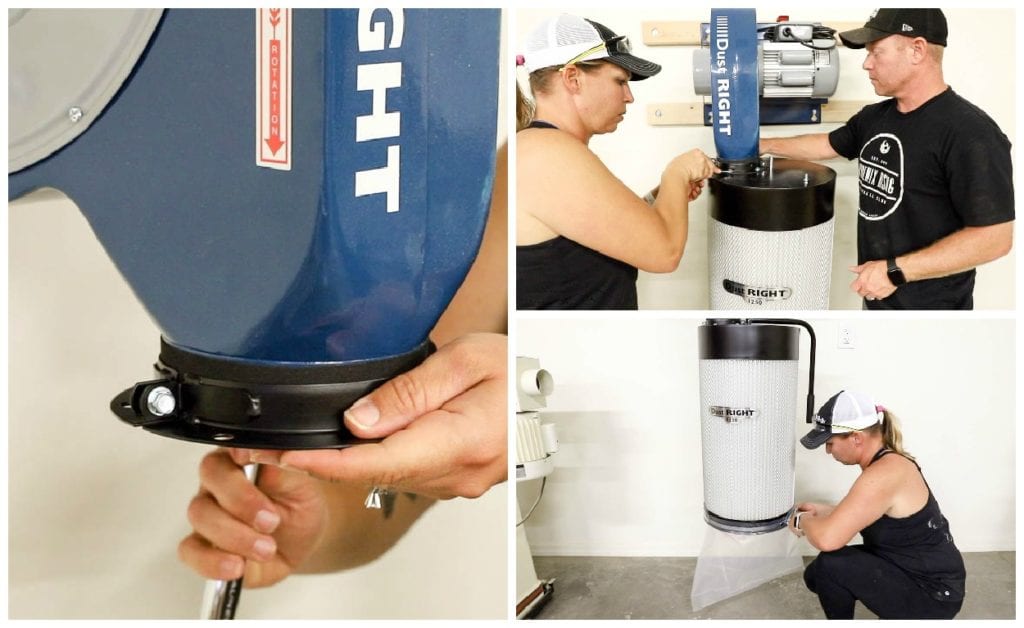
To install the canister filter, use the included foam tape and wrap it around the outlet port. Attach the flange with the included bolts. With assistance, line the holes on the canister filter up with the flange. Attach with the included bolts and tighten. Attach the agitator arm to the top of the canister and ensure it can rotate in both directions. Apply foam tape to the bottom of the canister then fit the bag over and clamp in place with the strap clamp.
Setting up the hoses and fittings
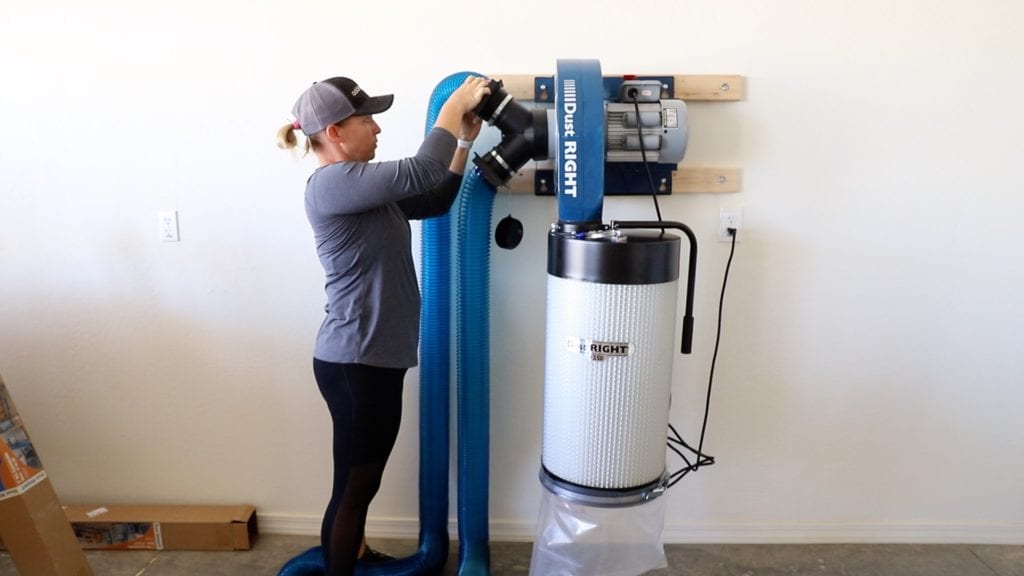
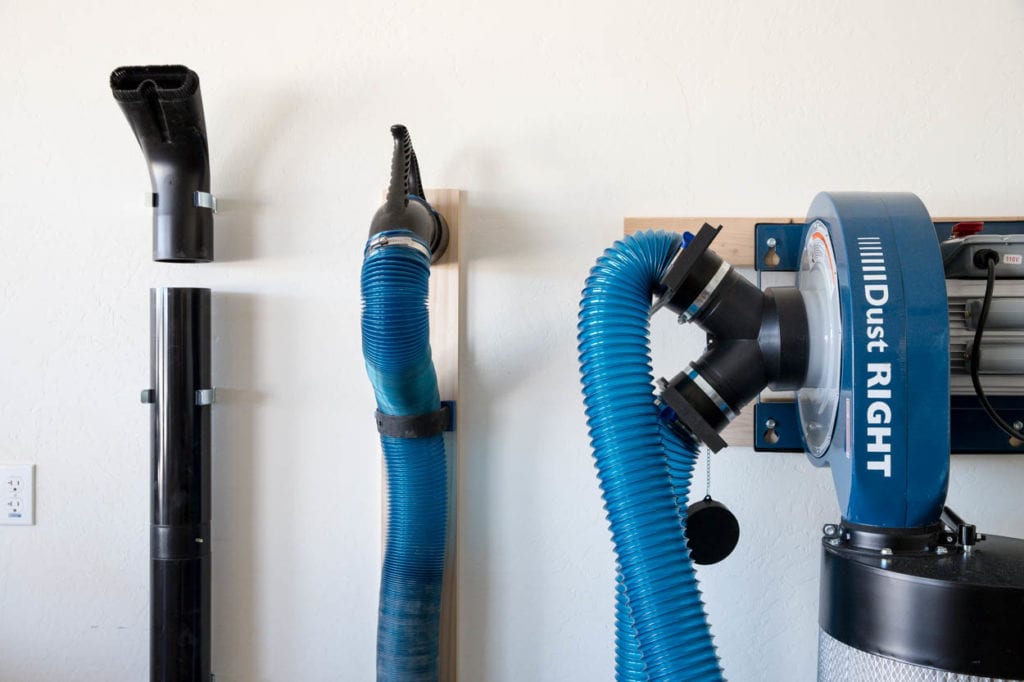
Attach the Y inlet to the dust collector. Secure the blast gates to each inlet, then attach the hoses with hose clamps.
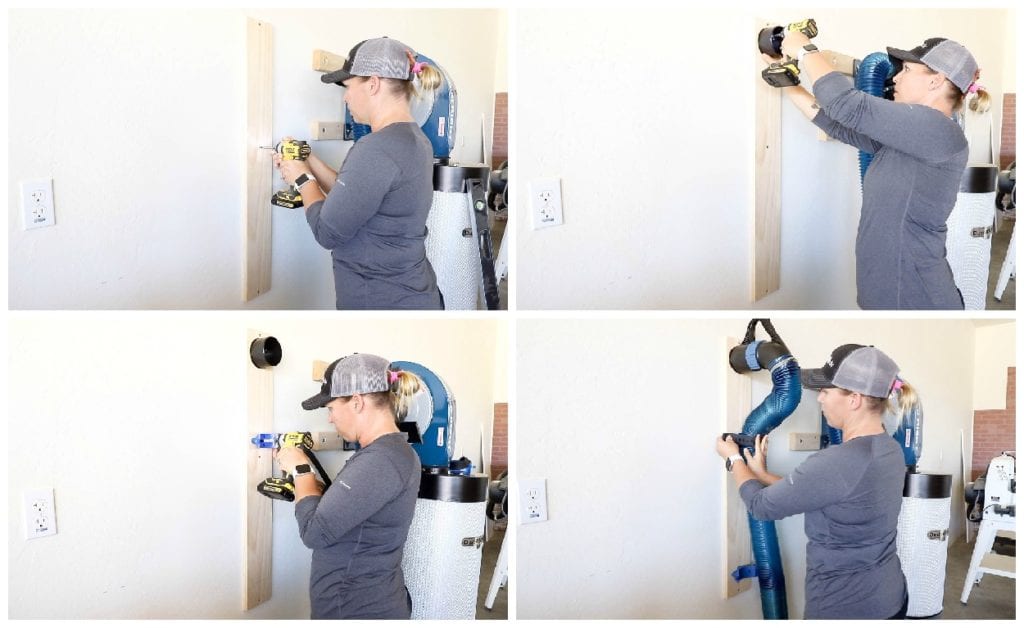
To keep the quick change handle and hose out of the way, I installed a docking port kit. I first attached a backer board to the wall, centered on a stud. At the top of the board, I installed the docking port with the included screws. Below that, I installed the hose straps, making sure they were level and centered on the board.
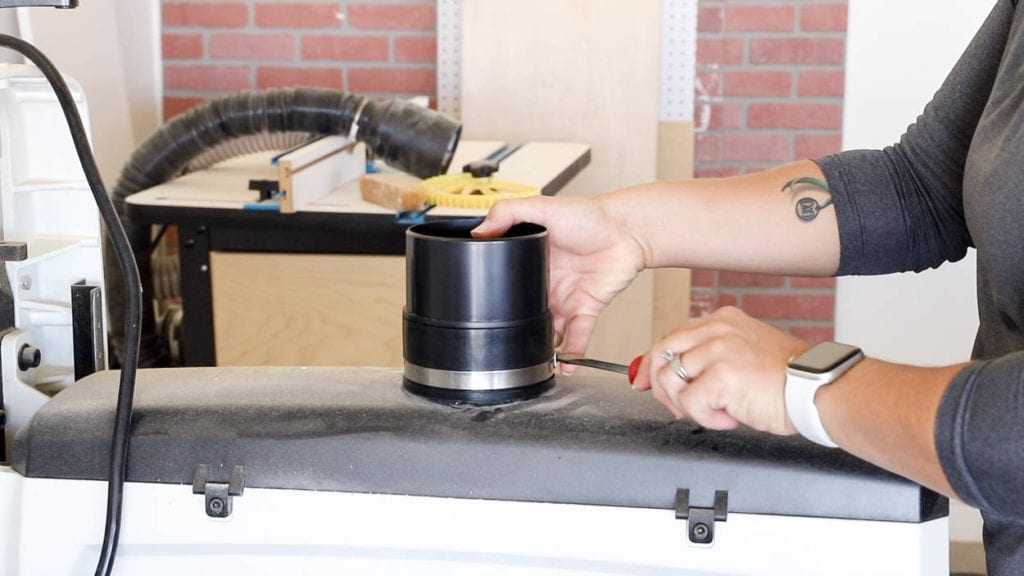
I attached tool ports to my drum sander, belt sander, joiner and bandsaw. These allow the quick release handle to be easily moved from tool to tool.
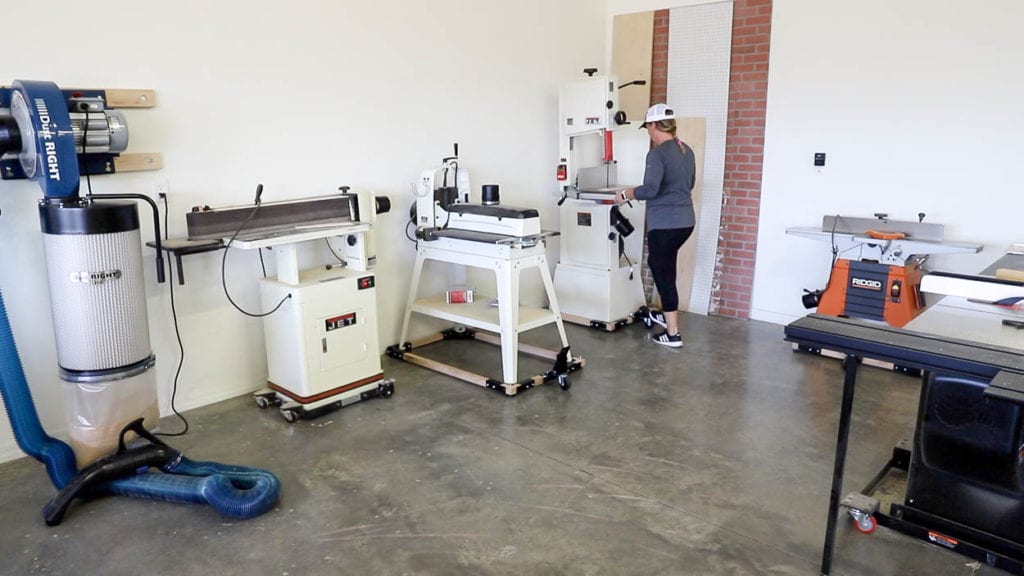
With all of the ports attached, I then moved my tools to their new locations. I built mobile bases for my drum sander, bandsaw and joiner to allow ease of movement when using the tools. They are also set up in a much better way to allow for increased productivity when moving from tool to tool.
Dust Collection System Layout
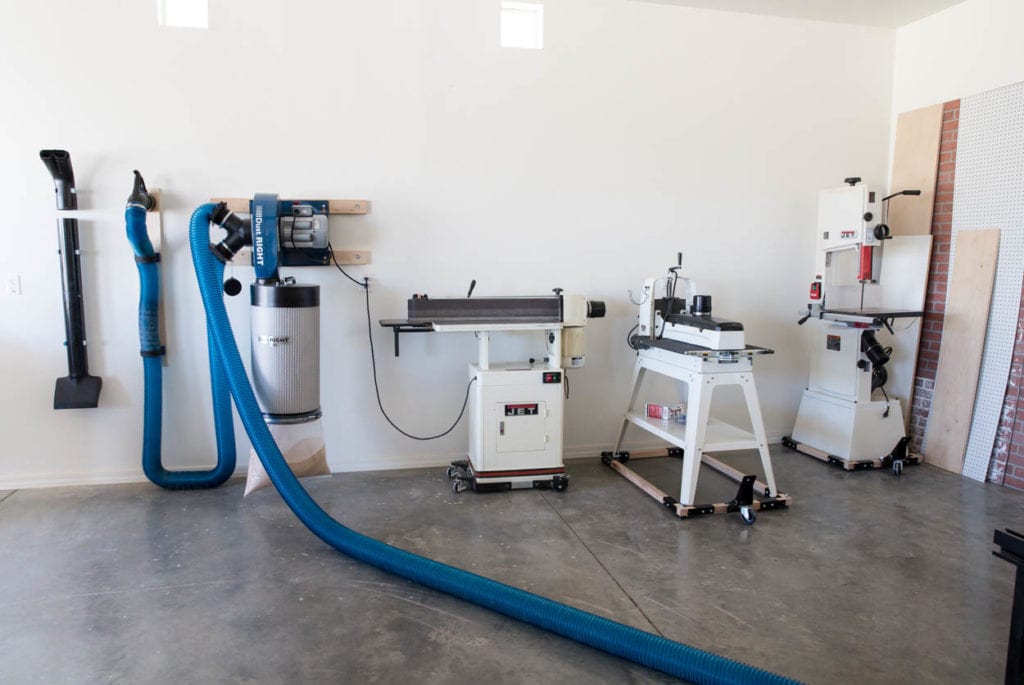
This corner of my shop is now so much cleaner and more efficient with the layout. The table saw is set up with its own dedicated hose, then the quick change hose is easily able to be moved from it’s dock to a tool or the floor sweep.
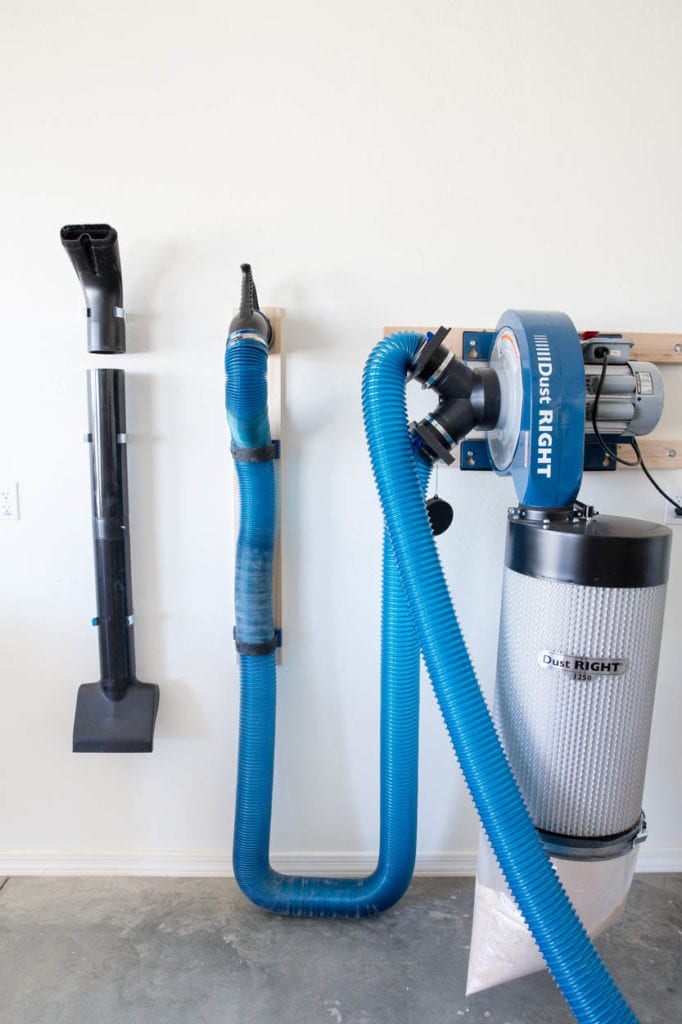
The quick change shop and tool set also comes with spring clamps that I installed on the wall. These keep the floor sweep and bench nozzle up and out of the when when not in use.
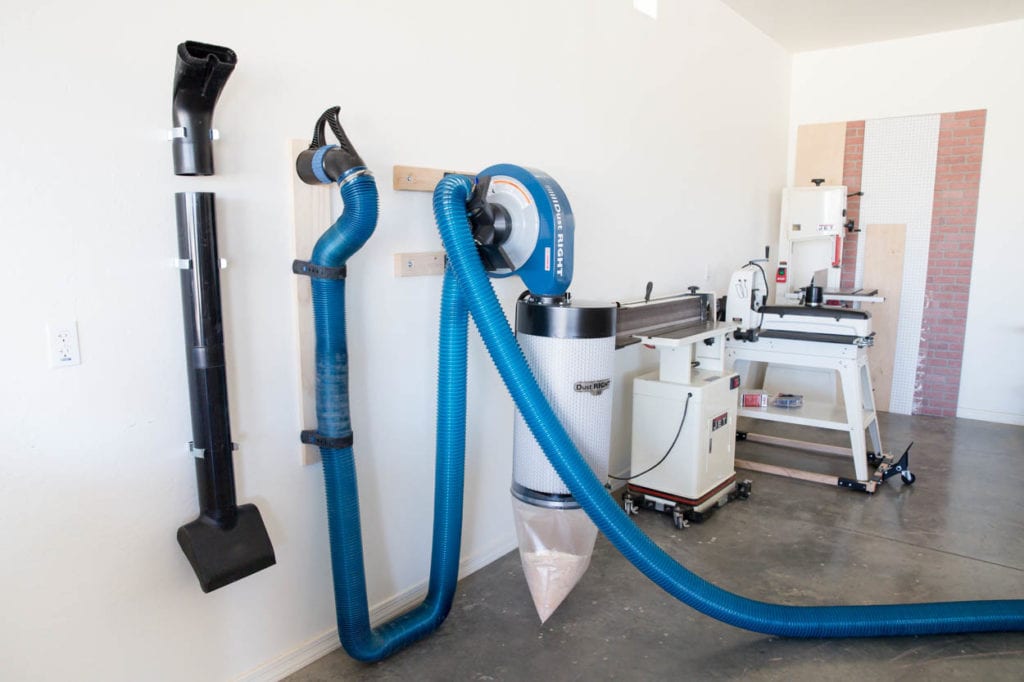
I used to dread using my large tools because hooking them up to dust collection was difficult. My new quick change handle makes the job so much easier. The floor sweep and bench nozzle make cleaning a breeze. I know they’ll help me to keep my shop floor and tools dust free from now on.
Special thanks to Rockler Woodworking and Hardware for partnering with me on this project. If you’d like to set up your own dust collection system, I highly recommend putting together a general plan, then contacting their support team. They will answer any questions for you and will also have helpful suggestions on the best way to go about doing it. Like I said before, my plan was far more complex than it needed to be. I am so glad I contacted the support team and they lead me in a much better direction!
DISCLOSURE: I was provided product and/or compensation for this post. All opinions and ideas are 100% my own.

Leave a Reply