
Learn how to make your own DIY rustic wooden pumpkins with this simple tutorial. These wood pumpkins are a quick and inexpensive project for all skill levels.
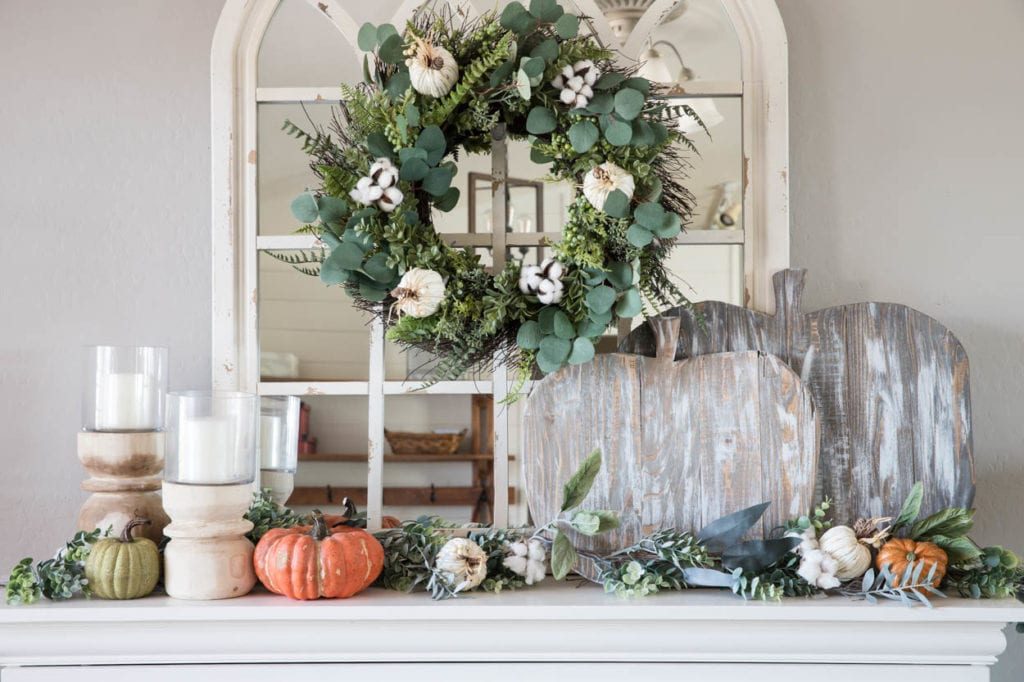
With the weather finally dipping into the double digits, I’m beginning to slowly pull out my fall decor. I always add a little to my decor each year. This year I decided to make some DIY rustic wooden pumpkins. I’m partnering with The Home Depot to show you how I made them using the RIDGID Octane 18V Jigsaw and RIDGID Octane 18V Compact Router.
Watch The YouTube Video
I originally built these wooden pumpkins to put out on my front porch. I then realized I loved how they look on my faux fireplace mantle. I’ve put together a video on how I made them. You can also follow along below for the step by step.
How To Build Wooden Pumpkins
These wood pumpkins are a super quick and easy project that you can build in just a few minutes (not including dry time of the stain). I purchased cedar fence slats at The Home Depot and used some scrap wood for the back supports. I love the rough look of the cedar and it lends really well to the rustic, distressed look of them.
Step 1
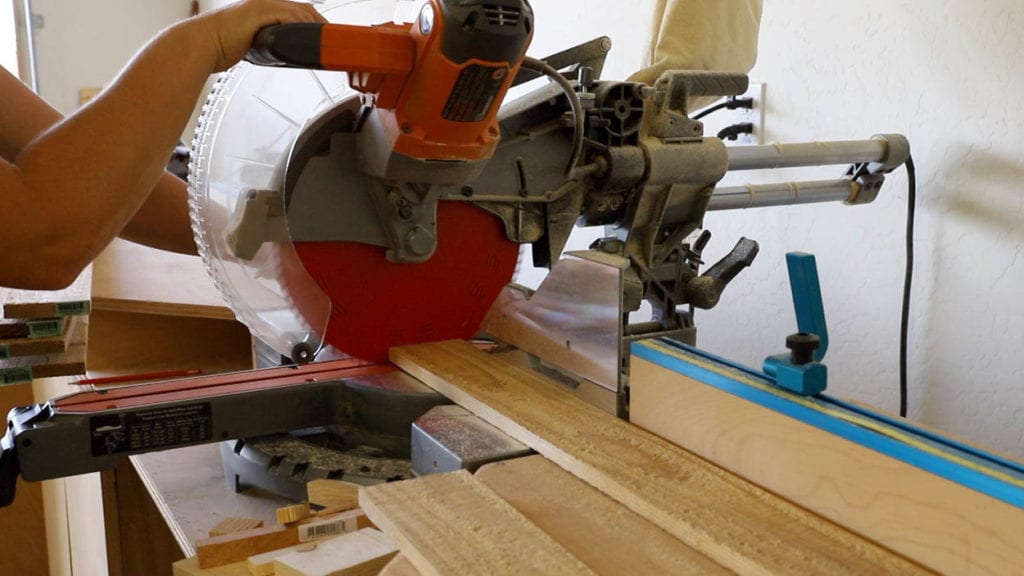
The number of fence slats you need to buy depends on the number of pumpkins you want to make. I purchased 5, but I really could have just gotten away with 3 of them for these two pumpkins.
I cut the slats into thirds on my miter saw, not really measuring too much. You can just eyeball it.
Step 2
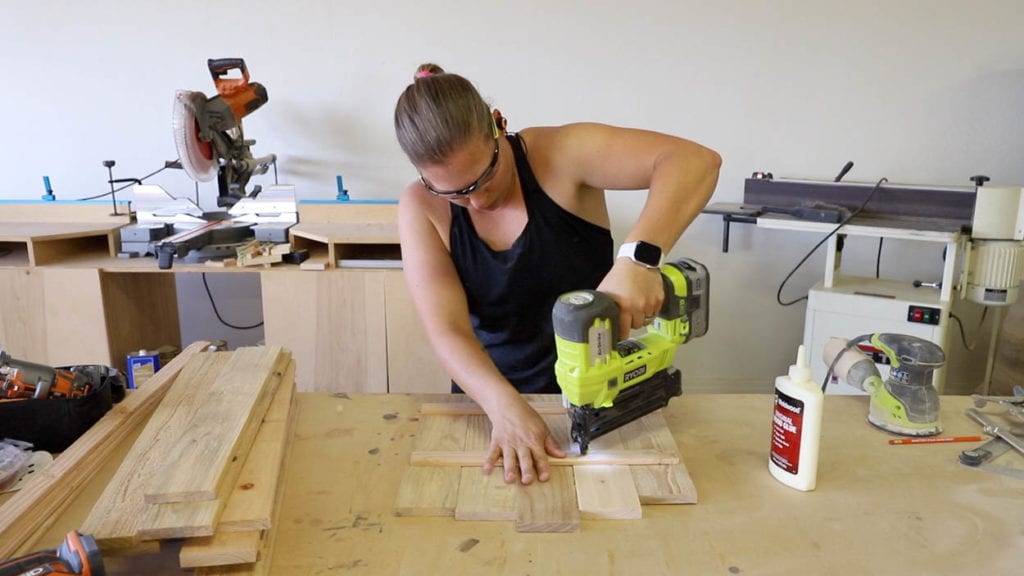
Once I had my slats cut to size, I sanded them down with 150 grit sandpaper. Next, I glued and nailed the boards together. I used a piece of scrap wood for this, but you can also use a 1×2 board. I added a thin bead of glue to the edges of each of the slats, plus to the supporting boards in the back.
Step 3
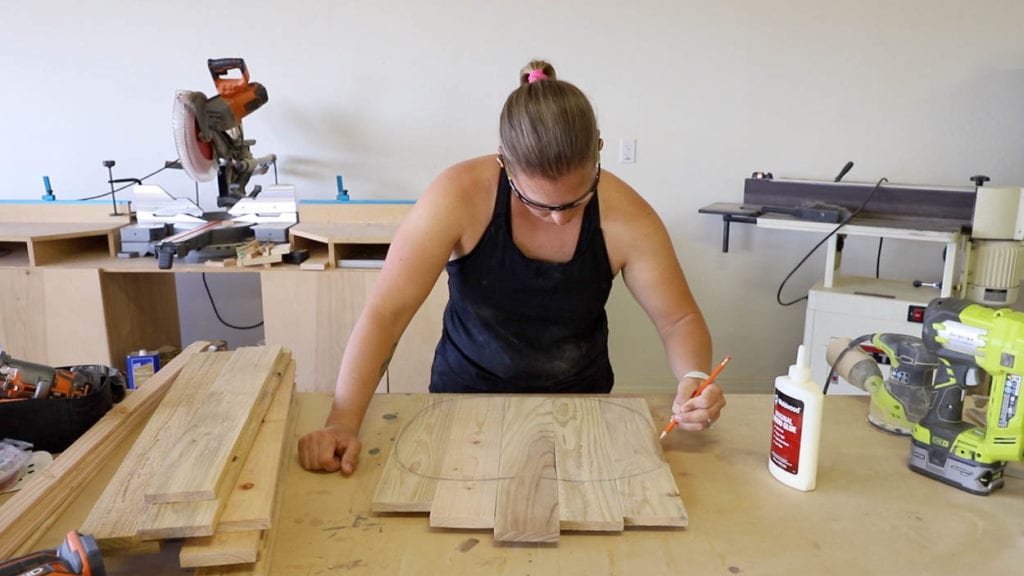
Once the panels were built, I grabbed a pencil and drew out a pumpkin shape. You don’t have to be an artist for this and I didn’t stress too much about them being perfect. Pumpkins come in all shapes and sizes, so just draw out whatever you like!
Step 4
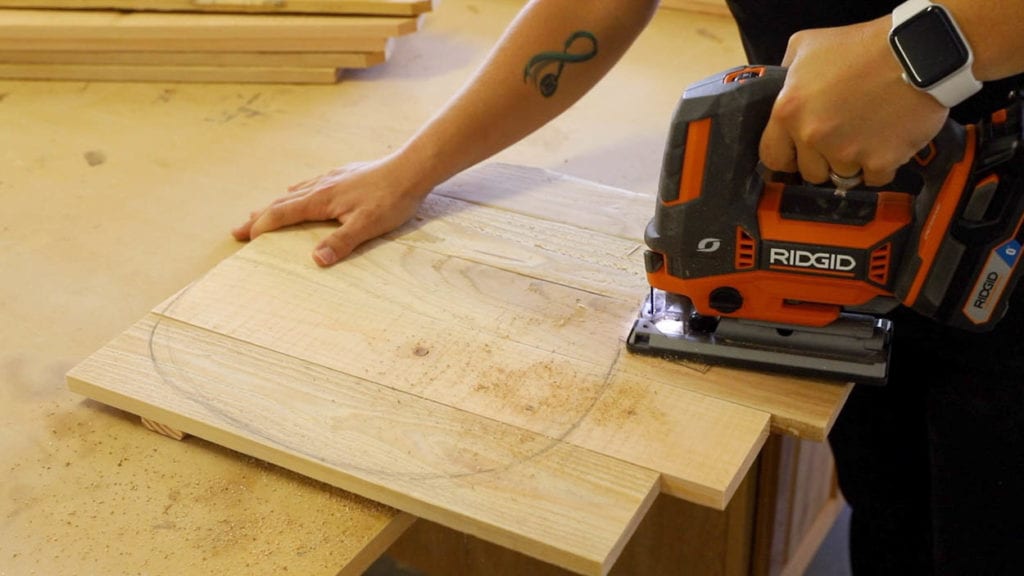
I grabbed my RIDGID Octane 18V jigsaw to cut out the pumpkin shapes. It worked so well and cut so smooth through these panels. The jigsaw has a variable speed dial but also a variable speed trigger. This gives you ultimate control over your cuts. The line start feature allows you to have more control when starting cuts. It increases in speed once the blade is fully engaged in the material. With a brushless motor, there’s more power and also extended life of the tool.
Step 5
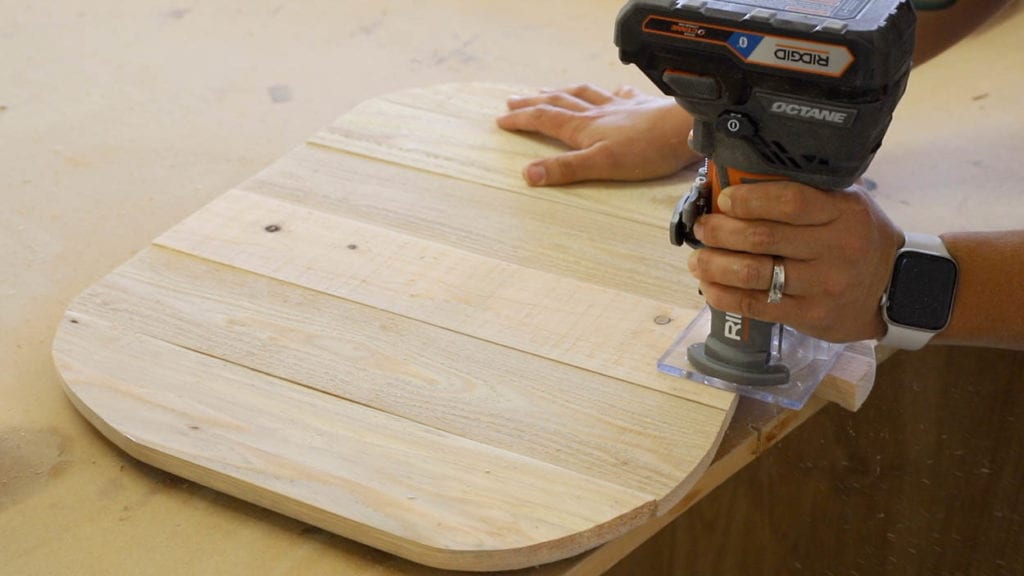
Once the pumpkin shape was cut out, I quickly moved the battery over to my RIDGID Octane 18V Compact Router, which I fitted with the included round-over router bit. I used the round-over bit to soften the edges and prevent any splintering in the wood. I loved the weight and feel of this compact router. I’ve used it several times on other projects and it never disappoints. It’s equipped with soft-start technology which prevents it from catching the material and creating any gouges. One of my favorite features is the on/off switch on the side of the router. Once I’m finished using it, I can easily just move my finger up and switch it off without having to move my hand placement at all. For me, that’s a huge plus for not only ease of use, but also safety. Another plus is that the jigsaw comes with two different edge guides. The square one shown as well as a round one. So basically a guide for every project!
Step 6
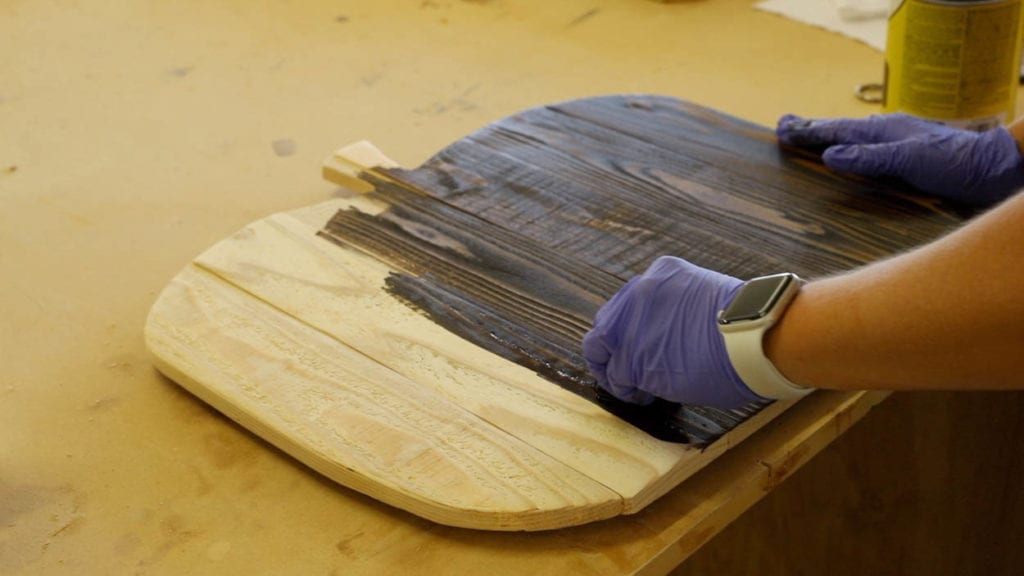
Once the edges were rounded, I gave the pumpkins another light sanding and then a coat of stain. I let the stain dry for several hours before moving on to the next step.
Step 7
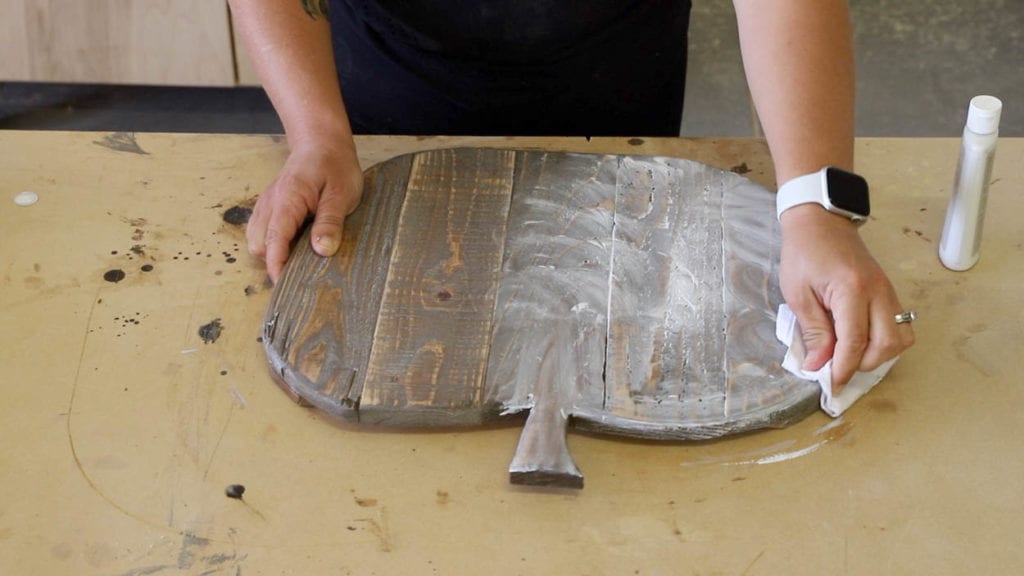
You can certainly finish these pumpkins any way you like. I grabbed a bottle of white furniture wax to give the pumpkins a bit of a whitewashed look and get the white wax into the deep grooves of the wood. I wiped the wax all over the pumpkins and then buffed them.
Step 8
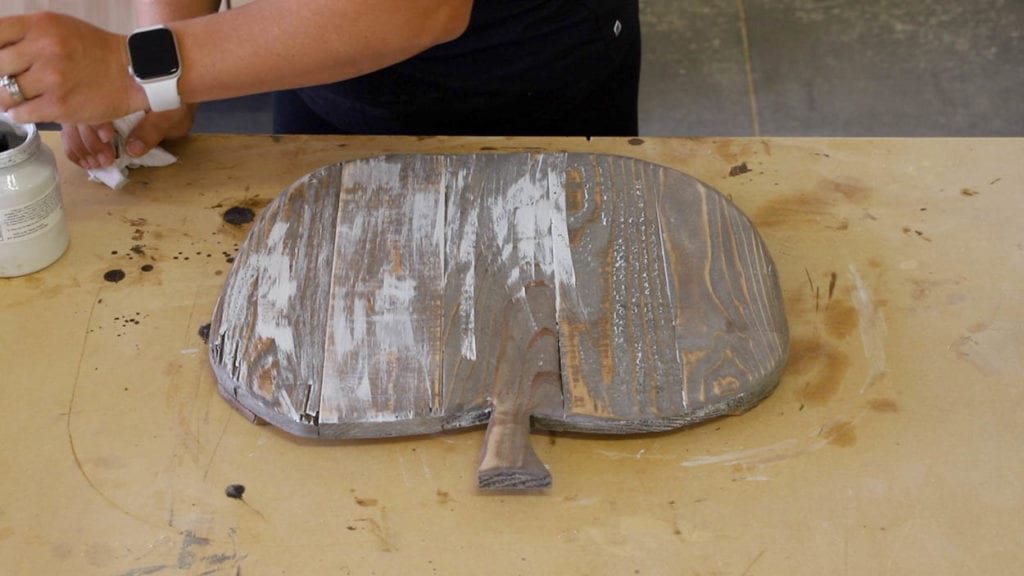
I still felt like the pumpkins needed a little something more, so I grabbed some white paint and a foam brush. I dabbed the brush on a paper towel and added some dry brush strokes to the entire pumpkin. Once the paint was dry, I went back over the pumpkin with some 220 grit sandpaper to further distress the paint. The wax coat underneath makes sanding the paint away even easier and provides a nice smooth finish to the pumpkins.
DIY Wooden Pumpkin Fall Decor
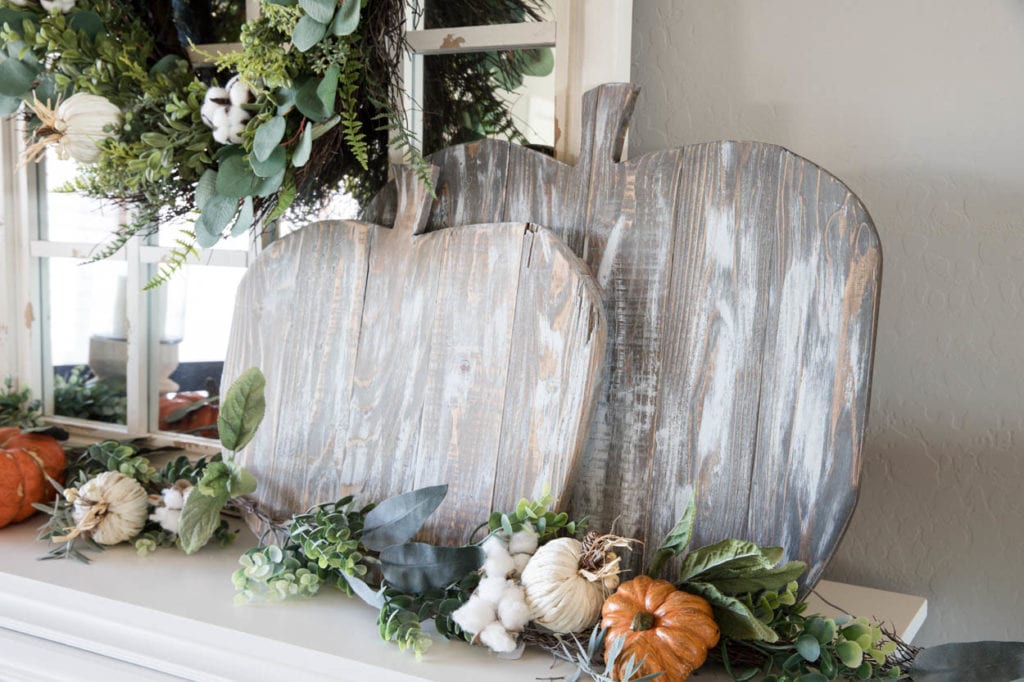
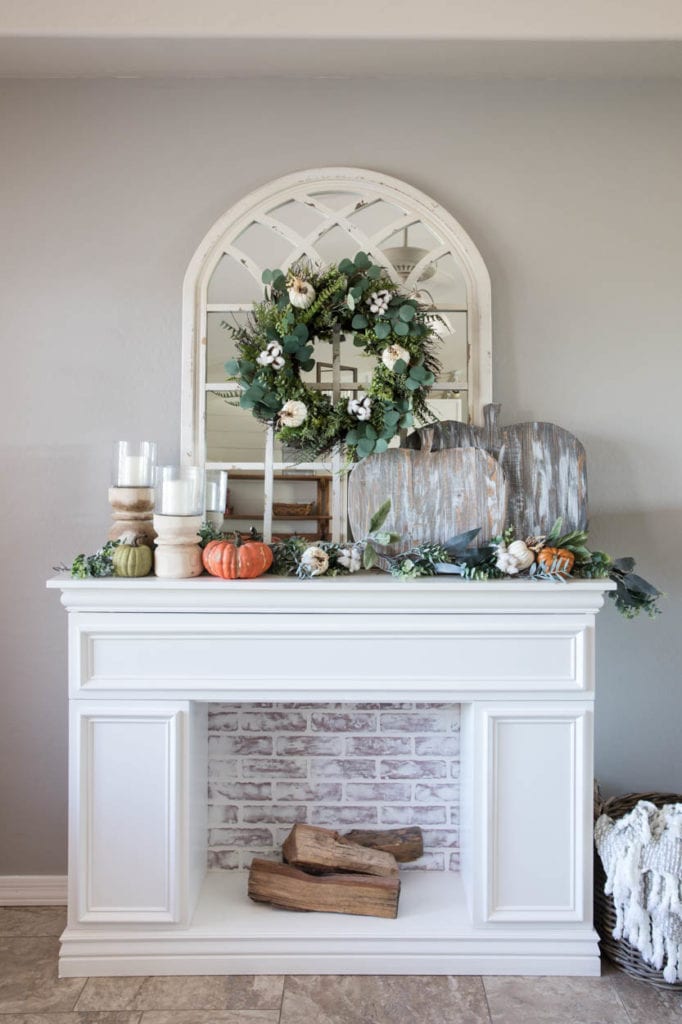
I am absolutely LOVING how the DIY rustic wooden pumpkins turned out and even more because I found a place for them inside! That means I get to look at them all of the time! I’ll probably also put together a post in the next couple of days on how I put together this fall mantle. It was super easy and quick, just like these pumpkins!
If you’re interested in checking out the RIDGID Octane Jigsaw and Compact Router, make sure you head to your local Home Depot store. You can even order them online and have them waiting for you for store pickup!
DISCLOSURE: I acknowledge that The Home Depot is partnering with me to participate in the promotional program described above (the “Program”). As part of the Program, I am receiving compensation in the form of products and services, for the purpose of promoting The Home Depot. All expressed opinions and experiences are my own words. My post complies with the Word Of Mouth Marketing Association (WOMMA) Ethics Code and applicable Federal Trade Commission guidelines.

Leave a Reply