Learn how to build your own DIY chess and checkers set with storage for all of the pieces.
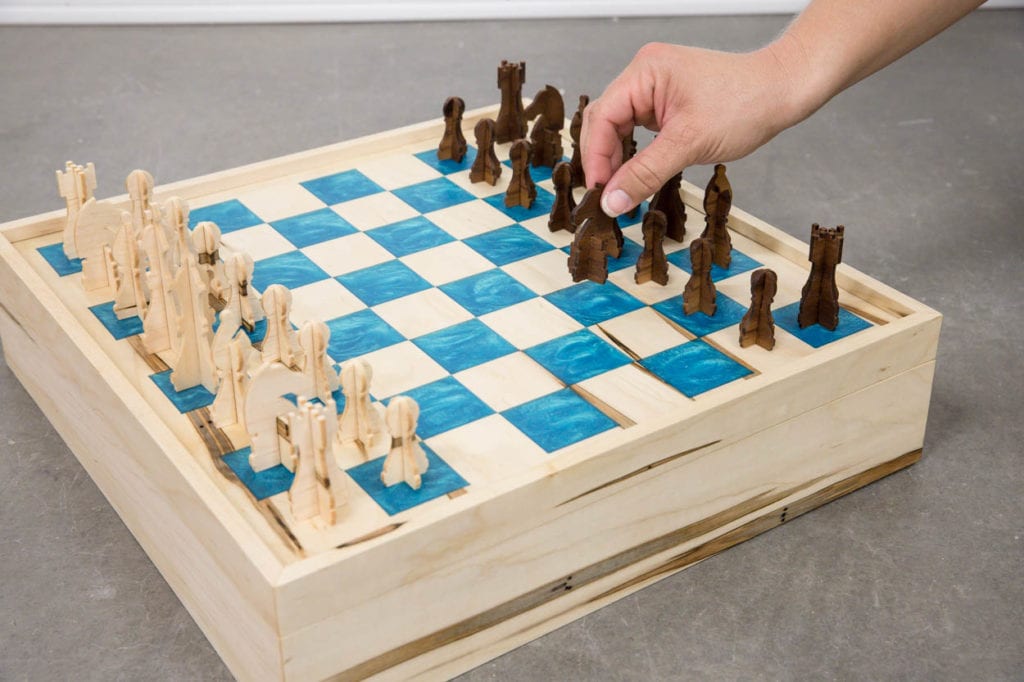
My kids love playing chess and checkers and I wanted to build them a really nice set for here at home. I’m partnering with Inventables today to show you how I built this DIY chess board with storage as well as all of the pieces using my X-Carve CNC. I’ve also put together a video tutorial that will show you just how I did it all.

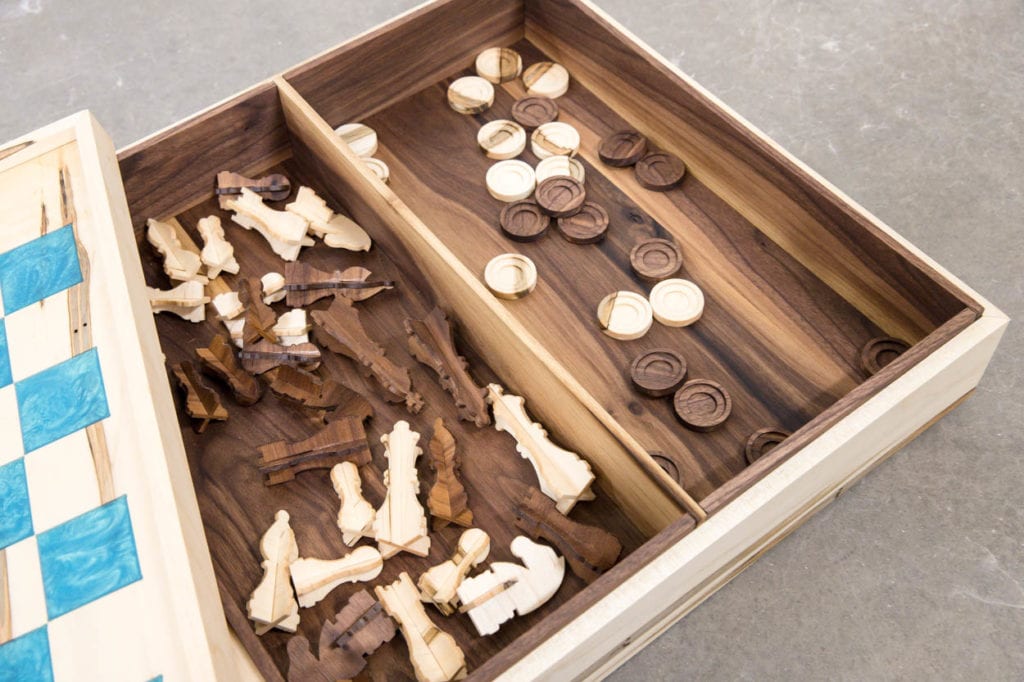
I designed the checkerboard using the checkerboard app using the Easel software from Inventables. I found some free chess piece vectors and used the interlocking app in Easel to make interlocking pieces to use on the board. I also designed the checkers pieces within easel as well. If you’ve never tried the Easel software from Inventables, you can sign up for a free account and get started using it. The V-Bit portion of this carve requires the Pro (paid) version of Easel. I’ve uploaded this project into Easel for you to create your own!
Icons made by Freepik from www.flaticon.com is licensed by CC 3.0 BY
Watch the YouTube video:
Box and Game Piece Dimensions
I made this box out of ambrosia maple and walnut. The measurements of the box are as follows.
- box sides – 16″ long x 4″ high x 3/8″ thick
- box top and bottom – approx 15 3/4″ square x 1/4″ thick glued up panels
- liner – 2 1/2″ high x 1/4″ thick – Measure and cut to fit snug in box
- cut lid off of box at 1 1/4″ thick
- all game pieces are set to proper dimensions for this finished 16″ box
- checkers pieces – 1/4″ thick maple and walnut
- chess pieces – 1/8″ thick maple and walnut
How To Build The Box
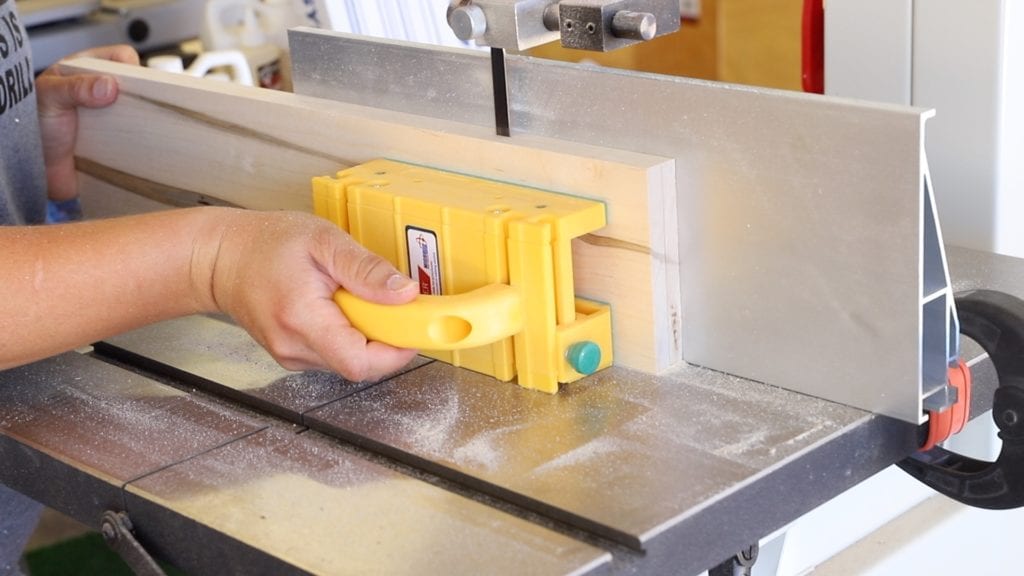
This project requires a lot of milling. I used my bandsaw to resaw the 4/4 maple boards to a rough thickness, then finished them all off in my planer and my drum sander.
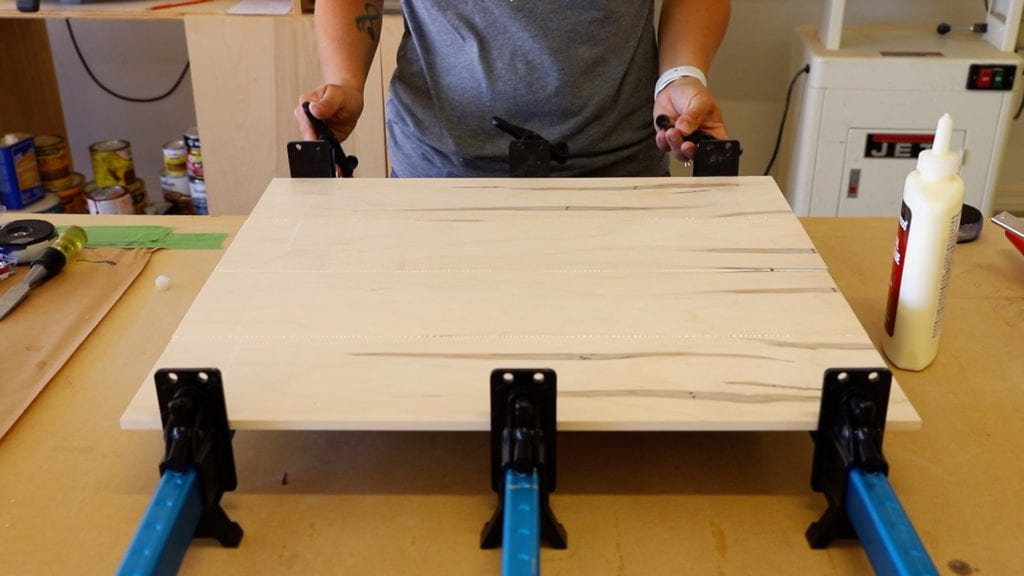
The game board is made up of four 1/4″ thick pieces of maple which I glued up and let dry overnight. I cut the boards to be larger than the final dimensions to allow for squaring up of the panel later.
The bottom panel of the box is made of walnut and was assembled the same as the top.
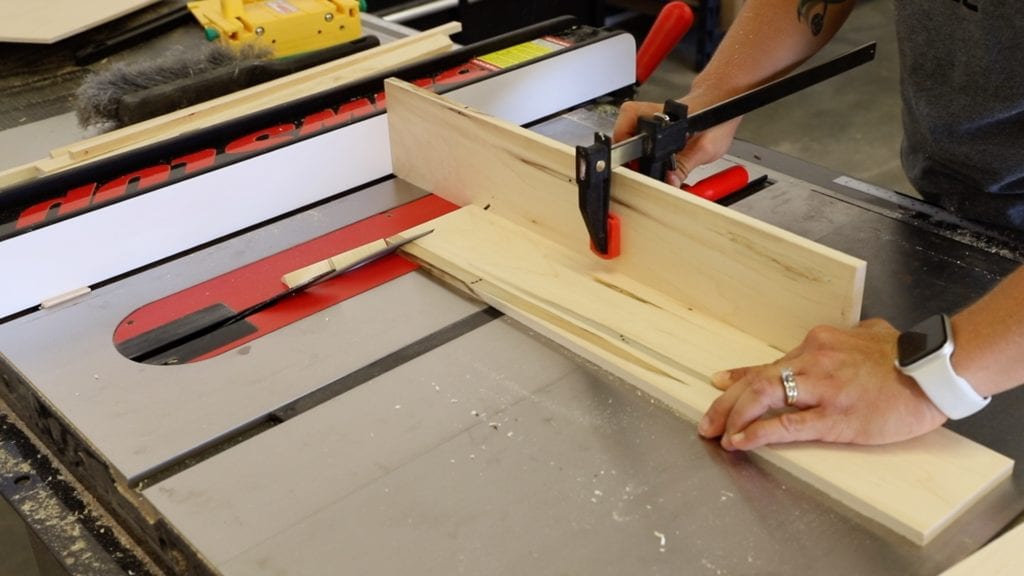
The box sides are 45 degree miter corners, which I cut on my table saw. You can also use a miter saw for this; however, I find that the table saw provided much cleaner and more accurate cuts.
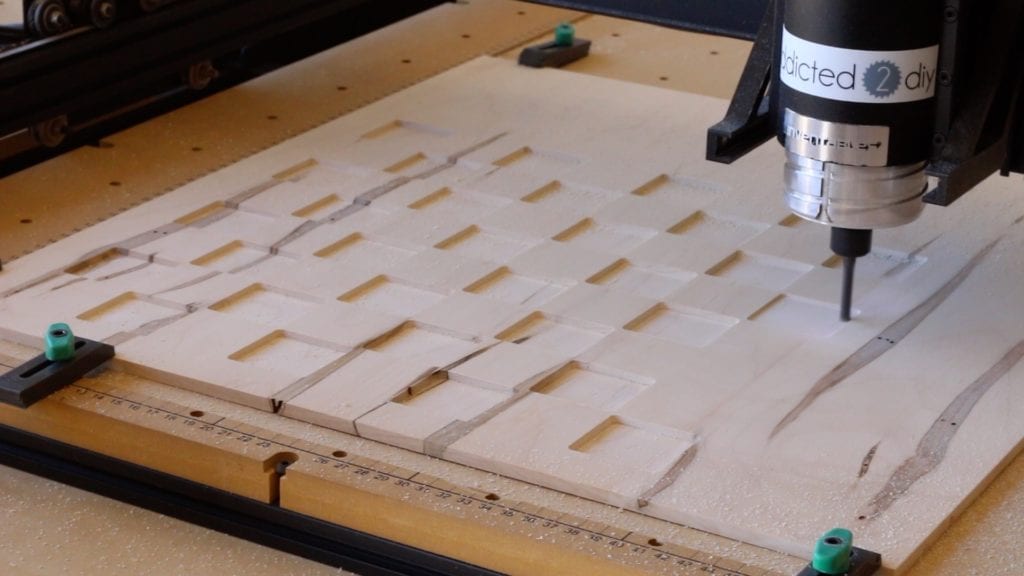
Once the game board was dry, I squared up the edges, then set it up on my X-Carve to begin a two stage carve. For the roughing carve, I used a 1/4″ downcut bit. This bit is not listed in Easel; however, you can input the bit size into the bit selection tab for this stage.
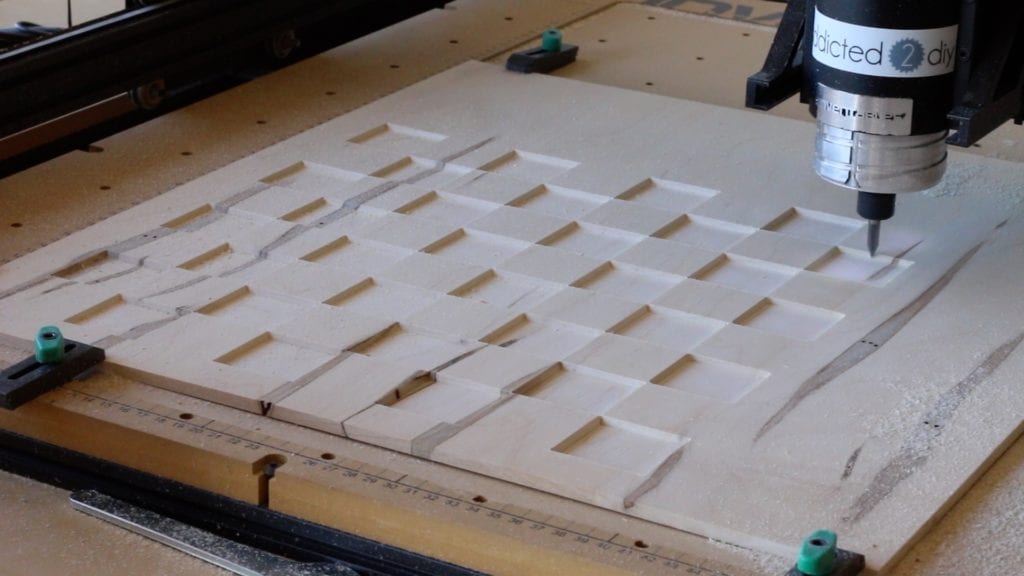
For the detail carve, I used a 45 degree V bit. I also input this bit into the bit selection tab. When the roughing carve is finished, the spindle goes back to the home position. I locked the motors, then carefully switched out the bits, making sure not to move the spindle at all when doing so. I selected the detail carve button in the carve menu and Easel sets the tool paths to only carve the detailed portion of the carve.
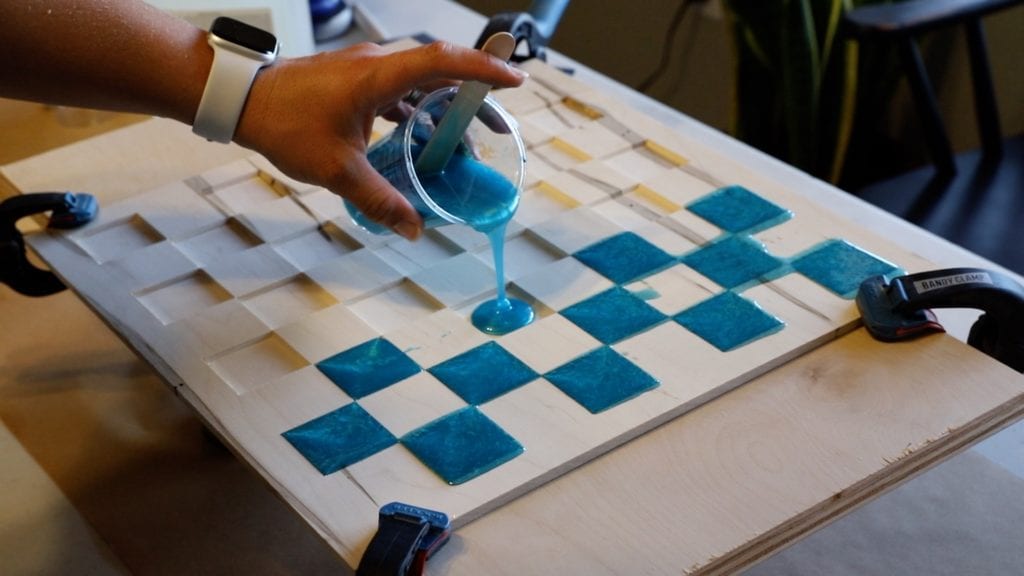
When the carve was finished, I mixed up two part table top epoxy and tinted it with pigment powder. I poured it into each of the squares on the checkerboard. Once the squares were filled, I used my gun to remove any air bubbles in the epoxy. This took approximately 10 ounces of the two part epoxy (5 oz of each)
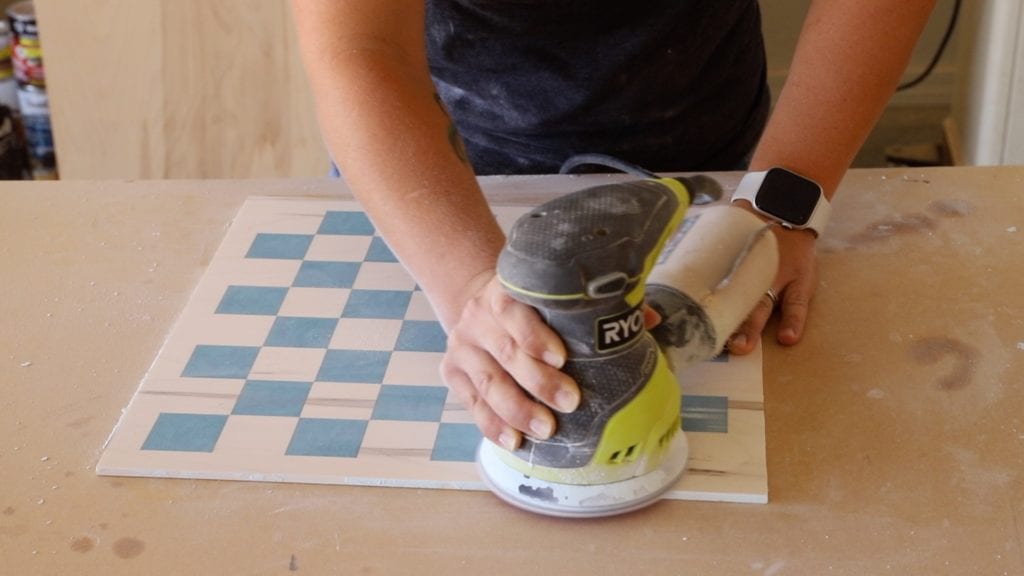
The epoxy can be sanded down using an orbital sander, but I found it to be quicker to use my drum sander to smooth the top and remove the excess epoxy. I used my orbital sander to finish sanding the game board smooth to 220 grit.
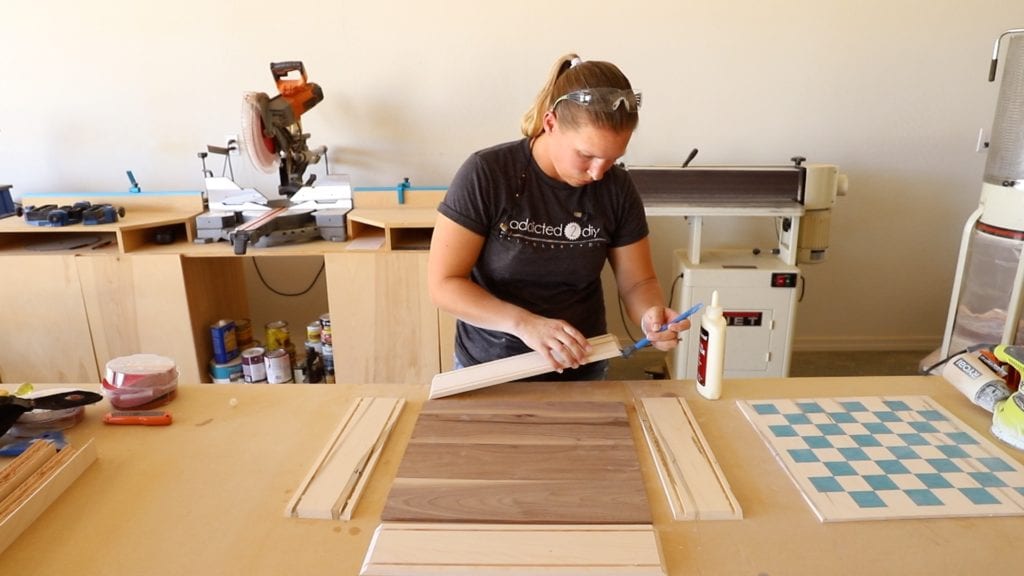
I cut approx 1/4″ grooves into the box sides on my table saw to fit the top and bottom panels, then assembled the box. I added glue to each of the grooves, plus spread it over the mitered corners and assembled the box pieces together.
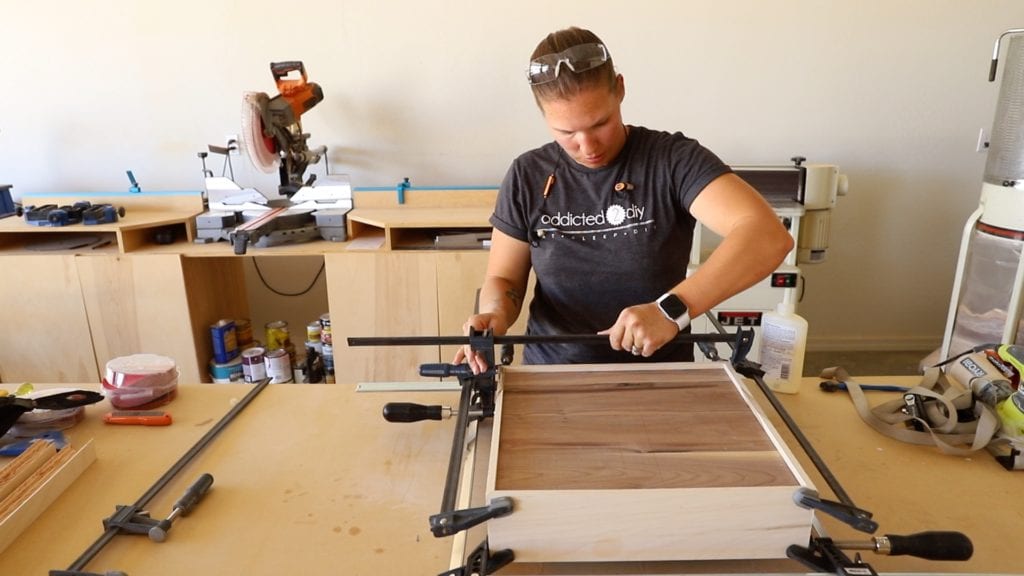
I clamped all of the corners together with several clamps and let the glue cure overnight.
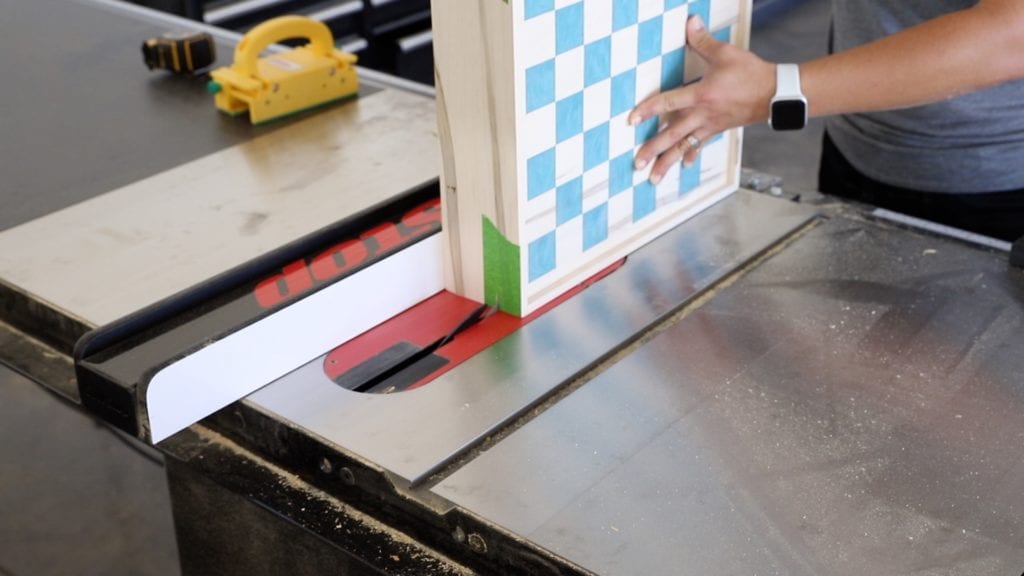
When the glue was cured, I used my table saw to cut the lid off of the box. I set the fence so the top 1 1/4″ of the box would be cut off to form the lid. Painters tape can be used on the box corners to help prevent tear out during this step.
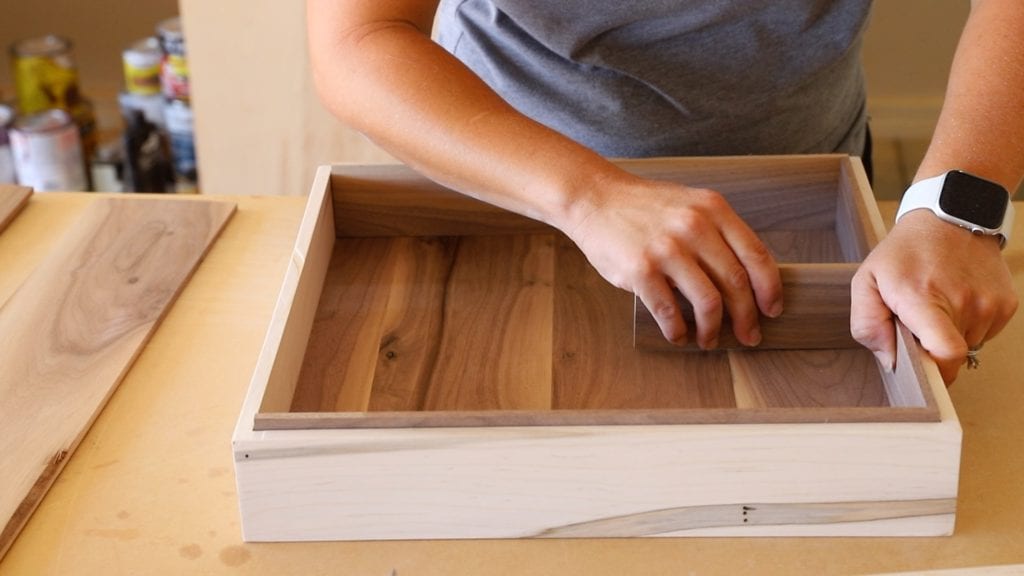
Cut the 1/4″ liner pieces to size so that they fit snugly inside the box. If desired, a divider can also be added to keep the chess and checkers pieces separate. On opposite sides of the box, cut two pieces short enough for a 1/4″ piece to fit snugly between them. Cut one solid piece to fit in the gap.
Glue all of the liner pieces (except the middle divider) in place and clamp them to dry. The middle divider will just fit snugly in between the liner pieces and does not need to be glued.
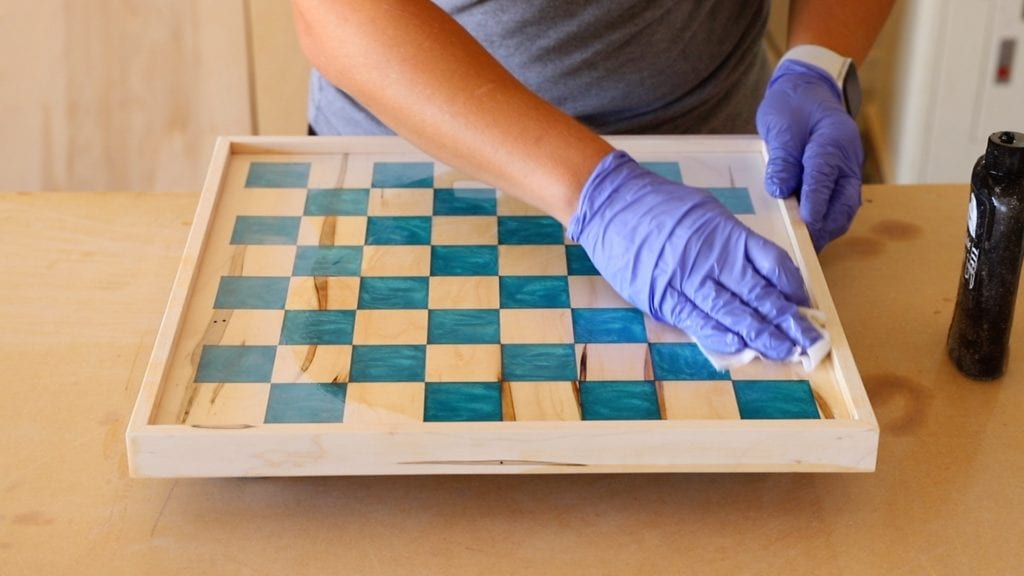
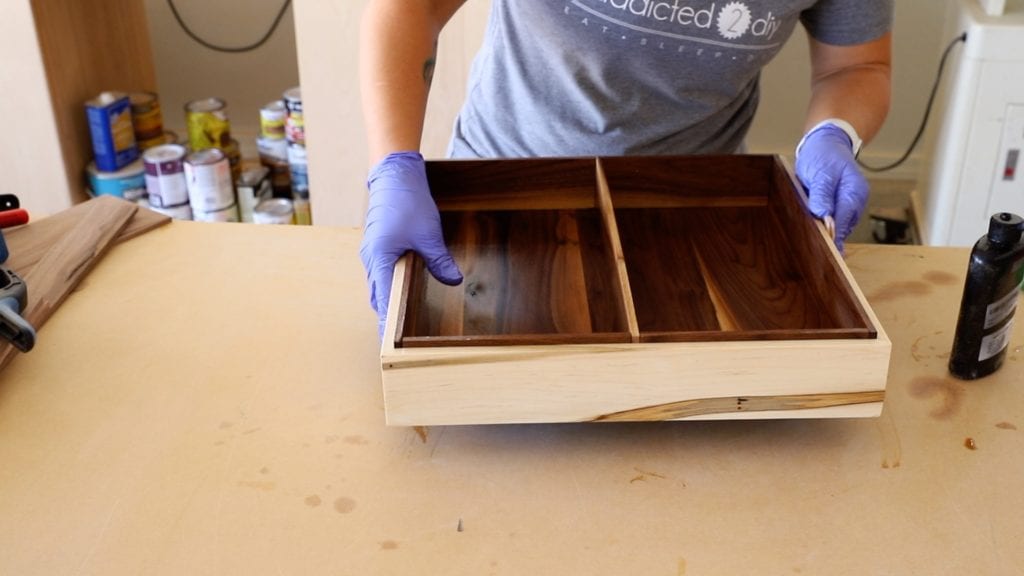
Finish the inside and outside of the box pieces with desired finish. I used Walrus Oil furniture finish, which I wiped on with a clean rag, then set the box pieces aside to dry.
How To Make The Game Pieces
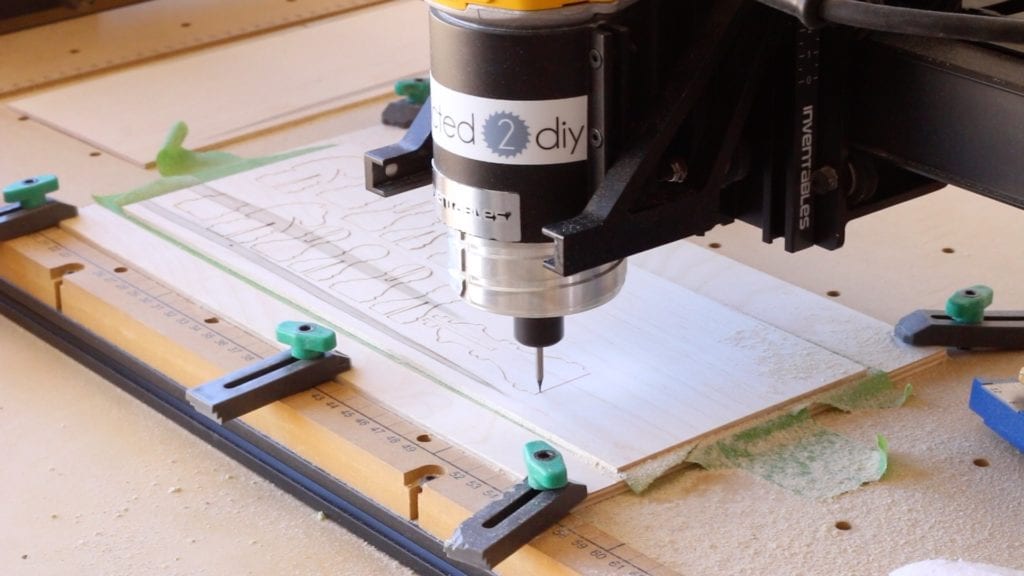
To carve the chess pieces, I used a 1/32″ downcut bit. I carved the chess pieces from 1/8″ thick maple and walnut sheets that I milled down to exact thickness. You can also purchase 1/8″ thick wood sheets from the Inventables website if you prefer.
I carved the checkers pieces using an 1/8″ downcut bit. You can find all of these carve files within my project in Easel.
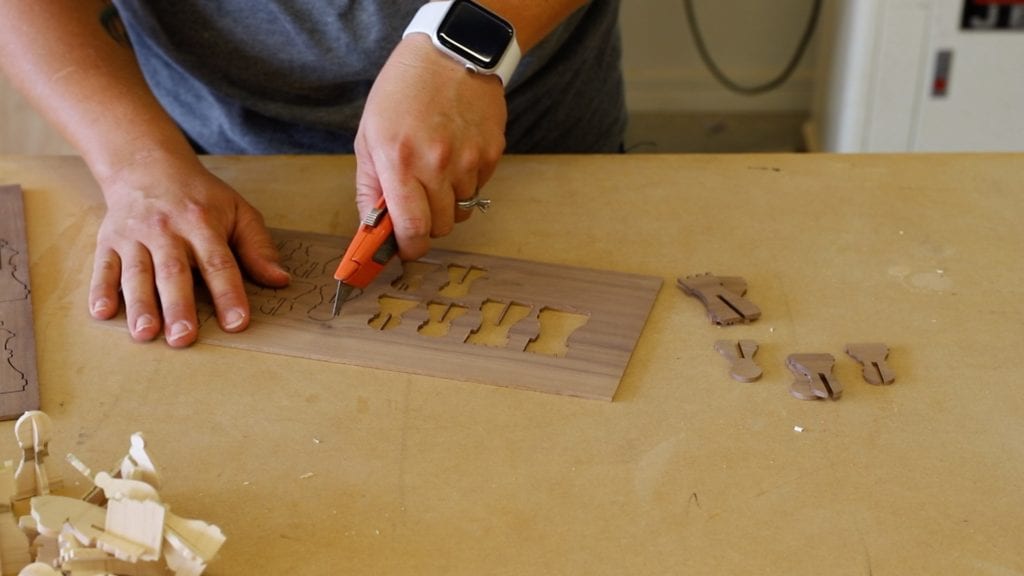
For the maple chess pieces, I carved them using a double sided tape method. They required a bit of cleanup of the tape residue, so I also experimented with carving the pieces using tabs. The tabs required a bit of sanding to fully remove the remnants of the tabs, but I do think it was my preferred method of the two I tried.
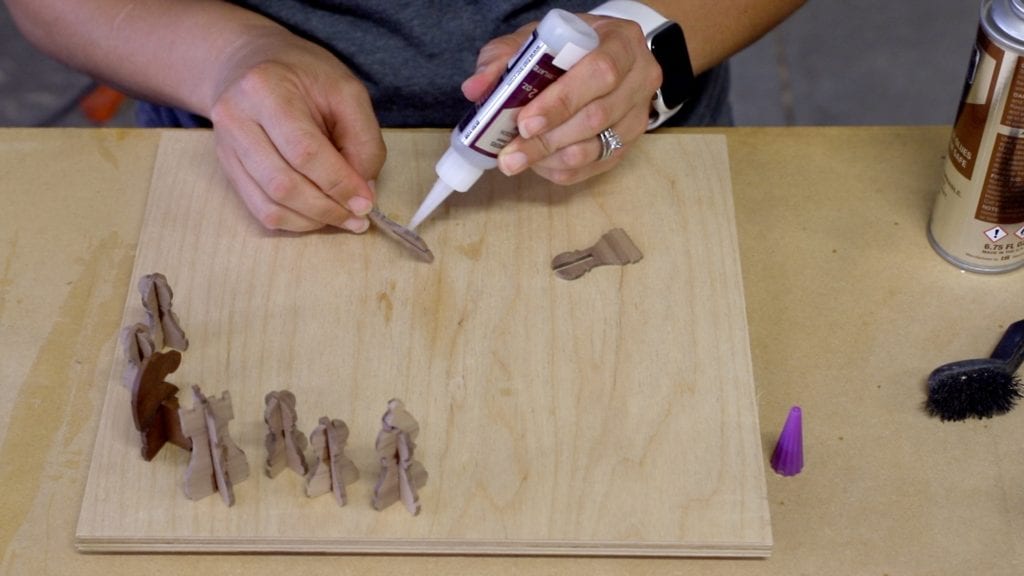
I assembled the chess pieces using CA glue and activator, which gave me an instant bond. This allowed me to quickly assemble all of the pieces without worrying about any of them getting out of alignment while the glue dried.
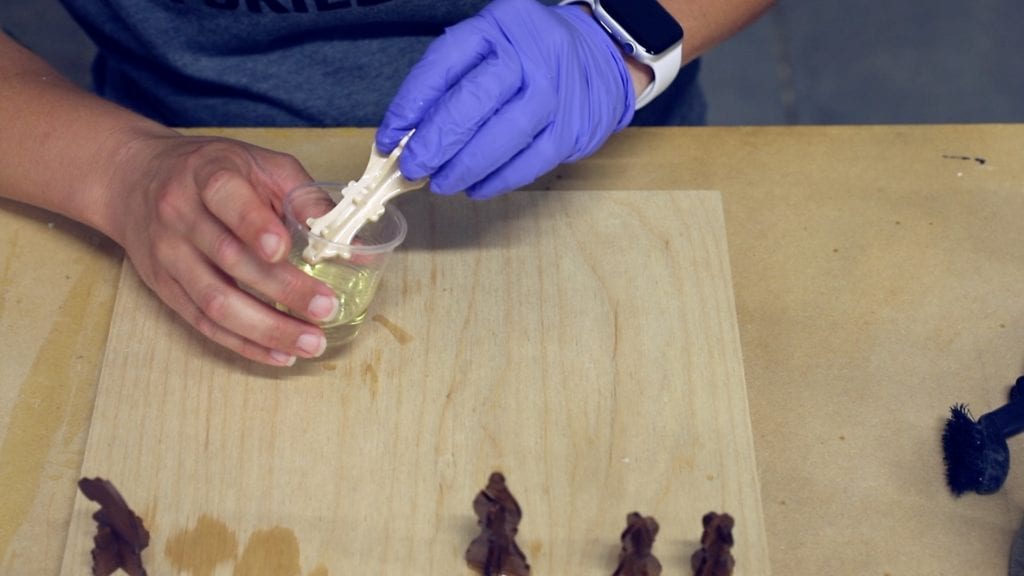
Once all of the chess pieces were glued together, I poured some of the furniture finish into a small cup and used it to coat all of the pieces. I wiped them all down with a clean cloth after I was finished and set them aside to dry overnight.
Handmade Chess Board and Wooden Chess Pieces
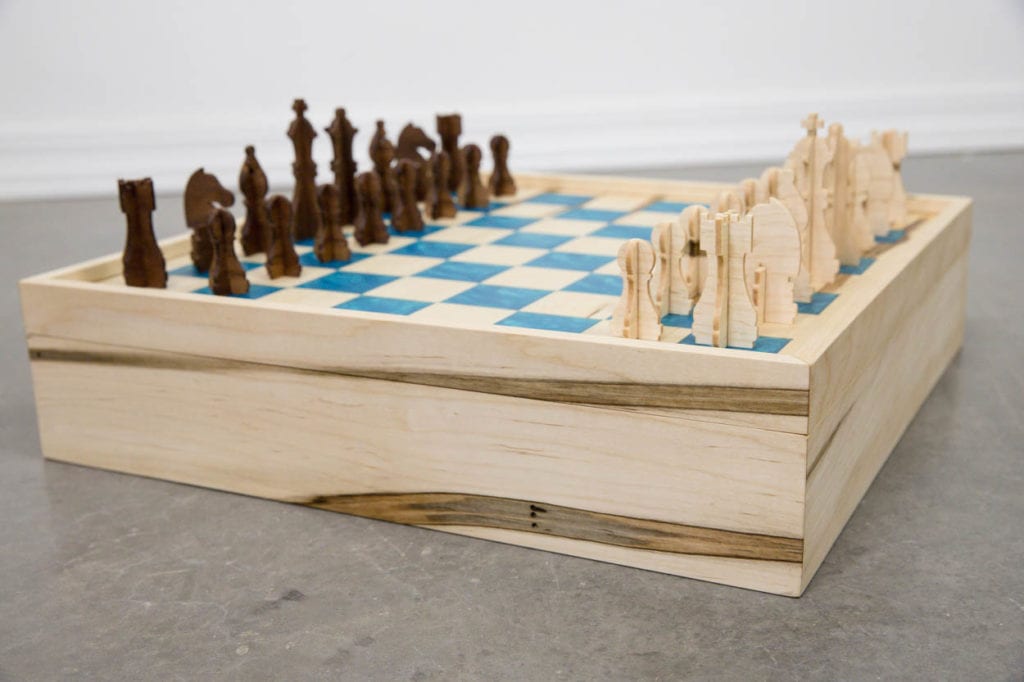
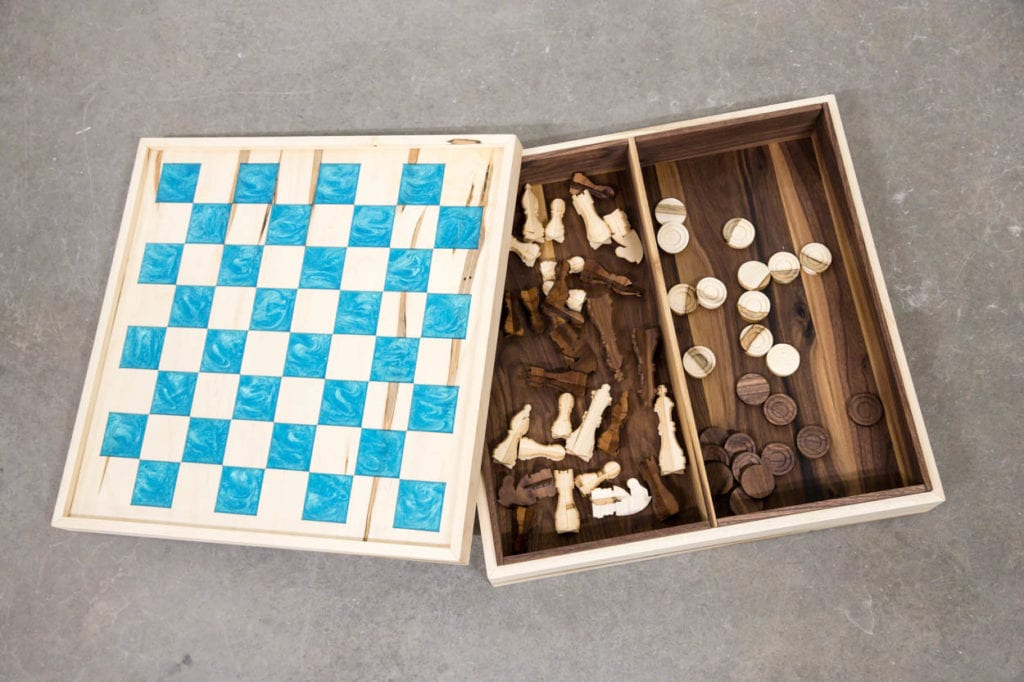
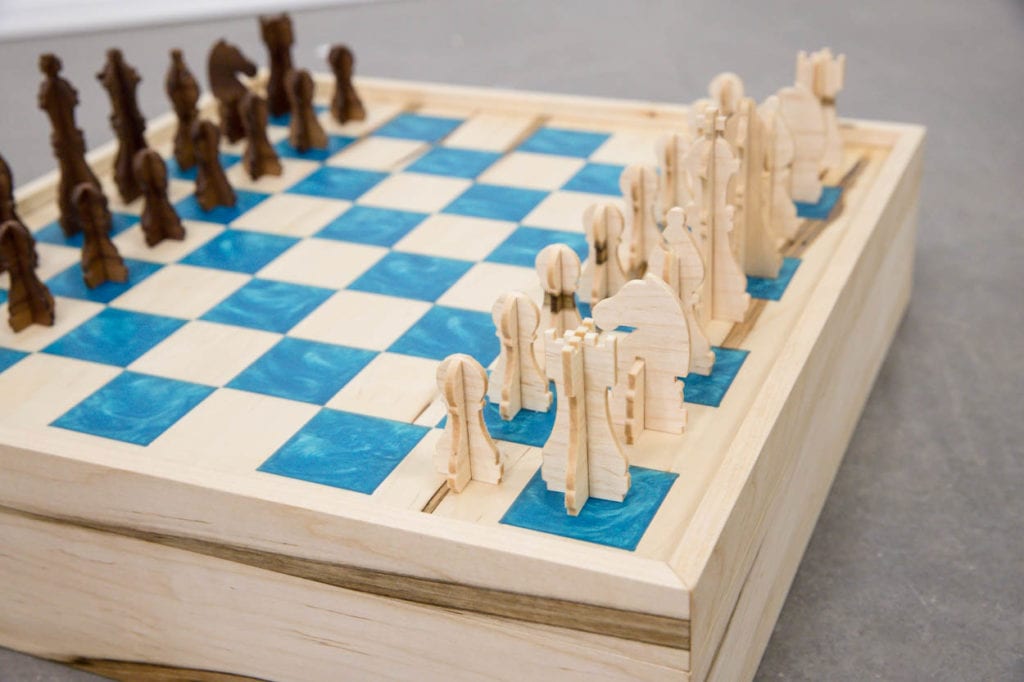
I absolutely love how this entire set turned out. The chess pieces came out even better than I had imagined and the walnut and maple are a perfect contrast of each other. The turquoise blue tinted epoxy really pops against the maple as well. This makes for such a unique game board in your own home, but also makes for a perfect gift. My only regret with this project is that I didn’t turn the other side of the lid into a backgammon game. I may need to figure out a way to still do that.
If you’d like to learn more about the X-Carve and the Easel software, be sure to visit the Inventables website. There you can find tons of projects, and inspiration as well as sign up for a free account to start using the Easel software even before you purchase a machine. I’ve also uploaded this project to the Inventables site so you can make your own complete chess set.
DISCLOSURE: I was provided product and/or compensation for this post. All opinions and ideas are 100% my own.

Leave a Reply