Learn how to build a DIY trophy shelf and hat rack with these easy to follow plans and tutorial. These shelves serve a dual purpose with the addition of a hat rack.
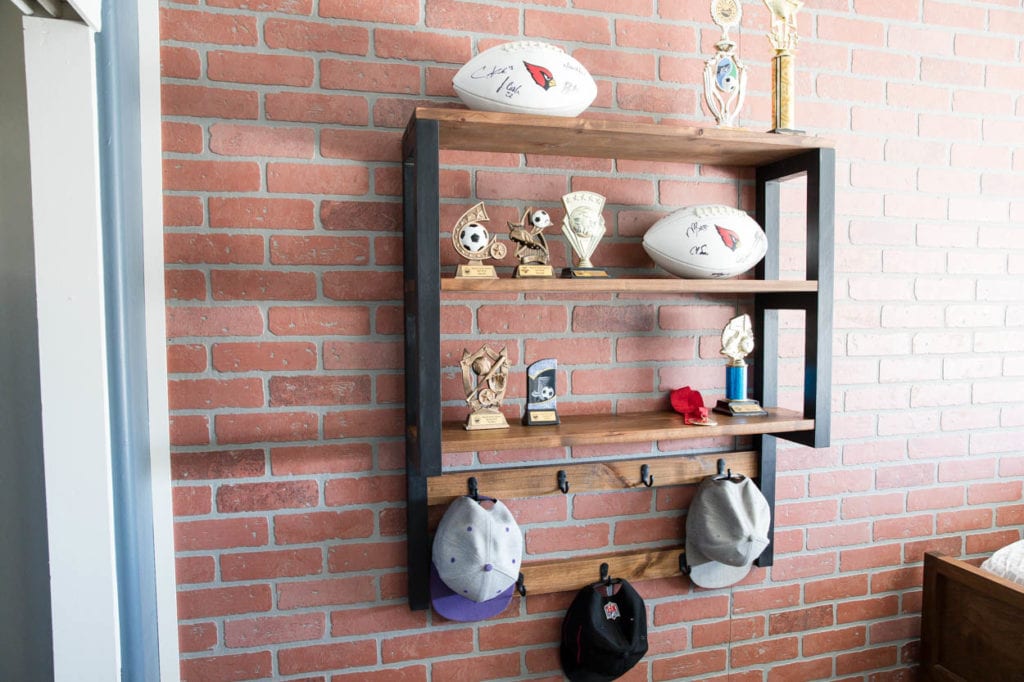
It’s the end of the month, which means it’s time for another DIY challenge! This month’s project them is multi-purpose projects. These are my favorite types of projects as you often get a little more bang for your buck when a project serves dual purposes. I’m partnering with DAP Products today to bring you the tutorial and video (coming soon) for this DIY trophy shelf with a hat rack. You can also find the projects for all of the other talented bloggers participating at the end of this post!
How To Build A Trophy Shelf and Hat Rack
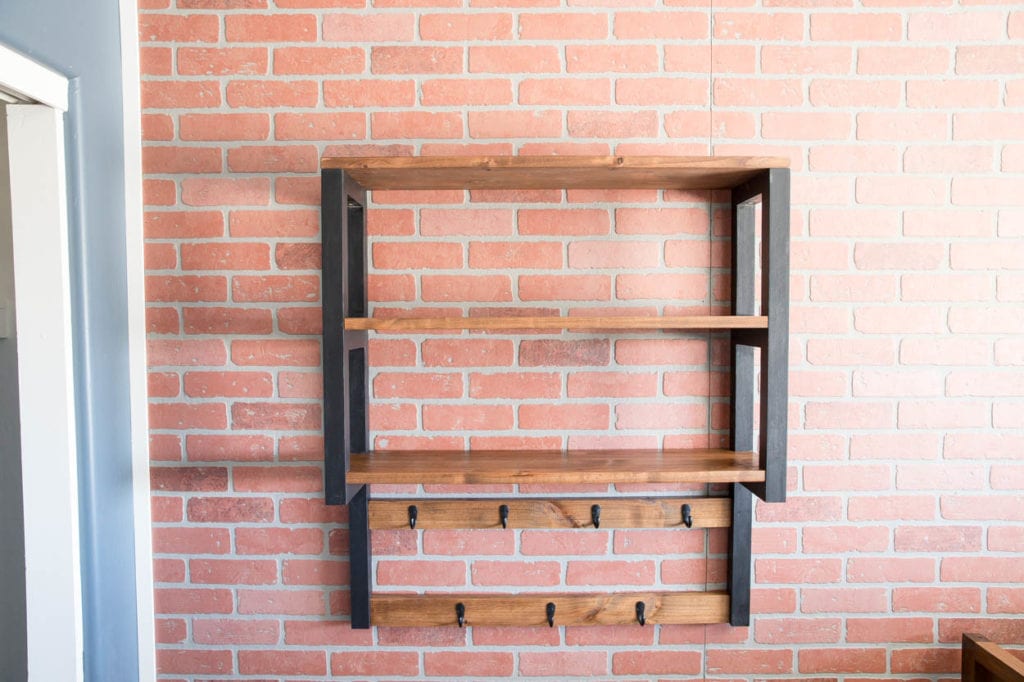
My youngest son has started growing his collection of hats and has been wanting a place to not only hang them but also wanting some shelves to display his sports trophies and medals. I decided that combining his two wants into one project would be a perfect use of space and materials.
Download the printable plans to get the full materials and cut list for this project as well as step by step diagrams.
Build The Frames
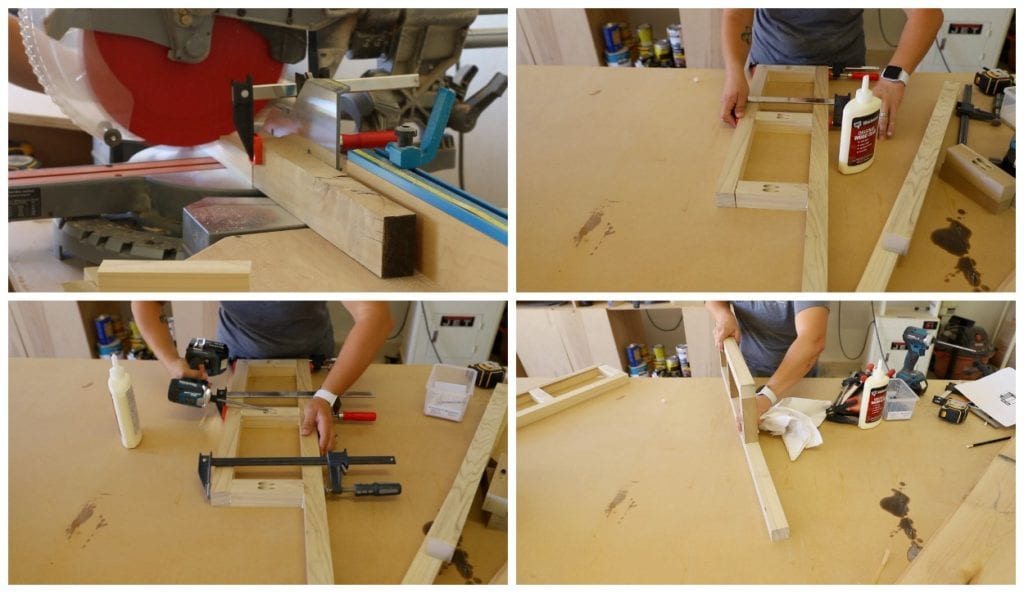
Cut the 2×2 pieces for the frames, drill pocket holes into the shelf supports, then begin assembling the frames. Use wood glue on each end of the shelf supports and then clamp in place. Attach with 2 1/2” pocket screws. Clean up any glue squeeze out with a rag.
Speaking of glue, I love using DAP wood glue for all of my projects. Now I love it even more with their new and improved bottles. The wide, beveled tip allows for even distribution of glue and the special cap ensures that you won’t be clogging up the tip with dried glue.
Build The Shelves
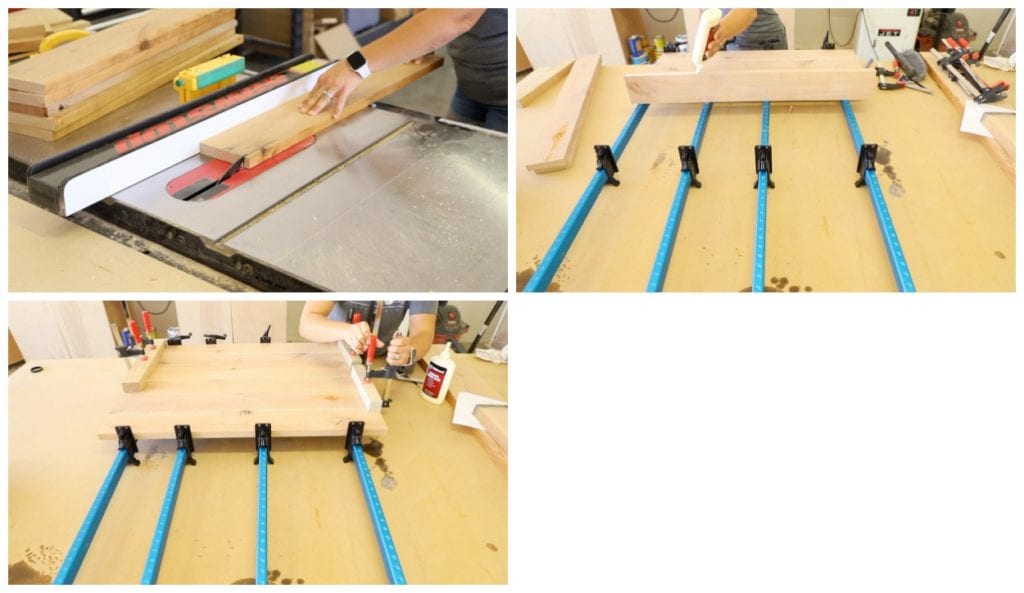
For the shelves, cut the boards down to 33”, then rip them down to 4 1/4” wide. Apply a bead of glue on the edge of one of the boards to make up a shelf. Set a clean board against the glued edge and clamp together. I didn’t have enough clamps, so I glued up all three shelves at the same time with the same set of clamps.
Fill the pocket holes
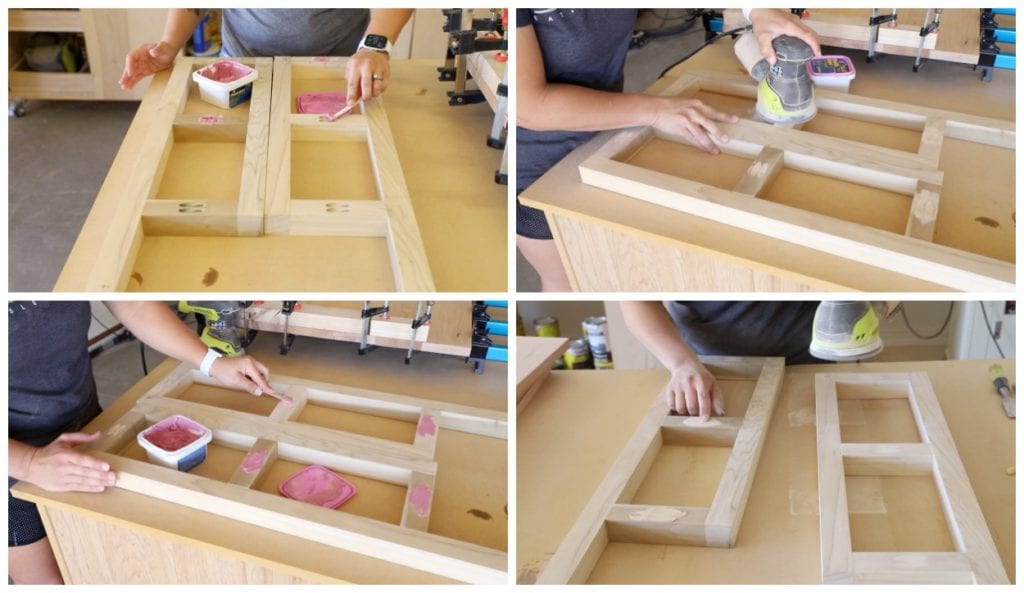
I’ll be painting the frames, so I wanted to fill the pocket holes so that they’d be completely hidden. I used DAP PlasticWood-X wood filler to do so. With deep holes like this, the wood filler needs to be applied in coats. I applied the first coat and sanded it down when it was dry.
I applied a second coat and made sure the pocket holes were completely filled. I then sanded down the filled holes again. What I love about PlasticWood-X wood filler is that it starts out pink and dries to a natural color. This made it easy for me to notice that my wood filler wasn’t completely dry yet as I was sanding the second coat. I set it aside and let it dry, then finished sanding.
Paint the frames
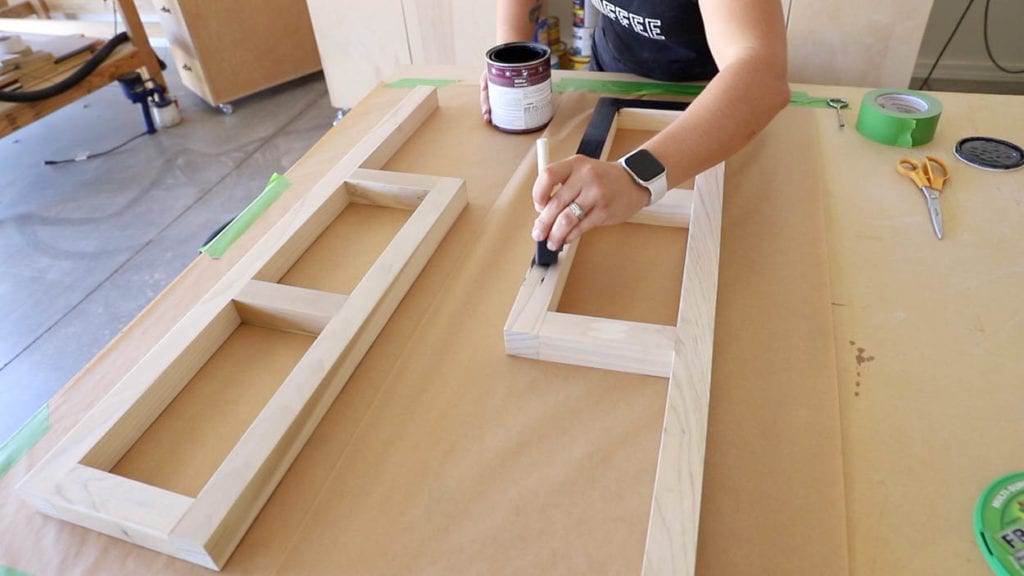
I wanted the frames to look almost like metal, so I painted them with two coats of matte black paint.
Finish The Shelves
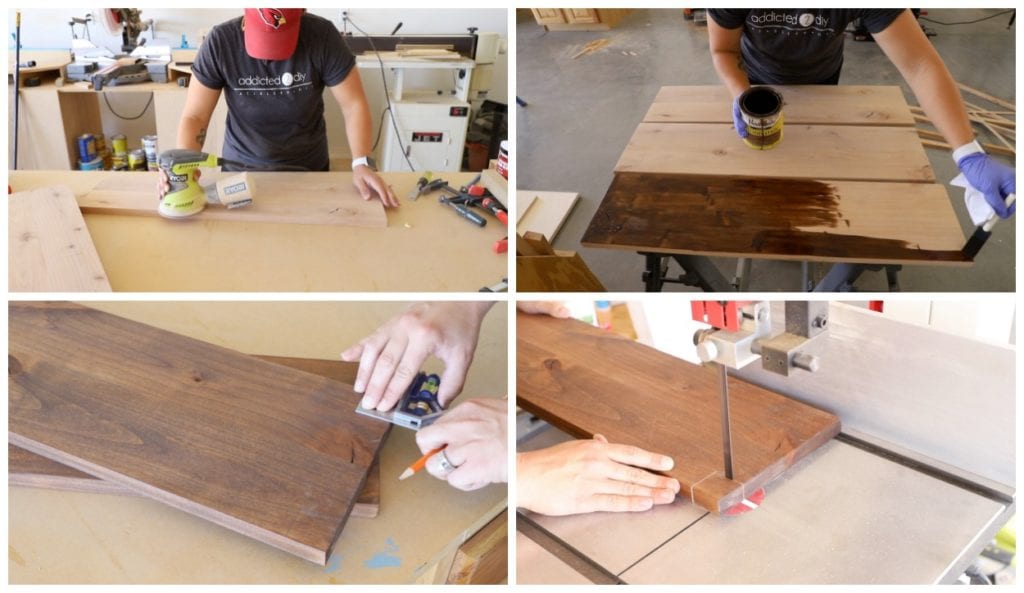
Once the shelves are dry, sand them down with a belt sander, followed by 220 grit sandpaper. I got a little ahead of myself and stained the shelves before notching the corners. Two of the shelves will have 1 1/2” x 1 1/2” notches cut out of each corner. You can do this with a bandsaw or a jigsaw.
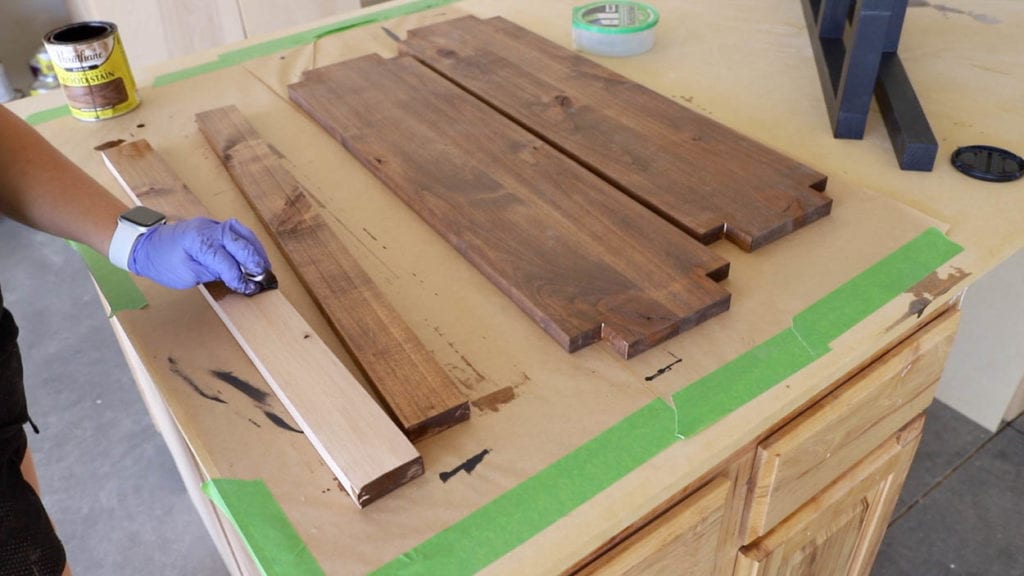
Cut the backers for the hat rack and drill 3/4” pocket holes into each end. I stained the backers and let them dry, then finished all of the pieces with two coats of wipe on polyurethane.
Router keyhole slots
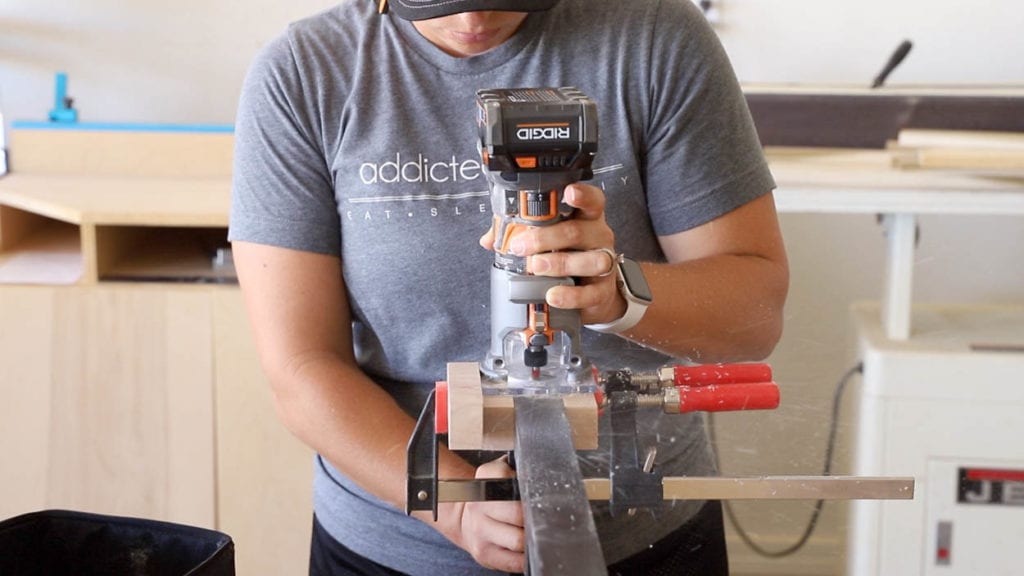
To hang the shelf unit flush on the wall, a keyhole is best. I used a keyhole bit on my compact router for the keyhole slots. I set up a fence with some scrap wood to make sure the slots were straight and marked my start and end points.
Attach the shelves to the frame
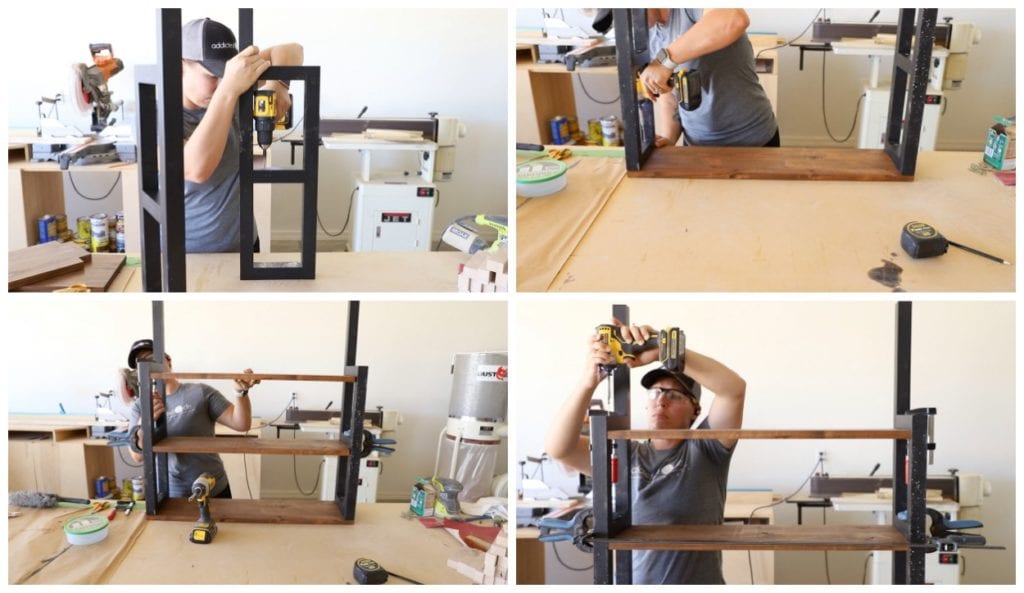
Drill two 3/32” countersunk pilot holes into the underside of each of the shelf supports. Attach the top shelf first with 2” wood screws. Clamp the middle and bottom shelves in place, then attach with 2” wood screws.
Attach the hat backer and hooks
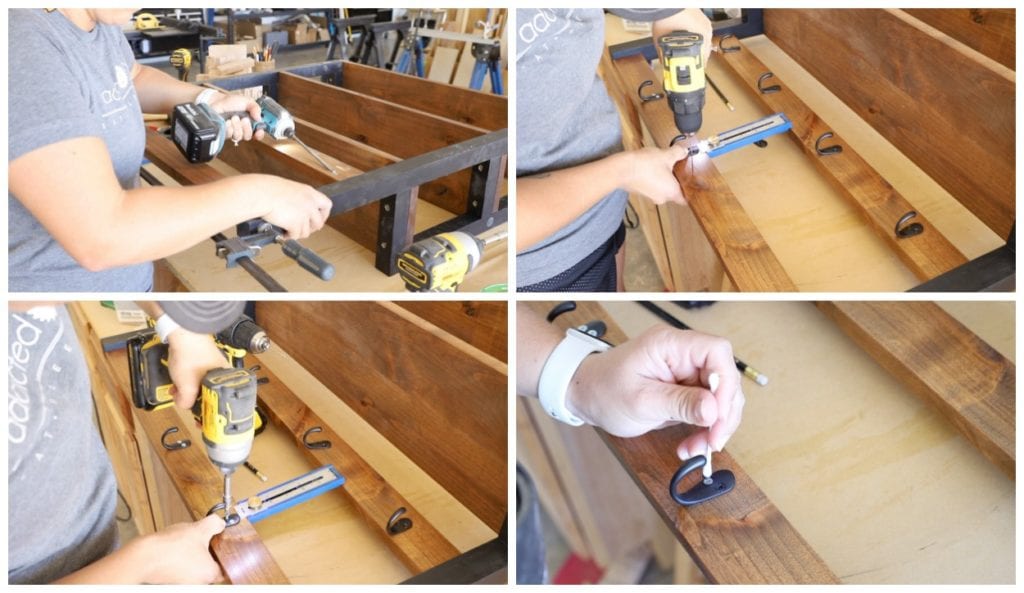
Clamp the backer boards for the hat rack in place and attach with 1 1/4” pocket screws. Measure and place the hooks, drill 1/16” pilot holes then attach with 3/4” screws. The hooks I purchased for this were too long, so I had to purchase 3/4” #6 screws to attach them. They don’t come in black, so I used a Q-tip to paint dab black paint onto the screw heads after I drove them in.
Hang the shelves on the wall

To hang the shelves on the wall, determine the height you’d like it hung. We have 8’ ceilings and I hung the shelf unit 19 1/2” from the top of the shelf to the ceiling. I measured and marked where the screws would go into the wall and drilled 3/16” pilot holes, then drove 1 1/2” Wall Dog Screw Anchors into the wall. I left them out of the wall about 1/4” and hung the shelf unit on them with the keyhole slots.
Trophy Shelf and Hat Rack
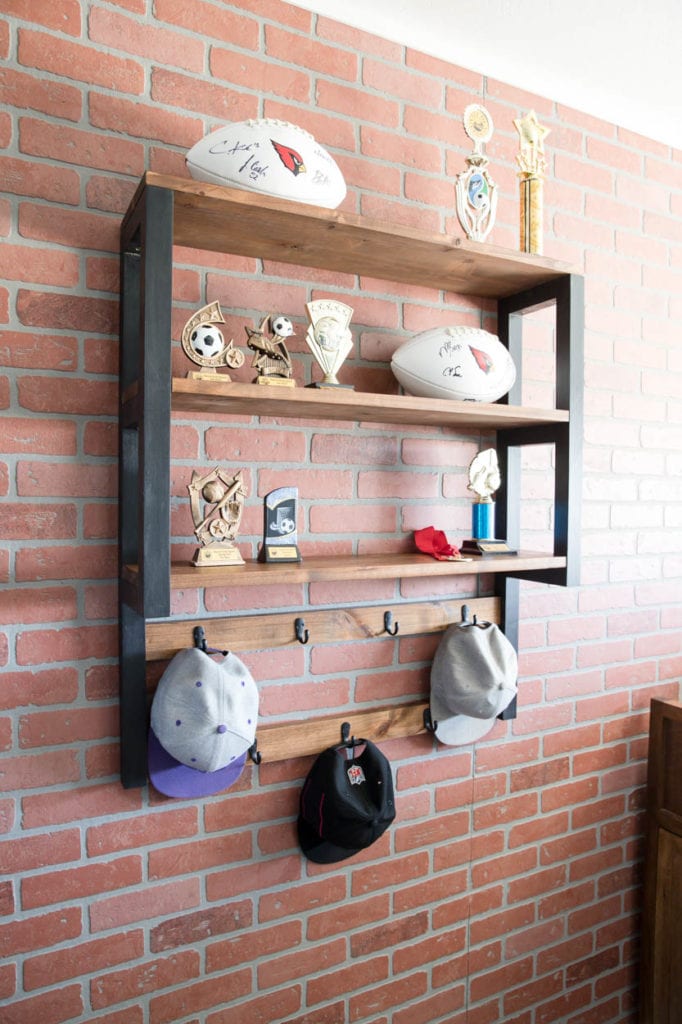
I loaded the shelves up with his trophies and autographed footballs as well as his hats. I love the look of this shelf unit so much against his brick paneled wall!
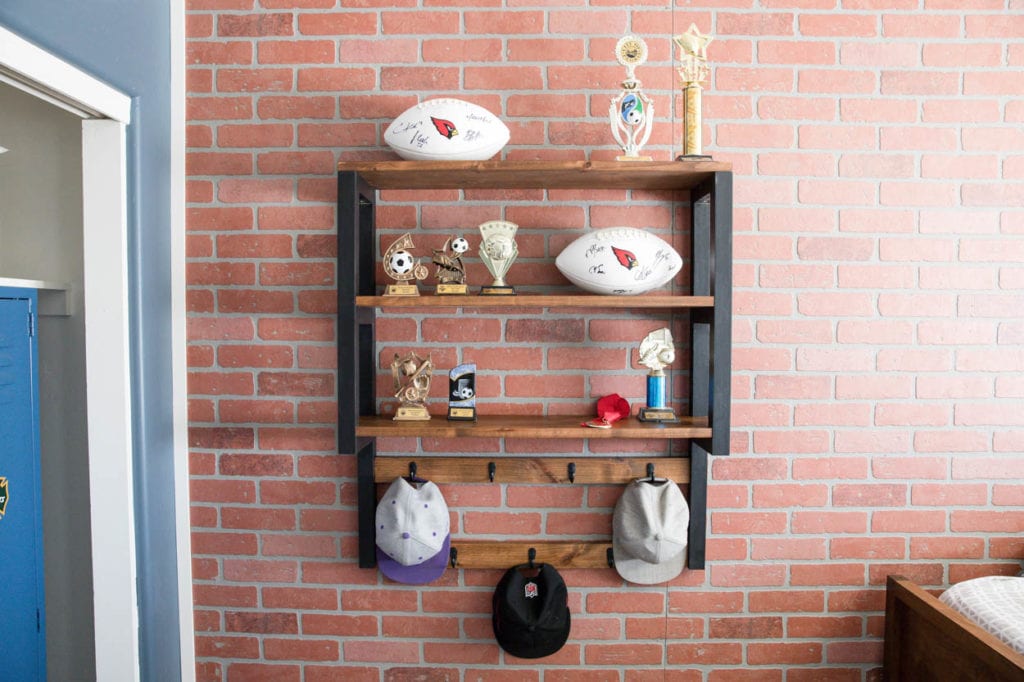
Honestly, this trophy shelf project started out as something totally different. I had an idea for the hat rack portion of it and talked myself out of it, but I’m definitely glad I did! I love this look so much more! And once again, it serves two purposes of giving my son a place to display his trophies and a place to hang his hats. I love multi-purpose projects! For more projects, DEFINITELY make sure you check out the links of the other bloggers participating below!
DISCLOSURE: I was provided product and/or compensation for this post. All opinions and ideas are 100% my own.

Leave a Reply