
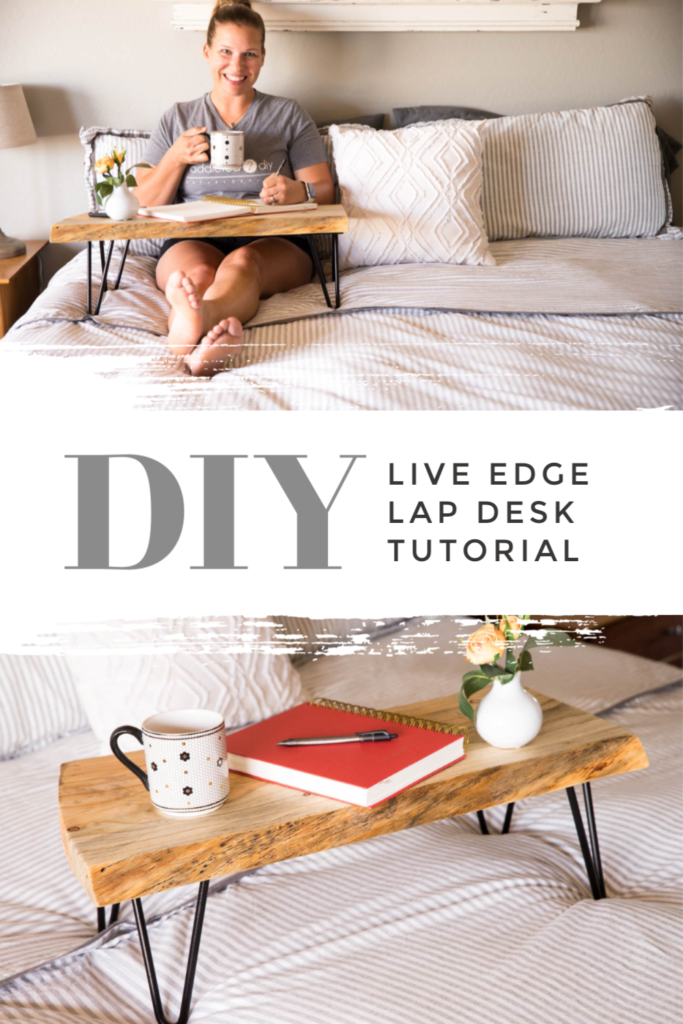
Build your own DIY lap desk from a live edge slab. This tutorial walks you through all of the steps so you can build your own lap desk and work from the comfiest spot in your home.
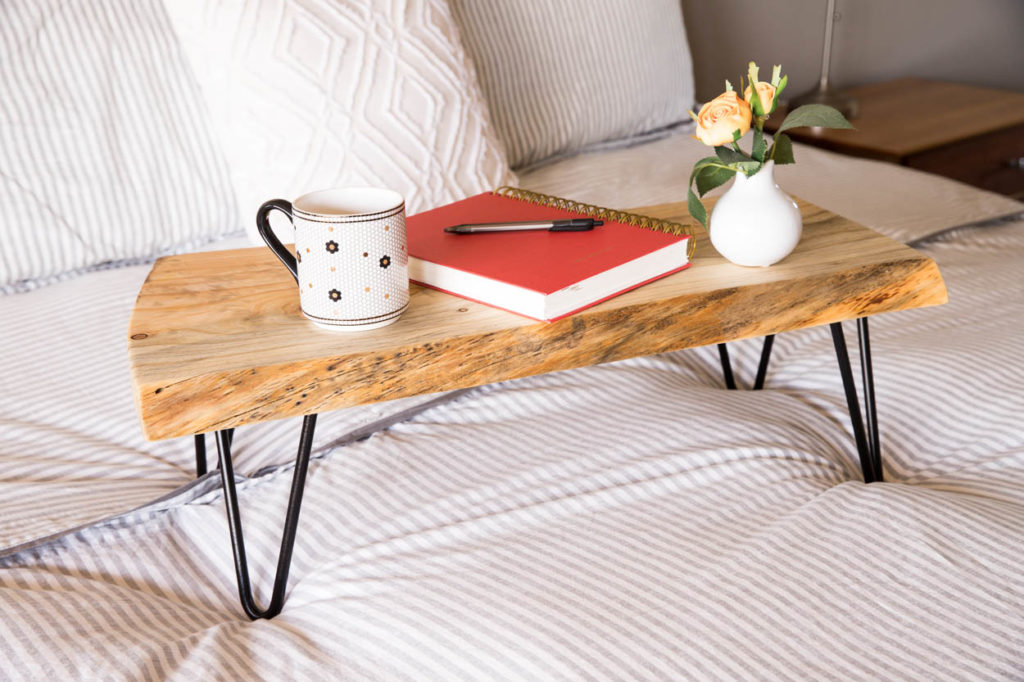
Do you ever find yourself working from bed? Either planning out your monthly calendar, typing up a last minute email, or even just scrolling through Pinterest? I definitely do and I’m partnering with the Home Depot today to show you how to make this DIY lap desk (aka BESK!).
Yes, I’m sure that’s not a real word, but it’s a desk that you use in bed, so what else would it be called? This project is such a simple project, but I love how unique it is and the character of a live edge slab of wood just can’t be beat!
Watch The YouTube Tutorial
Materials For This Project
For this project you’ll need:
- 1 live edge slab
- 8″ hairpin legs
- chisel and mallet
- 80 grit sandpaper discs and belt
- orbital sander
- belt sander
- 220 grit sandpaper discs
- impact driver
- drill
- finish of choice (I used Walrus Oil Furniture Finish)
How To Choose A Live Edge Slab
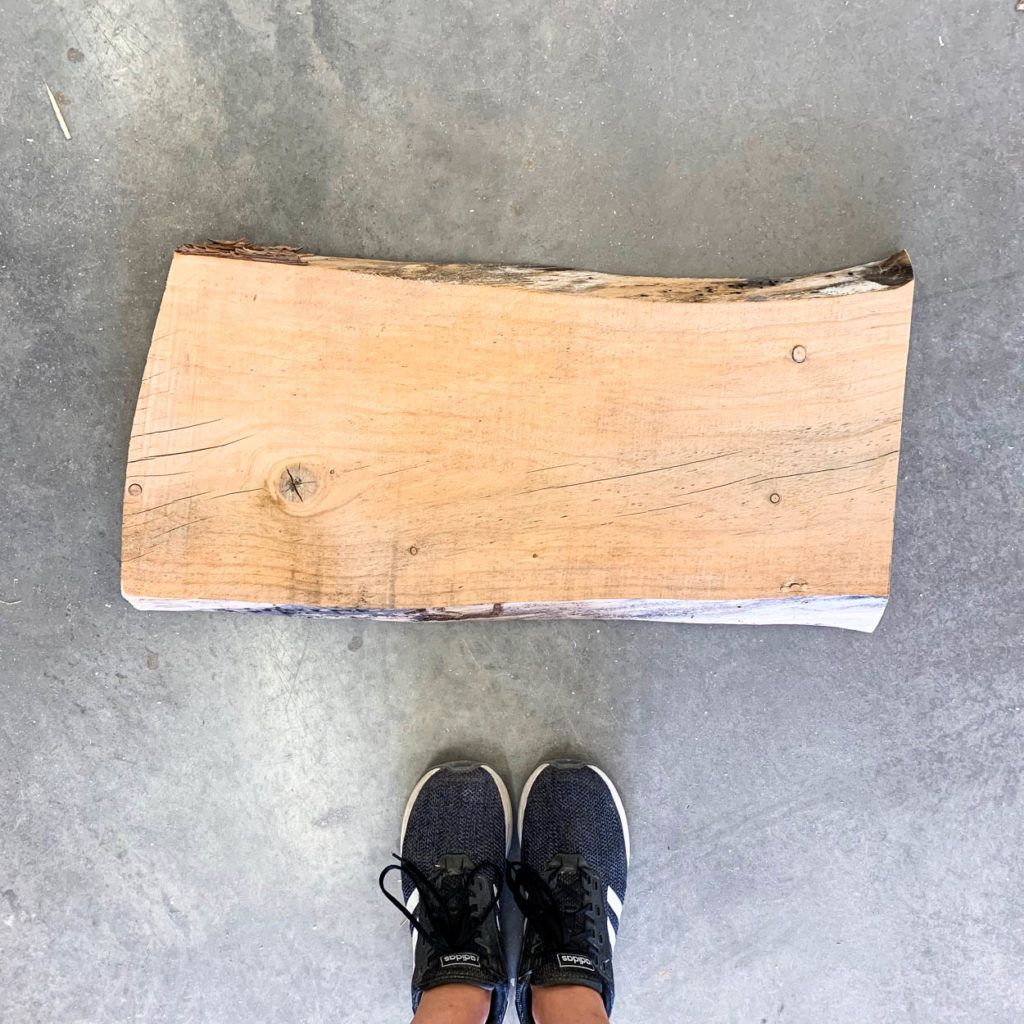
When choosing a live edge slab for this project, you want to take a few things into consideration. The slab should be wide enough and long enough to be comfortable to work at. Make sure the slab is thick enough to be sturdy, but not so thick that it weighs a ton.
The slab I found for this project is pine and was approximately 14″ wide and about 36″ long. The mill where I purchased it offered to cut the length down for me, which made it about 28″ long. The thickness was about 2″ prior to sanding it down. Cost will vary greatly depending on the species, size, and your location. To give you an idea, I paid $50 for this slab.
How To Prep Your Slab
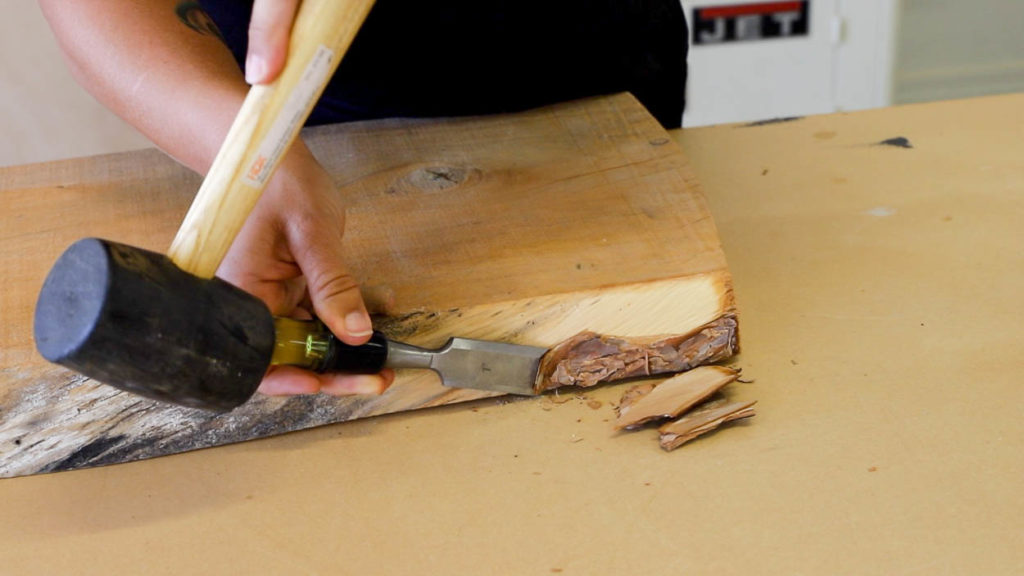
The first thing you want to do when you begin the project is remove any bark from your slab. Mine was pretty free of bark, but there was just a little bit on this corner that I was able to chisel away.
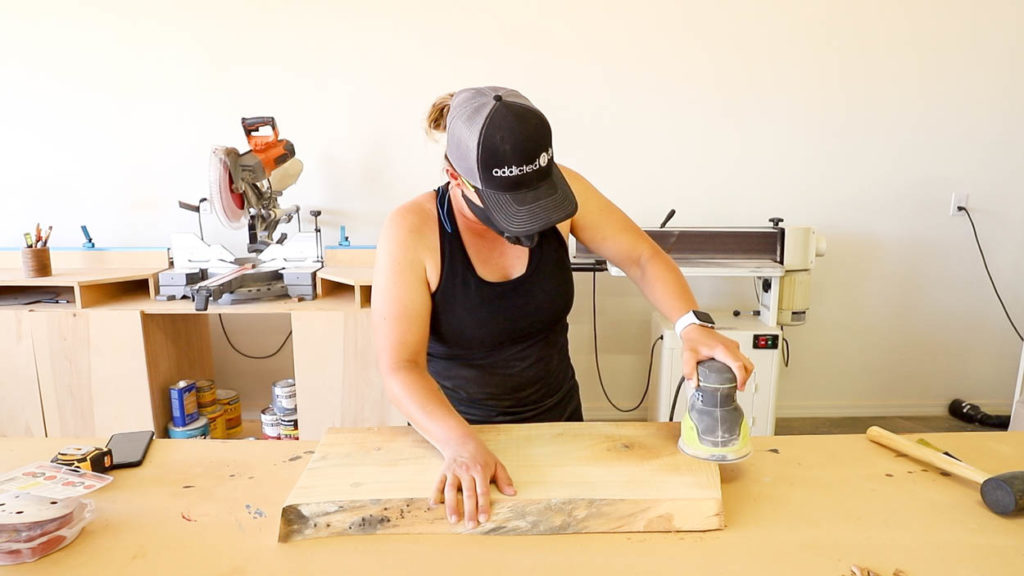
Once the bark has been removed, it’s time to sand it down. I started with my orbital sander and an 80 grit sanding disc. I sanded the entire slab on both sides as well as the edges.
How To Take The Twist Out Of A Board
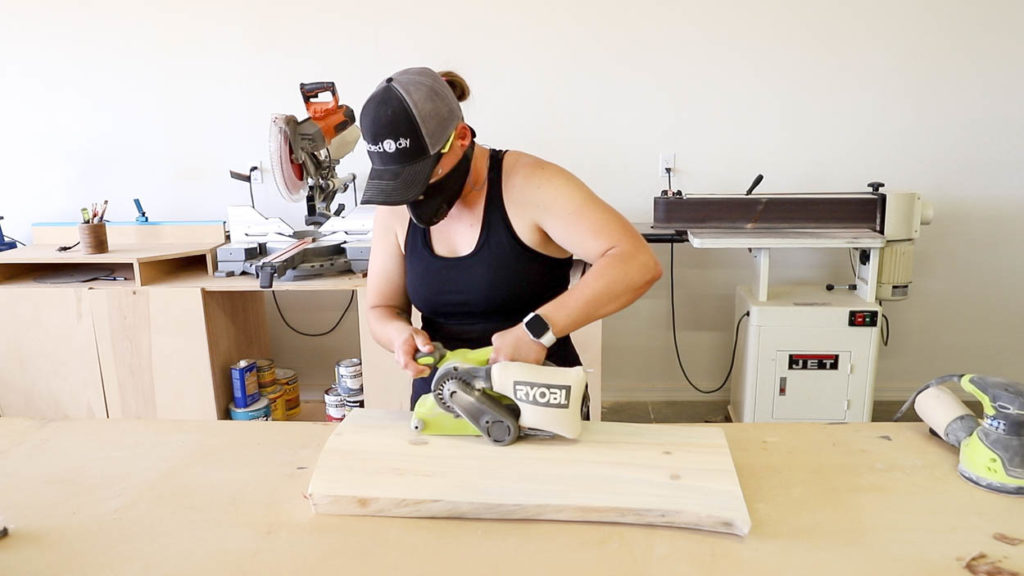
This slab had a little bit of a twist to it that I discovered as I began sanding it. There are a few ways to remedy this
- Use a hand planer (electric or old school) to remove the high spots and even out the surface.
- Use a belt sander with a coarse grit paper (80 grit or lower) to remove any high spots.
- Run it through a planer (if you have one big enough), shimming the opposite corners so that it does not have any wobble to it.
- Run it through a drum sander following the same steps as with a planer.
- Don’t purchase a board that has a twist in it;)
We purchased a drum sander earlier this year, so I started with that. It worked, but I could have gotten it done faster with my electric planer. I have yet to use it without leaving snipe in the wood, so I opted to just go with the drum sander and then the belt sander. There was still a little bit of wobble in the slab, but it’s going on an uneven surface as it is. It wasn’t too much of a concern for me.
Once the slab was “good enough,” I sanded the entire thing down with 220 grit sandpaper.
How To Attach Hairpin Legs
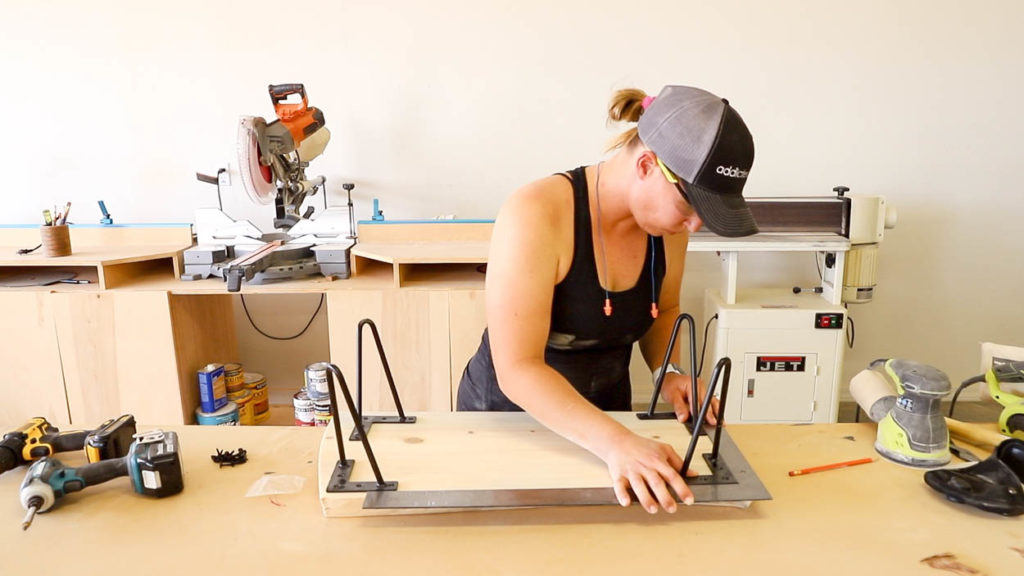
Hairpin legs are pretty easy to install, but the uneven edges of live edge slabs do make things a little more complicated. With the mill putting a straight edge on one side, it allowed me to line up the two legs on that end of the board. I used a framing square to get them in alignment.
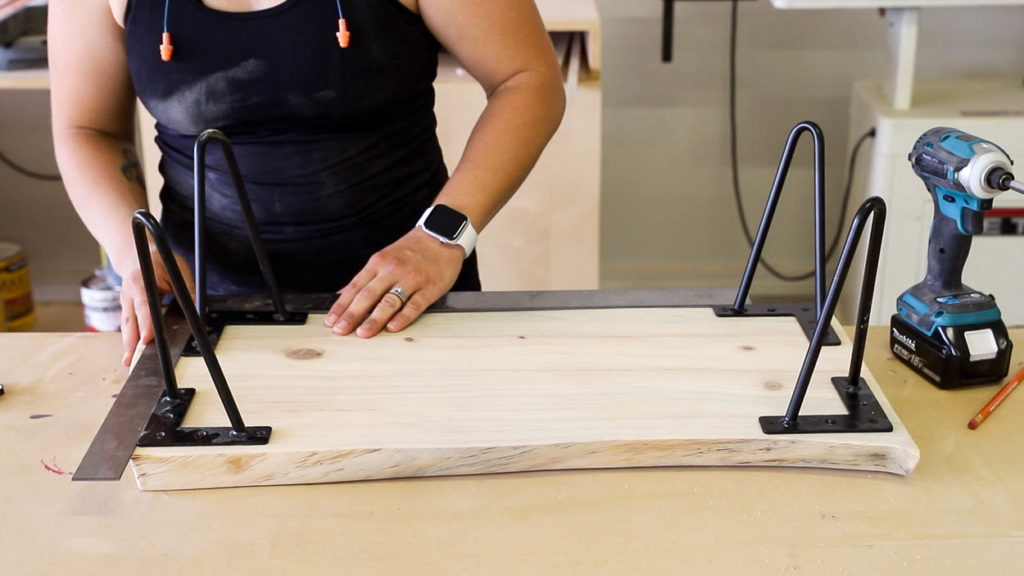
Once the first two legs were lined up, I made sure the legs on the other side were also positioned just right.
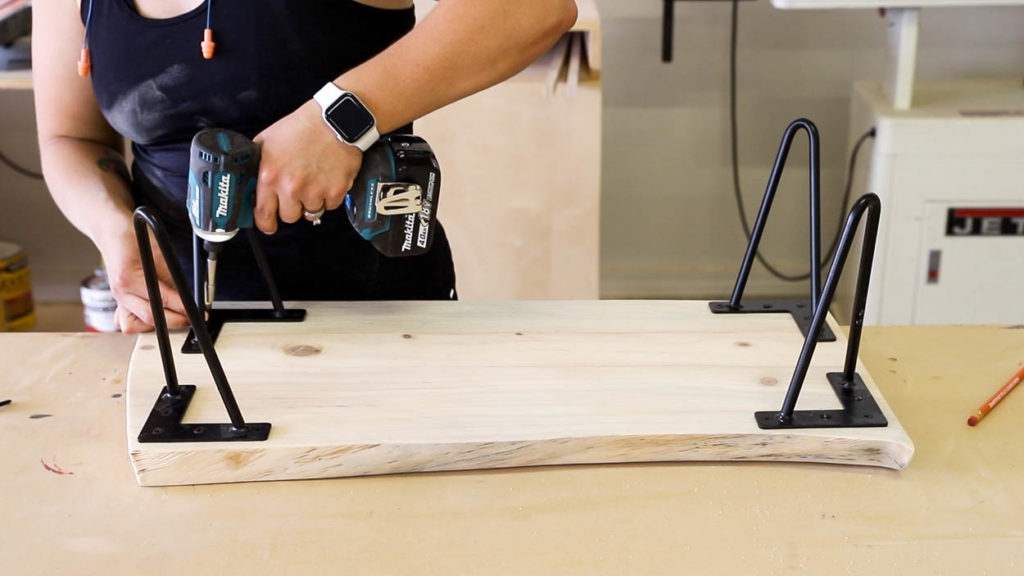
Once the legs were in position, I drilled pilot holes and attached them with the screws that came with the legs. I used my new Makita 18-volt 4 speed impact driver to attach the legs. I love the compact size of it, but the brushless motor doesn’t skimp at all on power.
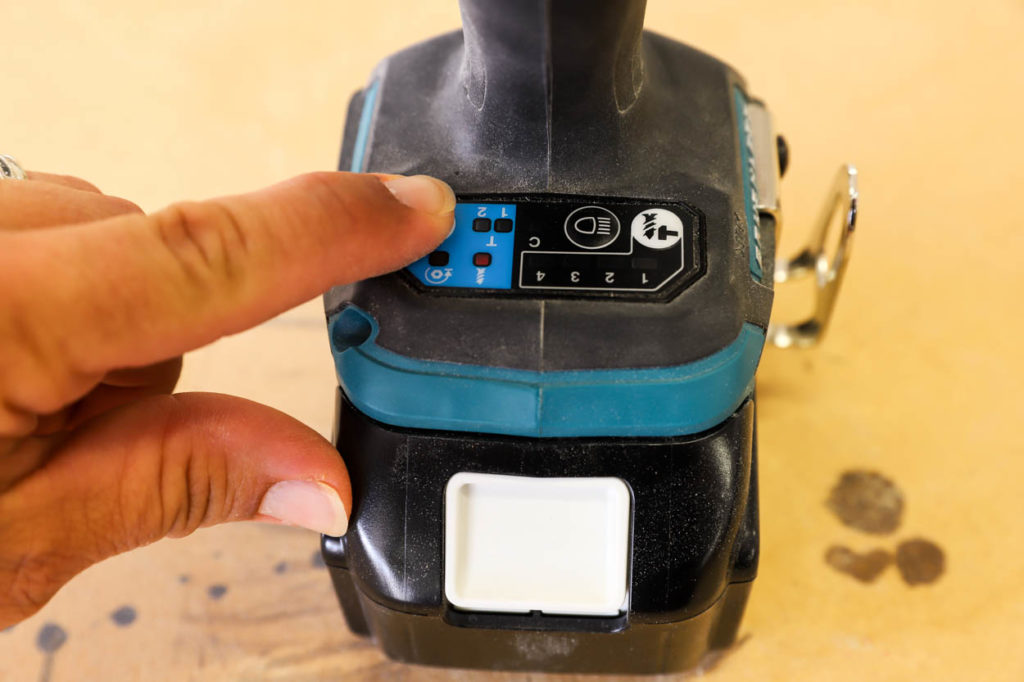
One of the really cool functions of this impact driver is that you can choose between four speeds, or you can set it to automatic and it will choose the best speed for the job you set it to. So for attaching the legs I set the auto setting to driving in screws and it chose the proper speed for me.
How To Finish A Live Edge Slab
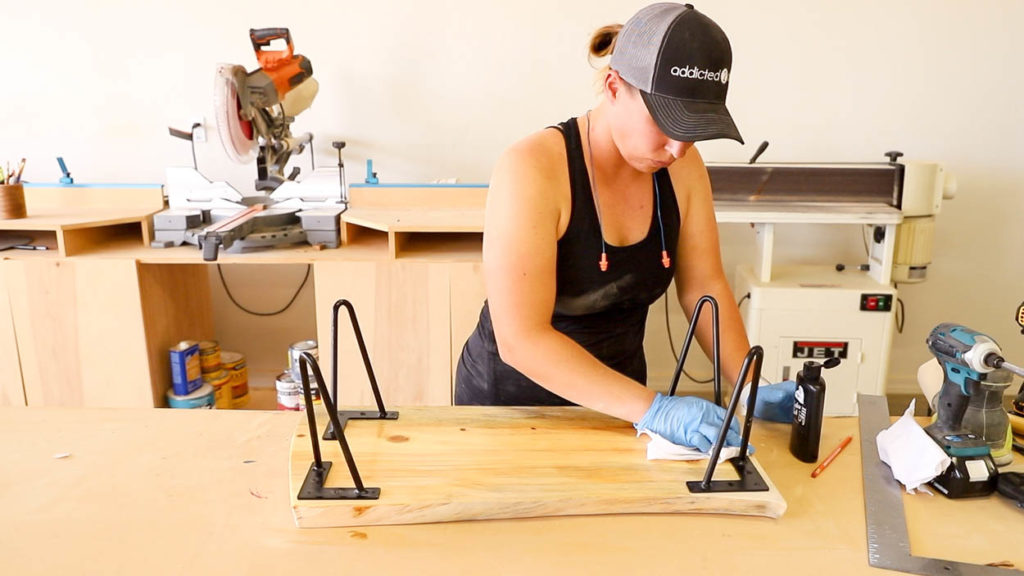
Clear all of the dust off of the slab once it has had its final sanding. I used my air compressor, then wiped it down with a clean cloth.
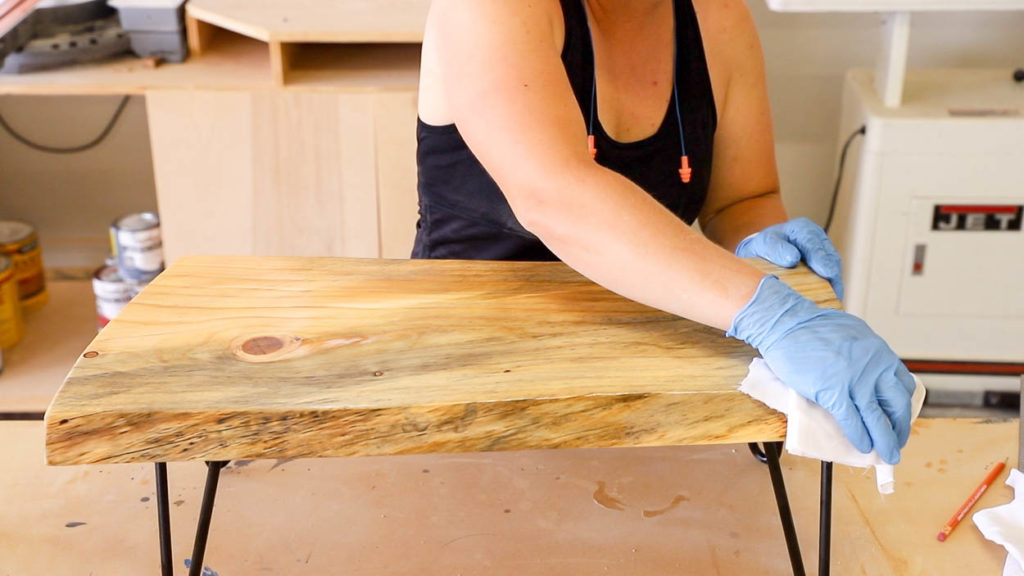
Apply the finish of your choice. This can be any type of stain and/or clear finish. I chose to leave the slab natural and added a coat of Walrus Oil Furniture Finish. It was my first time using this finish, but I really love how it turned out. Once it dried, it was a smooth matte finish and it fully cures after about four weeks.
Live Edge Lap Desk
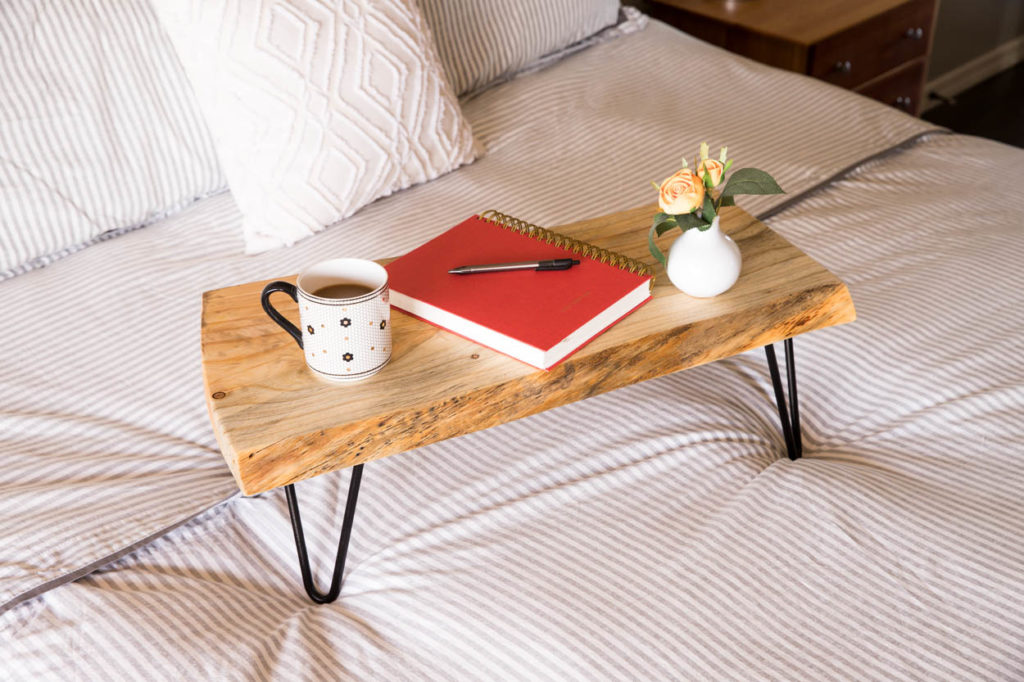

I absolutely love my new BESK! I’ve already gotten a ton of use out of it and even my husband used it and said he really likes it. Now I just need a coffee maker on my nightstand and I’ll never have to leave my bed!
If you’d like to build your own DIY lap desk, make sure to pin this to your projects board! Feel free to share it with others you know who love the idea of working from bed as well!
DISCLOSURE: I acknowledge that The Home Depot is partnering with me to participate in the promotional program described above (the “Program”). As part of the Program, I am receiving compensation in the form of products and services, for the purpose of promoting The Home Depot. All expressed opinions and experiences are my own words. My post complies with the Word Of Mouth Marketing Association (WOMMA) Ethics Code and applicable Federal Trade Commission guidelines.


Leave a Reply