
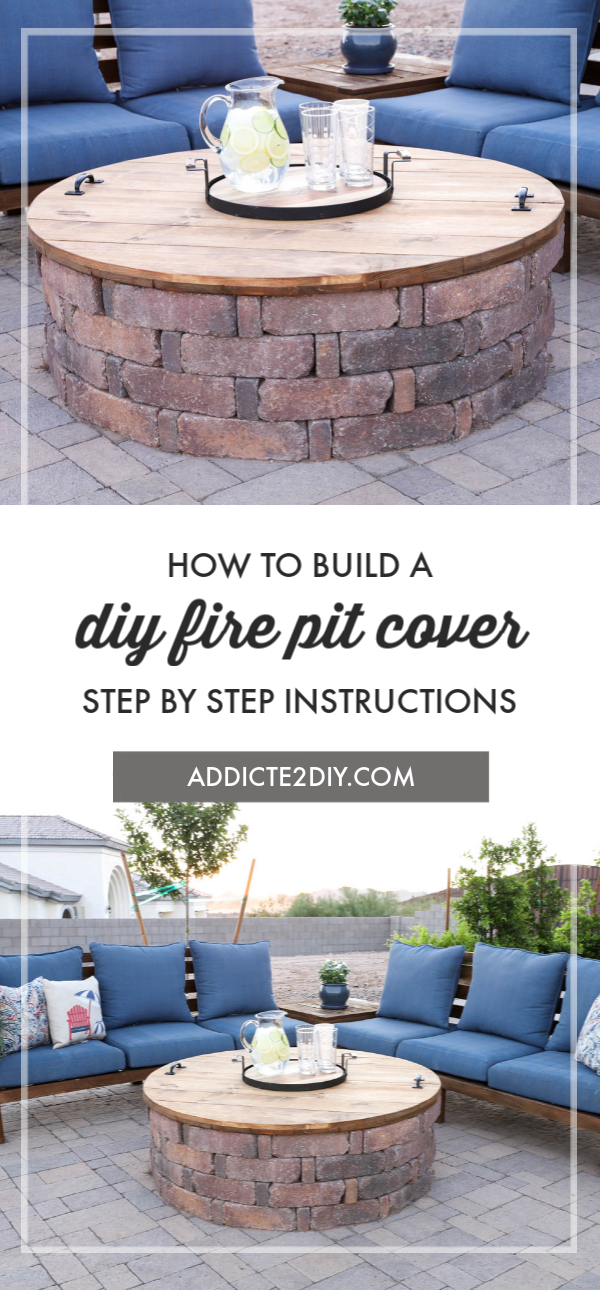
Learn how to turn your unused fire pit into a table with a DIY fire pit cover. This fire pit cover only uses a few tools and is a perfect project for beginners and experienced DIYers alike.
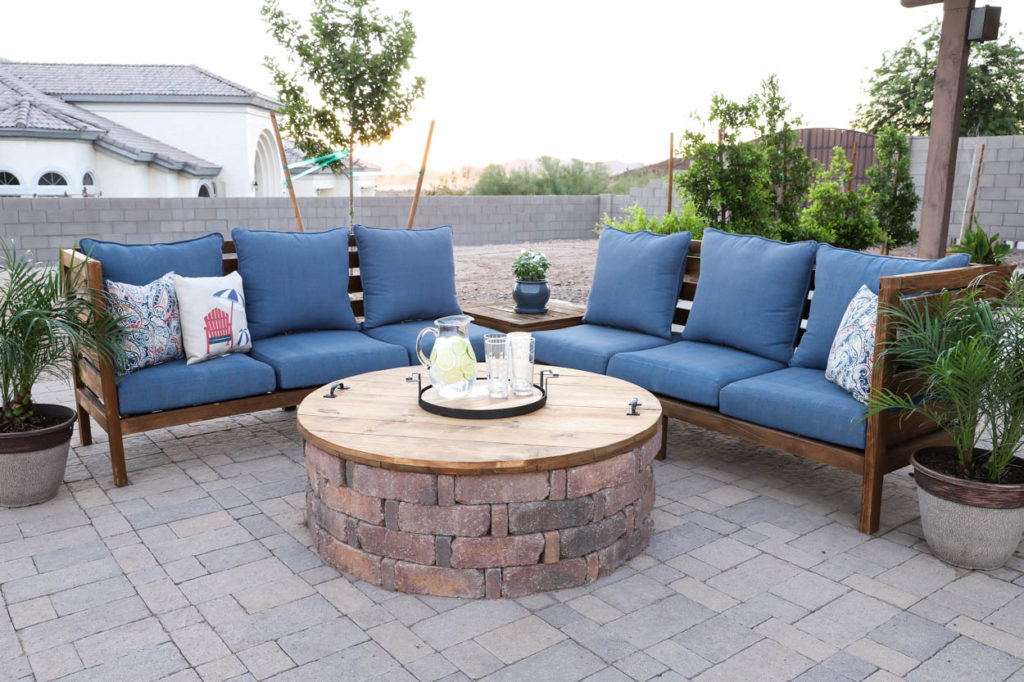
Several years ago we purchased stone from Home Depot to build a fire pit. With our summer temps being so hot, we never use it during the warmer months. I decided to building a cover for it would be a great way to still utilize the space. The fire pit cover converts it to a table top, which is awesome! That is, until our monsoon storms decided to blow it away and it broke into several pieces. I decided it was time to build a new one that was heavier, stronger, and could withstand our crazy summer storms.
How To Build A Fire Pit Cover
This fire pit cover is a great beginner project and only needs four simple power tools to build it. Below you’ll find what you need to build a cover for a 46 1/2″ round fire pit. All of these materials can be purchased from The Home Depot
- 6 – 1×6 boards at 8′ long (you can use pine or cedar)
- 2 – 1×8 boards at 6′ long (again, pine or cedar)
- 1 1/4″ outdoor deck screws
- wood glue
- 220 grit sandpaper
- outdoor stain (or paint)
- miter saw
- jigsaw
- orbital sander
- drill or impact driver
- hammer, nail, and string (for drawing your circle)
- tape measure
- pencil
Step 1:
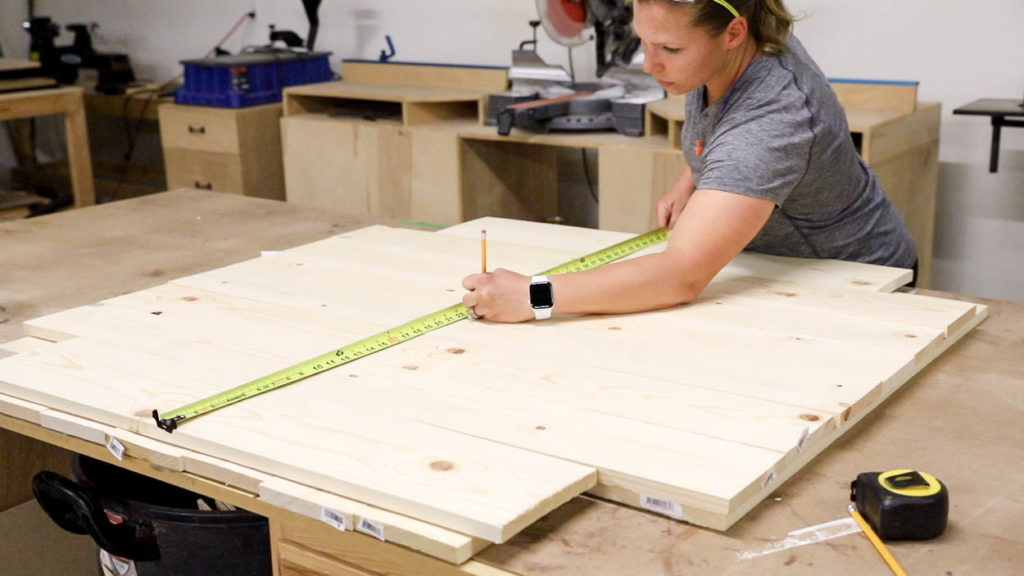
Cut all of the boards in half and stack them perpendicular to each other. This will create not only a heavy cover, but the perpendicular boards will make it extremely strong. Measure and mark the center of the boards for the circle. When doing this, be mindful of the locations of knots. Also know that the side facing up will ultimately become the bottom of the cover.
Step 2:
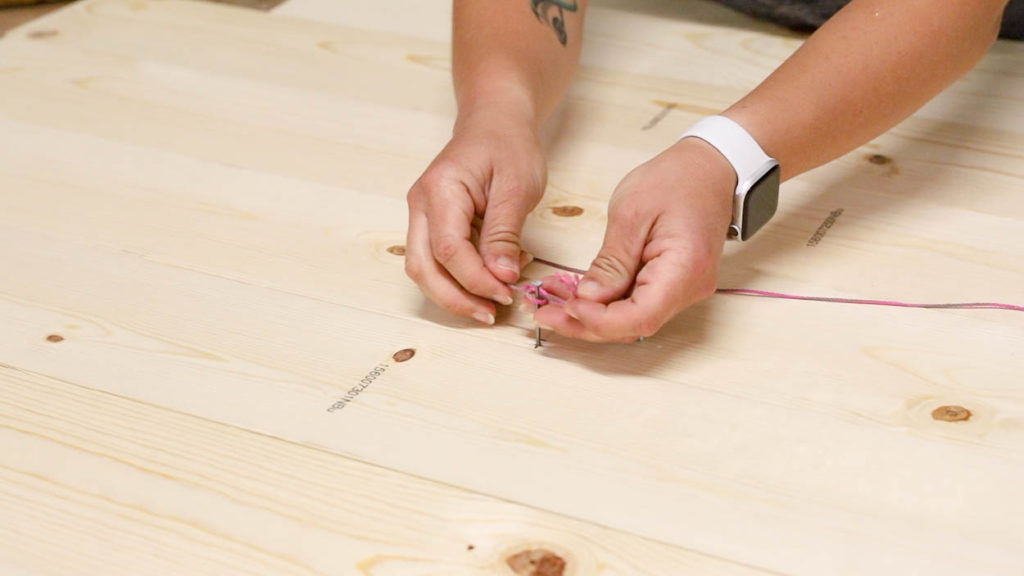
Tap a nail part way into the wood where you make your center mark. Tie a string to the nail.
Step 3:
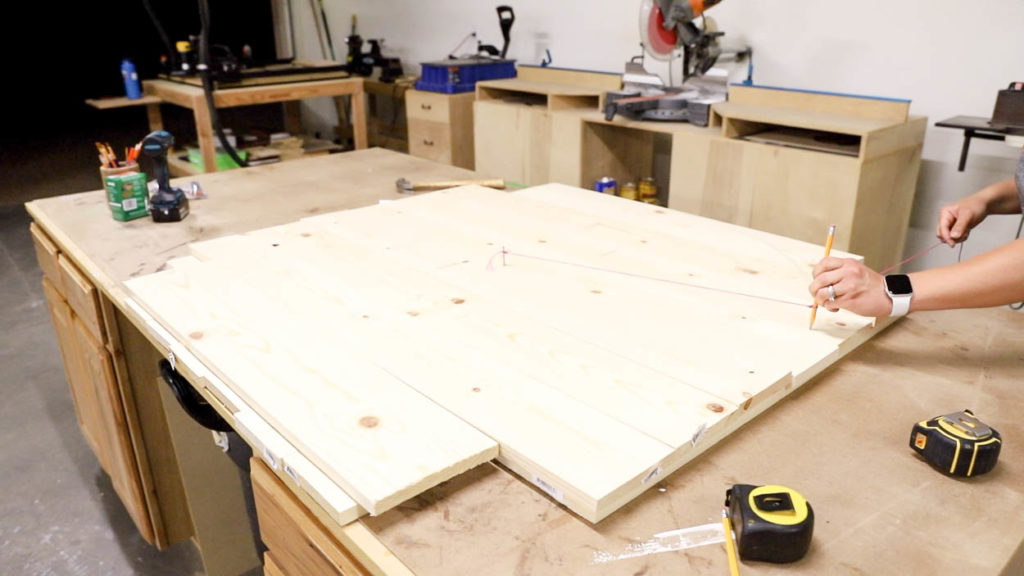
Measure and mark 23 1/2″ out from the nail and tie the string around your pencil so that it lines up with that mark. Use the string as a guide to draw a light circle. The wood is not secured yet, so if you pull too hard the boards will move. This circle is only to act as a guide right now to help with screw placement.
Step 4:
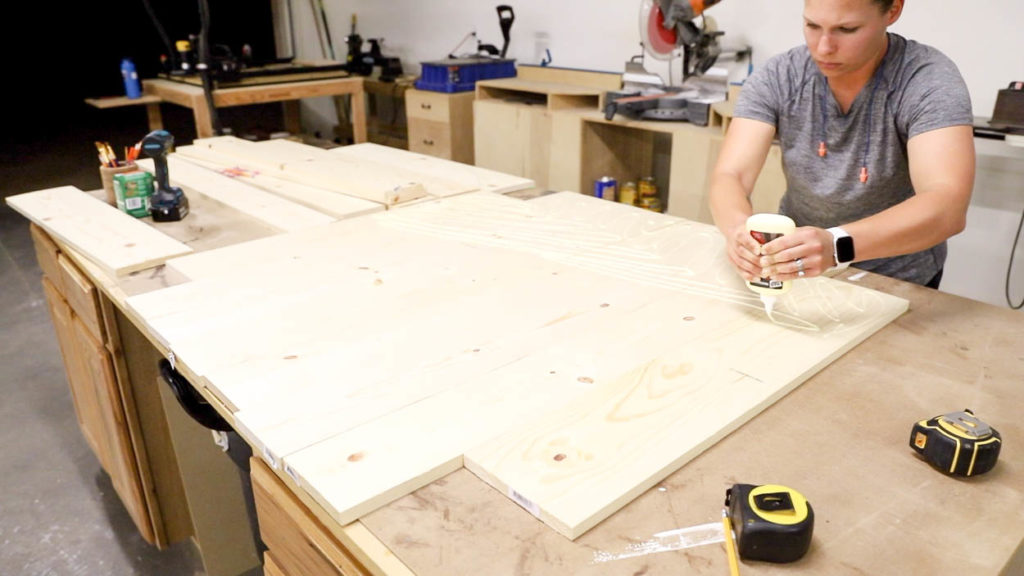
Take the top layer of boards off and set them aside in order. Squeeze wood glue over the entire surface of the bottom layer. Do this quickly so that the glue doesn’t begin to dry as you’re working.
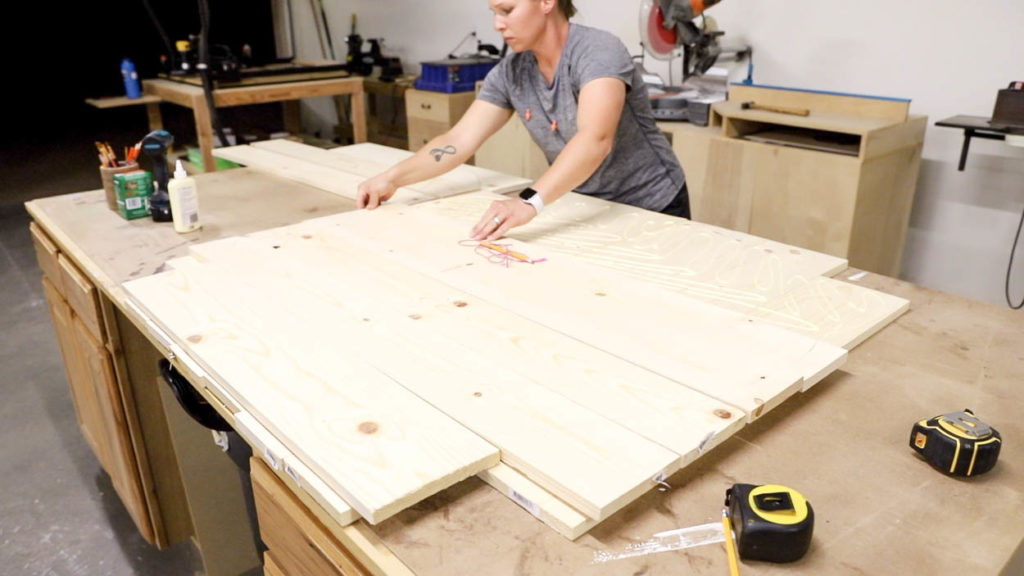
Place the top layer of boards back onto the bottom layer, making sure to keep the boards lined up and reforming the circle you just drew.
Step 5:
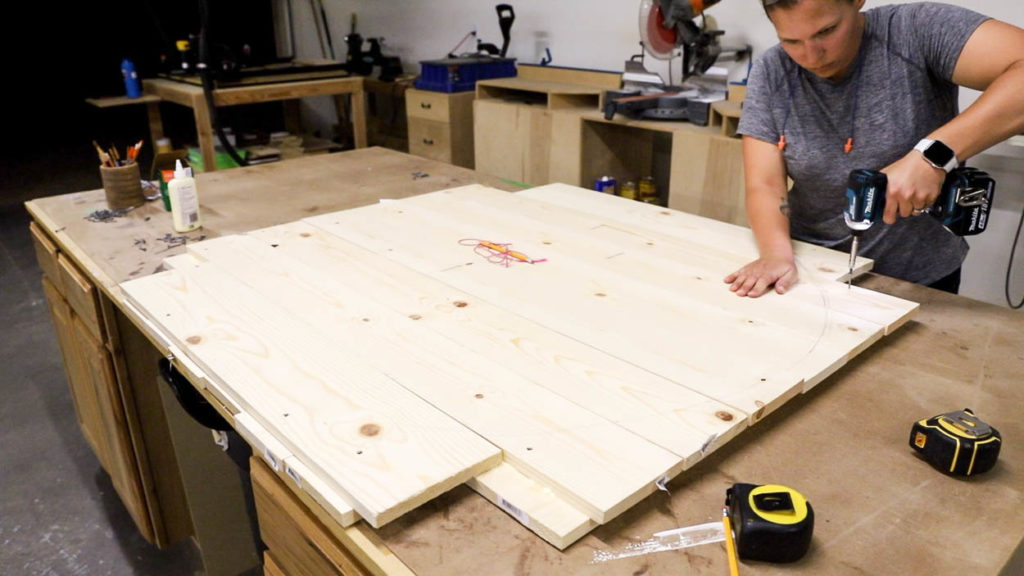
Screw the boards together with 1 1/4″ deck screws. Be sure to add screws to the outside of the circle as well as to the inside to secure all of the boards together tightly while the glue cures. Use the circle as a guide as you place your screws so that you do not risk cutting into any of them when the circle is cut, and also ensure you have enough close to the circle’s edge that the wood will hold together nicely.
Step 6:
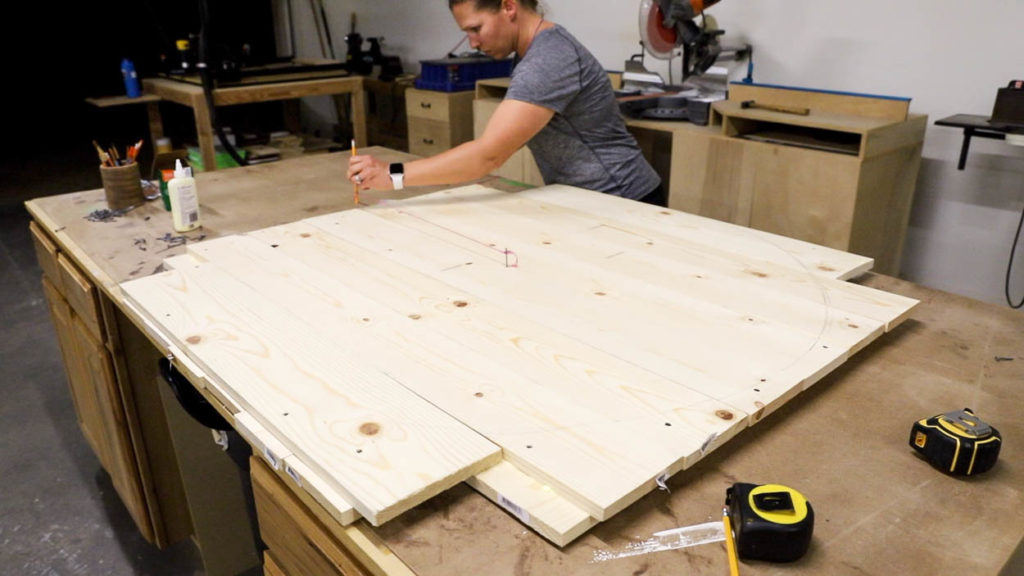
With the boards secured together, draw your final circle dark enough so that it is easy to see when you cut the circle out with the jigsaw.
Step 7:
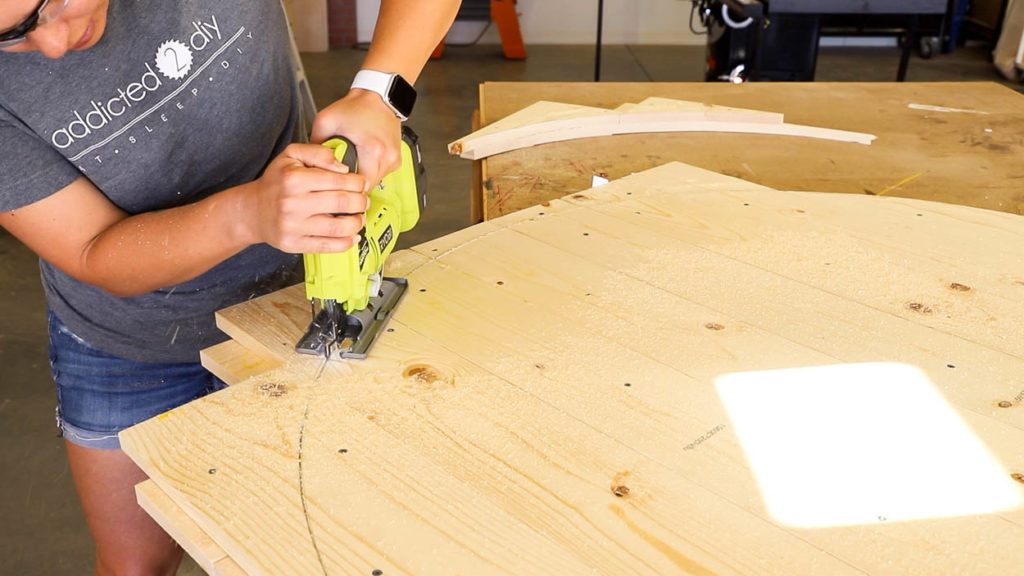
Allow the glue to cure for several hours. Use a jigsaw to follow the line and cut the circle out of the wood. Once the circle is cut, sand down each side as well as the edges with an orbital sander and 220 grit sandpaper.
Step 8:
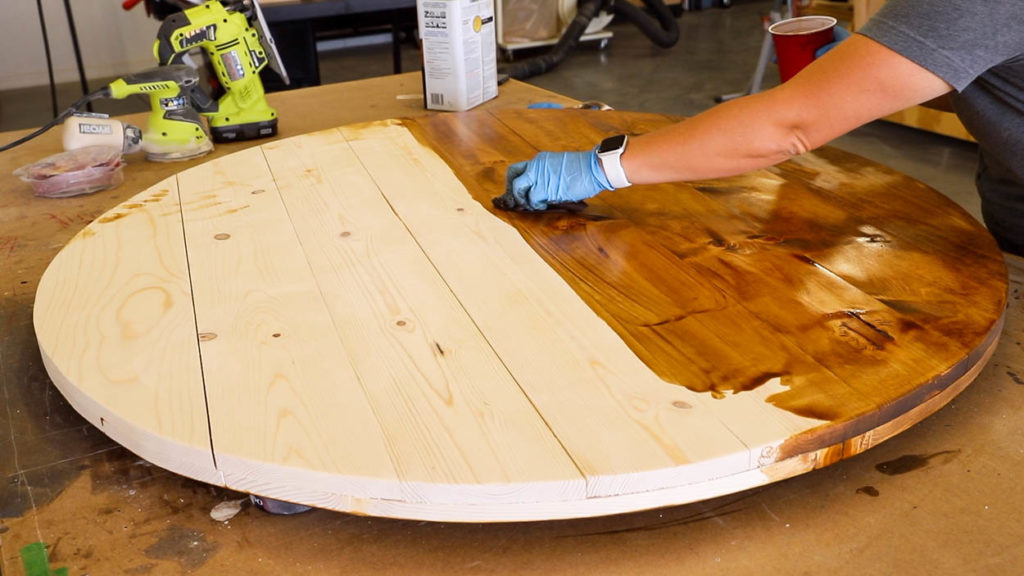
Protect your new fire pit cover with an outdoor finish or paint.
Step 9:
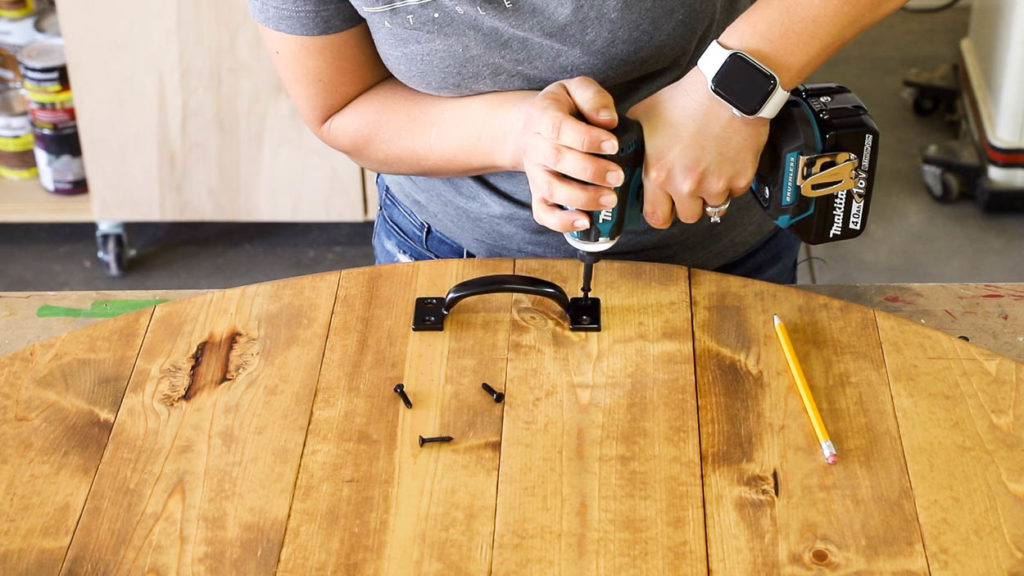
Attach handles to each end of your fire pit cover to allow for easy removal when you’re ready to use your fire pit again.
Enjoying Your New Fire Pit Cover
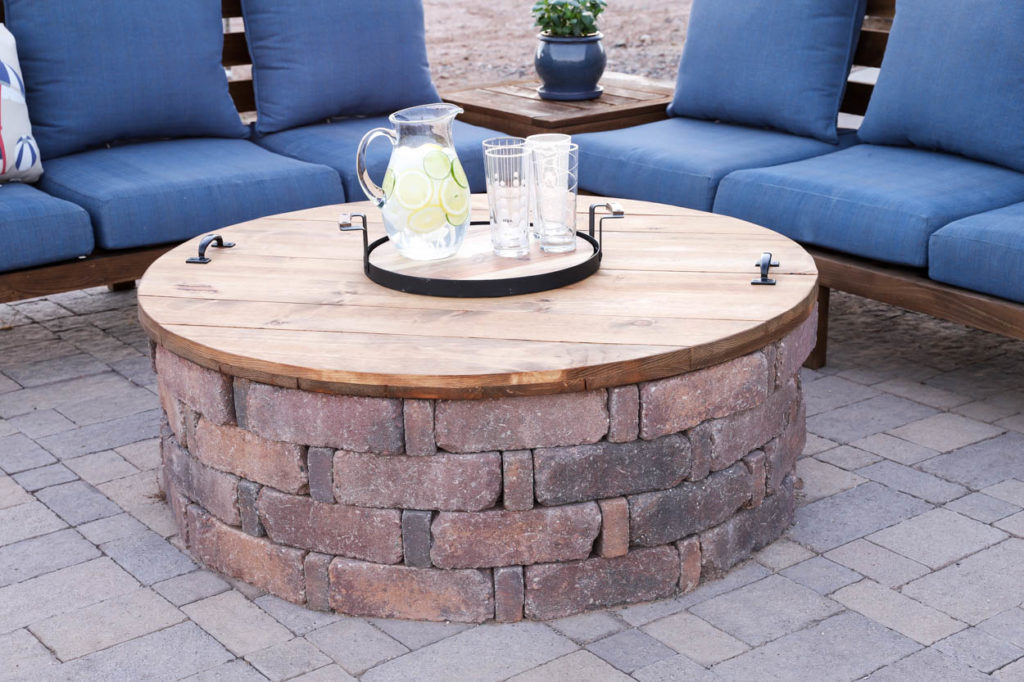
I love being able to have things that serve multiple purposes. Being able to use our fire pit as a table during the summer is so great. It gives us a place to play games or entertain guests.
Special thanks to The Home Depot for partnering with me on this project. If you would like to build a DIY fire pit yourself, be sure to pin this post for later. Also, to make your shopping easy, Home Depot offers store pickup! Place your order online for all of the materials needed for this project and they’ll have it all picked out and ready for you when you walk in the store!
DISCLOSURE: I acknowledge that The Home Depot is partnering with me to participate in the promotional program described above (the “Program”). As part of the Program, I am receiving compensation in the form of products and services, for the purpose of promoting The Home Depot. All expressed opinions and experiences are my own words. My post complies with the Word Of Mouth Marketing Association (WOMMA) Ethics Code and applicable Federal Trade Commission guidelines.

Do you have a tutorial for the fire-pit itself?
I don’t, but my husband purchased the “kit” from Home Depot. For the Pavestone pavers, they have project brochures that tell you how many of each size of paver you need for the project you’re working on. In this case, the fire pit.
What brand and color stain did you use?
Nice looking cover, cutting that thickness of wood with a jigsaw what blade did you use or do you prefer certain blades to use in your jigsaw?
I just used a standard wood blade for it. I haven’t really found a blade brand I prefer over another. Typically I use Bosch blades because I can easily buy them at Home Depot
What stain did you use? Love the color!
Are the “inside” screws just along the edge, or did you put some more toward the middle too?
TIA
Hi Rachel,
I used Thompson’s Waterseal Timber Oil for this, which I’m not sure is even sold in stores anymore. I used screws towards the middle as well:)
They have kits for the fireplace. I bought one and put it together in less then an hour. Now I will build this great cover.
How do you arrange the different sized boards? Meaning the 8 inch as opposed to the 6 inch. Love this look and want to get it right!
I arranged the 1×8 boards on the outside and the 1×6 boards make up the inside.
I’ve been looking for cover ideas, so thanks for this. Very nice.
For Amanda: I built this same pit. There is a kit, but you can get the specs from the brochure and buy all the required pavers. The other advantage to not buying the kit is that you can get a different insert if you want. I got the galvanized corrugated one from HD online. It got positive reviews and looks great, too.
This is a great tutorial! Thanks! My only suggestion is that we should have sealed the wood before gluing them all together. This way they could be sealed all the way around each piece of wood. I have found that water gets in between the creases and then gets into the wood from the inside. It is causing each board to want to cup and opens up each of the creases even wider than when it was first assembled. Other than that, I love it!!!
Do you have directions on how to build the seating?
Hi Tiffany,
I do! Here is the link to the post: https://addicted2diy.com/diy-outdoor-sectional-sofa-part-1-how-to-build-the-sofa/
Hello, Thank you for this tutorial. Very helpful. I’m wondering if I can use half of a 4X8 cedar plywood instead of stacking two levels of 1X8 boards. Would this not be too sturdy and or more prone to warping? Thank you in advance.
I wouldn’t recommend making this out of plywood. It would definitely be more prone to warping and the plys coming apart with being out in the elements.
Hi, the cover looks great! Question: Do you leave the screws in? I don’t see them in the pics.Thanks!
Thank you! Yes, I left the screws in. They are just on the underside of the cover.
This is absolutely beautiful! May I ask though, how do you prevent any water from leaking through the seams of the boards? I know wood can expand and contract in different temps and just wonder how no water gets through? Thank you!
It wasn’t really a concern for me as I live in Arizona and its a very dry climate here. My biggest issue with outdoor projects is sun versus rain.