Hey there, everyone! The day is finally here! The big reveal of our new modern farmhouse laundry room! It’s hard to believe the transformation that happened in the past few weeks. We’re exhausted, but the end result made all of the work so worth it.
I have wanted to do something to our laundry room for so long. It definitely wasn’t pretty, and I felt like there were ways to utilize the space differently. I’m so fortunate to have partnered with BLANCO on this project and share with you all that we did to transform this room from a hot mess to a beautiful, and more useful space.
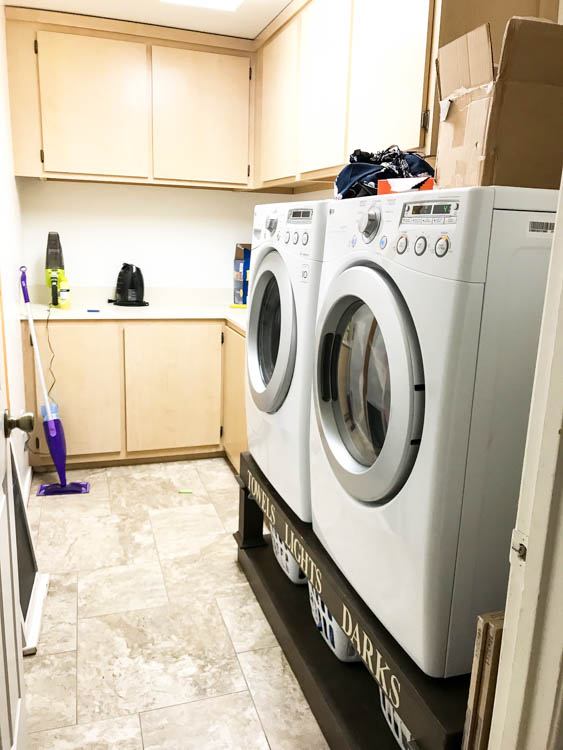
Here’s what our laundry room looked like before the remodel. It’s long, but very narrow. In fact, our washer and dryer stick out into the door casing and we can just barely close the door. The cabinets were the same particle board cabinets we have in our garage and were starting to fall apart. We built the laundry pedestal several years ago and it had served us well, but we’re actually ready to go back to a top load washing machine, so we are rehoming it and giving it to my aunt who has been wanting one.
The cabinets held a lot of stuff, but I knew the space could be utilized better. We don’t have any closets in our house, other than the bedrooms. No coat closets or linen closets, which means we have to get creative with storage. Our vacuum cleaner had no home, and usually sits in our bedroom, which gets a little old. I decided that gutting the room altogether and building new cabinets, including one tall enough for the vacuum cleaner would be exactly what we needed.
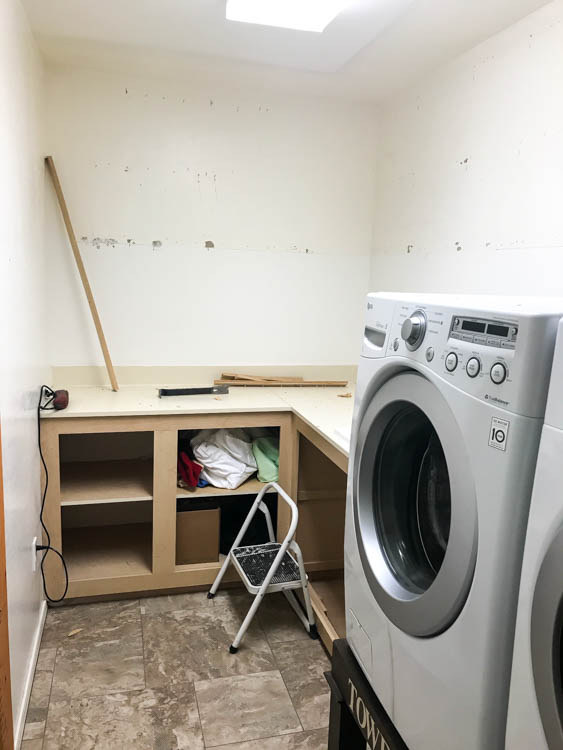

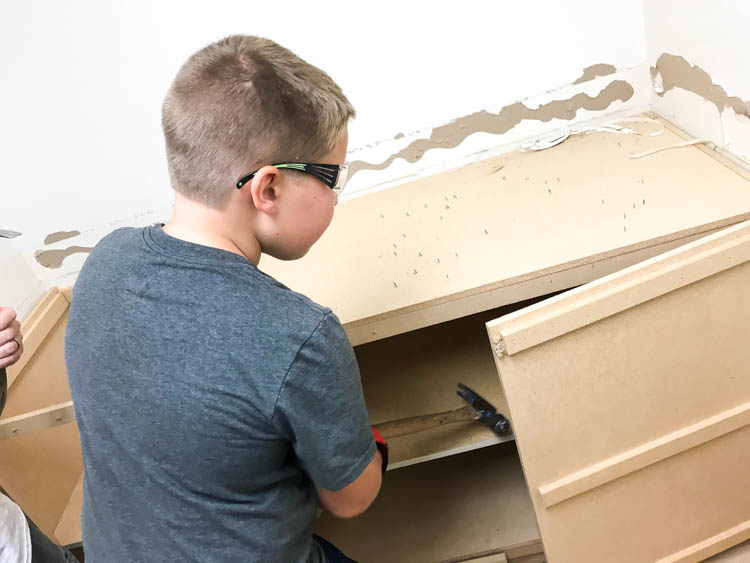
After a few hours quality family time (what boy doesn’t love to tear stuff up), we had the cabinets demoed and out of the room. We also took out the old baseboards. We’ve been slowly replacing all of the old 2″ baseboards with 3″, so it was the perfect time to work our way into the laundry room.
Once the old cabinets were out, it was time to get started building the new ones. I designed the plans for the cabinets (which I’ll be sharing soon) to include only one upper and lower cabinet, plus a single floor to ceiling cabinet. While it cut down on some storage space, I knew that we were actually filling those old cabinets with stuff the we had just accumulated over time and could very easily get rid of.
Once I finished building the boxes for the cabinets, we were ready to install them. The tile we had installed when we bought the house was put in against the old cabinets and somehow wasn’t completely square. We had to trim back the tile just a tiny bit to get the new cabinets to fit, but other than that, the upper and lower cabinets went in without a problem.
Unfortunately, I can’t say the same for the full-length cabinet. Somehow, I didn’t quite think things through when I was designing the plans and forgot that we have very tight corners to work around. We quickly realized this was not going to work at all, but thankfully, that’s what circular saws are for! I chopped the top off of the cabinet, right at the level of the shelf and then we put the pieces back together once inside the laundry room. You wouldn’t even know it when you look at it!
Once the cabinets were installed, we painted them as well as the walls. The cabinets were painted in Swiss Coffee and the walls are Mindful Grey.
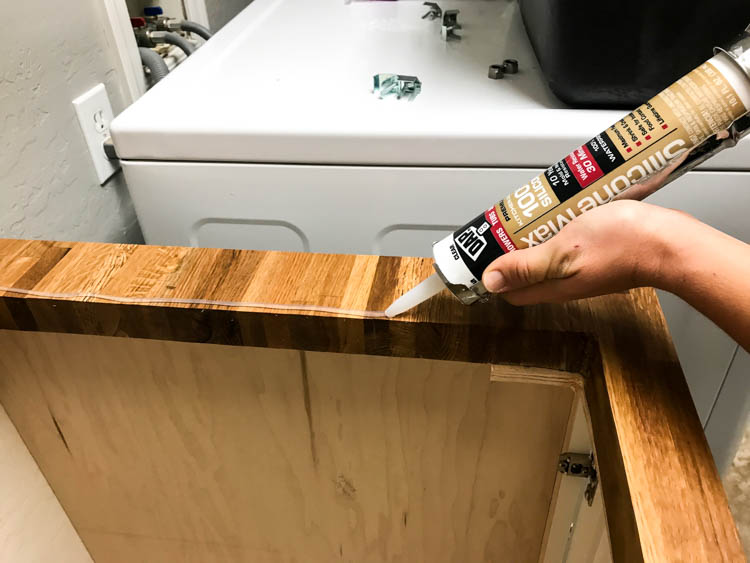
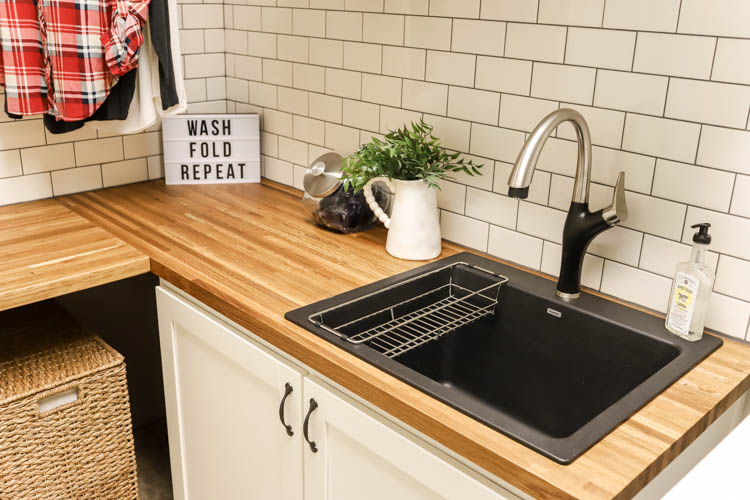
Once the painting was done, we installed an oak butcher block counter. I bought it at my local Floor & Decor and I knew it would complement the dark sink color perfectly.
I loved the subway tile I installed in the kitchen so much, that I decided it would also be perfect for the laundry room. There was a big debate between my husband and I over whether the tile should go all of the way up the wall in the back corner, or if it should stop at the level of the upper cabinet. Eventually, my husband came around and I took it the whole way up the wall.
Once the subway tile was in, I sealed the countertop, and we installed the sink and faucet.
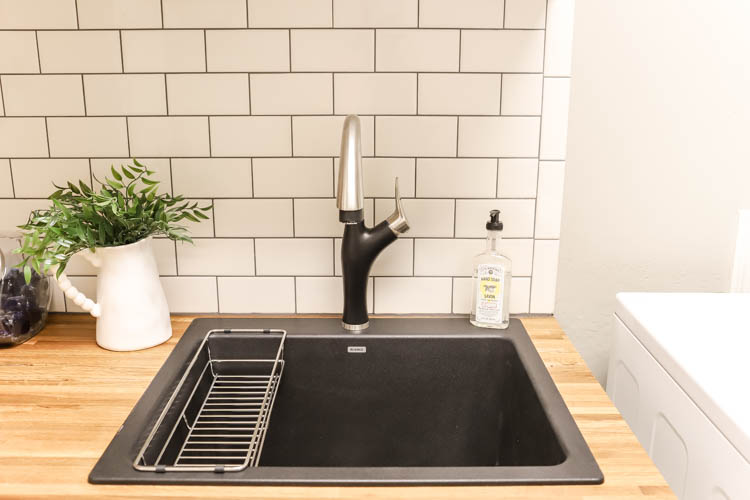
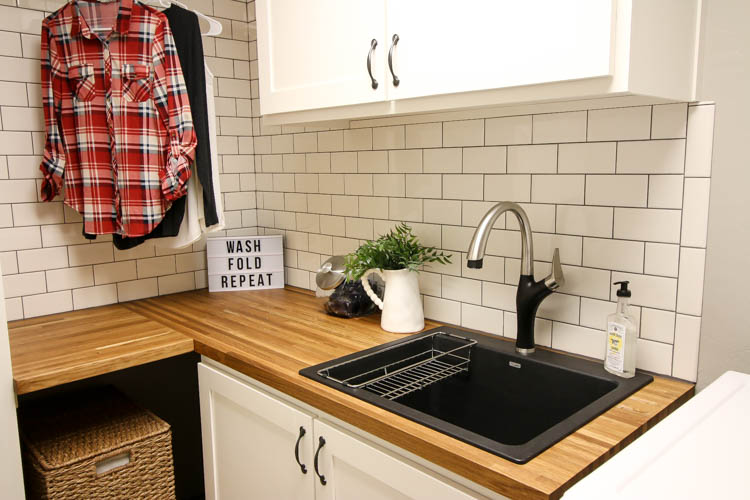
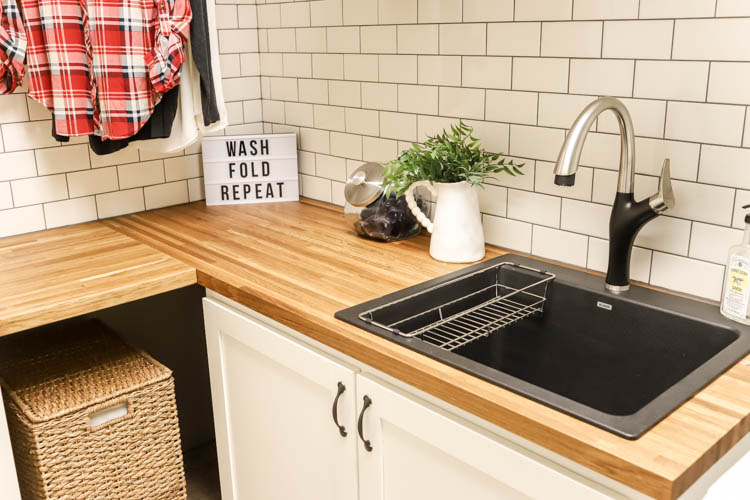
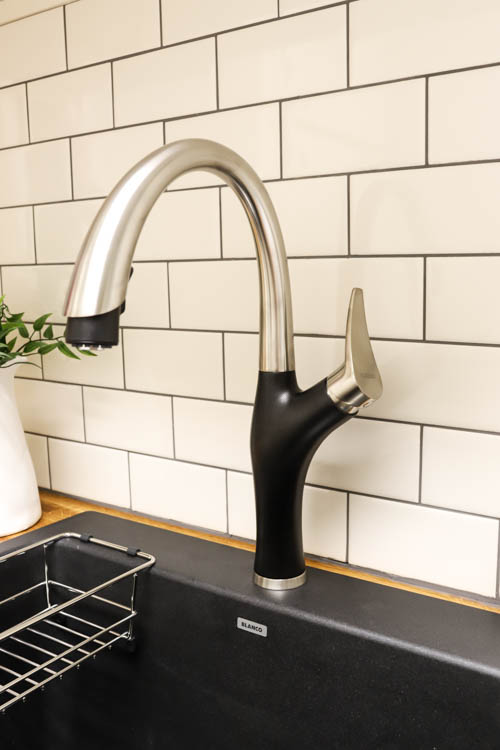
The sink I chose is the BLANCO Liven laundry sink and Artona faucet in Anthracite, which is close to a black color. I love the contrast of it between the natural oak and the white subway tiles.
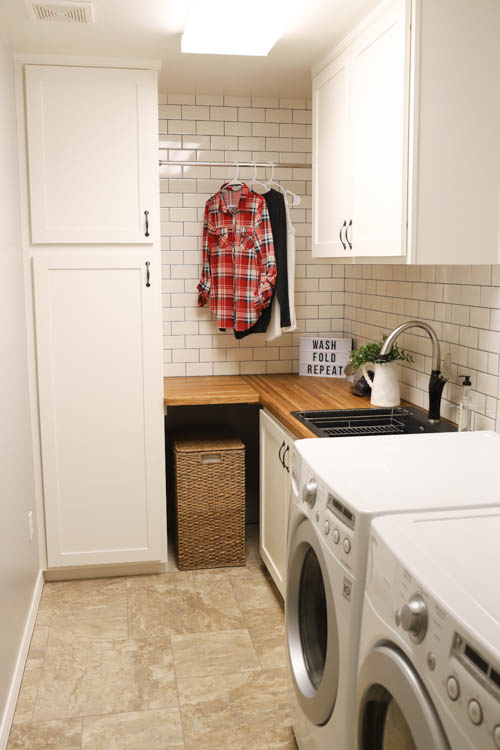
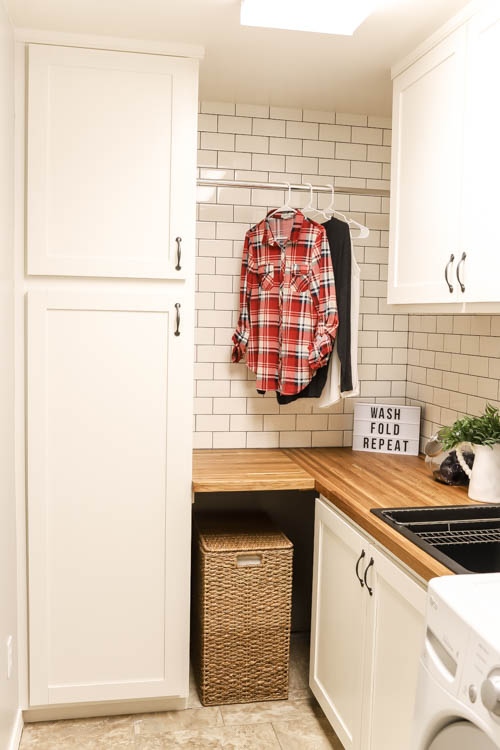
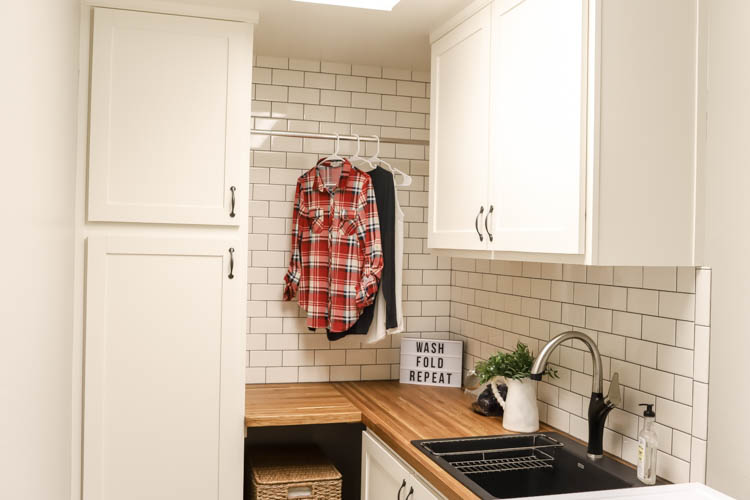
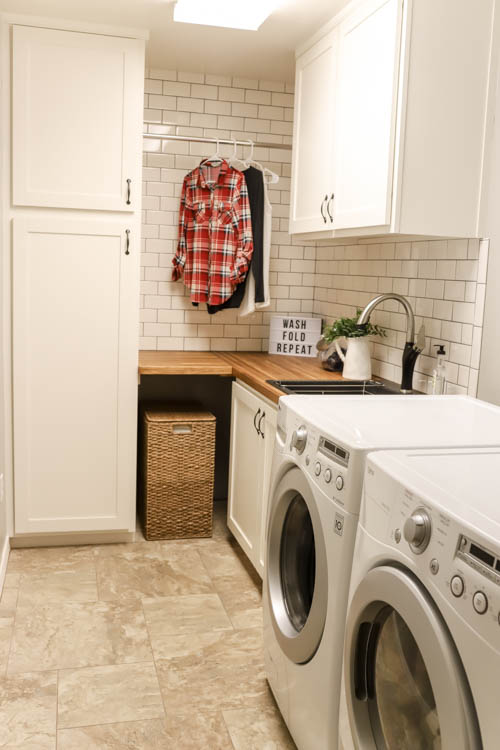
I can’t even begin to describe just how much I am in love with the finished laundry room. The tall cabinet allows us to hide away our vacuum cleaner, step stools, and brooms. Since we were losing the clothes hampers that went under our old laundry pedestal, I designed the room to have space under the counter for a hamper to put dirty towels.
I am so glad we decided to take the subway tiles to the ceiling on the back wall. It looks so good next to the white cabinets. Originally, I had wanted to put open shelving on this wall; however, my husband had the genius idea of installing a tension rod to hang clothes to dry. I loved the idea, since up until now, my method for hanging clothes to dry was to find hang them on our bedroom door.
There’s tons of room on the counter for folding laundry, and the new cabinets still hold a ton of cleaning and other household supplies.
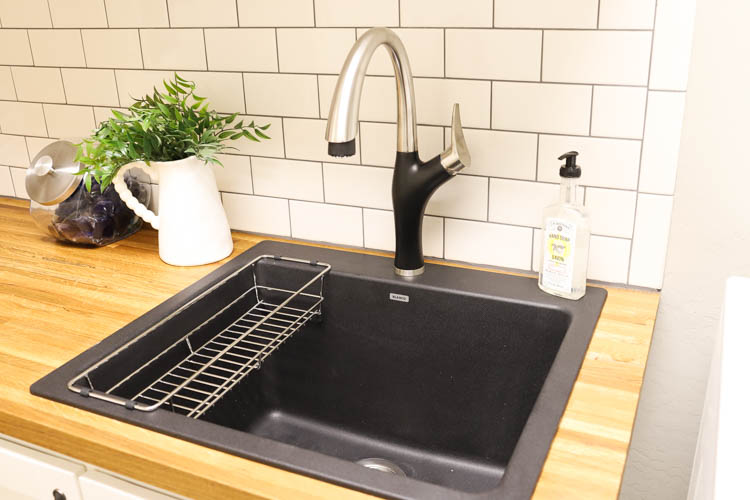
The sink and faucet come in a number of different colors, and it was such a tough choice to decide which color would suit us best, but I am so glad we narrowed it down to the Anthracite color. Both the sink and faucet are beautiful and I love the stainless rack that comes with the sink to hold sponges, paint brushes, etc.
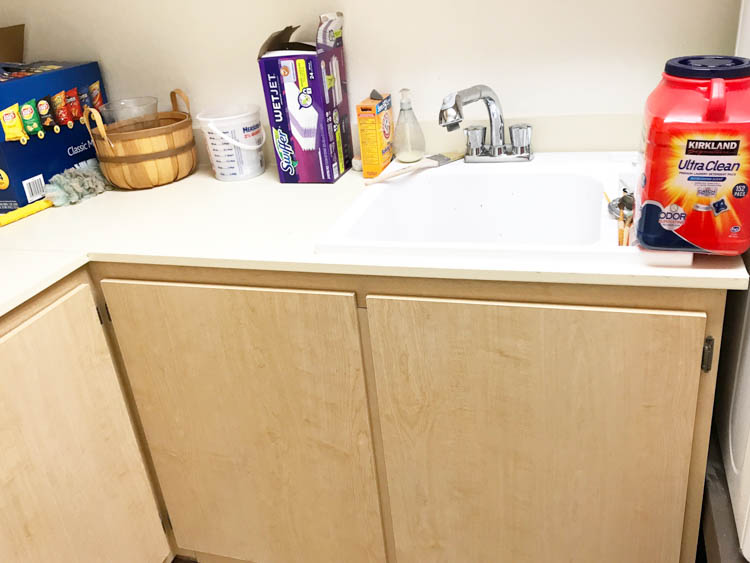
I still can’t believe when I look at the “before” pictures, just how much of a change has been made in this room. The laundry room makeover challenge from BLANCO was exactly the motivation I needed to finally get this ball rolling. It is exactly how I envisioned it and more! It’s one more room to check off of the LONG list of projects for our house and we’re one step closer to having the house completed!
DISCLOSURE: I was provided product and compensation for this post. All opinions and ideas; however, are 100% my own.





Wow! That is quite the transformation. I would love to do laundry in this room. The sink is my favorite part of the room too!
Thanks so much! It is definitely a HUGE improvement over the old plastic one:)
You did an AMAZING job on this makeover! I love that you went all the way up with the tile, and I am so impressed with your new cabinets. Way to go!
Thanks so much, Sara! I am so happy with how it turned out!
Wow, fabulous new laundry room. Happy I found your site. Thanks for sharing.
Thank you so much!
Hi!!! Great Job.
I love it! The sink is perfect. The cabinets are gorgeous.
Thank you, Stacy! It was a labor of love, but worth it!