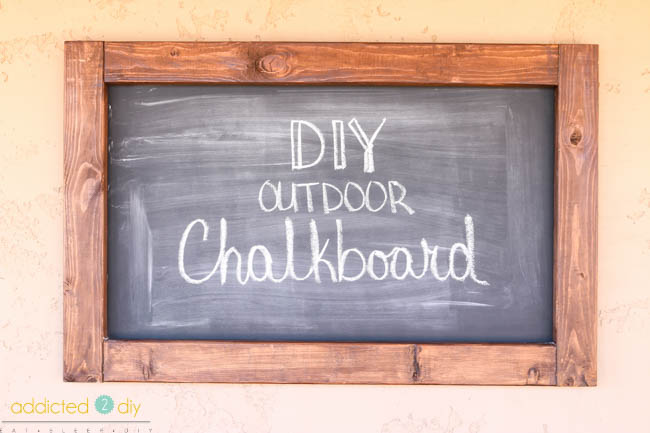
Hey everyone! Today I’ve got a quick and easy project to add a little more interest and fun to your outdoor space. If you remember, back in April I shared the plans for an outdoor console table. I love how it looks on our back patio, but the space above it was empty and just begging for something to be added. I’m teaming up with HomeRight to bring you this step by step tutorial to build a beautiful coordinating chalkboard to go with the console table. I’ve also included some affiliate links in this post for your convenience. If you purchase anything from one of these links, I’ll receive a small commission at no extra cost to you.
When I told my husband that I was building a chalkboard for the empty space above the console table, he said he was actually thinking of hanging a TV there. Since an outdoor TV isn’t exactly in the budget right now, I told him a chalkboard will have to do and he can just draw football players on it and pretend he’s watching the game. Totally works, right? Okay, not really, but in the meantime, here’s how I built the chalkboard.
You’ll need:
- 2 – 2×4 boards @ 8′ long
- 1 – 2′ x 4′ hardboard backing
- 3/4″ lag bolts
- drill/driver
- kreg jig
- narrow crown staple gun
- orbital sander w/ 220 grit sandpaper
- miter saw
- finish of your choice (I used Minwax gel stain in hickory)
- chalkboard paint
- wood glue
- 2 1/2″ pocket screws
- 3/4″ narrow crown staples
- 1″ forstner drill bit
- 27/64th drill bit
Cut list:
- 2 – 2×4 @ 28″ long
- 2 – 2×4 @ 37″ long
- 24″ wide hardboard backing cut at 40″ long
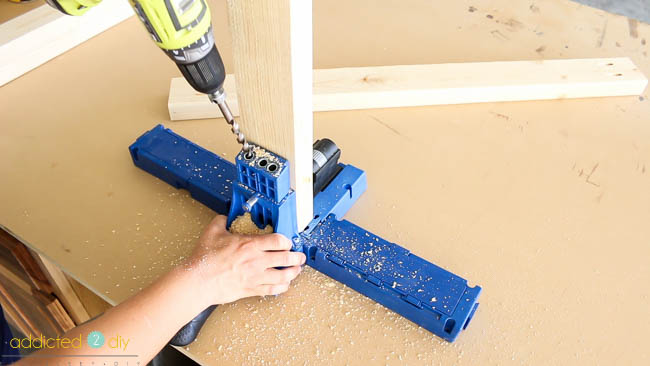
I drilled 1 1/2″ pocket holes into each end of the 37″ boards (top and bottom of frame).
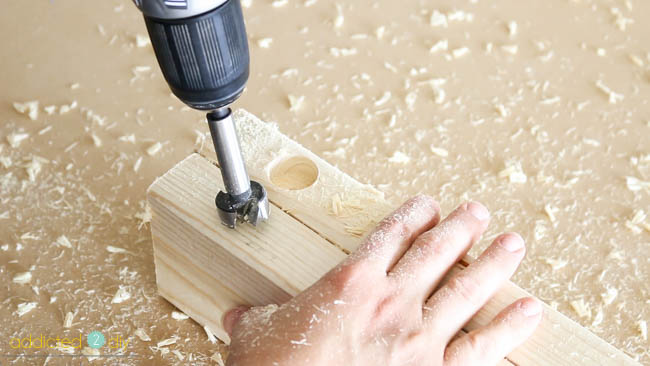
For the side pieces, I drilled 1″ holes about 1/2″ deep. In the center of those holes, I drilled pilot holes using the 27/64th drill bit to screw the lag bolts into.
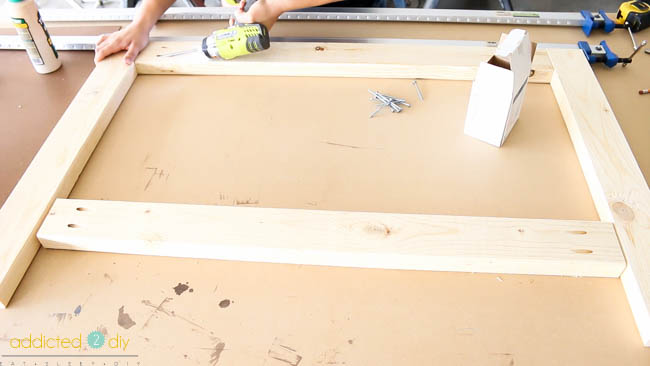
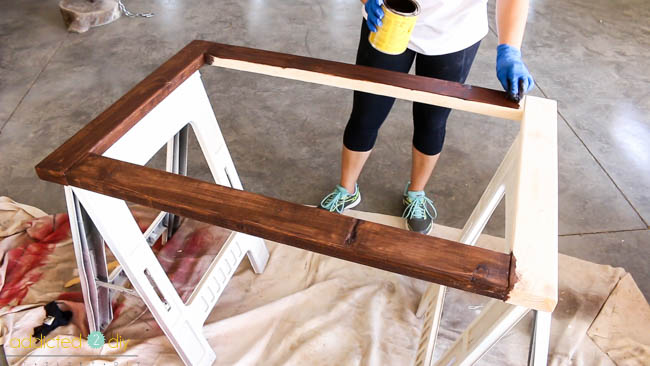
I glued and clamped the frame together, then attached the sides to the top and bottom using 2 1/2″ pocket screws. Once the frame was assembled, I sanded it all down with my orbital sander using 220 grit sandpaper.
To match the console table, I stained it using Minwax gel stain in hickory.
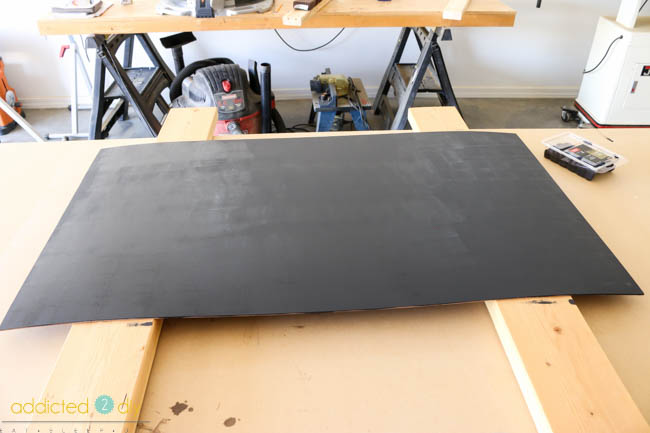
I rolled on two coats of chalkboard paint, letting it dry thoroughly between coats.
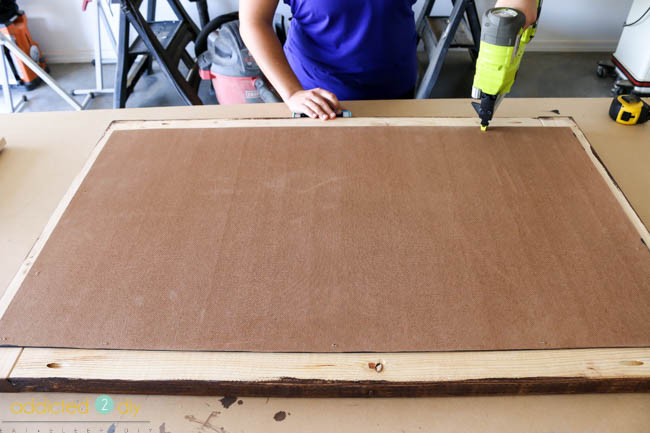
I attached the dried chalkboard to the frame using 3/4″ narrow crown staples.
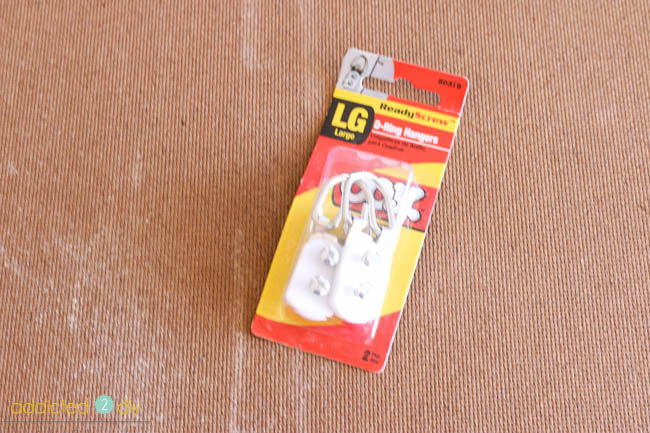
You’ll have to excuse my blurry photo, but I used large D-ring hangers so I could mount it to my house.
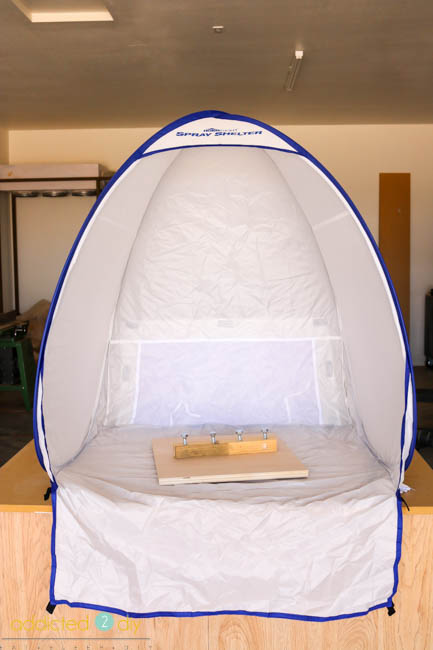
I needed to spray paint the lag bolts to match the bolts in the console table. Usually I have to go outside and fight the wind to spray paint smaller projects. It’s a pain and I swear more paint ends up on me than on whatever I’m painting. Thankfully, HomeRight, the makers of the Spray Shelter just came out with a MINI Spray Shelter! It makes these smaller paint jobs so much nicer. I was able to put it on my work bench and spray paint the lag bolts quickly and easily. It comes in a compact zipper bag and pops up without any assembly. Folding it back up is just as quick and it fits right back into the bag.
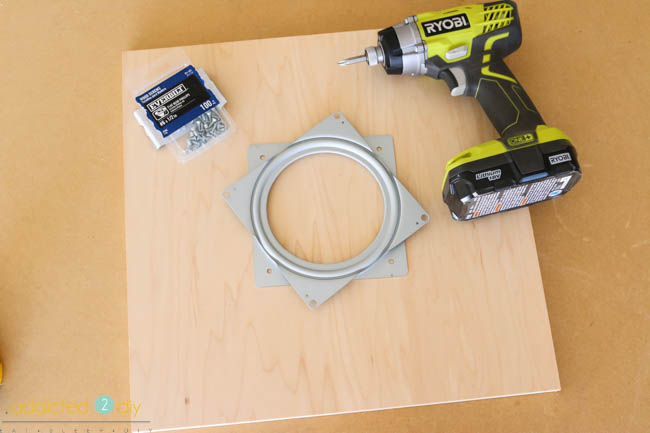
I thought this was the most ground-breaking idea ever! One nobody would ever think of! That is until my friend Brad from Fix This Build That said he was doing the exact same thing for his spray shelter. His design is pretty awesome and he built it so he could also use it for bigger projects. You can check out his tutorial HERE.
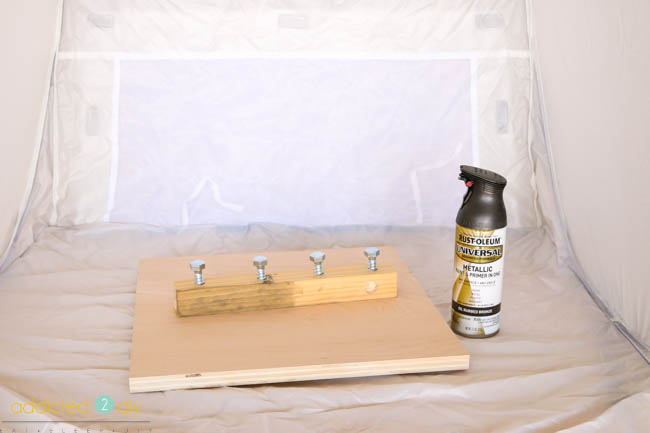
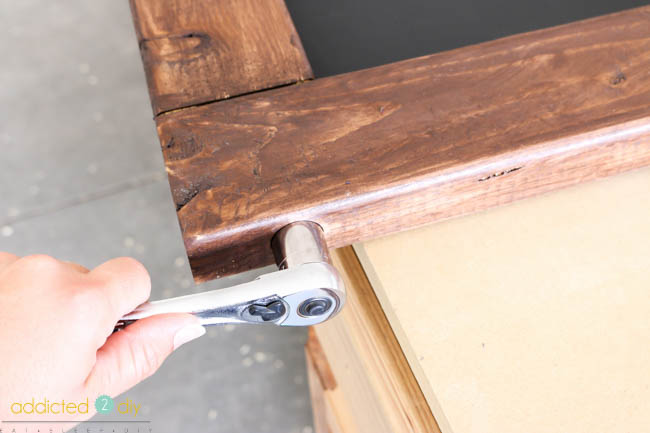
I screwed the lag bolts into the chalkboard sides with a 3/4″ socket until they were about flush with the sides of the frame.
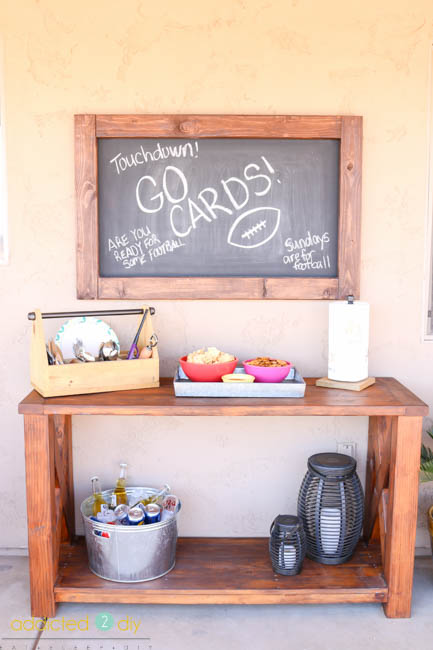
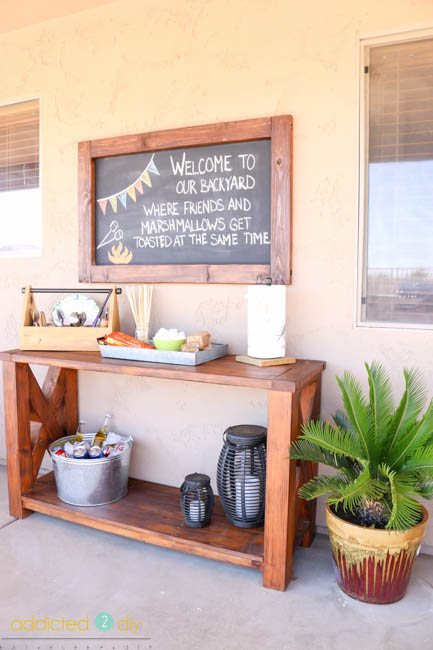
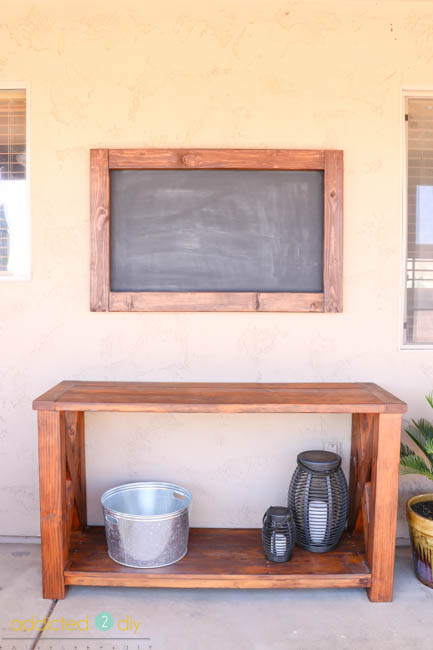
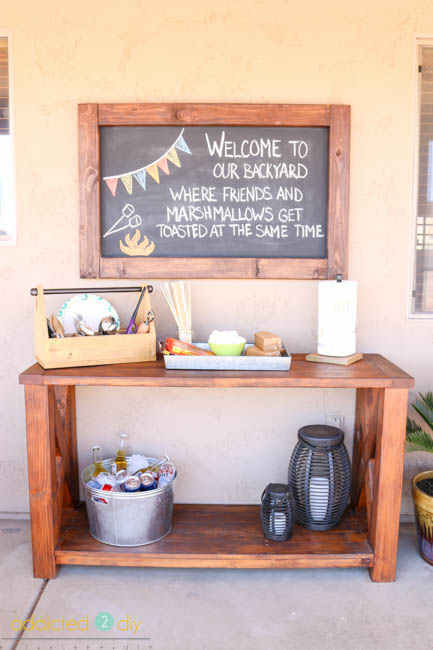
I didn’t photograph these steps because I was by myself and needed both hands, so hopefully my explanation of how I hung it will suffice. I bought 70 lb anchors and screws to hang the chalkboard from the house. I found my center point, decided on the height I wanted the chalkboard hung, then measured out from center where my anchors would go based on the spacing of the D-ring hangers. I drilled holes into the stucco using a 5/16″ masonry bit and inserted the anchors. I screwed the screws into the anchors, leaving about 1/8″ or so out from the stucco so the D-ring hangers could have something to grab onto. The chalkboard already makes a huge difference and the wall doesn’t look sad and blank and boring anymore.
DISCLOSURE: I was provided product and/or compensation by HomeRight for this post. All opinions and ideas are 100% my own.

I would use it for small craft projects.
So cute! I’d like that mini spray shelter! There are so many smaller items that can be painted without needing the larger one. What a great idea!
I love this!
I need the small spray tent because most of what I paint is on the smaller side and I have no where to paint unless the weather outside is nice.
If you could see my concrete front porch right now you’d understand why the small shelter would be helpful. I’ve been doing a lot of spray painting of bottles & frames and I’m constantly misjudging how far the over spray will go. Thanks also for the reminder of the lazy susan hardware at home depot. Making one for painting has been in my head and I’d forgotten they had the hardware! Perfect timing!
Do you have a tutorial for the table in the last few pictures? Love that!!
I do! There’s a link to the tutorial and plans at the beginning of this post:)
i have a lot to use it with i mean my boat shelf im building
We spray paint A LOT because I am constantly buying things on the cheap that just need a little TLC to go from drab to fab. I would love to win the mini spray shelter because I am so over having to rig up some kind of area to spray in and then taking it back down because it’s in my way or made up of things I need. Popping this up when I need it and folding it up when I don’t sounds like a dream.
I have several photo frames I want to paint!
I have several smalls, lamps, candlesticks, and picture frames.
I’ve been eyeballing the spray shelters for a while and just haven’t pulled the trigger. It would be so useful for those DIY projects I have lined up! Love the outdoor chalkboard – I jut might have to make one for our patio!
Love it with the table and would love the spray shelter.