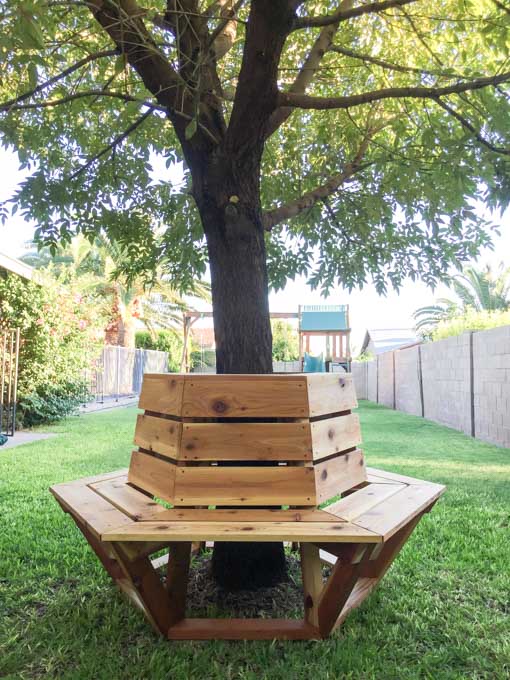
Hey there, everyone! Today’s project is a pretty awesome backyard DIY project that I’m going to share with you. A good friend of ours asked us if we could build a hexagon cedar bench for his mom using some plans he had found online. Since our Home Depot just recently started selling cedar, I was so excited to build a big project with it. The base was built out of redwood and the seat and back were built from cedar. I will say that this project is not one you want to tackle for your very first DIY project, but if you’ve got a few under your belt, I highly recommend giving this a try.
Before you get started, you want to download the plans for the bench. Our friend found them online from Rona.com. Read through the plans very carefully. There are a lot of mitered cuts in this plan and precision is key when you’re dealing with these kinds of angles. I will tell you that you don’t need 12 of each board for this project. I used 7 redwood boards and 10 cedar boards. The 3″ and 2 1/2″ deck screws are pretty long for where they’re recommended. I’d swap those out for 2 1/2″ deck screws for the base and 2″ deck screws to attach the seat and back pieces.
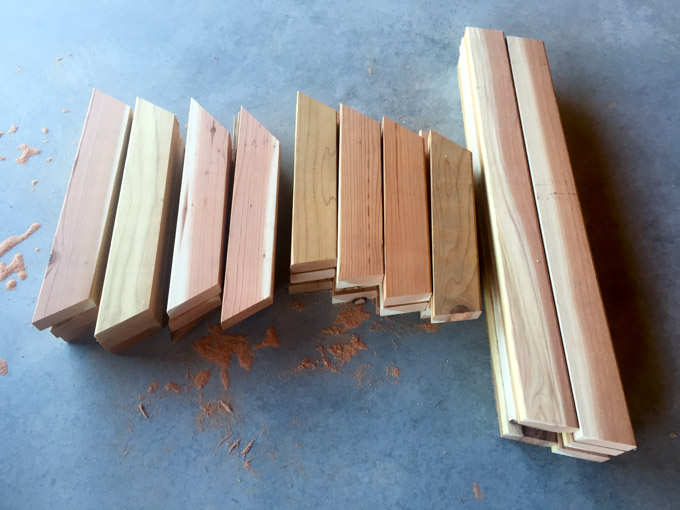
Like I said, there are A LOT of cuts needed for this project. The plans tell you how many of each piece to cut and what degree of angle, but you’ll want to look at the plan diagram to ensure you are cutting your angles in the right direction. I cut all of my base pieces first.
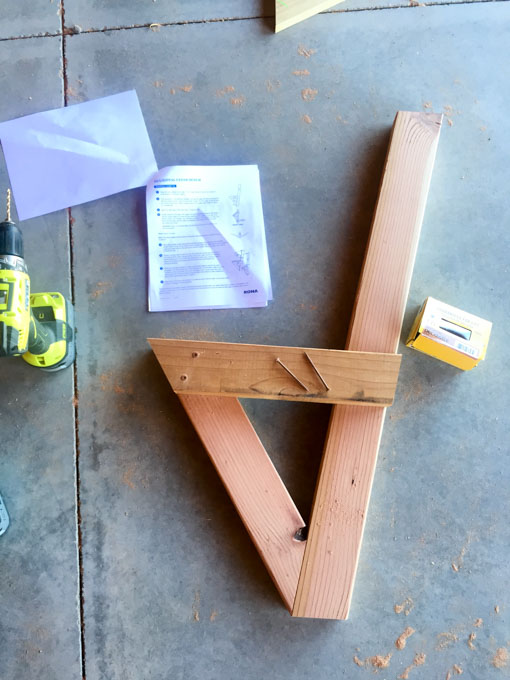
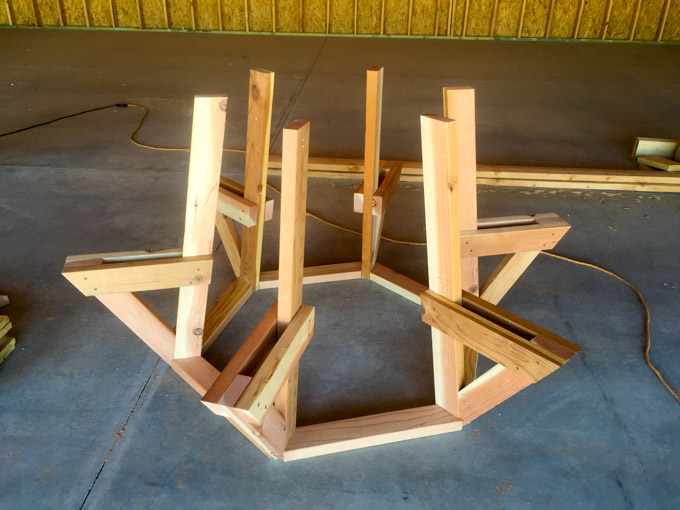
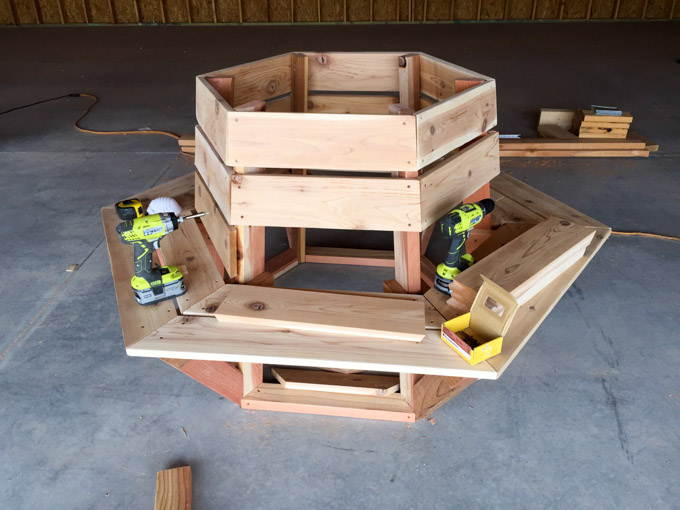
Assembling the base was easy and went fairly quickly. You’ll want to make sure that you pre-drill all of your screw holes so you don’t split the wood when attaching everything.
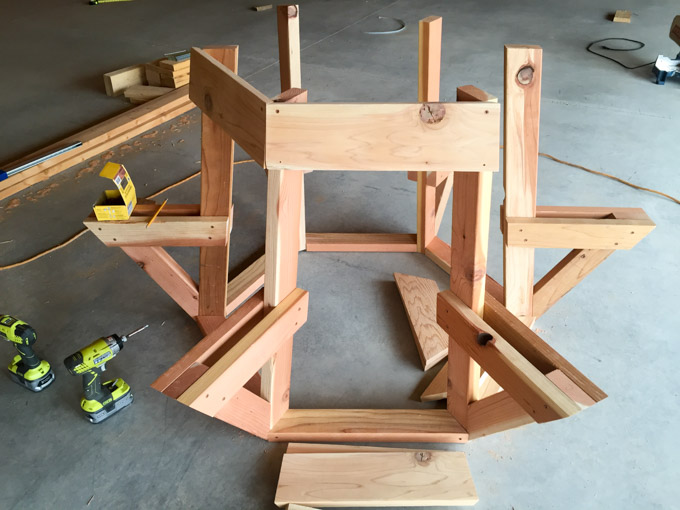
The base fits together with the 2×4 spacers at the bottom. I attached the bottom pieces with 2 1/2″ screws.
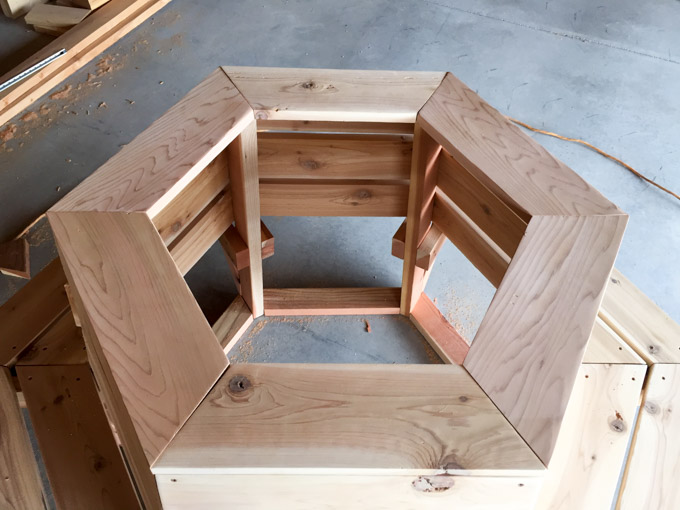
I attached the top row of the back first using 2″ screws.
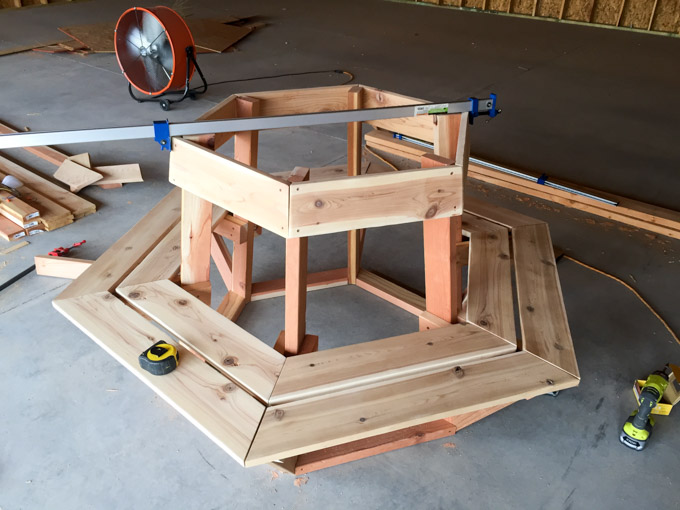
It is hard to assemble the bench and keep the angles perfect, so I used a bar clamp to bring everything into place.
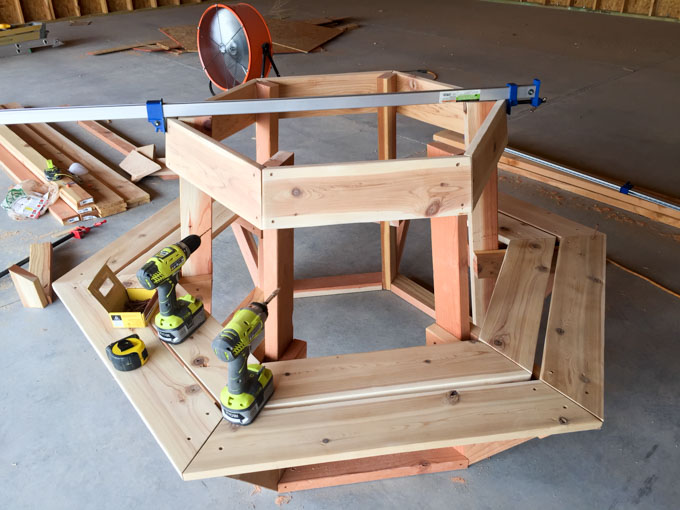
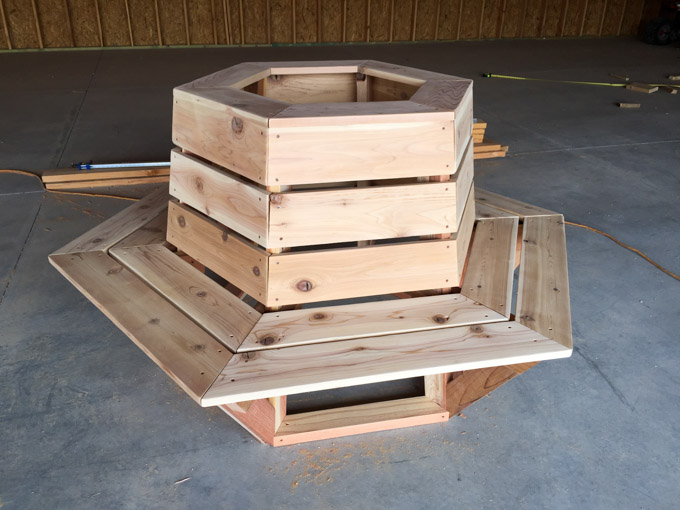
I carefully lined up all of the seat pieces and attached them with 2″ screws.
I finished assembling the back of the bench leaving about a 1″ gap between the rows. A scrap piece of cedar worked well for this.
Once the entire bench was assembled, I sanded it down with 120 grit sandpaper, followed by 220 grit sandpaper.
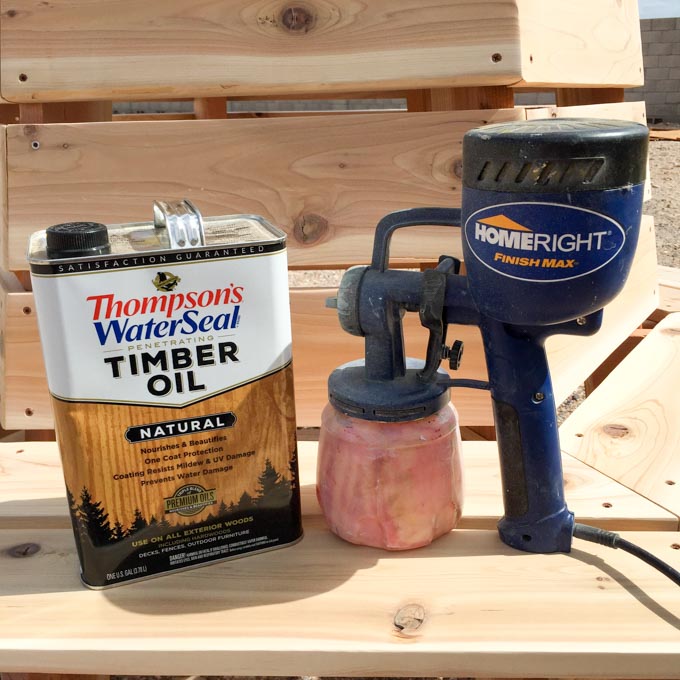
Cedar is a pretty hardy wood, but I wanted to give it some extra protection. I used some Thompson’s WaterSeal Timber Oil to seal it. My HomeRight Finish Max made the whole finishing process take about 10 minutes. Once I sprayed the Timber Oil, I wiped it down to avoid any tacky residue that can happen if the Timber Oil pools at all.
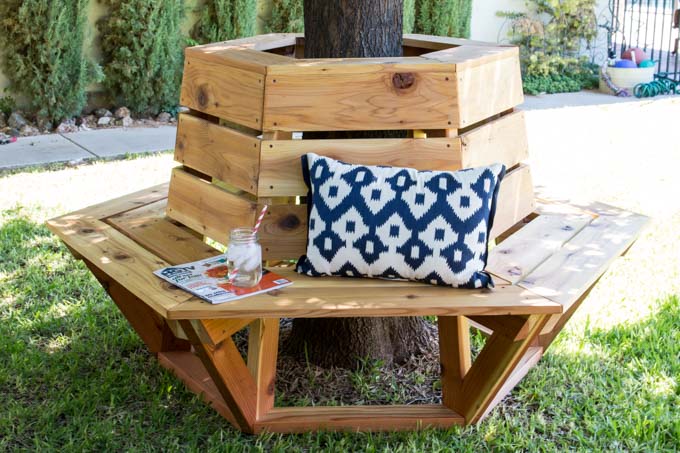
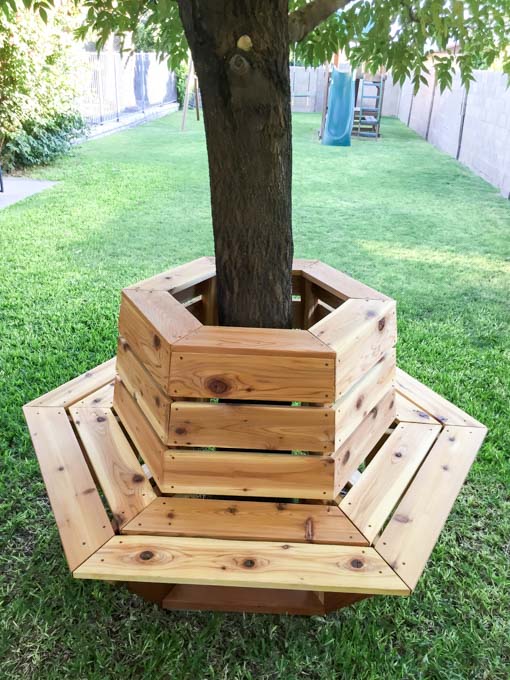
I have to say that I am REALLY jealous of the new home that the bench has. It looks beautiful around the shade of the ash tree. This type of bench doesn’t just have to go around a tree, though. You can build up the middle to hold a tub for drinks or pots of flowers. Either way, this is a beautiful bench that can be enjoyed for years to come!

What a great bench! This would be great wrapped around our big walnut tree in the backyard. Thanks for the inspiration!
Vineta @ The Handyman’s Daughter recently posted…Cut Perfect Lines Every Time with a DIY Circular Saw Guide
That would definitely be lovely. And now I’m super jealous that you have a big tree like that. We have desert in our yard at the moment;)
I love how it turned out Katie! I have been thinking of something like this around one of our trees! Don’t worry your backyard won’t be a desert forever! 🙂 Ok it will because you live in a desert, but I am sure you will make it beautiful someday!
Mindi recently posted…Teen Boys Bedroom Inspiration, One Room Challenge Guest Participant- week 1
Lol! Thanks Mindi!
Did you have to take it apart to get it around the tree? How did you get it to its finally home?
I had to take apart one section of it to slide it around the tree and then reassemble it. It was very easy to do and it’s still being enjoyed by its owners!
Hi Katie, great job. I wonder if there is a descriptive of measures of this chair.
My name is Cesar, I’m from Brazil, Rio de Janeiro.
Hi Cesar,
The linked plans in the post will share the dimensions of the bench. Thank you for stopping by!
Did I miss how you got it around the tree?
Hi Darcy,
I took apart one section of the bench to slide it around the tree:)
What is the smallest inside diameter of the bench? Thanks
Unfortunately, I built the bench for friends, so I’m not able to give you those dimensions. You can take a look at the plans and see if they are offered there.
Do you happen to remember how big the tree’s diameter was?
I don’t, unfortunately. There was a good amount of growing room for the tree I put it around, though.
Do you by any chance remember how much in total it cost you to purchase all items needed?
Hi Amelia,
Unfortunately, I don’t. With it being cedar, it is a bit more expensive than pine.
I could not find the plans to download. Please reply
Here is the link to the plans: https://addicted2diy.com/wp-content/uploads/2015/09/plan-hexagonal-cedar-bench-1.pdf