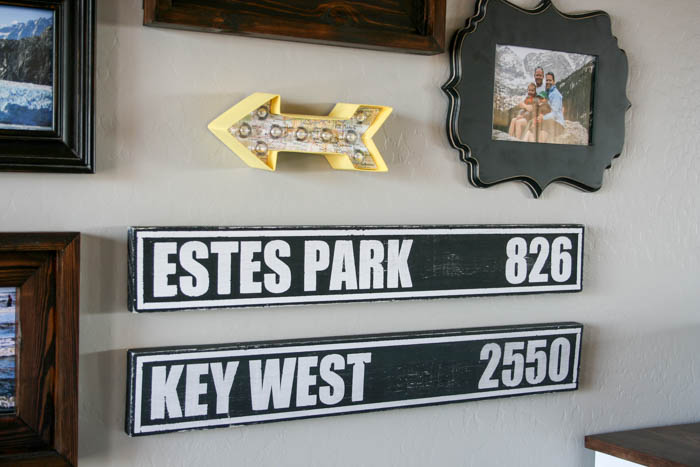
Hey everyone! A few weeks ago, I shared how I put together my travel-inspired gallery wall. Then the weeks slipped by and after a few questions, I realized I never shared how I made some of the things in it. Today I’m going to share with you how I made these simple custom mileage signs. I picked some of our favorite vacation spots to add more of a personal touch to our gallery wall. Here’s how I made them:
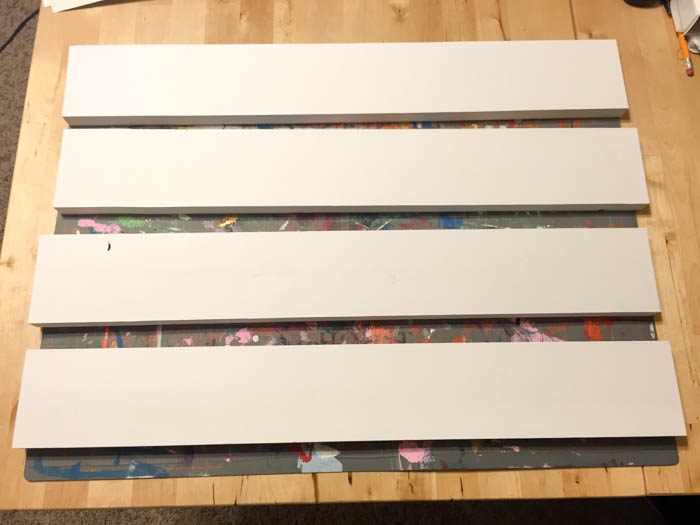
I cut four 1×4 pieces of pine at 24″ long. You can always use an 8′ board and just cut it into four equal pieces. I wanted mine to be black with white lettering, so I painted the boards white first.
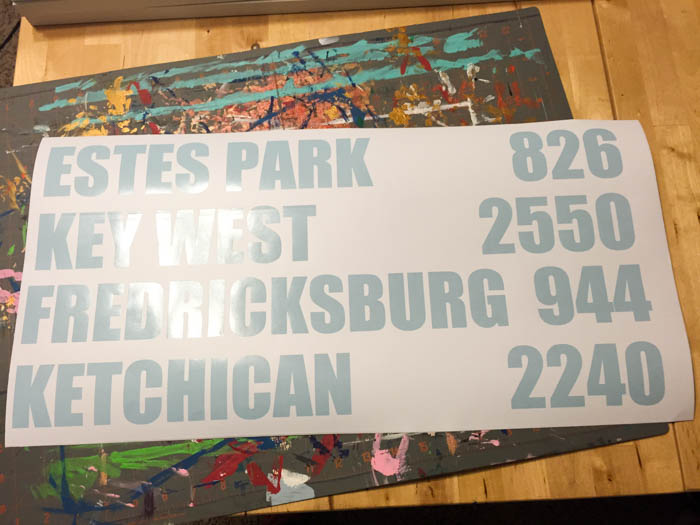
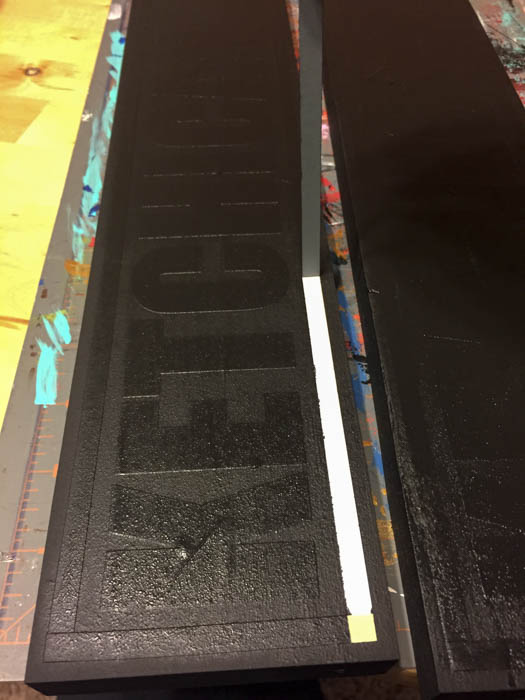
I cut letters out of vinyl with my CAMEO using the Impact font. I figured out the mileage to the destinations from our house and used them for the stencils. Please ignore the fact that Fredericksburg and Ketchikan are misspelled. It was late at night and clearly I wasn’t thinking straight. I realized my mistake and fixed them:)
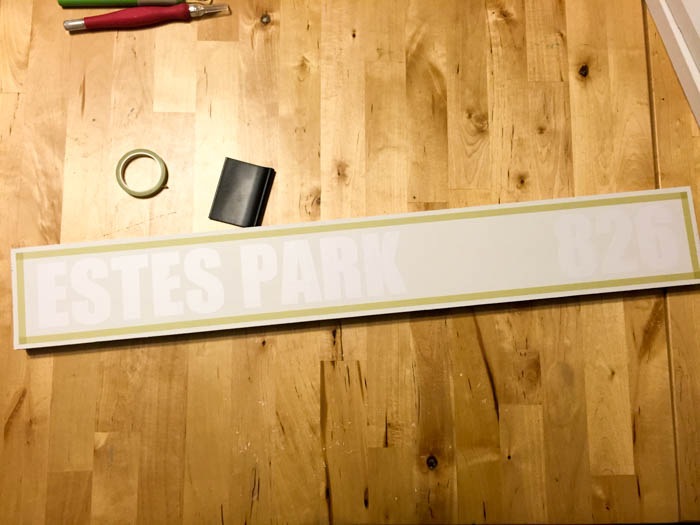
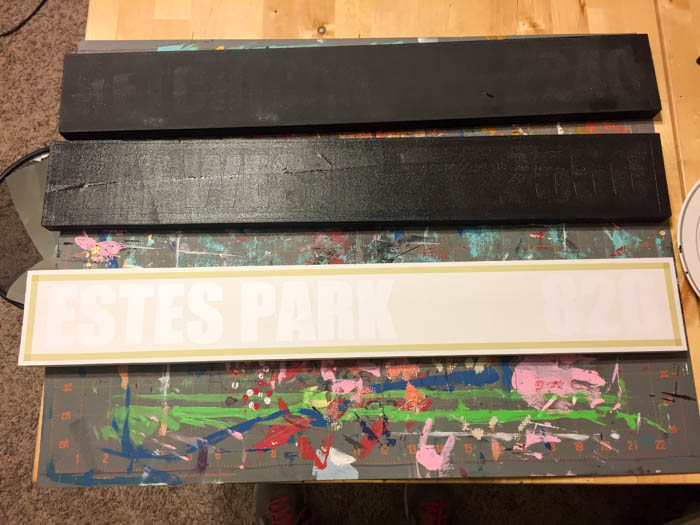
I painted over the boards with black paint and let it dry completely.
I peeled up the vinyl letters and tape, then distressed the boards with some 80 grit sandpaper.
These signs are such a fun reminder of our favorite vacations. They can be made for any vacation destination and you can change up the colors too! Seriously, this project is so simple and I love how they add a different touch to our gallery wall.


OMG, I love these! We’re big travelers, so this would be a fun way to show how far we’ve gone. Thanks for the inspiration!
Vineta @ The Handyman’s Daughter recently posted…How I Doubled My Bathroom Storage
What a great idea to remember your travels! Thank you for sharing.
This is such a cute idea. Love the idea of the signs with the personal pictures from trips surrounding it. May have to use this idea! Thanks for sharing!