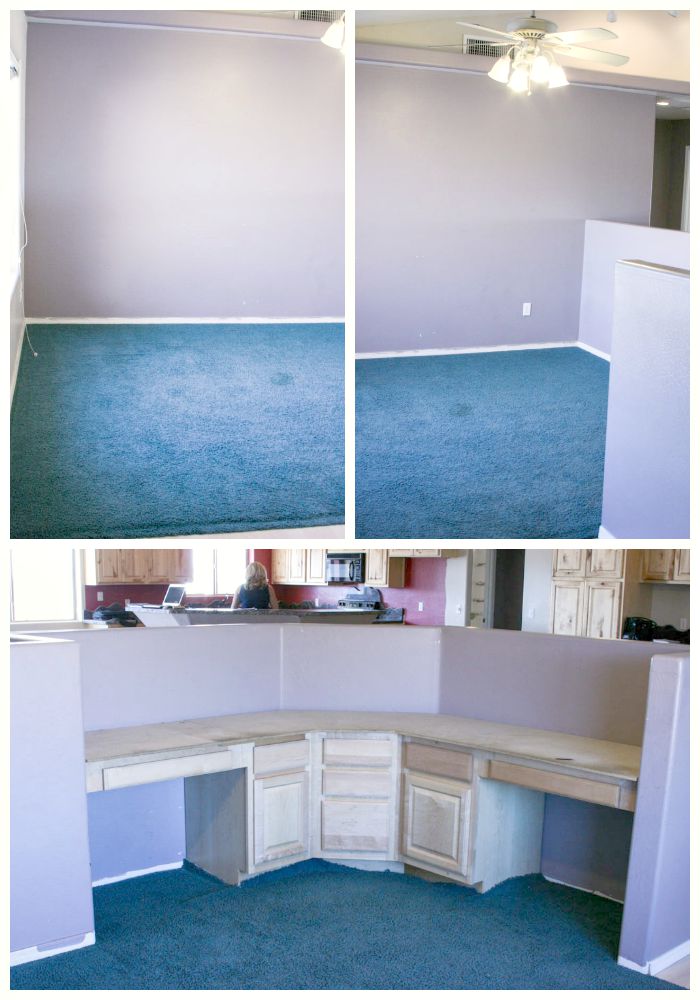
You guys, I can’t even begin to tell you how happy I am that I’ve completed my first room makeover! It was a slow process, but I didn’t want to rush it. Plus I had to do things as finances allowed. This room used to be the biggest thorn in my side. I hated walking past it every day. Now it’s my new happy place! In order to truly appreciate the full den reveal, below are pictures of what our den looked like the day we bought the house.
The top two pictures are looking into the den from the entryway. You’ll have to forgive my poorly composed pictures of the space. Had I known 5 years ago that I’d become a blogger and one day want to use these “before” pictures, I would have taken them of the whole room. The bottom picture is the desk area which has become the place for my boys to do their homework after school. It took A LOT of convincing to get my husband to see past the purple walls, green carpet, etc. and see the hidden potential in this house. As soon as we moved in, out went every bit of flooring and we painted every wall and ceiling to get to a “livable” point where we could eventually remodel/decorate.
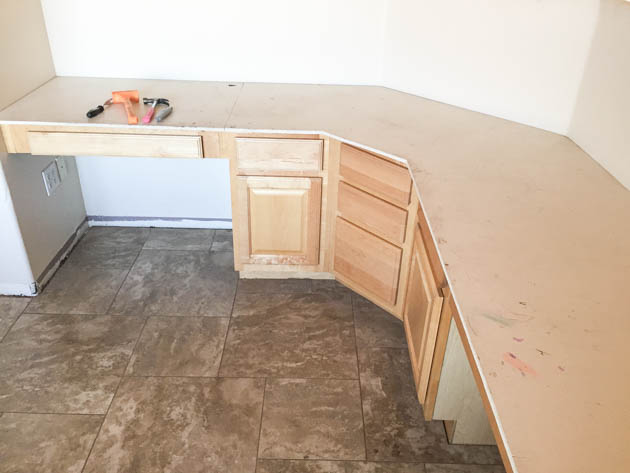
This is the “liveable” before picture of the desk area in the den. We had this tile installed throughout the house (minus the bedrooms) and almost every wall was painted this antique white color. I’m glad I didn’t do anything to this room right away, because I’m sure I would have ended up hating it. It took me a while to really find my design style (if you could even call it that).
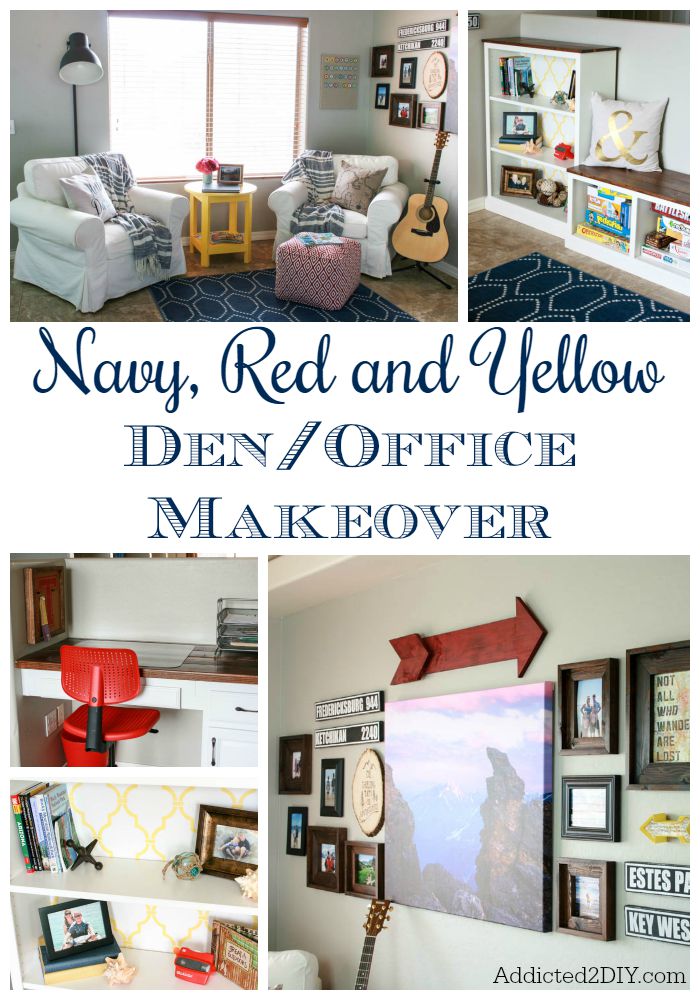
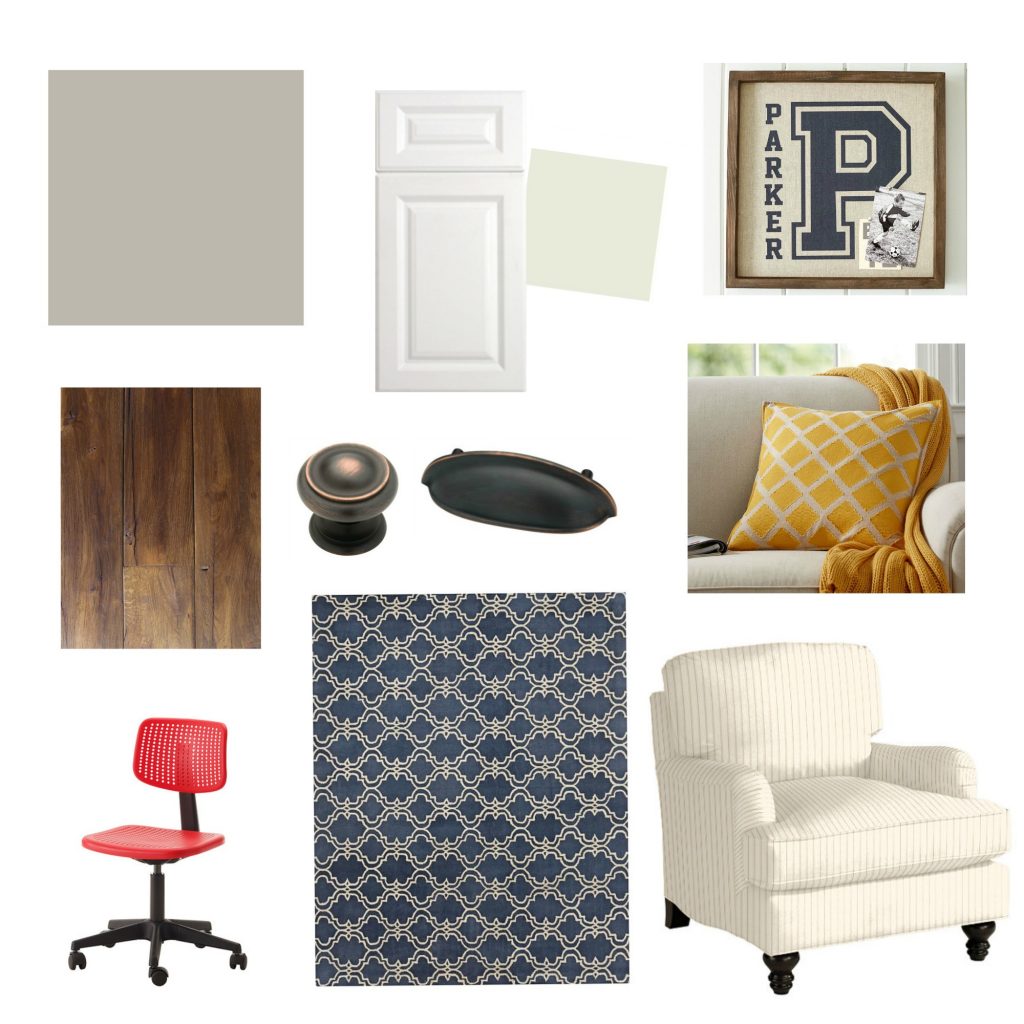
I created a mood board with all of the details I wanted to add to the room. It was actually a great help when I needed to reference different parts of the makeover. The first thing I did was rip out all of the old baseboards and replaced them with new 3″ baseboards. I then painted the walls a pretty greige color. The actual color is called Mindful Grey by Sherwin Williams, but I bought my paint at Home Depot and they happily color matched it for me. I’m slowly working may way through the whole house with this color, because it goes so well with everything.
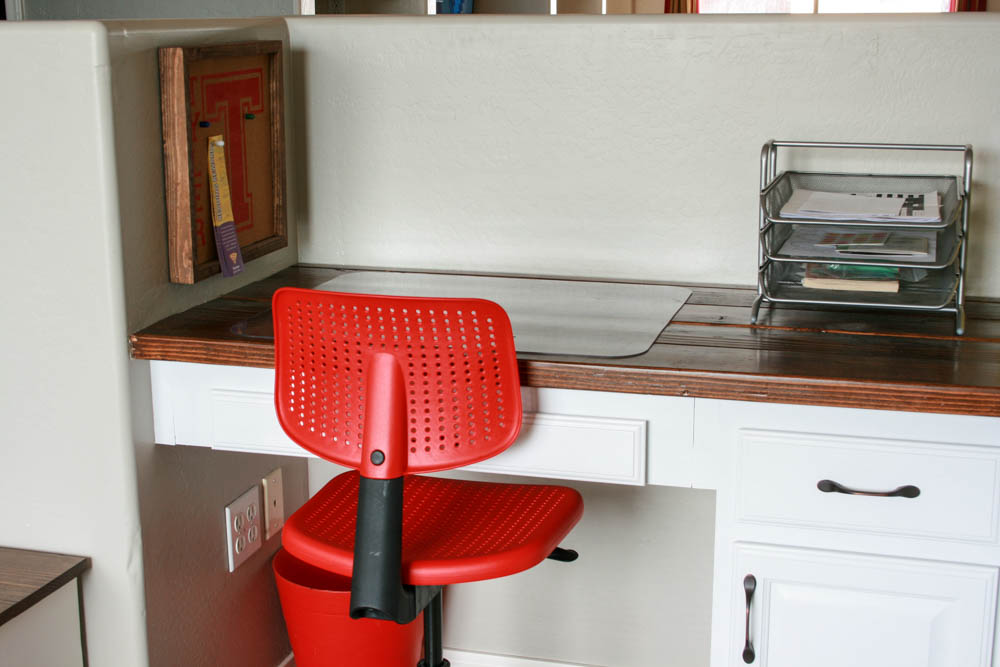
The desk area was the second part of the makeover. I ripped out the nasty particle board top and replaced it with a wood plank desktop for around $40. I painted the cabinets with chalk paint to give them a cleaner, and much prettier look, then topped that off with some simple hardware. I purchased these chairs at IKEA for $20 each. My original intent was to purchase two red chairs, but my youngest had other ideas in mind and chose blue. It is their work space, so I had to give the kids some input;) The paper trays and magazine files were also IKEA finds. The desk organizer in the middle was a simple Restoration Hardware knockoff project.
I made each of my boys their own knock off personalized pin boards to hold their important reminders. Since their desks are made of 2x6s, I bought these clear desk mats for them to write on. (affiliate link)
This big wall in the den was a challenge for me to figure out a way to fill it. I knew I wanted to put together a gallery wall, but it took me a while to figure out exactly what I wanted it to be.
The large canvas picture in the middle was a wedding gift from my father-in-law and it was what inspired me to create a gallery wall showcasing all of our favorite vacation memories. I also included DIY mileage signs of our favorite destinations.

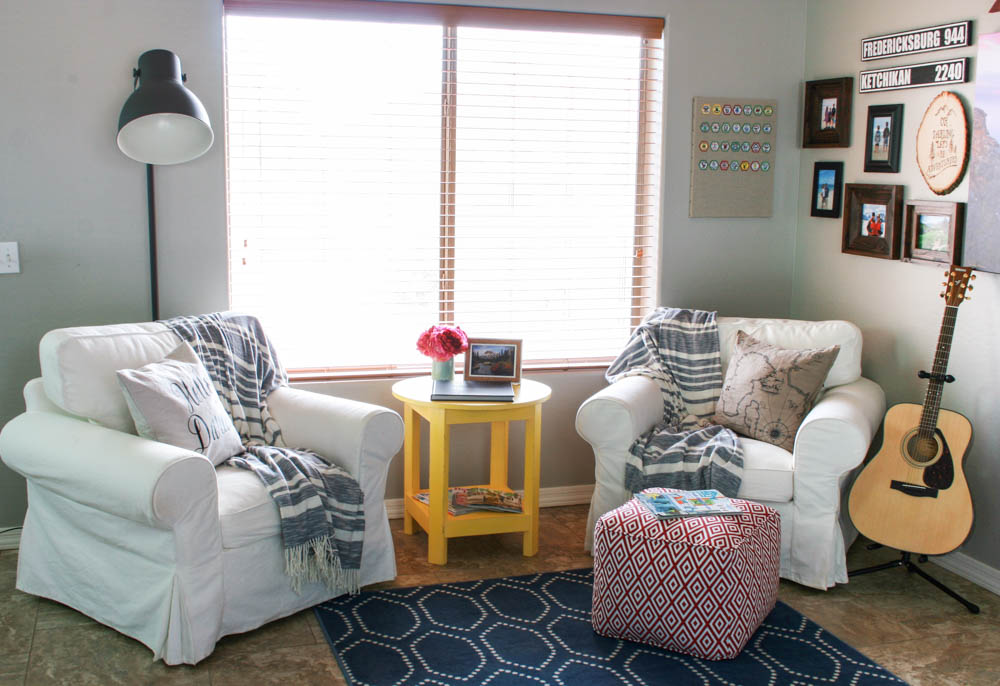
The thing I wanted most during this makeover was a big, cozy chair to relax in. I purchased an EKTORP chair from my local IKEA store and it was perfect! I also got the throw pillow there, which fit perfectly with the travel theme. The only problem was that I quickly realized I needed a second chair if I ever wanted my husband to sit in here with me.
My local IKEA retailer kindly worked with me to help me fill this void with a second EKTORP chair as well as this HEKTAR floor lamp. My husband is finishing up his bachelor’s degree, so he spends a lot of time studying. I knew this lamp would make it a lot nicer for him to study by. Plus, I just love the industrial look of it! I picked up the throw blankets for these chairs at Target and made the “Hello Darlin'” pillow myself. If you now have Conway Twitty singing this song in your head, you’re welcome:) Most people cringe when they see that I chose white chairs, but the slip covers on them make keeping them clean so much easier.
This Pottery Barn-inspired side table was a bold step for me. The color palette I chose for the den was navy, red and yellow, but I felt like I was lacking a bit with the yellow. This table definitely gave me the pop of color I was looking for and I’m so glad I didn’t chicken out when it came time to paint it.




It looks great – those chairs do look so comfy to relax in!
melissa @ a Prudent Life recently posted…12 Ideas for Organizing with Baskets {Organizing With Style}
Thank you! And yes, I love them. I sit in mine every morning and drink my coffee:)
Hi, I like the paint you used. What is the name or code that Home Depot matched for the Mindful Grey by Sherwin Williams?
Thanks
Thanks! All I did was tell them the color and the store and they were able to look it up:)
looks great Katie!
Thank you Becky!
iS THERE ANYBODY WHO WOULD BE WILLING TO MAKE ME A SMALL THROW PILLOW THAT SAYS “Hello Darlin”??????