Happy Monday! I’m back with part two of my Billy bookcase IKEA hack that I was challenged by HomeRight to create. Today, I’ll show you how I built the bench to go along with the bookcase. If you missed part one, you can find that here. I happened to have a stash of leftover 3/4″ veneer plywood in my garage, so I was able to build this addition to the bookcase on the cheap. If you don’t have any spare plywood, you can purchase a sheet of 3/4″ maple or birch veneer plywood from your local home improvement store. You’ll only need about half a sheet, but you can always save the rest for future projects.
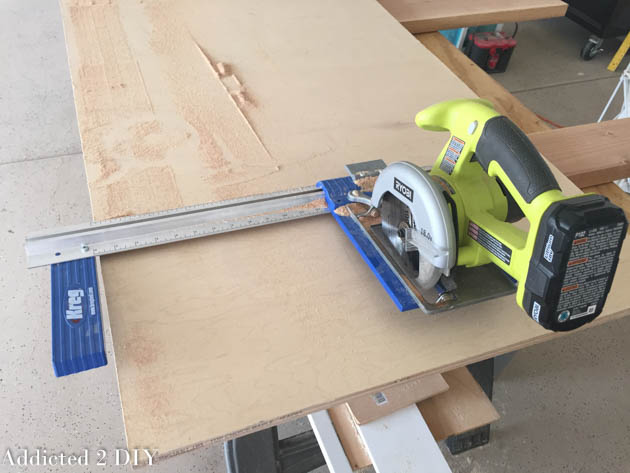
I started by ripping my plywood pieces down with my Kreg Rip-Cut (affiliate link). Here’s the cut list for the plywood bench:
- 1 @ 36″ long x 14 1/4″ wide (t0p)
- 1 @ 34 1/2″ long x 14 1/4″ wide (bottom)
- 1 @ 13 1/4″ long x 14 1/4″ wide (center divider)
- 2 @ 16 1/2″ long x 14 1/4″ wide (sides)
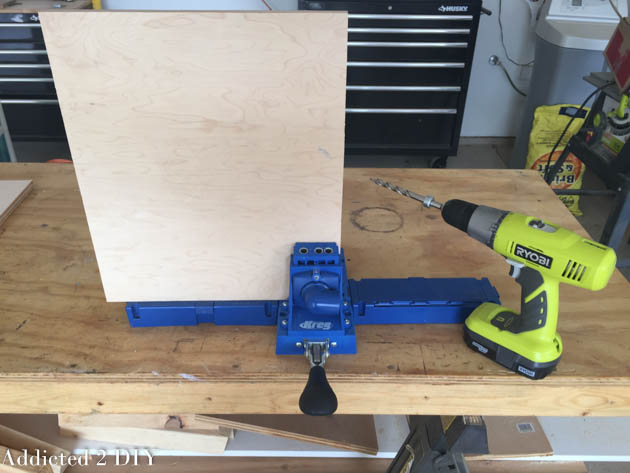
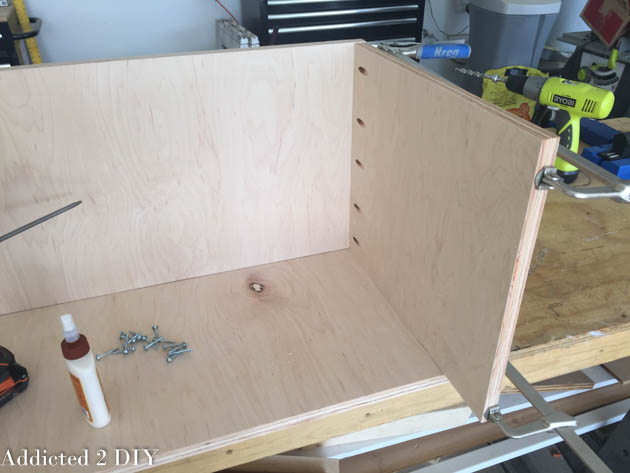
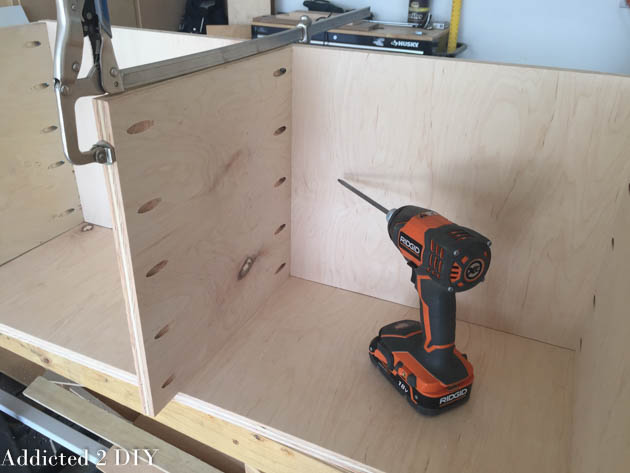
Using a Kreg Jig, drill your pocket holes into the tops of the side pieces, the top and bottom of the center divider, and each end of the bottom of the bench.
Attach the sides to the top of the bench using wood glue and 1 1/4″ pocket screws.
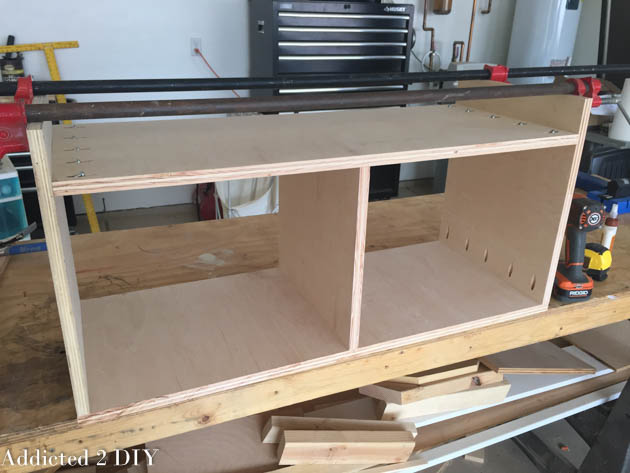
Attach the center divider to the top of the bench as well.
Clamp and attach the bottom of the bench, plus screw the center divider to the bottom of the bench using 1 1/4″ pocket screws and wood glue.
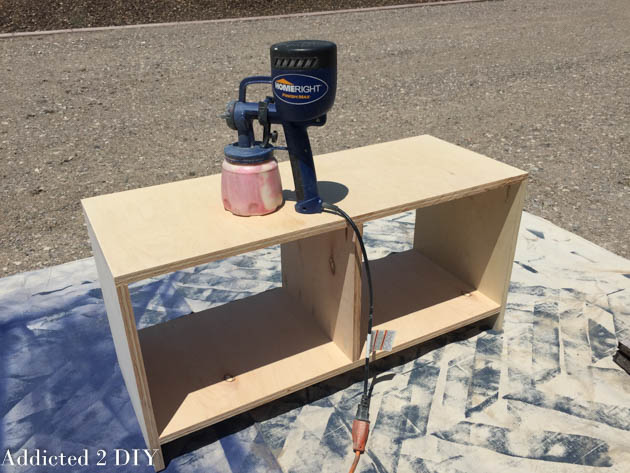
(affiliate link) in the same color as the bookcase and let it dry.
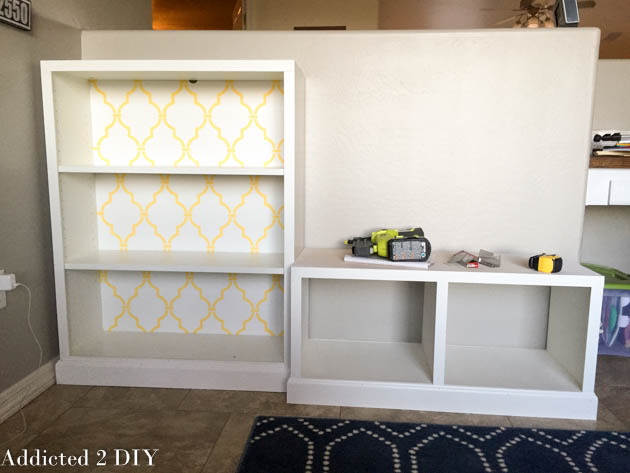
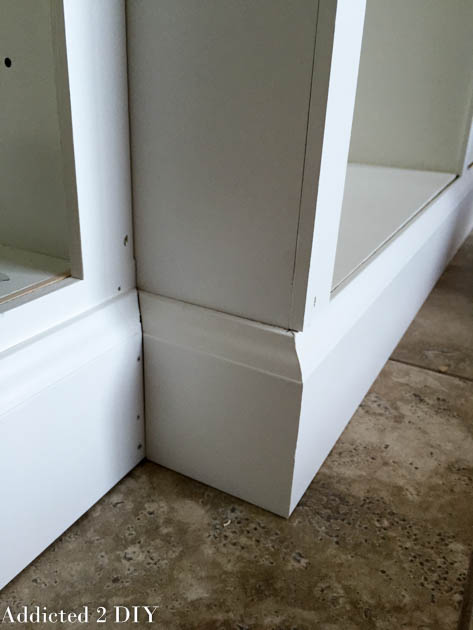
Once the bench was painted, I measured and added the trim and moulding just like I did with the bookcase.
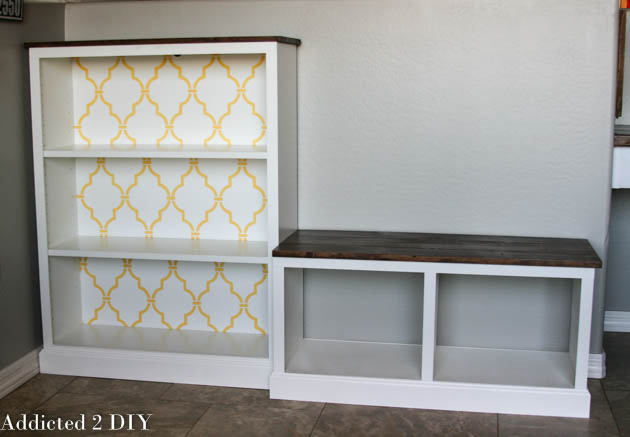
You can see how the moulding matches up to the bookcase and makes it look like one whole unit. I debated on actually attaching the bench to the bookcase, but I saw that as a potentially disastrous situation if it were ever moved from that place. Once all of the trim and moulding was added, I filled the nail holes with caulk and touched up all of the paint.
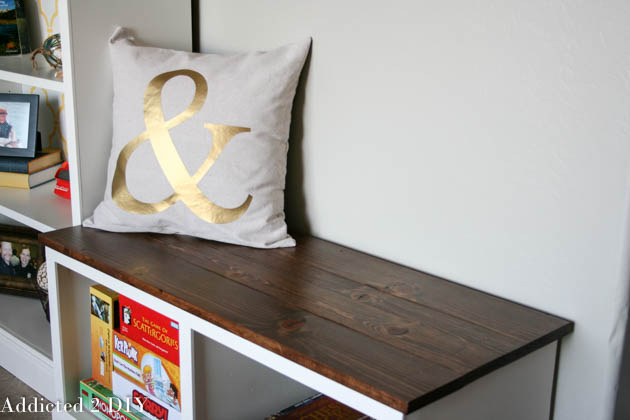
I built the bench top the same way I built the top for the bookcase. I used a 1×10, a 1×4, and a 1×3 cut at 36 3/4″ long. Again, my 1×10 wasn’t perfectly flat, so I ripped it down the middle in order to remedy that situation. I stained the top with Minwax special walnut stain and then finished it off with satin polyurethane.
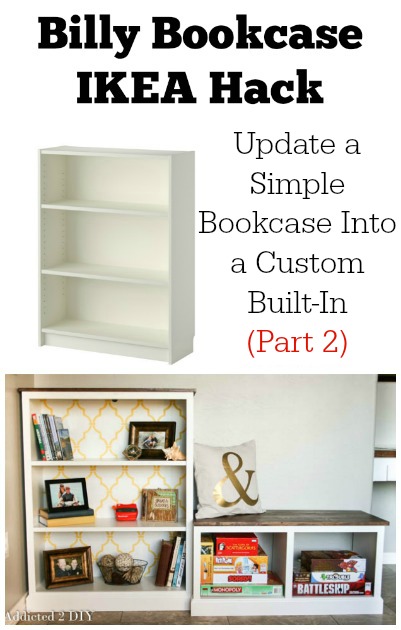
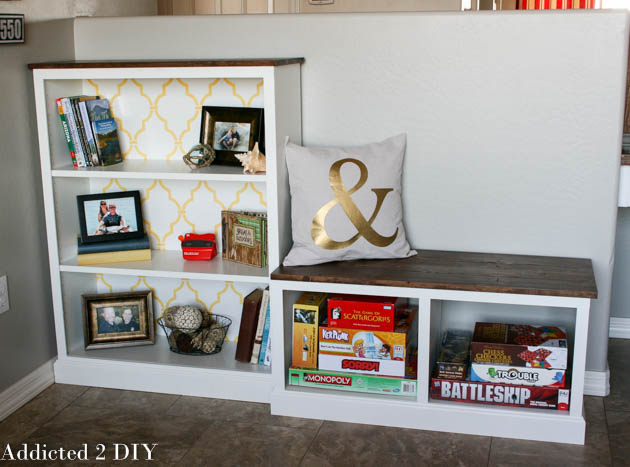
The end result is now an awesome “built-in” unit that holds books, family pictures, and some of my boys’ favorite games. I am getting so close to the full reveal of my den makeover and I’ve said before that I want this space to be a place where we can connect as a family. It’s definitely shaping up to be that space and I’m so happy with it! Don’t forget to enter to win a HomeRight Finish Max paint sprayer over in part one of this IKEA hack!
DISCLOSURE: This post contains affiliate links. If you purchase an item from one of these links, I’ll receive a small commission at no extra cost to you.

This looks amazing! All your projects are impressive, but I am especially impressed with your ability to create them!
Thanks so much, Chrisi!
What type of paint do you use? I’ve been trying to decide on the best paint for furniture/cabinet applications…
Thank You,
Todd
I used Behr paint+primer and had it custom matched to the IKEA white color.
wow! that looks awesome. great job! where is that pillow from? i love it.
Thanks so much! I actually made the pillow, myself:)