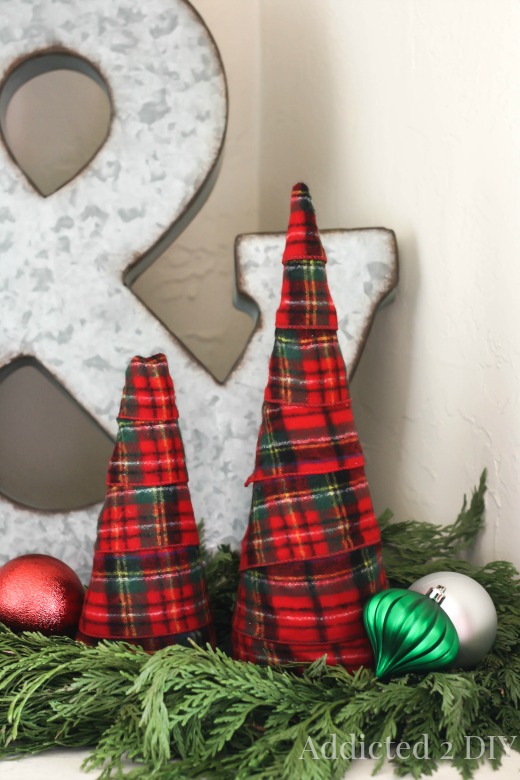
Earlier this week, I opened up my doors and shared my Christmas home tour. I love the look of rustic Christmas decor and this year I decked my halls with greens, reds, and plaids. I DIY’d a lot of my decor and one of the things I did was make these easy and cozy flannel Christmas trees.
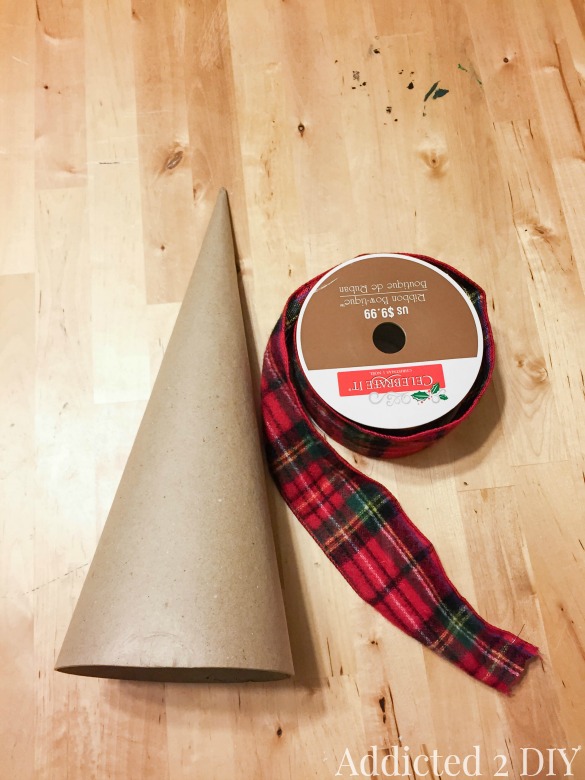
To make them I used just three simple things.
- paper mache and styrofoam cones
- hot glue
- plaid flannel Christmas ribbon. I bought mine at Michaels.
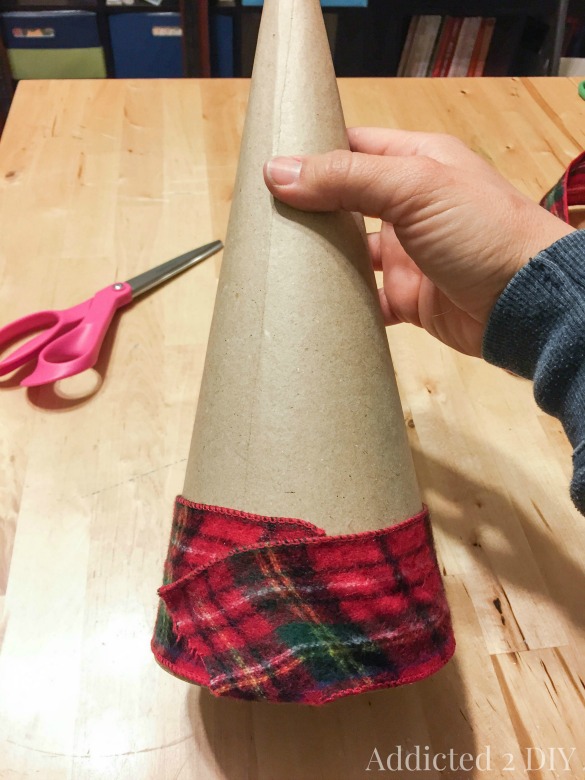
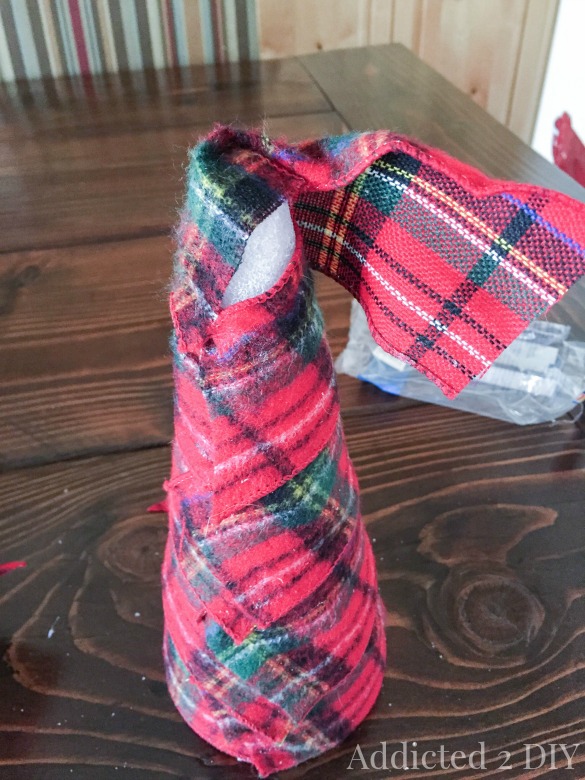
I started from the bottom and wrapped a piece of ribbon around, securing it with hot glue. Since a cone obviously tapers to a point, you have to pull the ribbon around so that the top piece of the ribbon fits snugly against the cone. Otherwise you end up with a big, annoying gap.
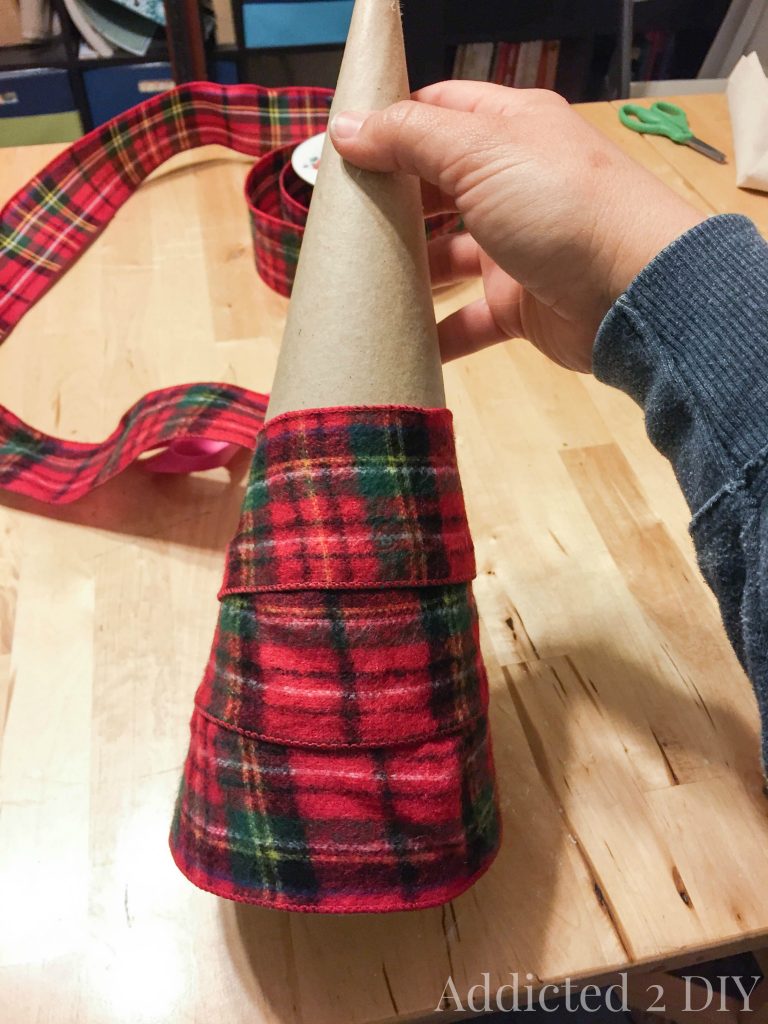
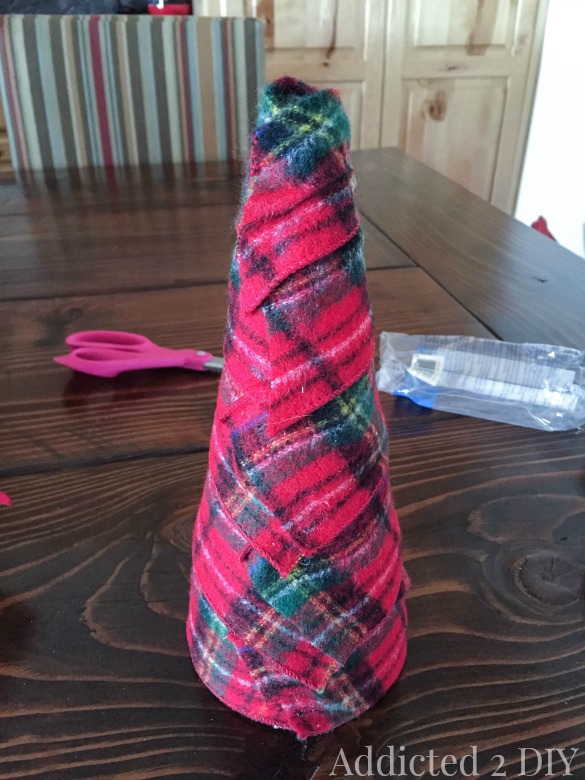
I kept repeating the same steps up to the top of the cone. For each row of ribbon, I would place a dot of hot glue on the front part of the cone to prevent the ribbon from sliding up.
I somehow forgot to take pictures of the paper mache cone being finished, but it’s the same general idea whether you’re using paper mache or styrofoam. I happened to have a styrofoam cone in my craft closet and it was just the right size I needed. Plus it didn’t require a trip back to the store! Wrap the last piece of ribbon around the top of the cone so that it can be folded over the top of the cone. Then wrap it tightly and secure it with hot glue.
Any longer pieces of ribbon on the back of the “tree” can just be trimmed up witch scissors. Simple as that!
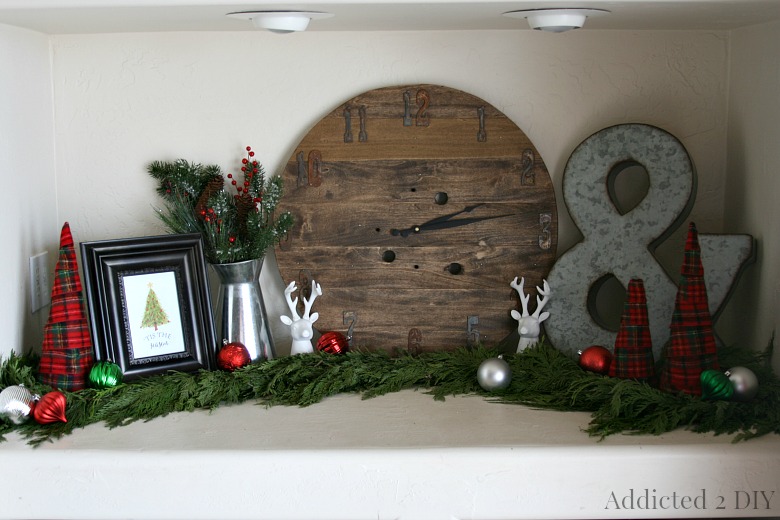
I love the pop of red that these trees give to this shelf in our built-in entertainment center. There’s something just so warm and cozy about flannel. Now I’m wishing I could find some flannel fabric in this color to make throw pillows!
Do you have your Christmas decorating done, or are you dreading lugging those boxes out of the attic?

Leave a Reply