It’s time to start decking the halls with Christmas decorations! I’m still in shock that Thanksgiving is almost over, but I am so excited for the Christmas season. I love this time of year. There are so many traditions that I love to share with my boys.
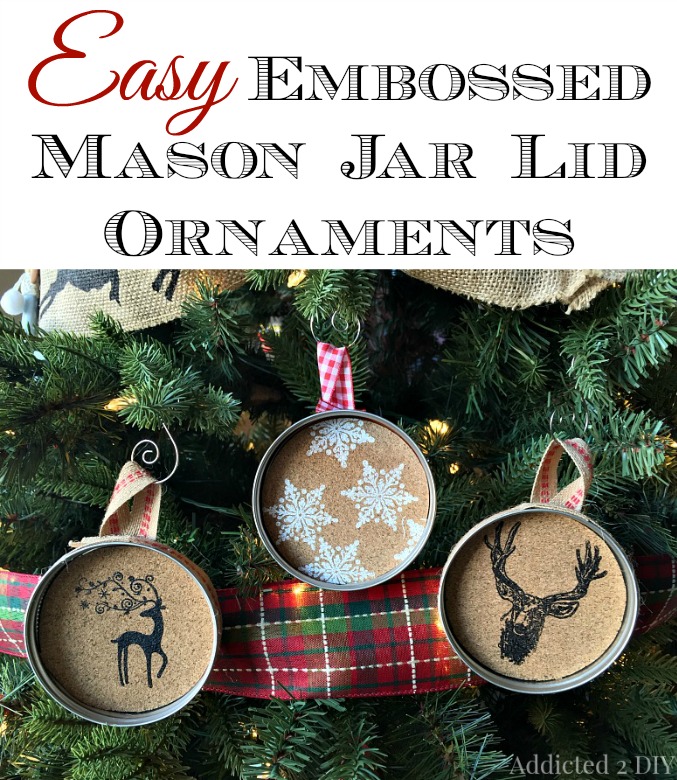
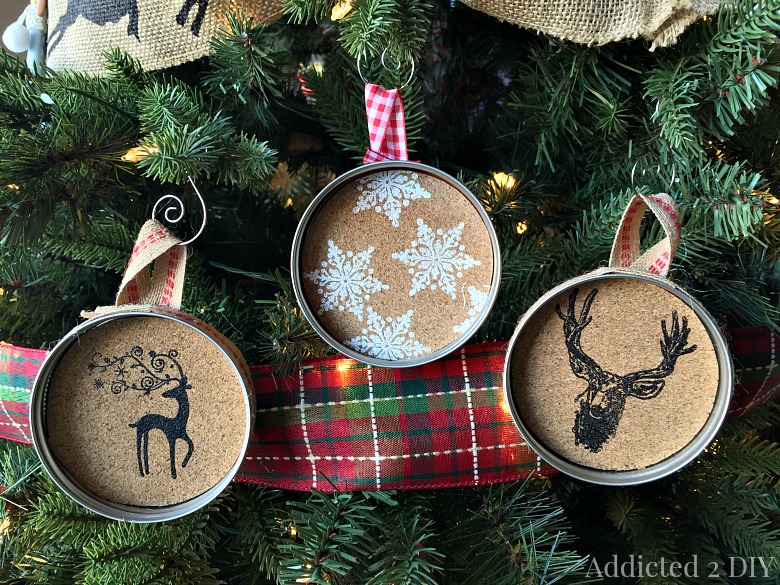
This year, I made a few new ornaments for our Christmas tree. I wanted a rustic look for our tree this year and what better way to do that than with mason jar lids! These are so simple to make and I used my brand new HomeRight Digital Temperature Heat Gun to make them.
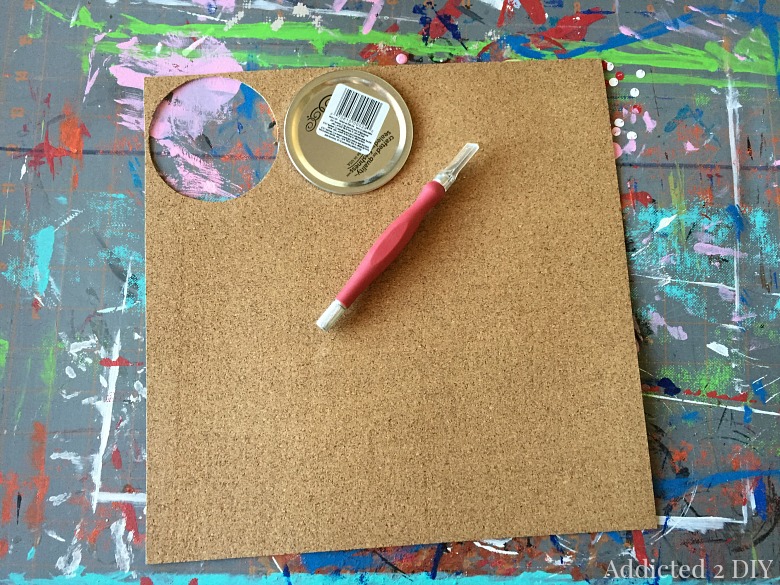
The first step is to cut out some cork circles. I bought the cork sheets from Hobby Lobby. They’re adhesive backed, which makes putting these ornaments together even easier! I just cut around the lid with my craft knife.
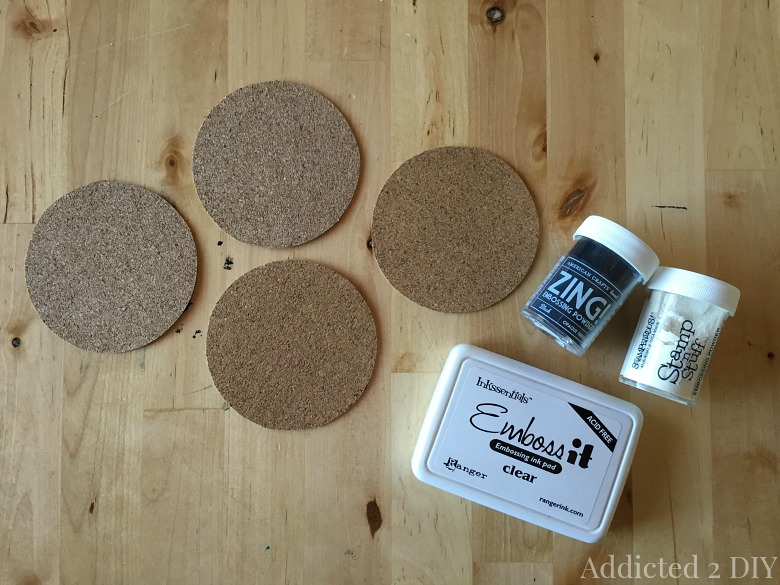
Once I cut the circles out, I grabbed my embossing ink pad and my embossing powder. I used black and white powder. If you’ve never used embossing powder before, it’s so cool! It gives your projects a little bit of dimension as well as a shiny finish where you use the powder.
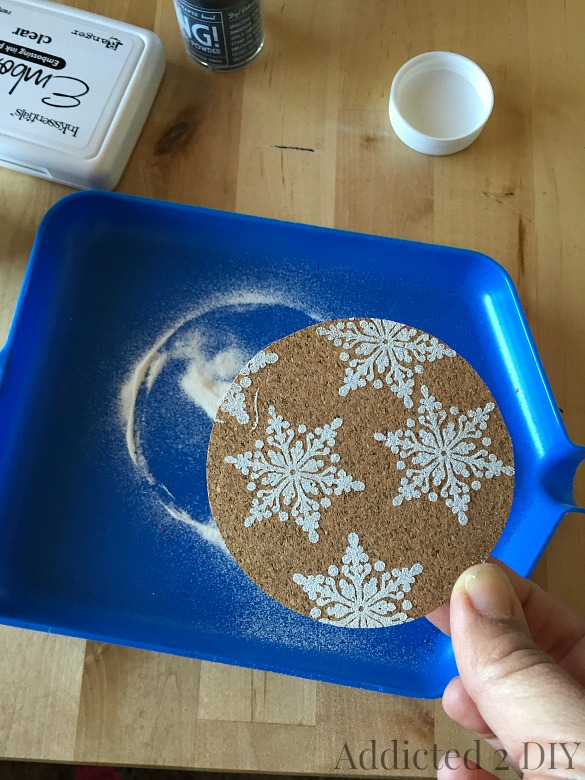
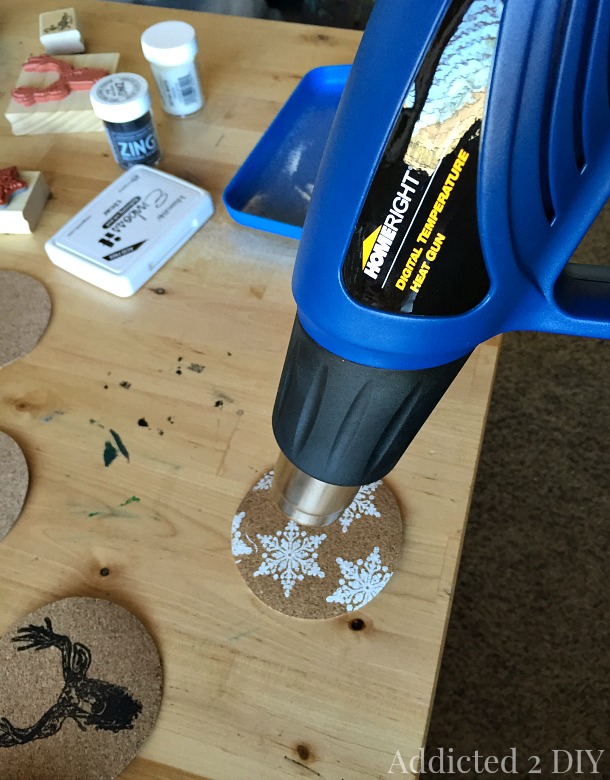
I stamped some pretty Christmas stamps onto the cork with the embossing ink and then sprinkled the embossing powder on to the circles. I shook it off and this is what was left behind.
I grabbed my heat gun and used it to melt the embossing powder. I found that setting the temperature to 450 degrees worked best for this. I just made tiny swirling motions over the entire circle until the powder was melted. The heat gun does blow the circle around a bit, but I’ve found that if you hold it straight up and down, it doesn’t do it much. You can also place it in the mason jar lid, which would stop it from blowing around too.
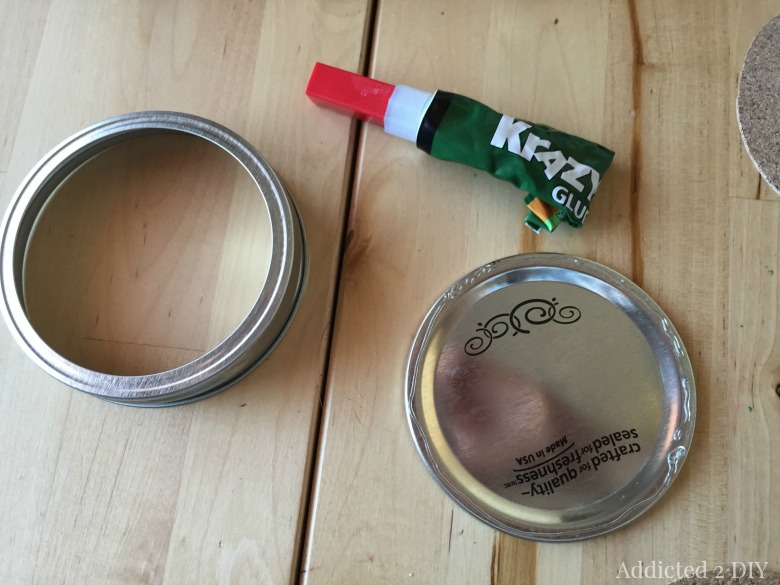
I glued the mason jar ring to the lid with some Krazy Glue. My oldest thought it was really cool that I was using “The Kragle.” If you’ve seen The Lego Movie, you know what I mean;)
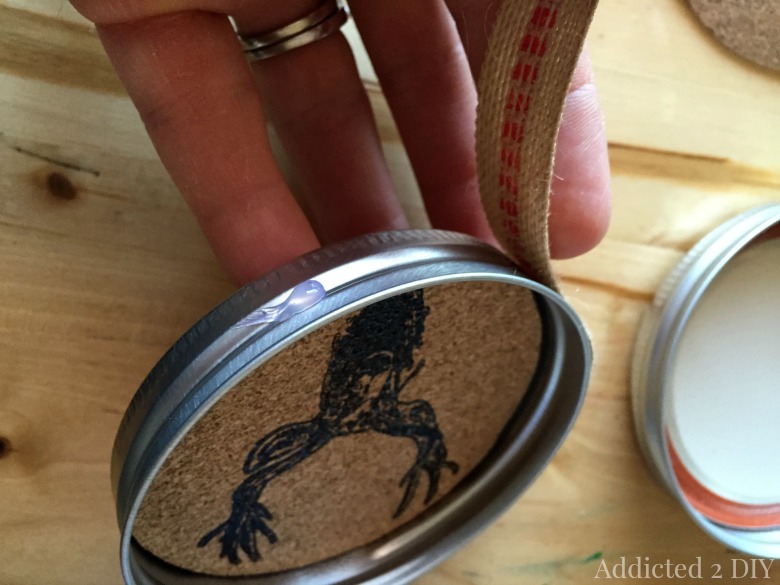
Once the glue was dry, I used my hot glue gun and added some ribbon to the outside of the mason jar ring. I also peeled the backing off of the cork circles and stuck them onto the lids. So simple!
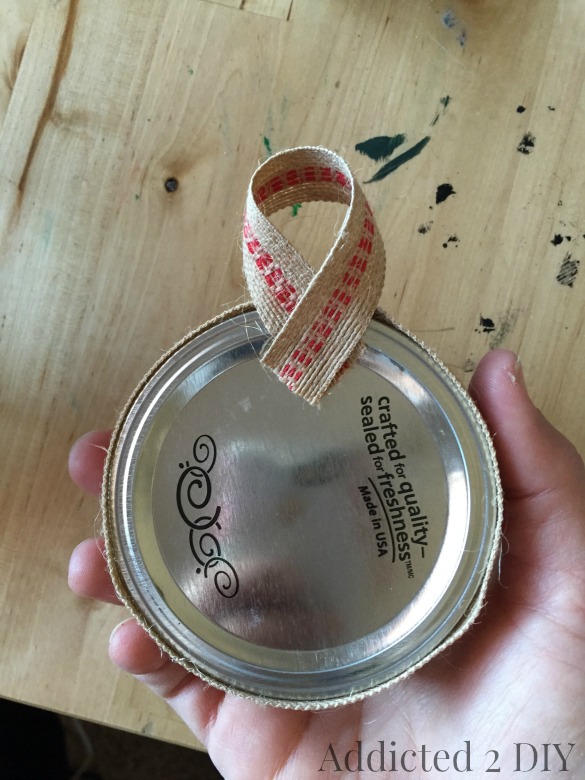
I also glued a loop to the back so it can hang from the tree.
I just added some ornament hooks and I was done! They turned out so pretty and I love the rustic touch they add to my tree. I’m making several more to add and might even add these to some Christmas gifts when I wrap them.
These also make awesome coasters. You just have to leave the ribbon loop off of the back and stamp them with whatever you like! A monogram stamp would be a perfect touch. There are so many colors of embossing powder too, so you can really customize these any way you want.
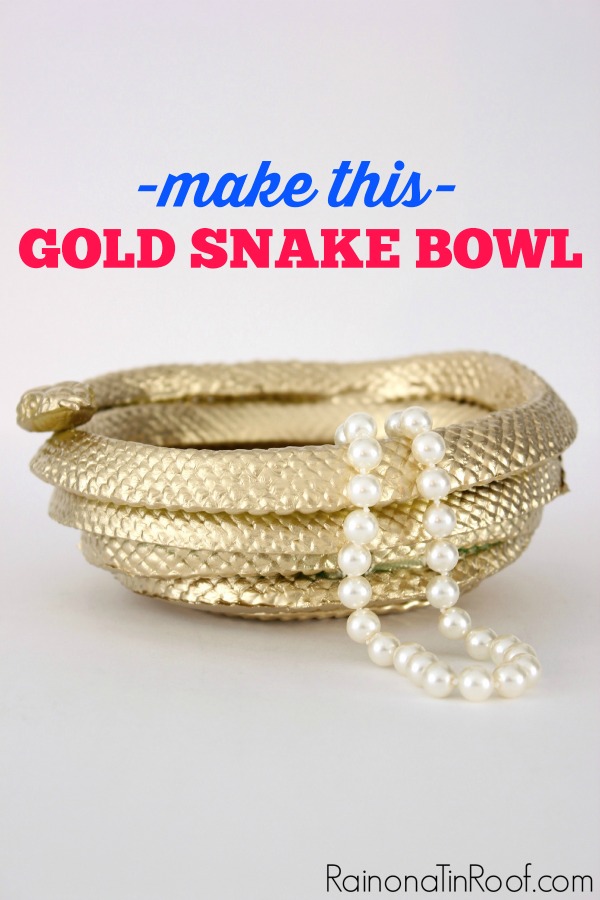
There are also so many cool things you can do with the HomeRight Digital Temperature Heat Gun. Check out what some of my fellow bloggers have done with theirs! Just click on the images to take you to the tutorials.
Now that you’re feeling inspired, you can enter to win one of these awesome heat guns! Just follow the entry rules using the Rafflecopter widget below. Giveaway is open to U.S. Residents ages 18 and over. Void where prohibited. This would make an awesome gift for yourself or you can put it under the tree for your favorite DIYer!
a Rafflecopter giveaway
DISCLOSURE: I was compensated and/or given product for this post; however, all ideas and opinions are 100% my own.



These are so cute and look super easy! Thank you for also including my project. 🙂
Anna
Great idea! And they can be for any occasion just by changing uo the ribbon and image. I will be trying these.