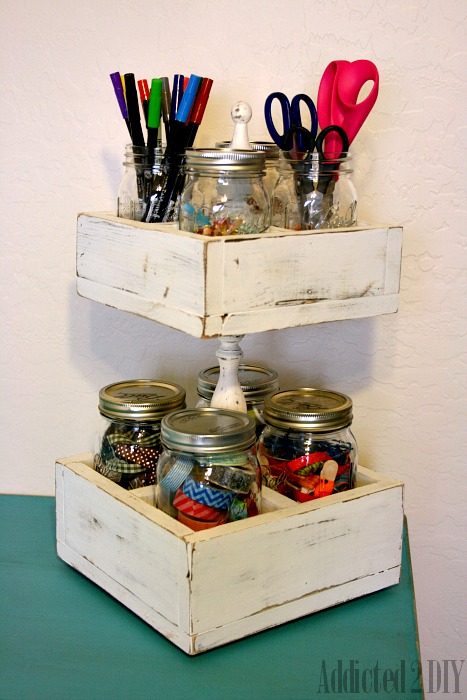
I have a huge obsession with mason jars. They’re not just for canning anymore. There are so many things that you can do with them. I use several of them in my craft room for storage and I decided that once I finished my craft cart, I would make a cute caddy to hold them. I’ve seen several different types of wooden mason jar caddies on the internet and I’ve seen people use tiered dessert trays to hold mason jars. I decided to combine those two into one cute and super functional caddy. I even added a lazy Susan to it for ease of use. The bottom tier will hold quart sized jars and the top tier will hold pint size jars.
Here’s how to make it:
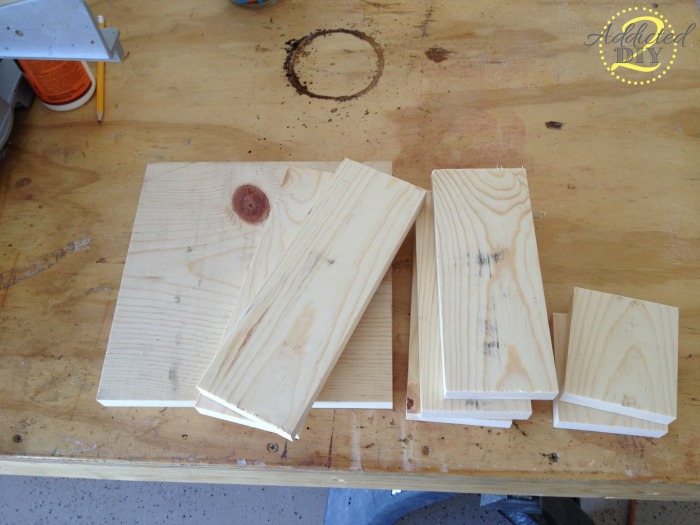
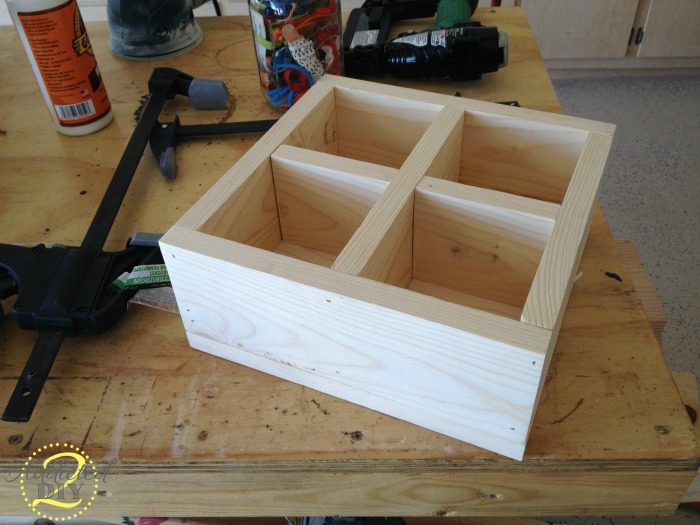
Start by cutting your pieces of wood for your bottom tier. We have a 12″ sliding compound miter saw, which makes cutting the boards for this super easy. For the bottom, I cut a 1×12 into a 10×10 inch square. If you don’t have a saw capable of this, you can use a table saw or a circular saw to do the same thing. I used an 8′ long 1×4 for the sides and middle pieces. You’ll need two pieces cut at 10″ long, three pieces cut at 8 1/2″ long, and two pieces cut at 3 7/8″. Sand all of the pieces of wood prior to attaching them.
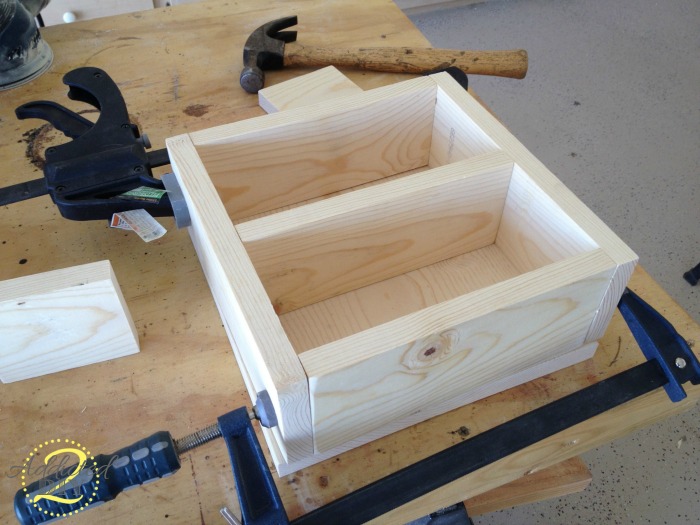
I glued and clamped my pieces together and nailed them with 1 1/4″ brad nails.
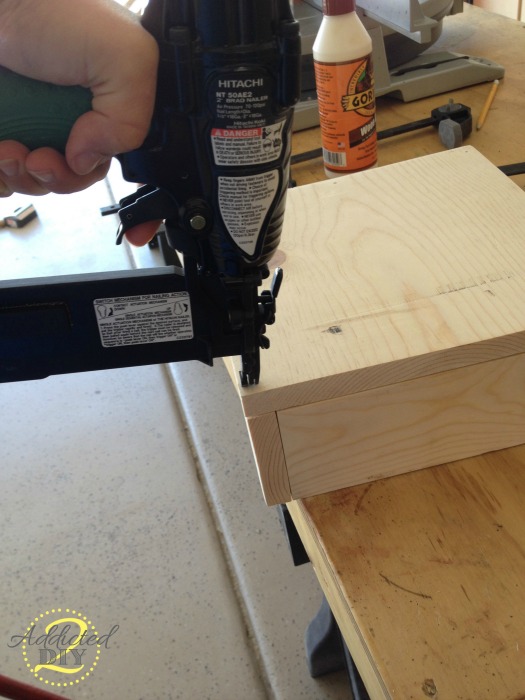
Next, I glued and nailed the bottom to the sides.
I then figured out the center point and nailed the 3 7/8″ pieces. Since it’s impossible to nail these in the middle, I nailed them on the outside and then flipped the bottom tier over and nailed them from the underside.
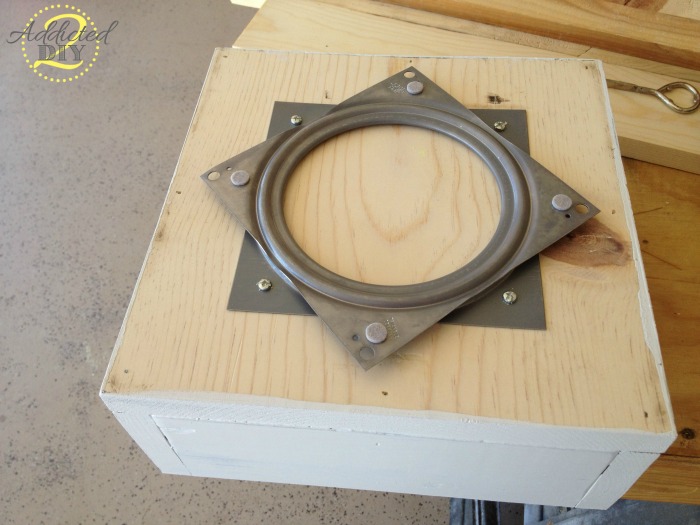
I used 1/2″ screws to attach the lazy Susan to the bottom. You can do this before or after you paint it.
For the top tier, I cut my square piece at 8 3/4×8 3/4 inches. I used scrap 1/3″ pieces of wood for the sides. I cut two at 8 3/4″, 3 at 7 1/4″, and 2 at 3 1/4″. Follow the same steps to assemble it as you did for the bottom tier.
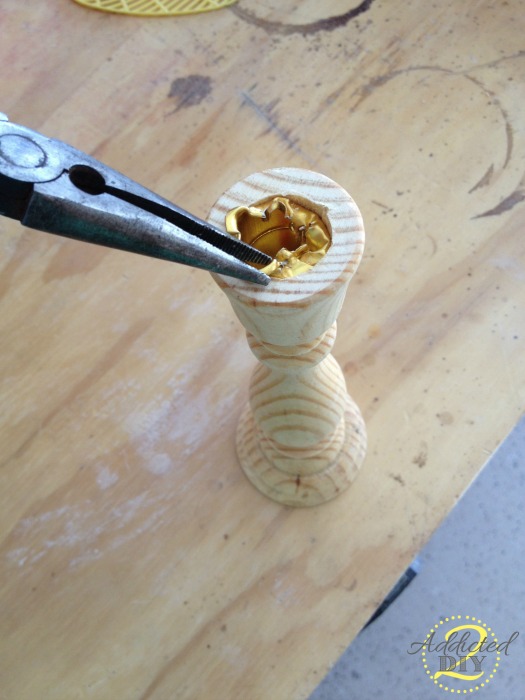
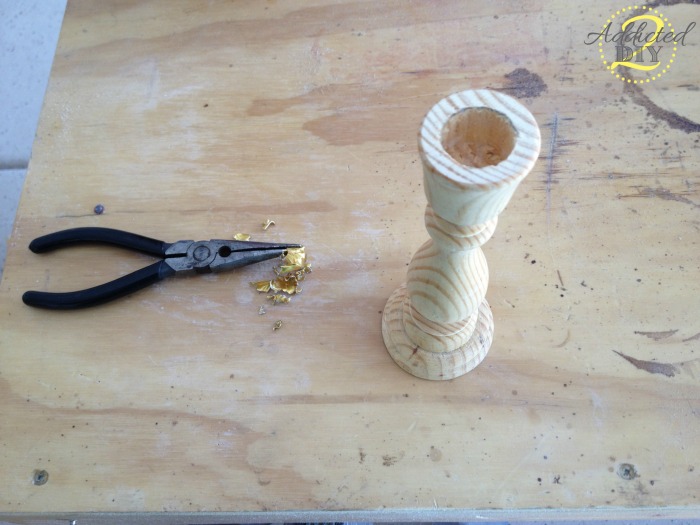
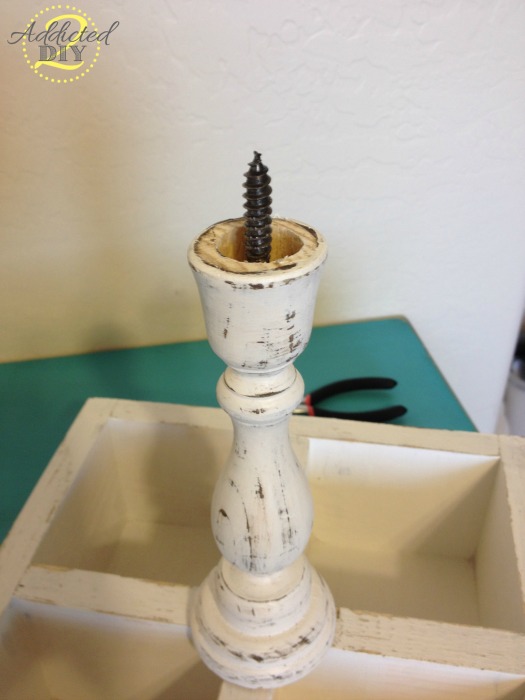
I purchased a wooden candlestick from Michael’s to separate the tiers. You’ll need to pull the metal piece out with pliers.
It takes a minute or two and the metal breaks apart a little, but it does eventually come out.
You can choose to paint, stain, distress, or whatever you want. I chose a distressed, weathered look for mine, because I already had the paint on hand.
Now for the assembly.
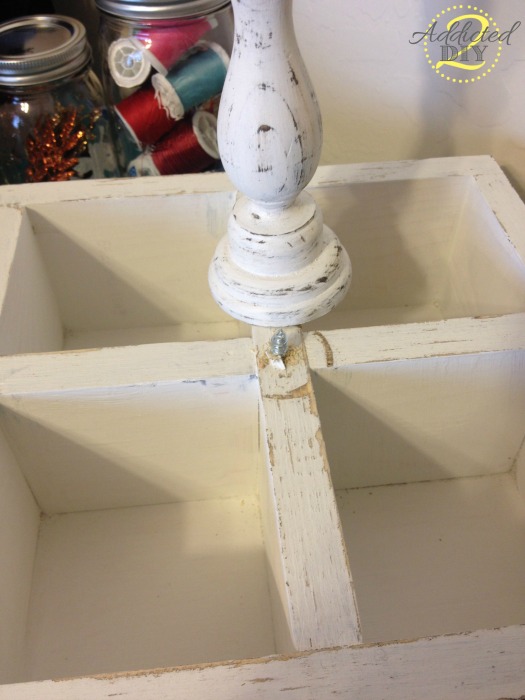
Use a 1 1/2″ dowel screw to attach the candlestick to the bottom tier. The easiest way to do this is to drill a pilot hole in each piece before screwing the dowel screw in.
I used a 2 1/2″ dowel screw to attach the top of the candlestick to the top tier. Just find the center of the top tier and mark it with a pencil.
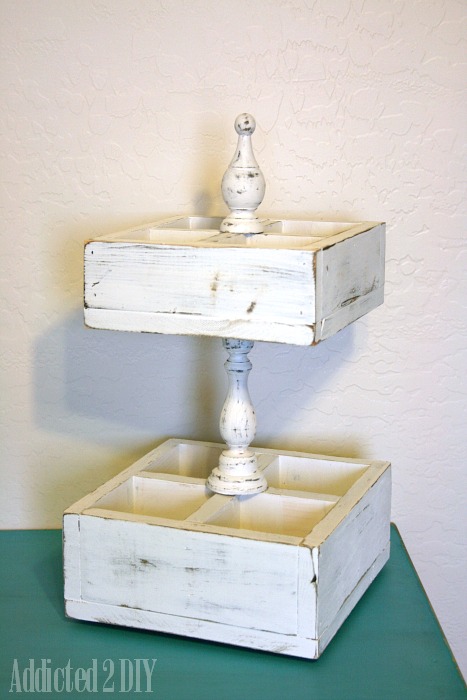
Here is what it will look like assembled. I got the wooden finial at Michael’s as well, but forgot to take pictures of how I attached that. You’ll once again use a 1 1/2″ dowel screw to attach it to the center of the top tier.
And that’s it!
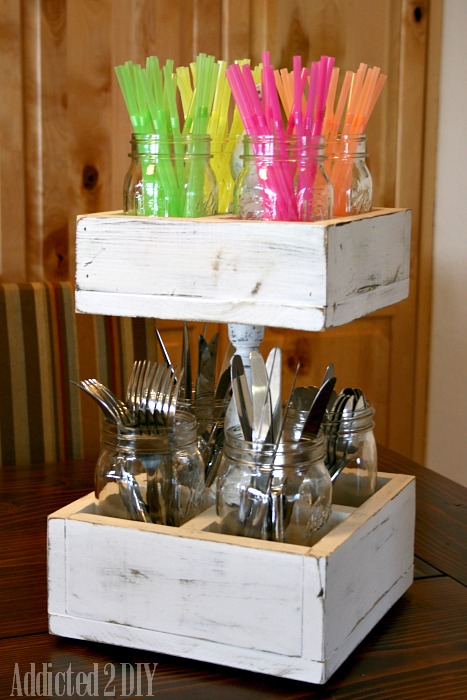
This was really easy to put together and, with the exception of the finial and candlestick, I already had everything in the garage. I love that you can use this for just about anything. You can use it for parties for silverware and straws, swizzle sticks, whatever you like.
I’m thinking I’m going to use it for Christmas Eve brunch. It would even be an adorable display for desserts on a stick like cake pops or marshmallow pops. I’m thinking dipped marshmallows for a hot chocolate bar:)
I hope that you enjoyed this project and feel free to share, pin, comment, etc!
Thanks!
~Katie
You can find me over at these great link parties:
Thrifty Thursday Link Party @ Living Well Spending Less


This is so cute, Katie! Your tutorial is great too. Have a great day 🙂
That is the cutest thing!Would make a beautiful gift for all ages!