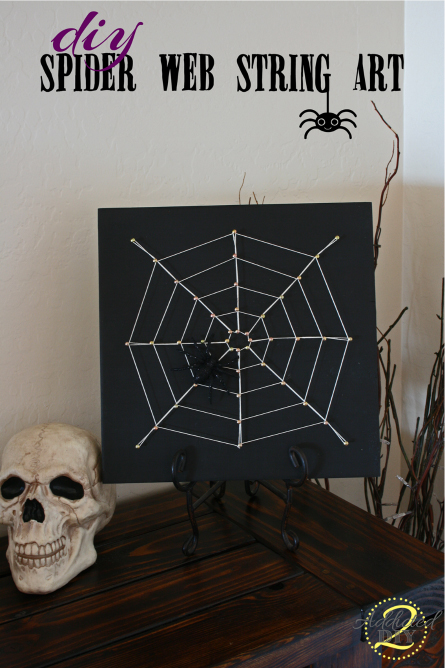
Today I’m going to share this fun and easy Halloween decoration. It literally took me about an hour’s worth of work to make it. With the exception of the spider, I already had all of the supplies on hand for this project, so it was super cheap for me to make it.
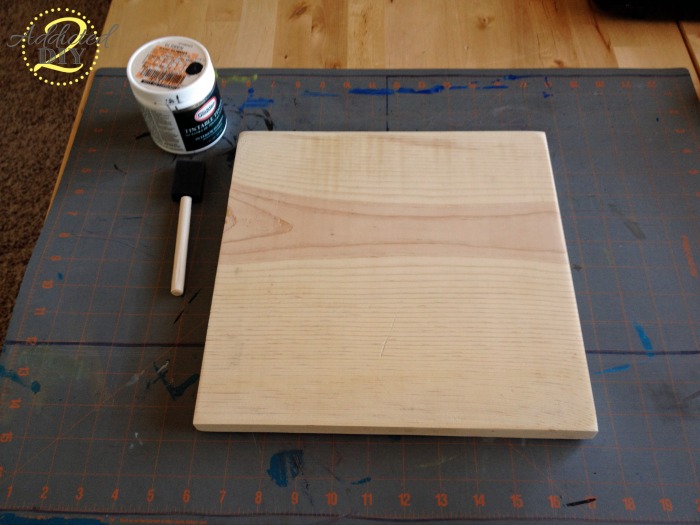
You’ll need a 1x12x12 piece of wood (true size is 11 1/4 x 11 1/4), paint, a pencil and ruler, linoleum nails, and string. You can purchase a 4′ piece of 1×12 board at Lowes or Home Depot and ask them to cut a square off for you. For the string, I went to Michael’s and purchased a spool of 10 size crochet yarn. You’ll also need a spider. I bought an 8 pack of glitter spiders at Walmart for $2.97.
To start, you’ll want to paint your board. I chose black, but obviously you can choose whatever color you like.
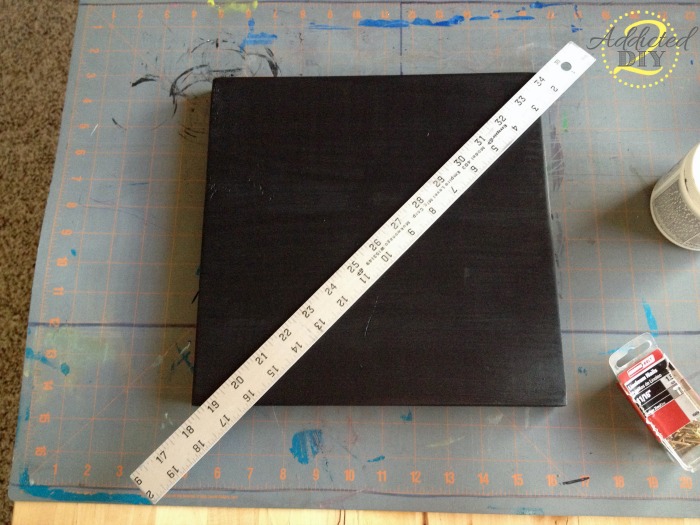
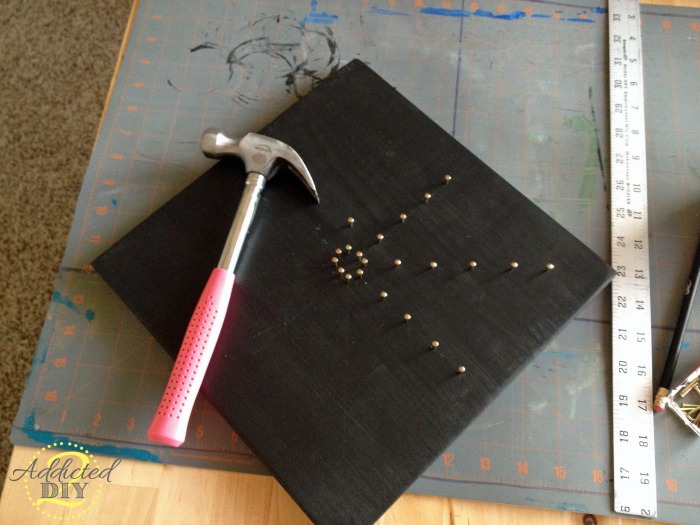
Next, I used a pencil and ruler and drew lines on my board diagonally for each corner and then straight down the middle and across the middle.
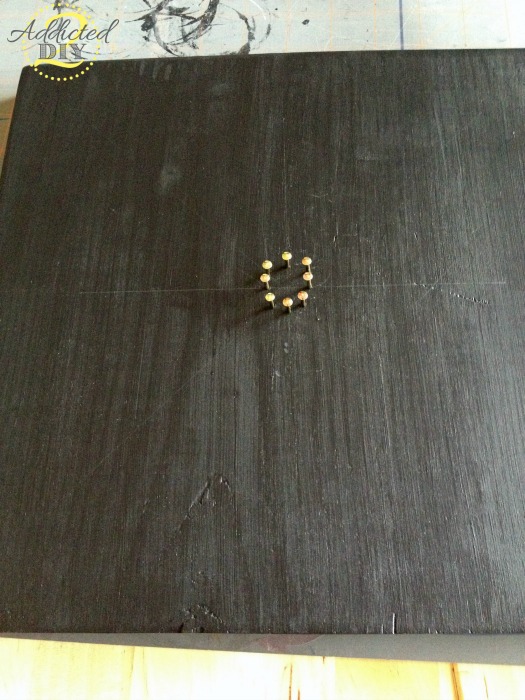
I hammered my first set of nails about 1/2″ from the center of the board. You can see my faint pencil lines that I’m using as my guide. You want to leave the nails sticking out of the wood about 1/2″
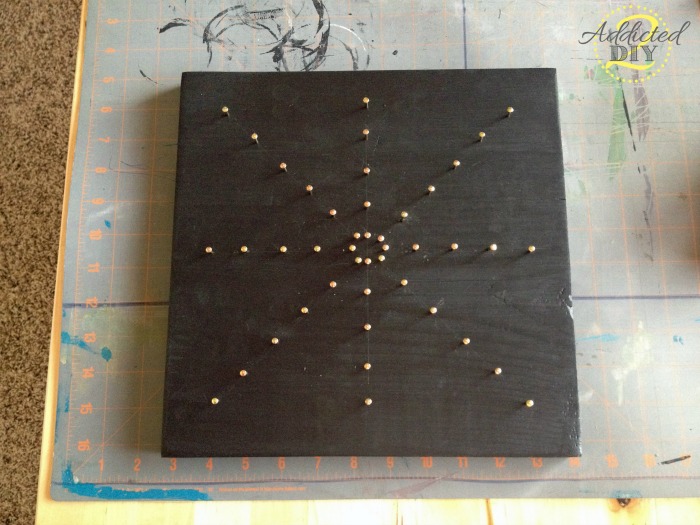
Spacing them about an inch or so apart, hammer in your nails on the lines until you reach a stopping point of about an inch from the sides and about an inch and a half from the corners. None of this has to be perfect by any means. It is after all a spider web and they all have their own unique shape.
Here is what it should look like with all of the nails hammered in.
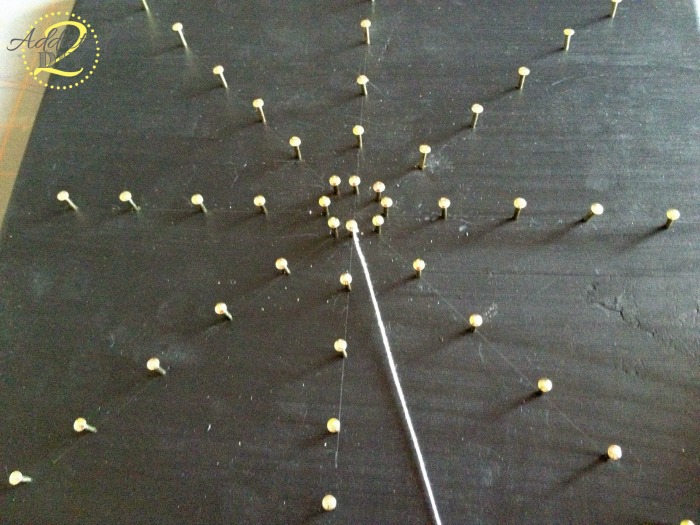
Beginning in the middle, tie your string to a nail with a few knots and trim off the excess tail.
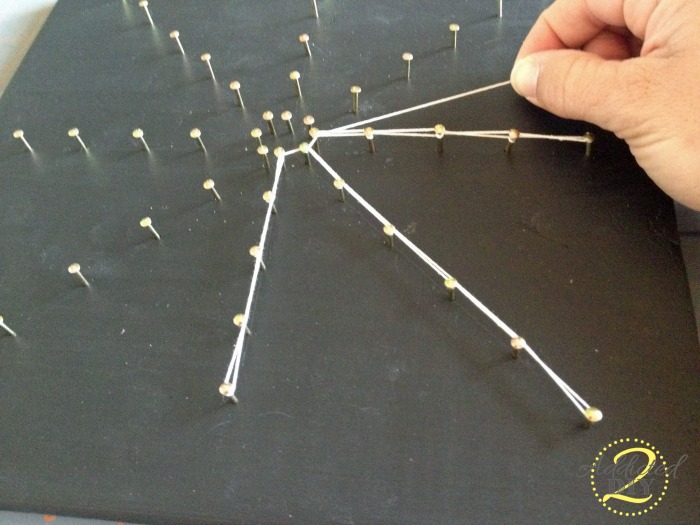
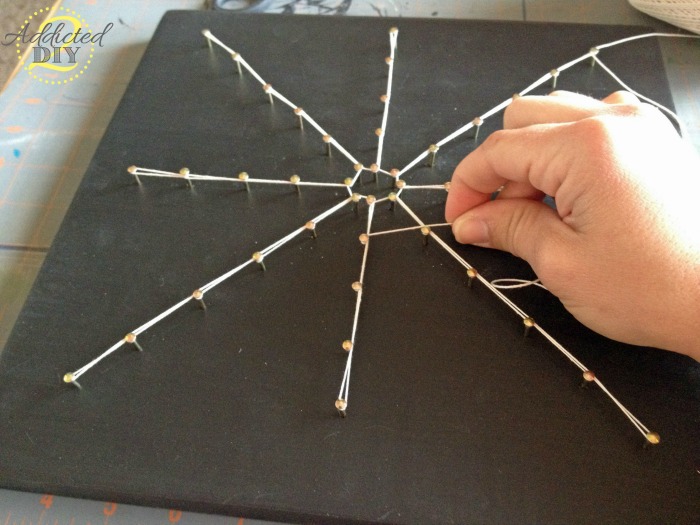
Start wrapping your string once around a nail and work your way out for one of the lines. You’ll wrap it back over itself to get back to the middle and then move over to the next line, repeating the same steps until you have all of the lines completed and you are back where you started wrapping.
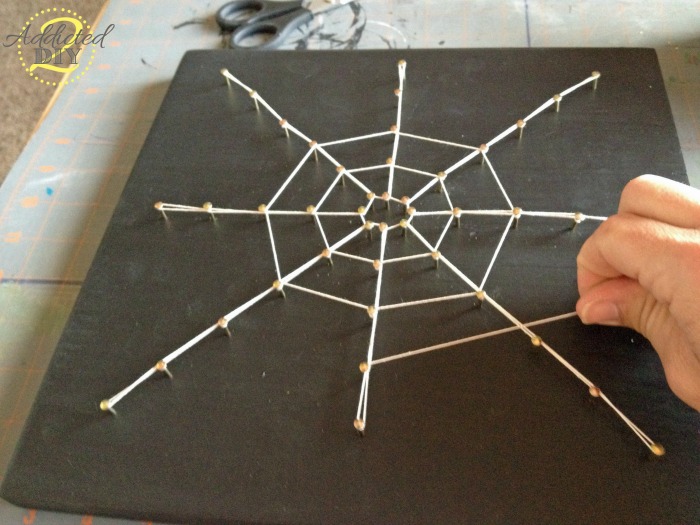
For the webbing, move out to the next nail and wrap the string once and work your way in a circle around all of the other nails.
Each time you get back to your starting point, move to the next nail and repeat the prior steps.
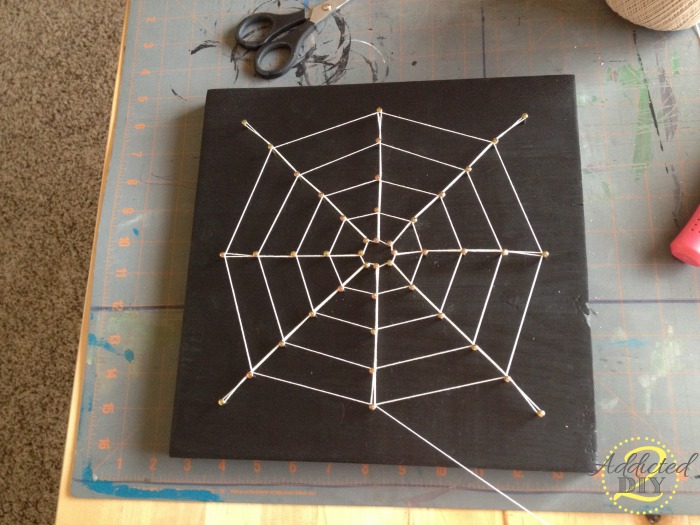
Once you have reached the final nail, tied off your string and cut off the excess.
You can choose to display this any way you like. You can nail a picture mounting bracket into the back of it or you can display it on a metal easel like I did. I didn’t attach the spider at all. I just stuck him on there. If you are hanging this on a wall, you can stick the spider legs into the string a little more to make him more secure.
That’s it! This project is such an easy and inexpensive way to add some Halloween flair to your home. I hope you’ll give it a try! I’d love to hear your comments and feel free to pin away!
~Katie

So funny…we have a weekly link party (Get Your DIY on Fall Party Challenge), and this week’s theme will be ‘Thrifty Halloween Projects’ and I was totally going to make a string art web as my project! I ended up doing something else because I couldn’t wrap my head around how to get started on the string art ha ha. I was having a brain bubble at the time, I guess! You did a great job! Our new theme starts Sunday at 7:00 if you want to join us 🙂
XO,
Christy
I would love to! Thanks for the head’s up!