I asked ChatGPT to help me design a workbench for my shop!
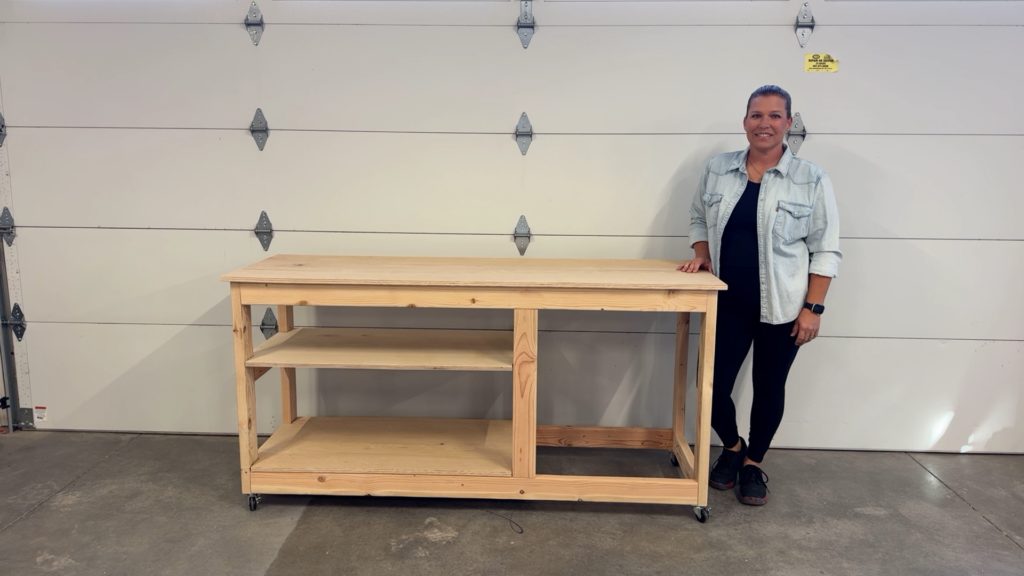
I had a few problems in my shop that I wanted to find a solution for. First, I needed a new workbench/work table for an area in my shop, but I also have a fairly large scrap pile of plywood that has been accumulating against the wall in my shop for the last several years.
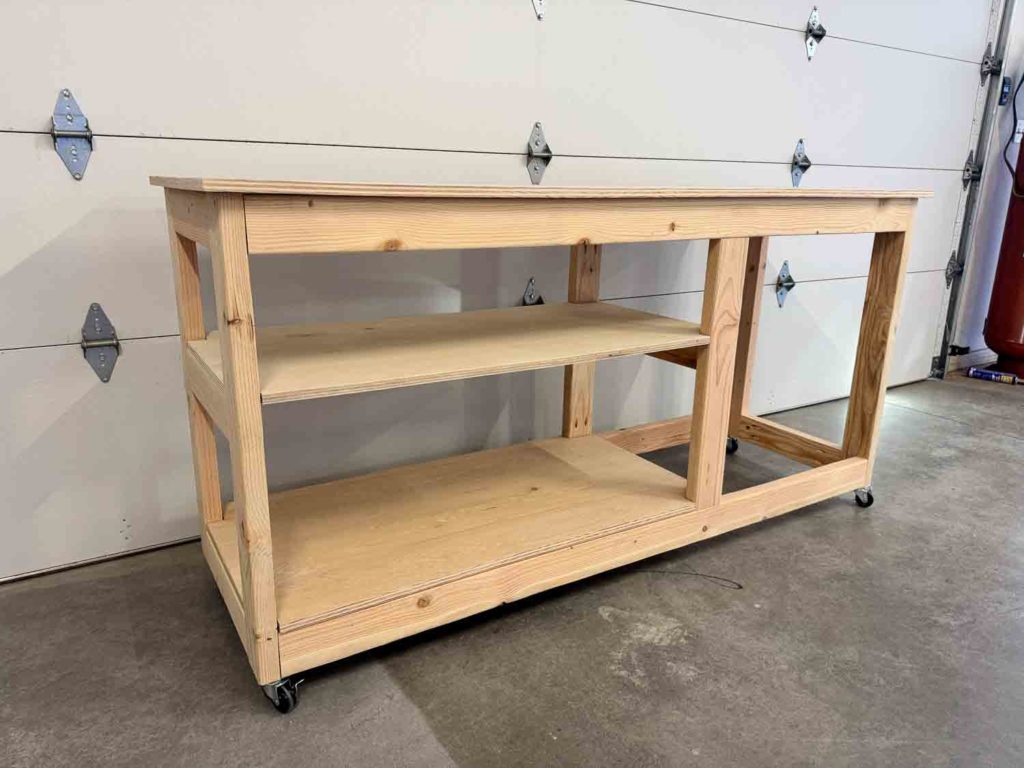
I decided to build a workbench and utilize some of that plywood, but I wanted to try something new…
I asked ChatGPT to help me design it! I gave a few prompts about what I was looking for, said I’d like an area where I have room to sit, and voila! Once it created the image for me, I got to work designing the plans.
To see how I built this workbench, watch the full YouTube tutorial.
There you can get the full step by step tutorial as well as see all of the tools that I used.
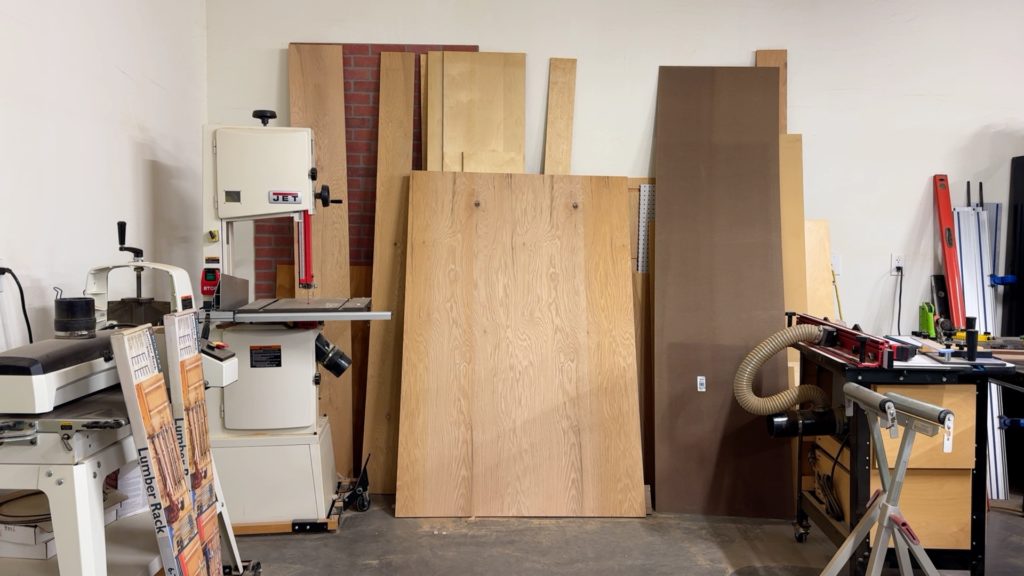
I was able to pare down my plywood stack a little bit and it was so satisfying. I was actually going to cut most of this up into small pieces and throw it away!
Materials & Tools (Quick List)
- 2×4 lumber (frame + supports)
- 3/4″ plywood (top + shelves; mix of red oak/birch is fine)
- Wood glue
- 2 1/2″ pocket hole screws (frame)
- 1 1/4″ pocket hole screws (attach top)
- 2″ locking casters
- Pocket hole jig + drill/driver
- Miter saw
- Track saw or circular saw (for plywood cuts)
- Jigsaw (for notches)
- Sander
- Measuring/marking tools (Multi-Mark or speed square)
- Clamps
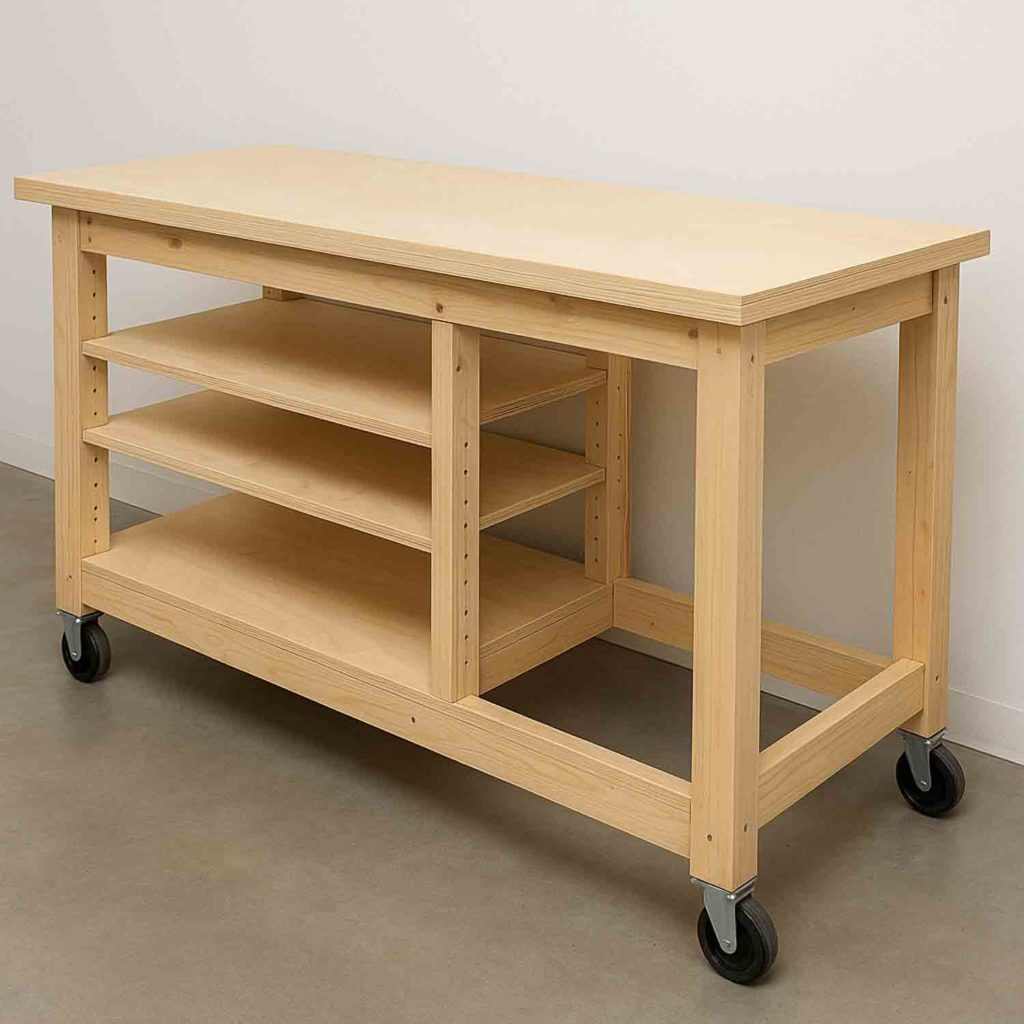
This project can be completed in just a few hours and can be used for a number of things in your garage or shop. You can use it as a workbench, use it as a miter saw table, or even a work table in a craft room. The shelves make it easy to store extra items out of the way and keep things organized, and the open seating area allows you to sit comfortably on a stool to work on things.
Step-by-Step Tutorial
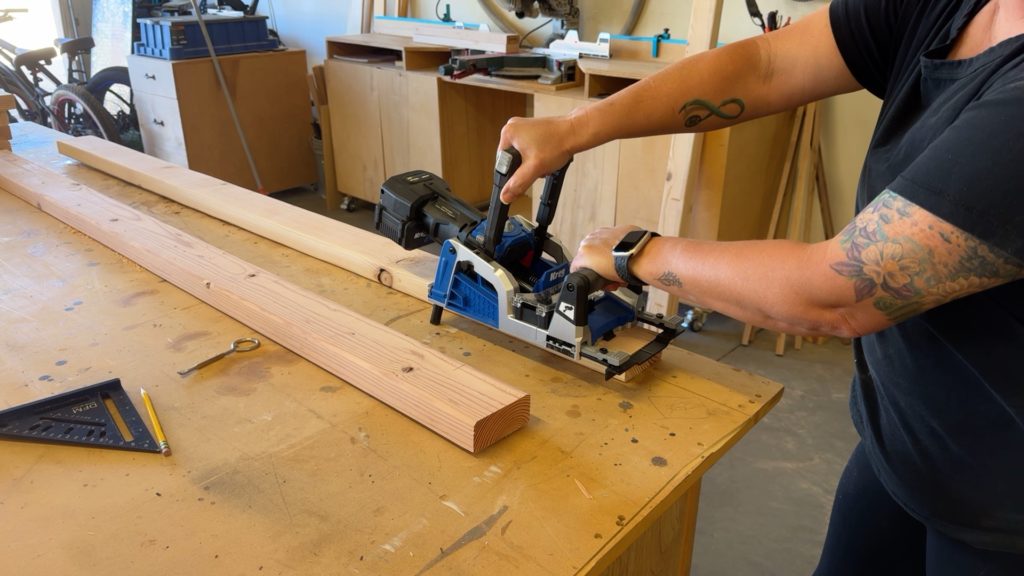
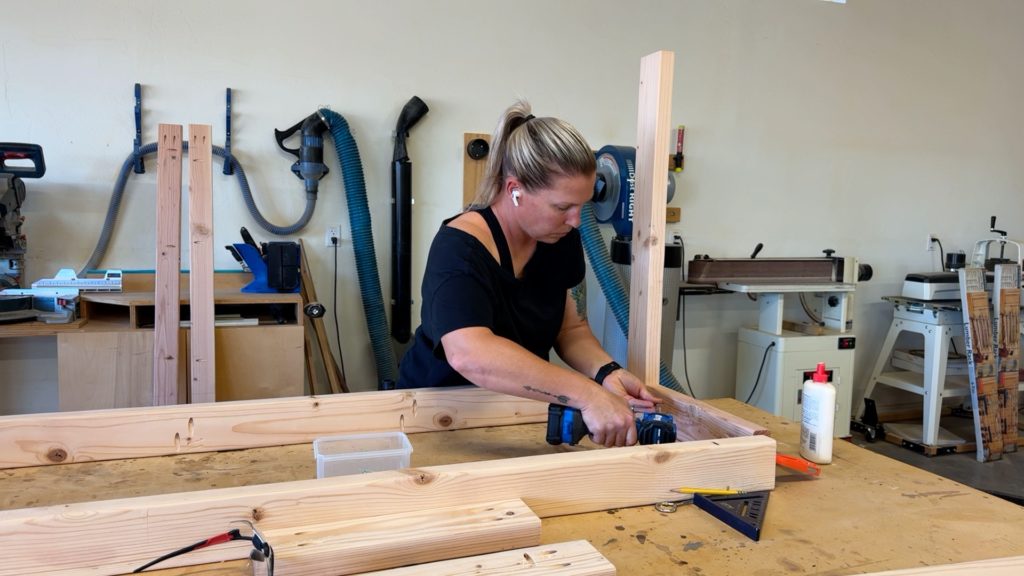
1) Prep the Lumber
- Sand all 2x4s before cutting.
- This is faster than sanding a bunch of smaller pieces later.
2) Cut the Frame Parts
- Use a miter saw to cut all 2×4 components to size based on your plan/cut list.
3) Drill Pocket Holes
- Set your pocket hole jig for 1 1/2″ material (for 2x4s).
- Drill pocket holes:
- In both ends of each stretcher
- Along the length of the stretchers (these will be used later to attach the top)
- If you’re attaching a 3/4″ plywood top, adjust your jig/screw setup accordingly for the top-fastening holes.
4) Assemble the Top Frame
- Build the top rectangle first:
- Apply wood glue at joints
- Fasten with 2 1/2″ pocket screws
5) Assemble the Bottom Frame
- Flip the assembly on its side and build the bottom frame the same way:
- Wood glue + 2 1/2″ pocket screws
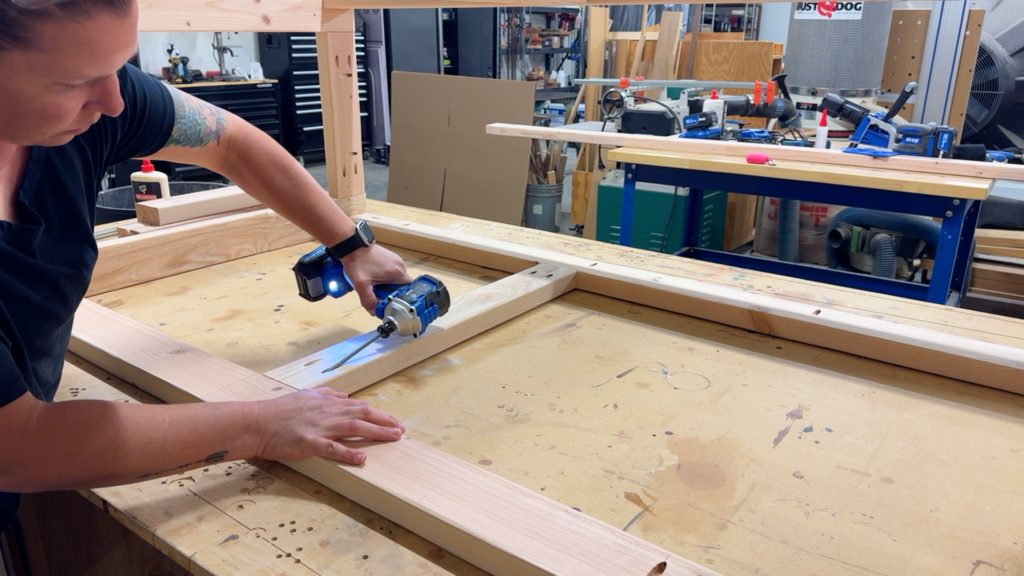
6) Add Divider Studs for Shelves + Seating Area
- Measure 24″ from one end to establish the divider location for the shelf section vs. open seating section.
- Attach divider studs using 2 1/2″ pocket screws.
7) Install Casters
- While the frame is easy to access, install the 2″ locking casters on the bottom.
8) Add Shelf Supports
- Cut and install horizontal supports for the upper shelf.
- Use a spacer block (example: 13″ scrap 2×4) to keep shelf supports level and consistent from side to side.
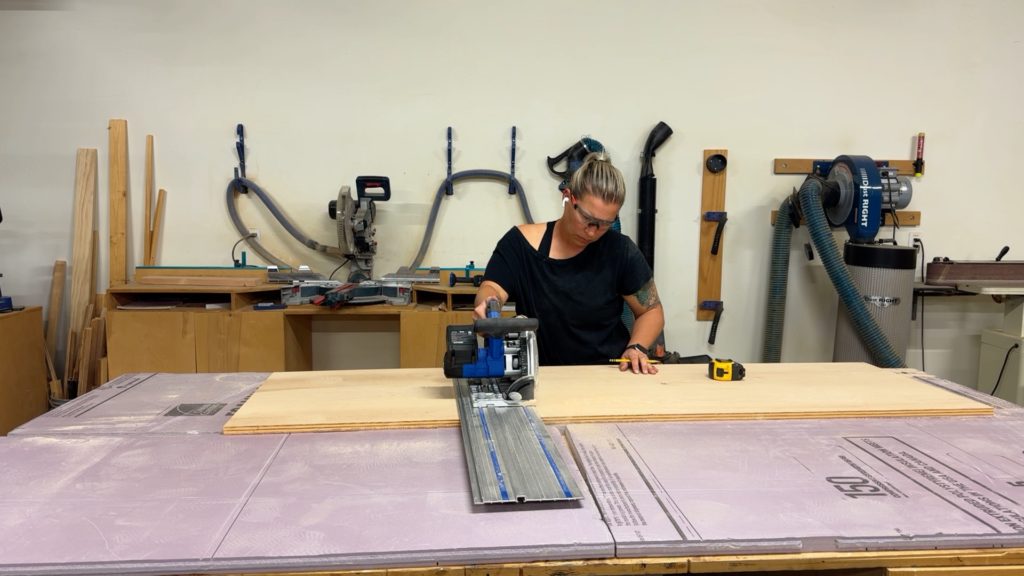
9) Cut Plywood for the Top + Shelves
- Break down your plywood sheet:
- Cut the plywood for the workbench top
- Trim remaining pieces to create the lower shelf
- Cut a separate piece for the upper shelf if needed
10) Mark Notches for Legs & Supports
- Dry fit and mark where the plywood needs notches to fit around:
- The 2×4 legs
- Center supports/dividers
- Use a marking tool (like a Multi-Mark) to outline notch cuts clearly.
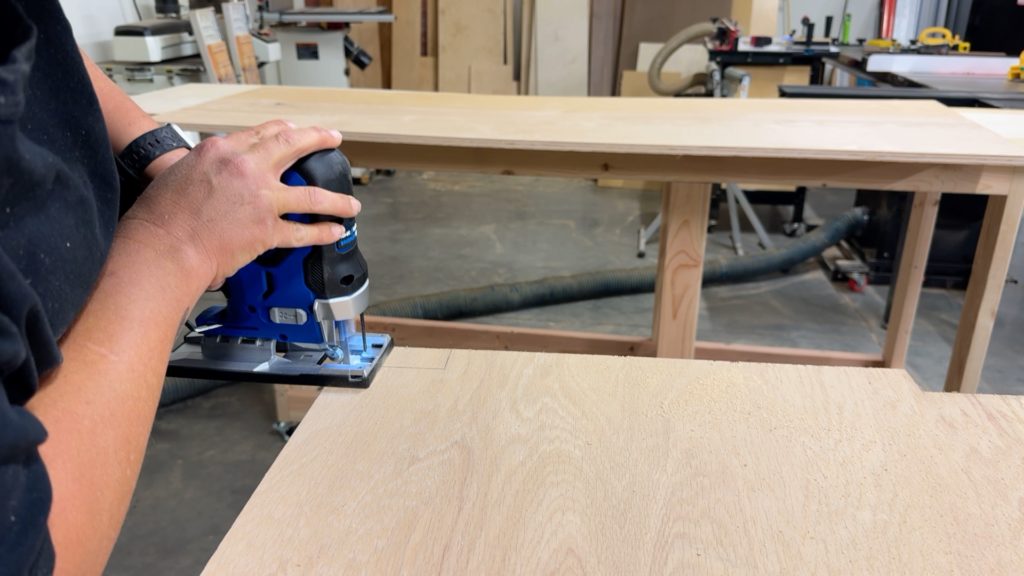
11) Cut Notches
- Cut the notches with a jigsaw and clean up edges if needed.
12) Install Shelves
- Slide shelves into place.
- If they fit snugly around the framing, they may not need fasteners.
13) Attach the Workbench Top
- Place the top with a 1″ overhang on all sides.
- Clamp in place.
- Secure from underneath using 1 1/4″ pocket screws.

14) Final Sanding & Cleanup
- Sand the top surface and ease the plywood edges.
- If your plywood has sun fading or rough spots, spend extra time smoothing it out for a cleaner finish.
Download the build plans to get started
I already have plans on how I’ll be using this workbench, but I can’t share that with you just yet, so stay tuned! In the meantime, how would you use a workbench like this? Have you ever thought to have ChatGPT help you design something? Or even visualize something in a room?
Leave a Reply