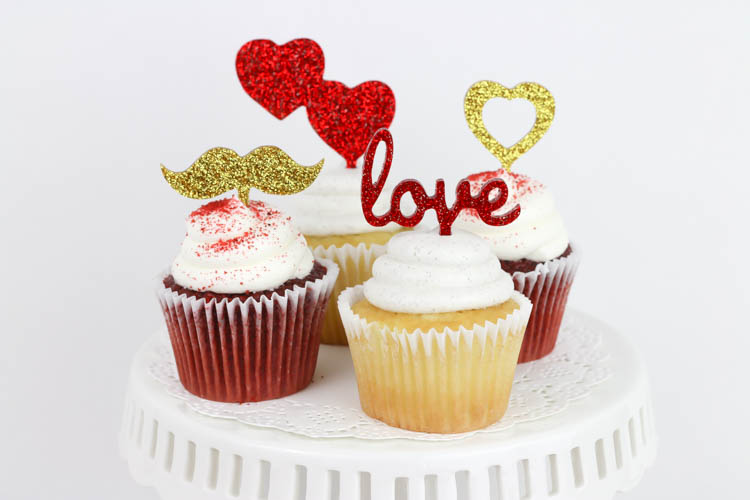
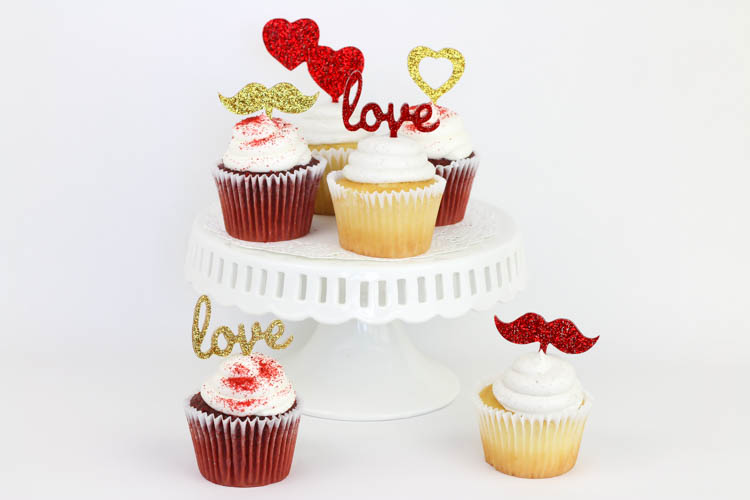
Hey everyone! Believe it or not, Valentine’s Day is just around the corner! I feel like I have barely gotten over Christmas, and we’re halfway through January! We don’t do a whole lot for Valentine’s Day at home, but the kids always have class parties to help out with or donate goodies for. The downside to all of that is that all baked goods have to be store-bought. It kind of kills the creativity of it, in my opinion. Thanks to my X-Carve, though, I can get a little more creative with those store-bought treats this year. I’m partnering with Inventables today to show you how to make these fun, acrylic Valentine’s Day cupcake toppers.
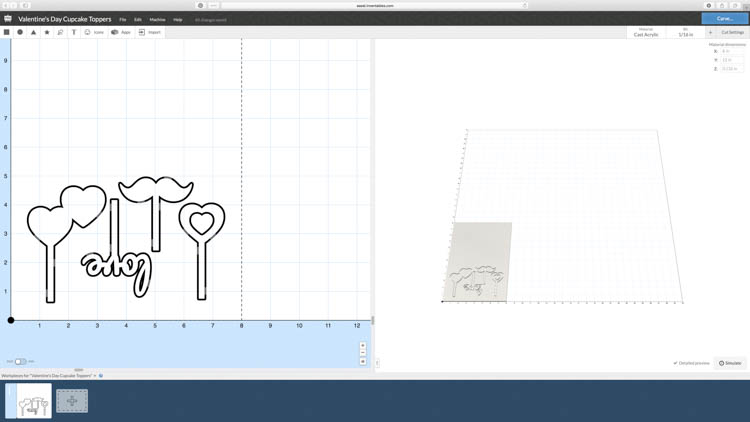
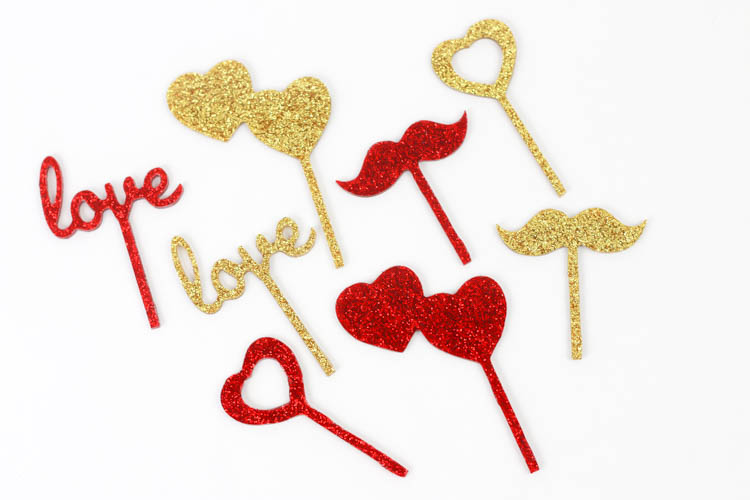
Designing the cupcake toppers was super easy using Easel, which is Inventables’ free design software. I used their stock icons and also stock fonts to design all of the cupcake toppers. There are so many icons to choose from for any occasion. Obviously, being a mom of boys, I had to do something besides just hearts and such, so I made some cute mustache toppers to cater to the boys.
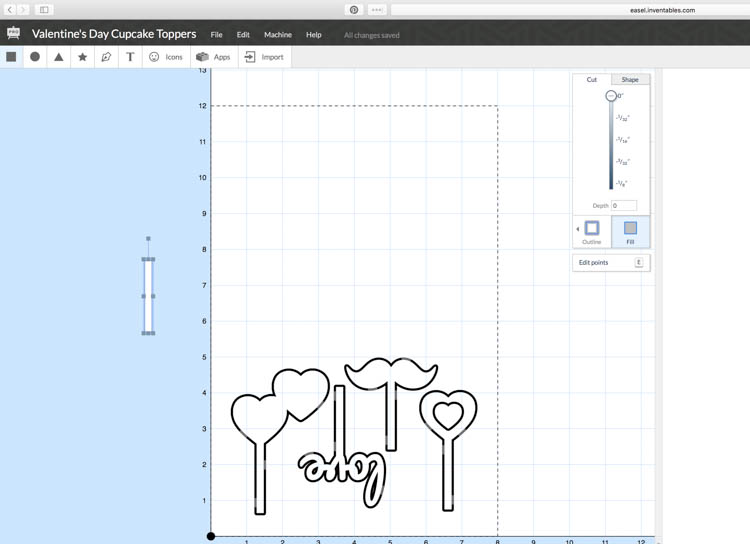
You can easily access my shared file within Easel to make these yourself or design your own! If you notice the little white bar on the side of the screenshot, that is the pick for the cupcake topper. I placed it off the material so you can easily just copy and paste it to make your own. It’s set to a depth of zero, but you can just cut and paste it into your own file and set it to cut to the outside at the full thickness. Speaking of thickness, make sure you use your calipers to measure the thickness of your material. Be sure to measure in multiple areas, because the thickness varies on each piece and even on each edge. I usually just find the average and set my thickness to that. It’s not always a perfect science, but setting it to the thickest setting could cause the tabs to be carved completely and can ruin your project.
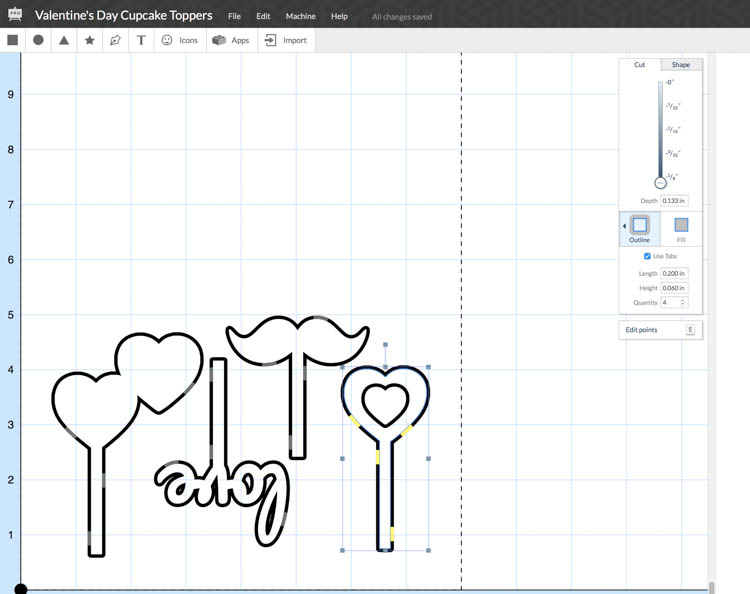
Make sure that if you design your own cupcake toppers that you set the tabs on your picks. I set mine to a depth of .06” and a length of .2” to make them easier to trim afterwards. Also set your tabs on a straight part of the design to make it easier to trim it off later. If you have a design where the center will be carved out, there’s no need for tabs on the center piece. Also, take care when using fonts. You want to make sure that the font has thick enough lines that it won’t break while carving. Acrylic tends to vibrate a lot and the vibrations can cause the pieces to break as the bit is making it’s final passes. The font I used for the “love” topper is Pacifico.
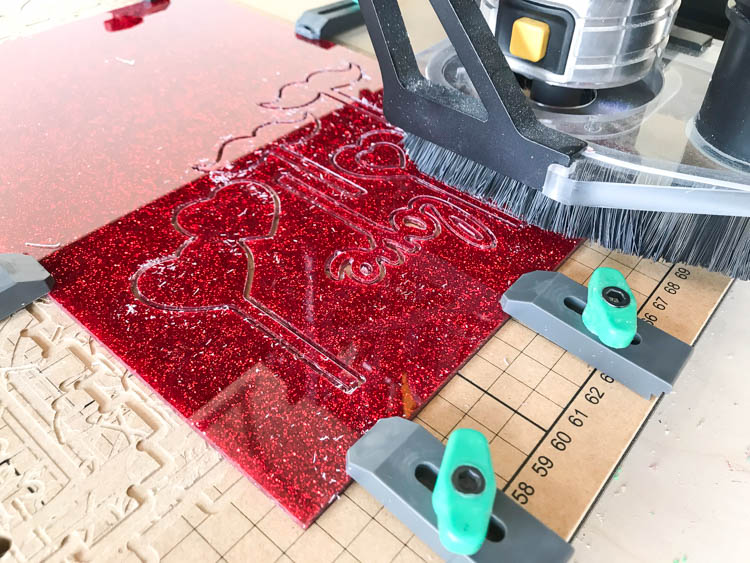
I used glitter acrylic for this project in red and gold, but you can use any color you like! This sheet of acrylic is 8″x12″, so I alternated flipping designs and squeezed them together to make sure I got the most out of my material.
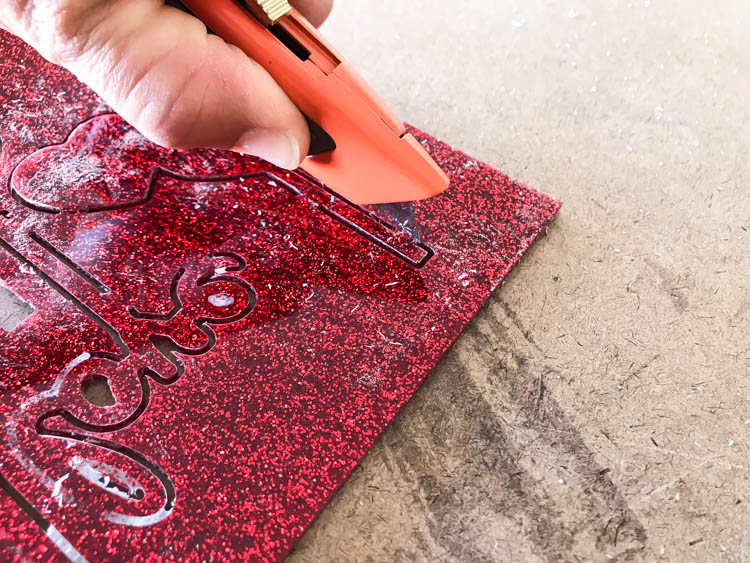
Once all of the designs were cut, I carefully cut the tabs with a razor knife, then used coarse grit sandpaper to clean up the edges where the tabs were. Be careful when doing this that you don’t break any of the pieces. I broke the L on the “Love” cupcake topper, but I was able to easily glue it back together.
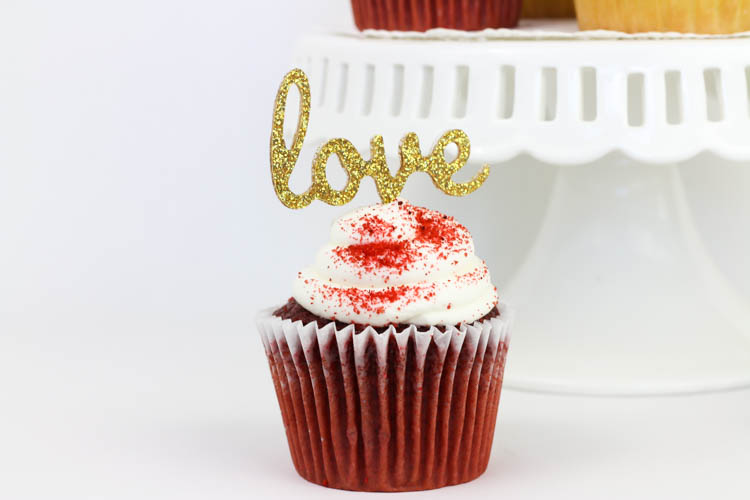
Once they were done, I washed them and they were ready for cupcakes!
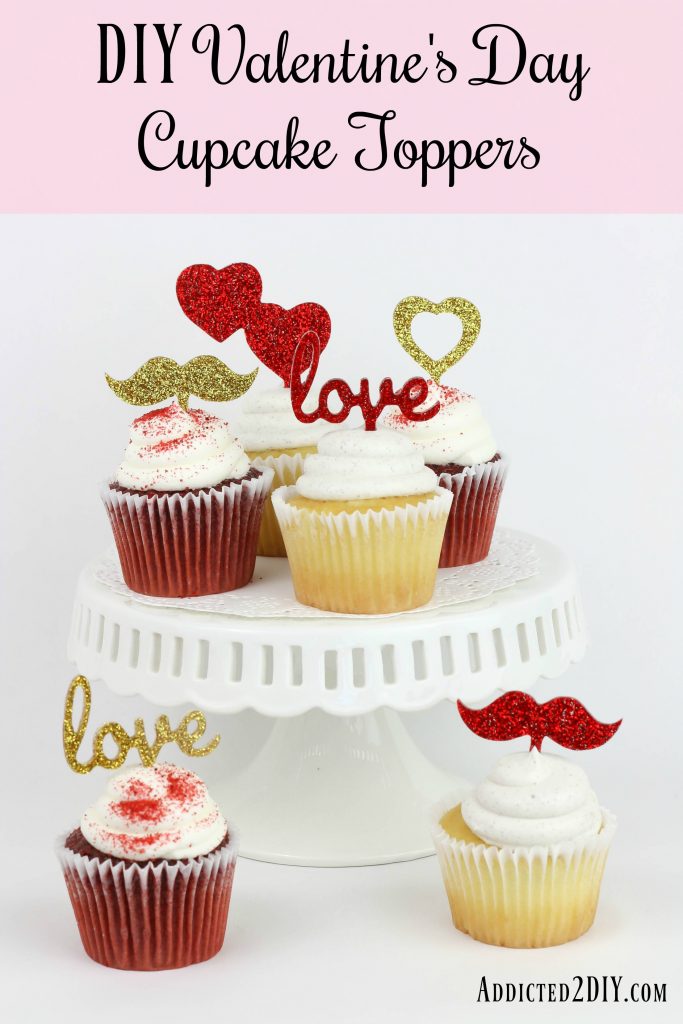
Aren’t they cute?! These DIY Valentine’s Day cupcake toppers are a perfect way to add your own creative twist on store-bought cupcakes, or add them to your own special recipe. I was even thinking they’d be adorable stuck in stacks of mini donuts as a sweet Valentine’s Day breakfast treat. You could even make the picks longer and turn them into kabobs! My boys really liked the mustache toppers. Especially putting them up to their face and acting ‘sophisticated.’
The possibilities are endless when it comes to the holidays or special occasions you can make these for on the X-Carve or the Carvey. My mom is turning 60 in March and we’re hosting a big party for her. I think I may need to make some cute toppers for the cupcakes for her party as well! Be sure to head over to Inventables and download the Easel file I’ve shared with these toppers and follow the instructions above if you’d like to make your own. Easel is free to use, all you have to do is create a login so all of your work is saved.
DISCLOSURE: I was provided product and/or compensation for this post. All opinions and ideas are 100% my own. This post contains affiliate links. Should you make a purchase from one of these links, I may receive a small commission at no extra cost to you.


So adorable!! Valentine’s day is one of my favorite holidays to DIY gifts and create some cute food decor, thanks for sharing!