Hey there, everyone! With Thanksgiving behind us, I’m sure I’m not the only one who is in full-blown Christmas mode. I love to DIY a lot of my Christmas decor and, today, I’ve got a new tutorial and video to show you how to build your own DIY wooden Christmas village.
I’m partnering with Inventables today to share with you how you can create your own custom Christmas village using the X-Carve CNC router. I’ve also created templates for you, which you can use to create tiny houses of different sizes and also a tiny church. Use the template to create big and small houses, swap out the windows and doors for different customization options, and you’re set! The template also includes add-ons to create a tiny church for the center of your village. I’ve included affiliate links for the products I’ve used in this post for your convenience.
Be sure to watch the YouTube video I made to see how to carve and assemble the village. It’s so easy and this can be used not just for Christmas, but for your everyday decor as well as even spooky houses for Halloween next year!
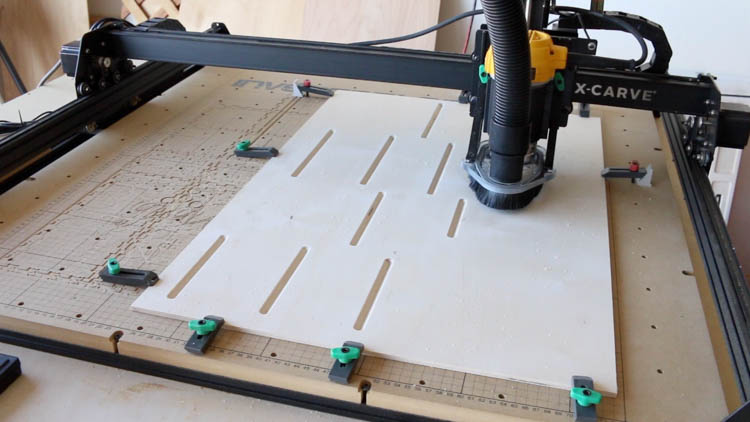
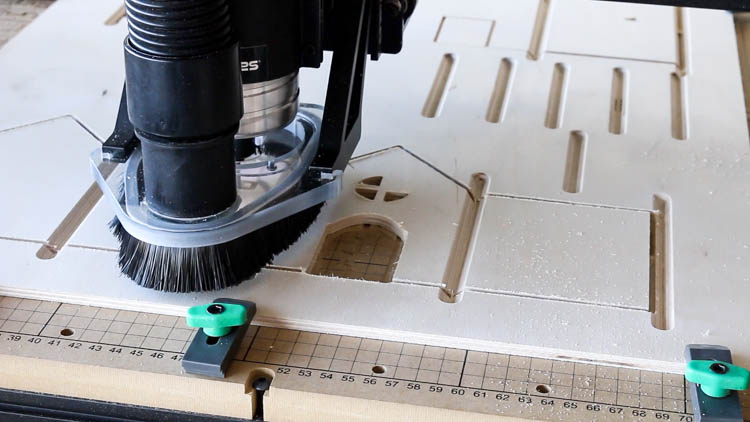
This project uses two different bits and requires Easel Pro to carve. You’ll start by carving the joints for the corners using the 90 degree V bit. This gives you 45 degree corners which make up the corners of the houses and roofs. Make sure to set the depth of your carve to just slightly less than the thickness of your material. This keeps the pieces together, but allows you to easily bend everything into place to form the corners.
When using the project template I’ve created, it’s important not to move any of the designs. They are all set precisely to ensure proper carving when switching between templates and bits.
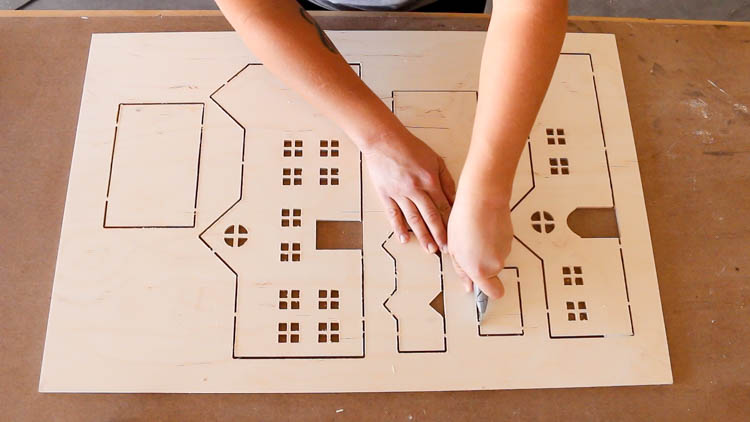
Next, you’ll swap out the 90 degree bit for a 1/8″ straight cut bit. Be sure to not move the wood or the home position of the spindle to ensure that the outlines are carved exactly where they should be.
Once your carve is complete, use a razor knife to carefully cut the tabs to release the pieces of your Christmas village. Once the pieces are removed, sand down the pieces and any leftover material from the tabs.
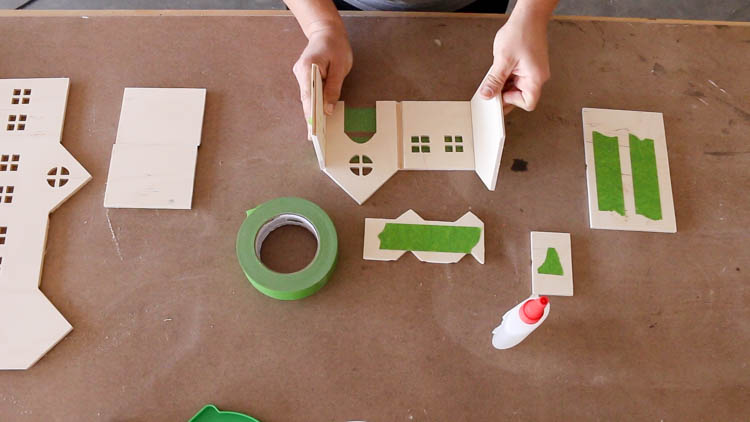
Place tape on the outside face of the buildings to keep them together during assembly. Apply a thin bead of glue to the joints and then carefully fold them into place. I used DAP Rapid Fuse Wood Glue, which cures very quickly and gives a strong hold.
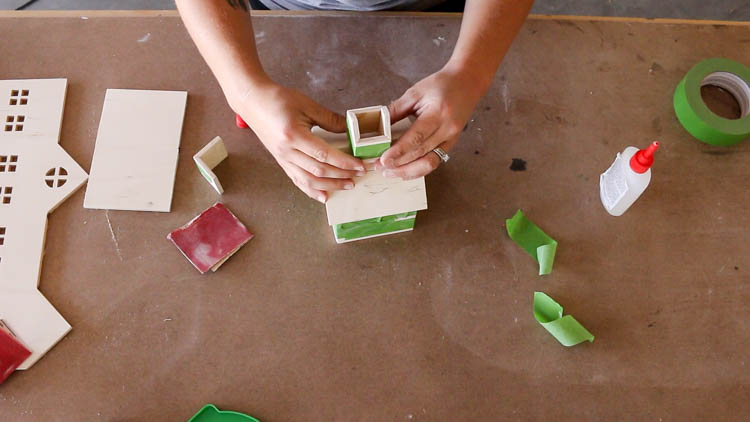
Attach the roof with glue and then attach the steeple to the church (if building).
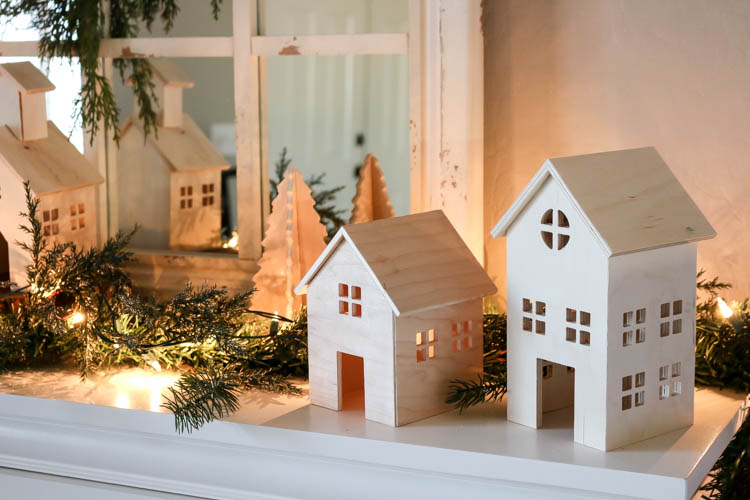
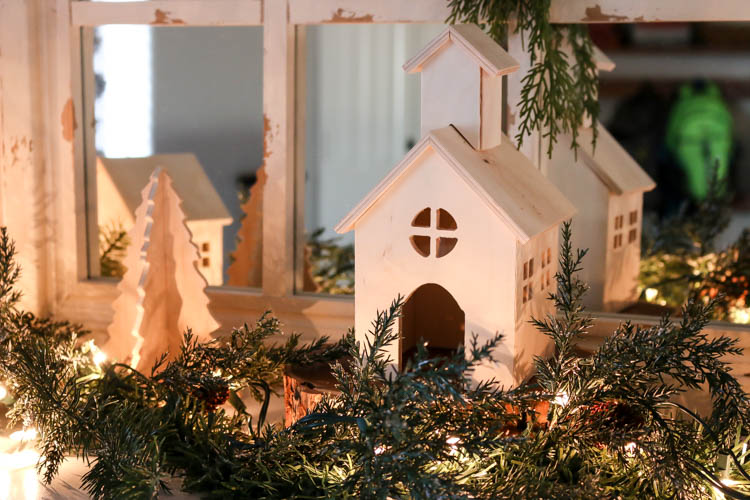
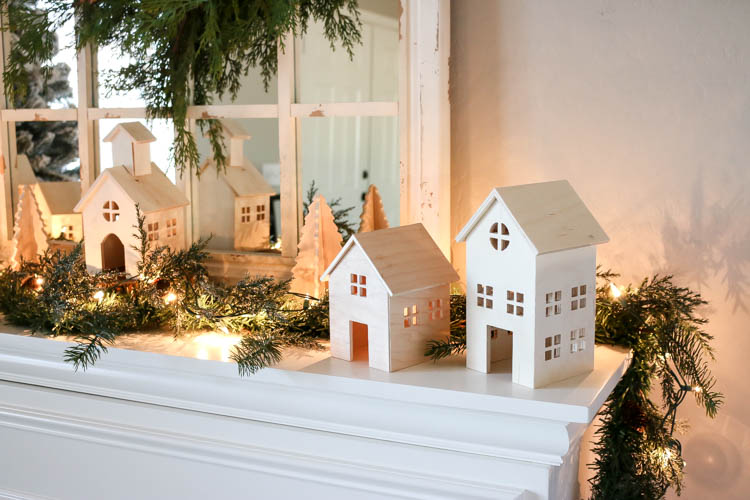
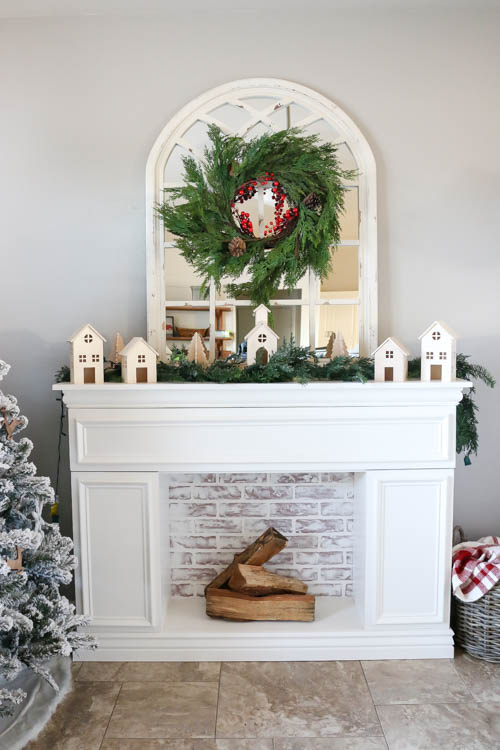
I really loved the look of the natural plywood color against my white faux fireplace, but you can finish them any way you like! Stain, paint, or even let the kids have some fun and create their own masterpieces with acrylic paints. Mine have definitely been itching to paint some of them and I’m going to make them their own to display.
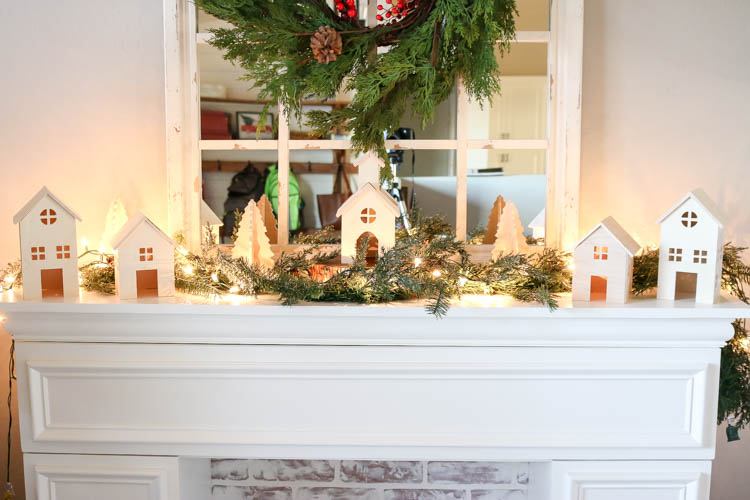
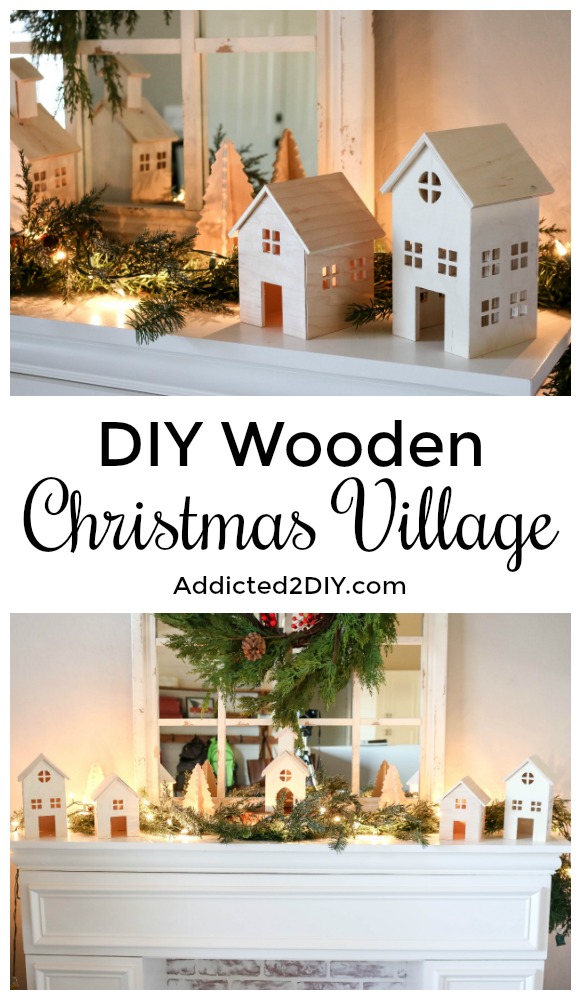
I built and entire village to top off the faux fireplace I just finished (I’ll be sharing plans for that soon), and I love how it looks! I weaved some garland in between the houses and the little wooden trees I made to give it some contrast, and also added a strand of lights which look so pretty and warm at night. With all of the houses made from 1/4″ plywood, it was inexpensive to make and looks so festive! They could even be made into stocking hangers by adding a wooden block under the houses and attaching a hook. Don’t forget to pin this for later and also watch my video tutorial on how to carve and assemble the village!
Be sure to check out the other projects I’ve shared using my X-Carve. The pie boxes are definitely a crowd favorite!
DIY Pie Boxes
Holiday Tic-Tac-Toe
If you’re looking at getting your own, they now offer financing to help you get started! These are such great machines and the free Easel software is so easy to use and you have the option of upgrading to their subscription-based Easel Pro if you’d like. You don’t even have to have a machine in order to sign up for an account. Just create an account on Inventables and get started creating with Easel to see where your creativity can take you!
DISCLOSURE: I was provided product and/or compensation for this post. All opinions and ideas are 100% my own. This post contains affiliate links. If you purchase a product from one of these links, I may receive a small commission at no extra cost to you.

Such a cute project. I’ve never even heard of an x-carve before but now I really want one. Would love for you to stop by and link this up to More The Merrier Monday.
Jamie
http://diyhsh.com/
These houses are so cute! I wonder if they could be used to make a village advent calendar. Thanks for sharing!
Oh, that would be perfect! I love that idea!
It would be nice to be able to buy the flat pieces and assemble ourselves. Most of us don’t have this type of machine. Very clever.
Hi Gail, thank you and I do understand what you mean. My purpose behind this was to show the capabilities of this machine. One option you could try is to cut the pieces with a saw and then butt them together to make 90 degree corners. While the corners won’t be a clean joint like these, you could still achieve a similar look and have some fun while doing it! Thanks so much for stopping by!
Great job, this has sparked some ideas for my use. I just purchased one and I’m awaiting delivery. Were you able to design these yourself, or did inventables provide the drawings? I’m just trying to figure out how hard this was to design in Easel. Thanks for the post!
I designed these myself. There are a lot of great images and design tools in Easel, so the possibilities are really endless!
I love this kind of crafts! I used to make small houses when as a kid. Maybe I’ll start again! Thanks!
It’s definitely a fun little project with lots of different options!