Hey guys! I hope your new year is getting off to a great start! It’s hard to believe we’re already halfway through January! Some of you may remember that last year I partnered with Home Depot to replace the carpet (yuck!) in my mom’s guest bathroom. I tore it out and replaced it with luxury vinyl tile. I knew it would make a HUGE difference in her bathroom, but I also didn’t want to stop there. I told my mom it was time to get rid of the beige and red and update it with a complete bathroom makeover. The difference is night and day and today I’m FINALLY sharing it with you!
I’ve included affiliate links to some of the products I used in this remodel. If you happen to purchase a product from one of these links, I’ll receive a small commission at no extra cost to you.
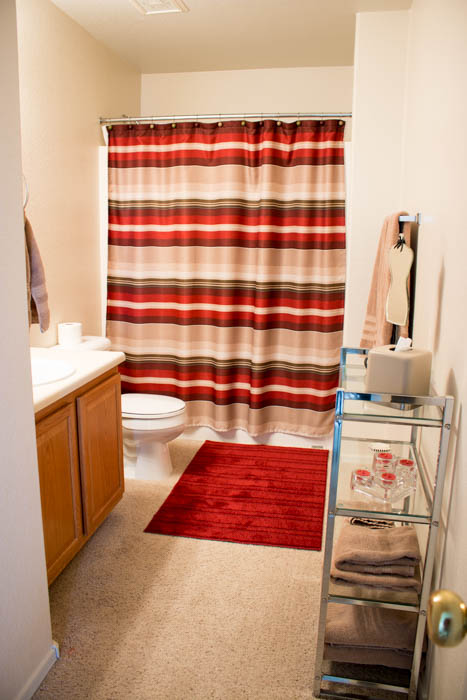
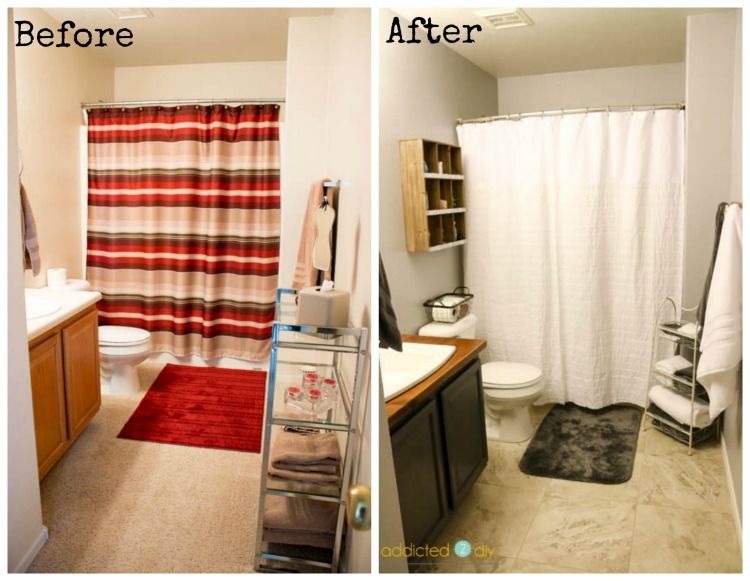
Here’s how the bathroom looked like before the makeover. It wasn’t terrible, but that carpet had to go and the whole room needed an update. The metal and glass shelving unit dated back to when I was still living at home and the formica and builder-grade oak vanity needed a breath of new life.
Here is the plan we decided on:
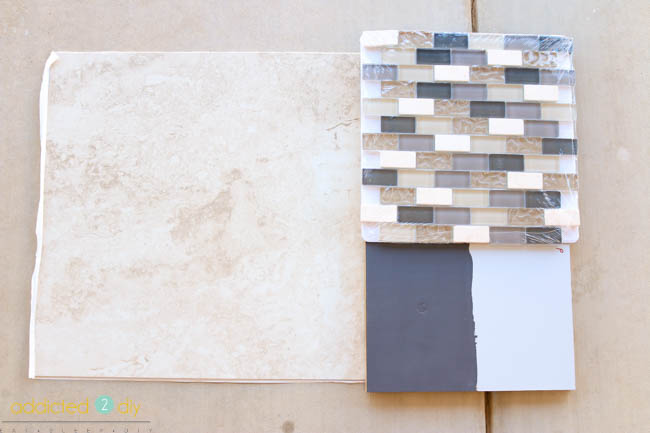
- Paint the walls (Behr Pebble Grey)
- Paint the vanity (Behr Digital)
Add cabinet hardware to vanity(Once it was done we opted to not add hardware)- Build a wooden countertop
- New sink and faucet
- New lighting
- New mirror
- New flooring
- New baseboards
- Tile mosaic backsplash around vanity
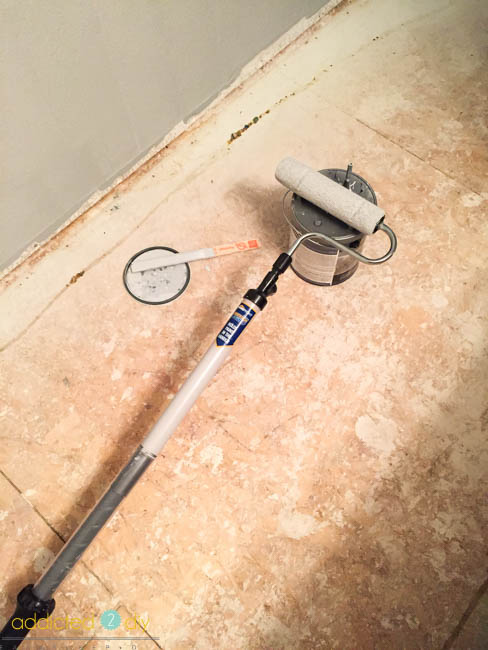
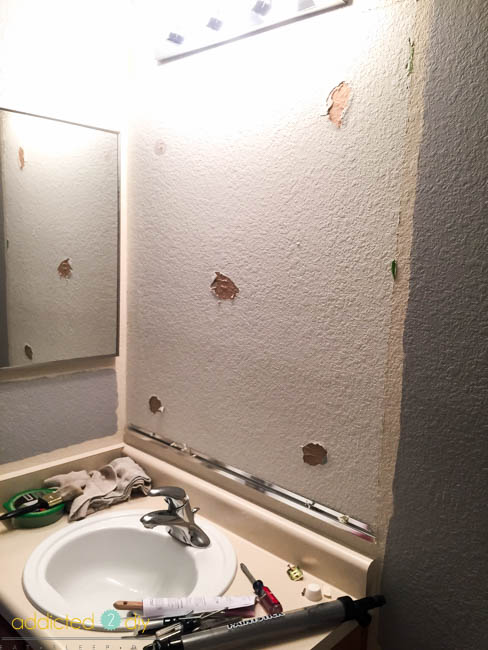
I got started by ripping out all of the carpet, taking out the old baseboards, painting the walls, and taking out the old builder-grade mirror. You can see where the adhesive tore up some of the paper on the drywall, so I cleaned up those areas with a razor knife and then patched them.
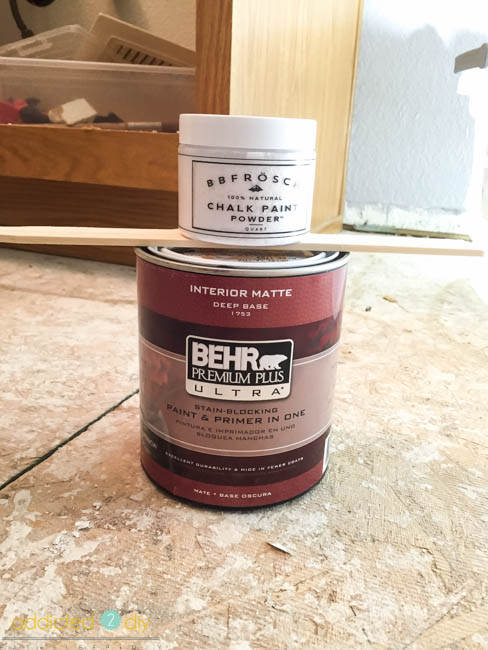
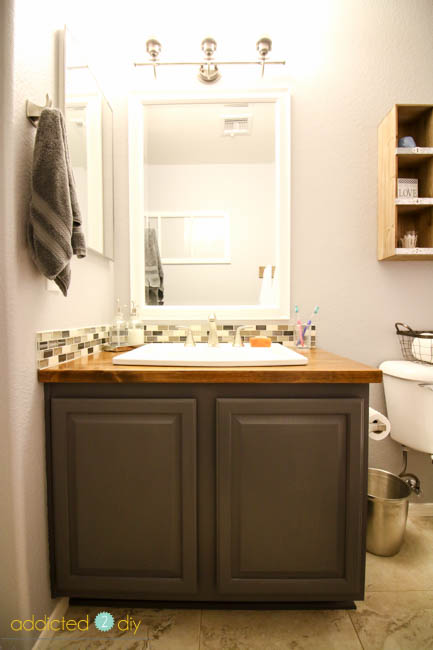
The vanity got a fresh coat of my favorite homemade chalk paint. All I had to do was wipe down the cabinet. No other prep necessary. Once the chalk paint was dry, I sealed it in with furniture wax.
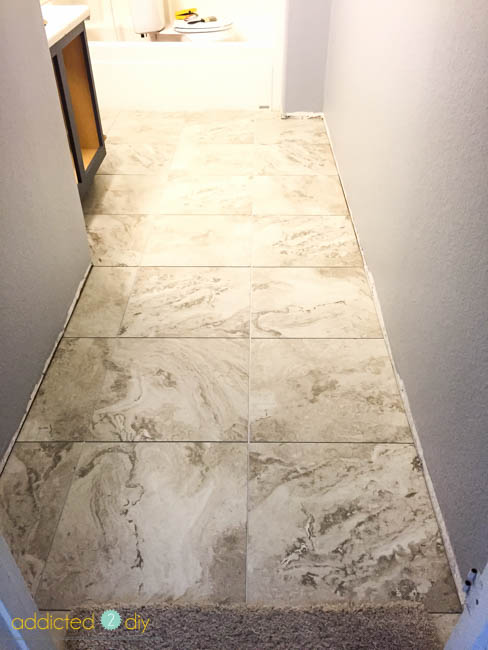
Once I was done with all of the painting, it was time to install the tile and new baseboards. This tile is truly amazing. It was so easy to install and I was able to grout it, so it looks like real tile! You can read all about how I installed it HERE.
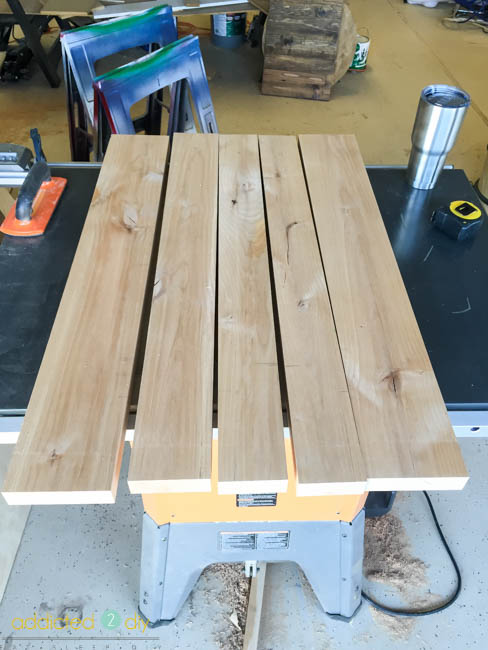
Next was to build the vanity top. I chose to use knotty alder for the countertop. I used it previously on my mom’s kitchen island countertop and it has held up great 3 years later! For this countertop, I opted for wider planks for a more rustic look.
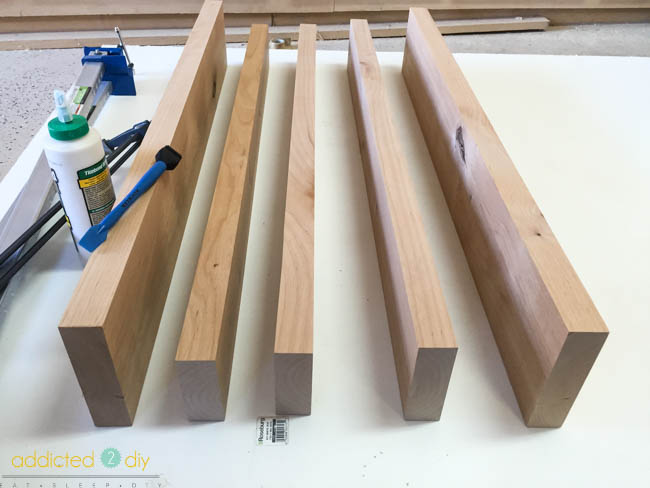
I planed the planks down and then glued them up. I clamped the countertop together and let the glue cure for 48 hours.
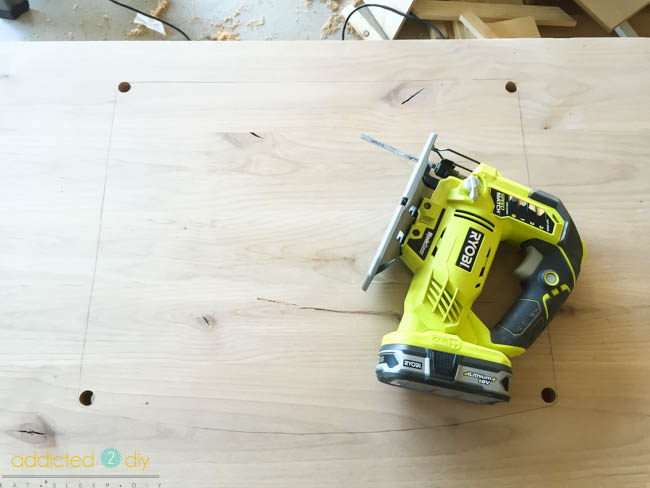
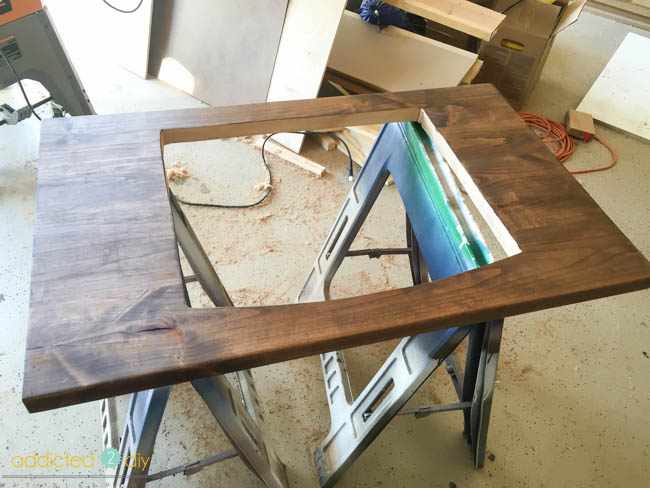
Once the top was cured, I sanded the snot out of it with my belt sander until it was smooth and level. I used the template that came with the new sink and traced the outline, then drilled holes so I could cut the hole out with the jigsaw.
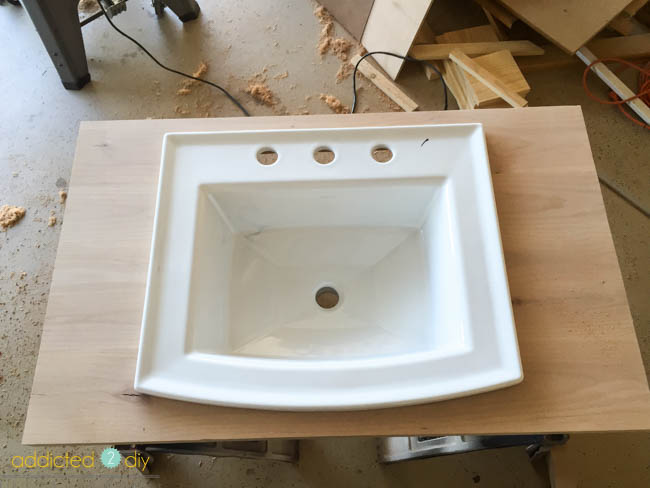
Once I had my hole cut, I dry fit the sink to make sure everything fit nicely.
Before staining, I sanded it down with 320 grit sandpaper until it was nice and smooth. I added a coat of Minwax stain in special walnut. Before sealing the top, I did a ton of research and from what I found, Waterlox Original Sealer/Finish was the best choice to make sure I had a really good water-resistant sealant. I did make one mistake, though and bought their satin sealer/finish. It works just fine, but the original sealer/finish is what should have gone on first, then the satin finish. Really, the satin finish only reduces the sheen. When I emailed the company, they said I could layer the satin finish, it just might have some cloudy areas. There were a couple of cloudy spots that were noticeable only to me, but that was it. Bottom line: Just buy the Waterlox Original Sealer/Finish and you’ll be just fine:)
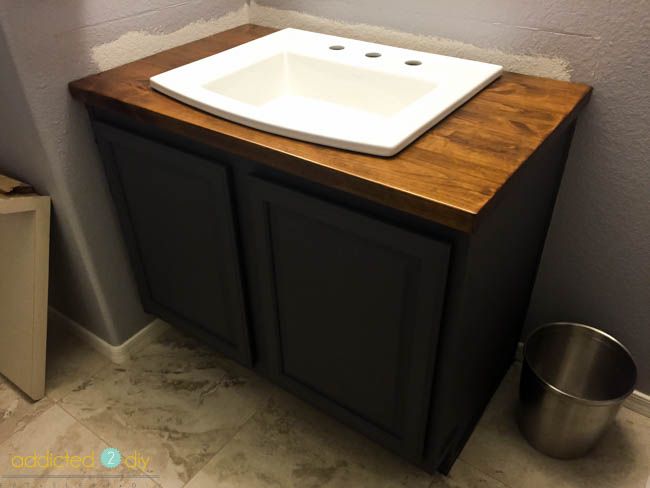
Once the sealant was fulling cured, it was time to install the sink. I squirted a bead of silicone along the underside of the sink and then gently set it in place. The template for the sink opening was larger than necessary, which allowed me to make adjustments and set the sink exactly where I wanted it before the silicone dried.
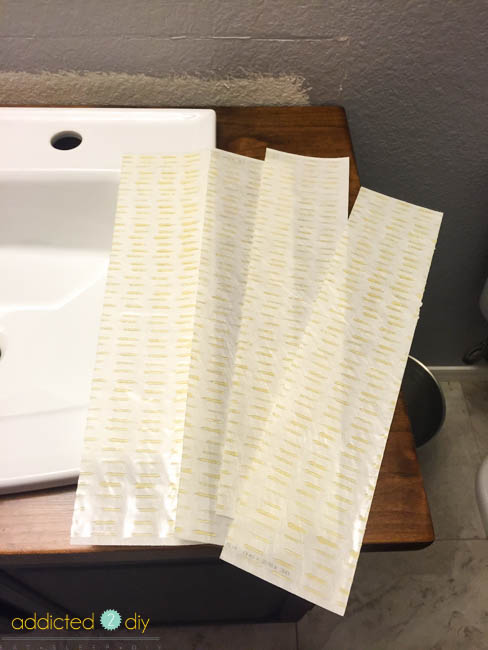
My mom wanted just a small backsplash around the vanity, so I opted to not use traditional mortar to attach the mosaic tiles. Instead I used these sticky tile setting mats from Simple Mat. I cut them to size with scissors, peeled the backing off and stuck them to the wall. The advantage to these is you don’t have to wait for the mortar to set before you grout. You can literally have all of this done in one day.
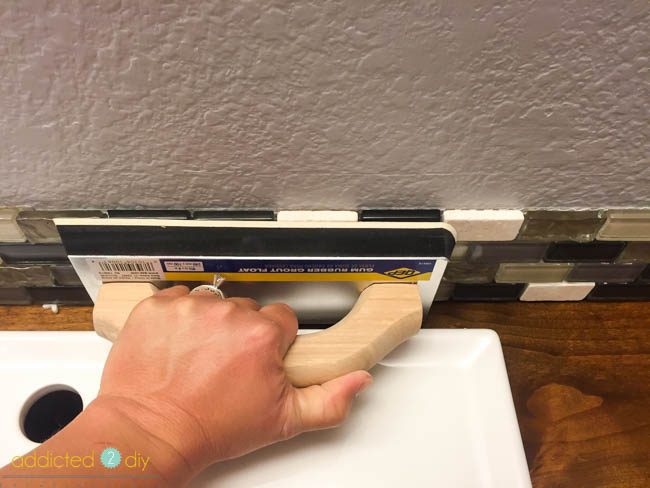
I trimmed the mosaic tile sheets down to size, peeled the front backing off the tile setting mats and then stuck the tile to the wall. I pressed it firmly with a grout float to make sure everything was properly adhered to the wall. There were a couple of squares on the ends that needed to be filled, so I cut those on my tile saw and stuck them to the wall.
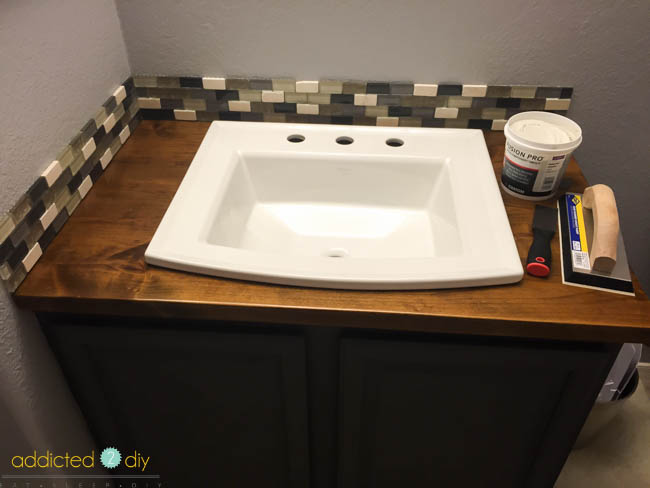
Next up was the grout. Again, because this was such a small backsplash, I used a quart-sized tub of premixed grout. It’s a little more expensive than mixing it yourself, but it’s a huge time (and mess) saver.
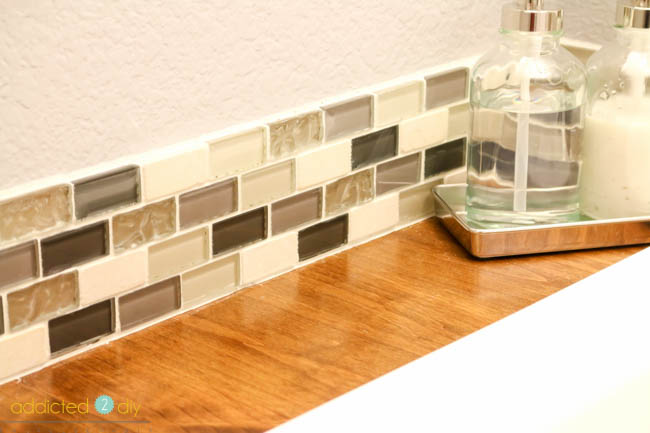
This was my very first tile and grouting job, so it definitely wasn’t perfect and the textured tiles were a little hard to clean the grout out of, but it didn’t turn out too bad. Along the bottom of the tile I opted to use grout caulking to make sure there was a good seal between the tile and the wood, to lock out moisture.
The new mirror and lighting (both from Home Depot) finished off the job.
My mom bought new towels and rugs and then accessorized a bit with some items she found at Hobby Lobby.
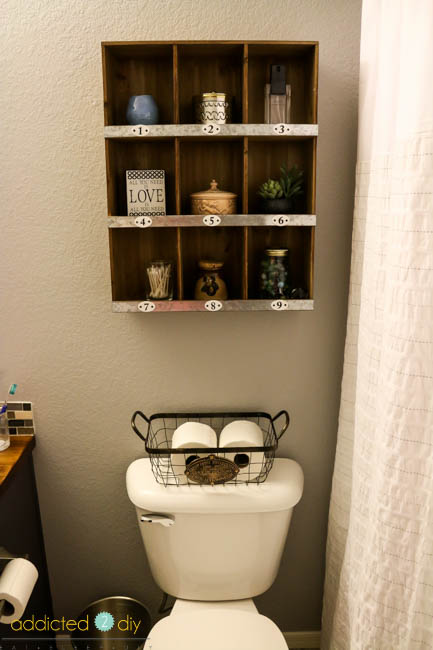
I bought the storage cubby system from Target and she filled it with a few sentimental items and jars.
It’s hard to believe the transformation that happened in this bathroom in just a short period of time. My mom was a little nervous at first of my design ideas, but she absolutely loves the end result! It has a much more peaceful, spa like feel to it versus the “before.” It definitely makes me want to give the bathrooms in my own house an update! Have you ever taken on a bathroom remodel? How did yours go?

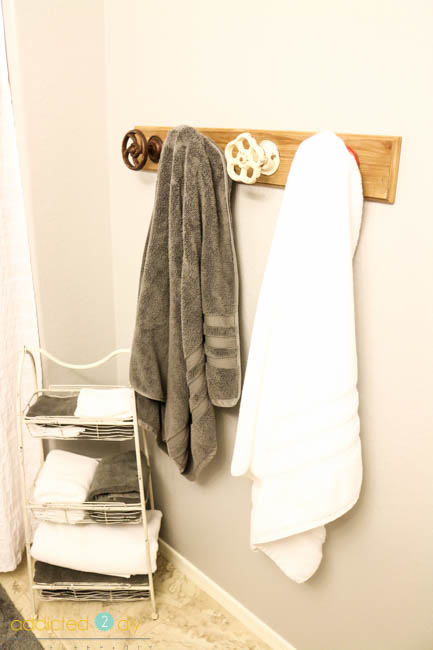
Where did you find the knobs for the towel rack? They’re so cute!!
The towel rack actually came from Hobby Lobby:)
Actually just looking at the two photos, the before looks much nicer than the after photo. At least there was some color in the bathroom before and the carpet made it look very cozy.
I just love the makeover! I’ve been wanting to redo my bathroom for quite awhile now, but I’m always postponing it. Seeing your process is giving me courage to finally do it. Thank you for sharing the updates!
We just purchased a home built around 1884-1887. Our next year entails a new stairwell, steps, master bedroom and bath. Then starts the downstairs. Spare bedroom, kitchen, which will be oyr central focal point, shared bathroom for guests and just visitors, mudroom, foyer and pantry. More or less every area of our new home. We’re fortunate to have a full basement and budget for the endeavor. Now we’re seeking ideas, motivation, and knowledge. We’ve got skills and ability in abundance, and plenty of time. After 26 years in the Navy from Mike and a lifetime of diy skills of a service members spouse, we’re equipped. And retired to conform our new home into our dream home and someplace all of our people can enjoy for another couple generations.
Any advice is welcomed!