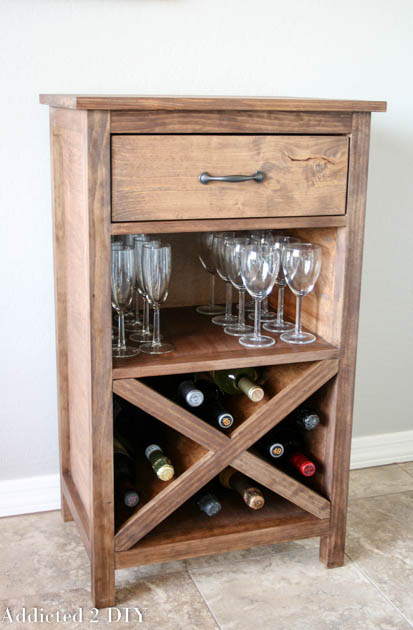
Before we get started, make sure you read through the entire post and the plans to make sure you do miss any important steps or tips. The cut list and materials list are included in the plans. This post does contain affiliate links to some of the products I used. If you purchase an item from one of these links, I will receive a small commission at no extra cost to you.
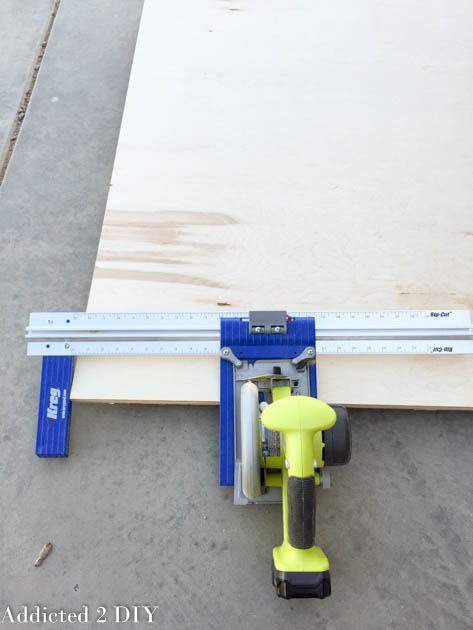
I used my Kreg Rip-Cut to cut the plywood pieces for the sides and shelves. If you don’t have a table saw or a Rip-Cut you can ask the helpful employees at your local home improvement store to cut them down for you. Just remember that their cuts won’t always be the exact dimensions you were hoping for (I’m usually told +/- 1/8″), so make sure to modify the rest of the measurements to match the width of the panels.
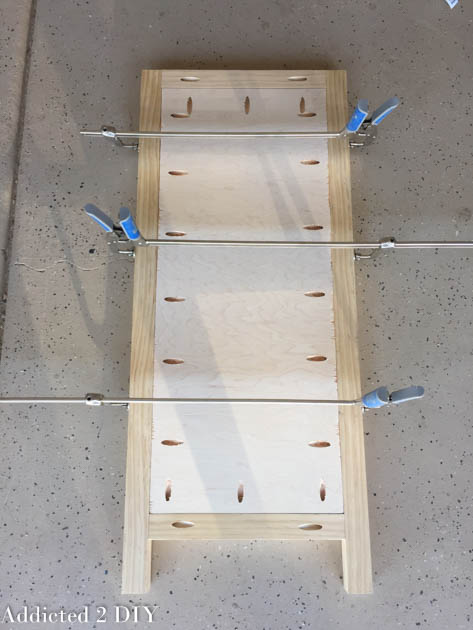
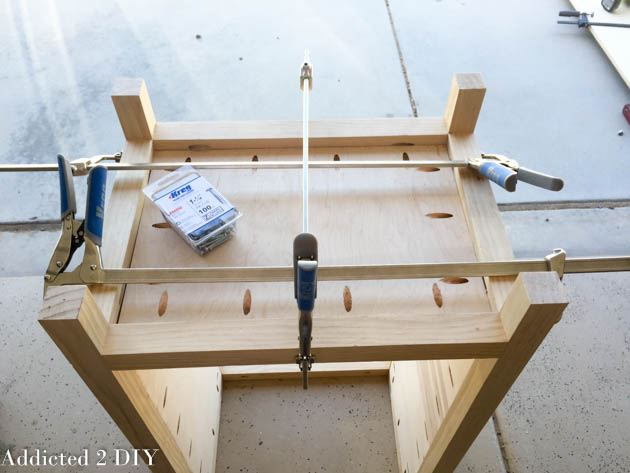
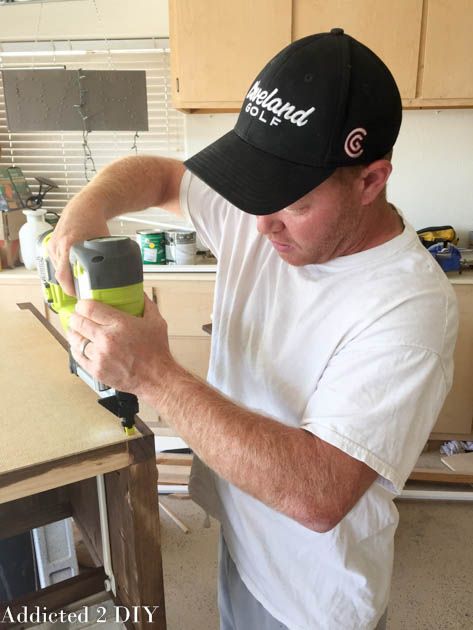
I drilled 3/4″ pocket holes into the side panels of the cabinets and then set them in place, flush with the inside edge of the cabinet legs and rails. I clamped everything in place and attached the panels with 1 1/4″ pocket screws.
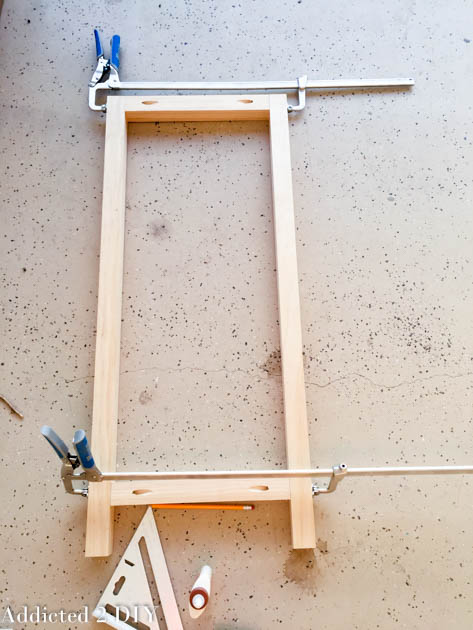
Once the cabinet sides were assembled, I attached the front and back 2×2 rails to finish off the frame. The top rails are flush with the tops of the legs. The bottom rails are 2 7/8″ up from the bottom of the legs.
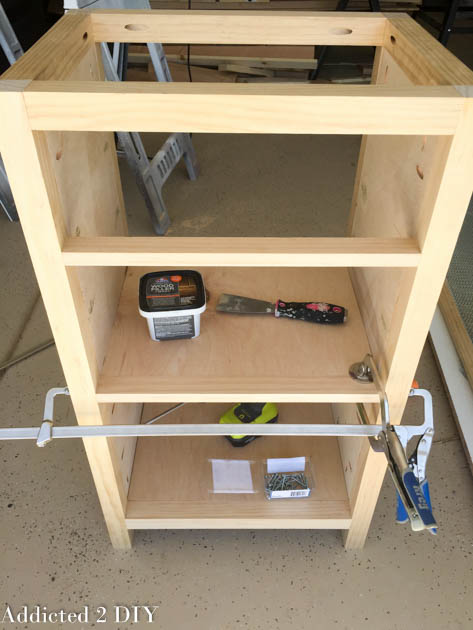
Measure and cut the bottom shelf to size. Drill 3/4″ pocket holes into each side and clamp into place so it is flush with the top side of the bottom rails. Attach with 1 1/4″ pocket screws.
I used 1x2s for the front trim pieces and attached them using 3/4″ pocket holes and 1 1/4″ pocket screws. During this time, I also started filling all of the pocket holes with wood filler.
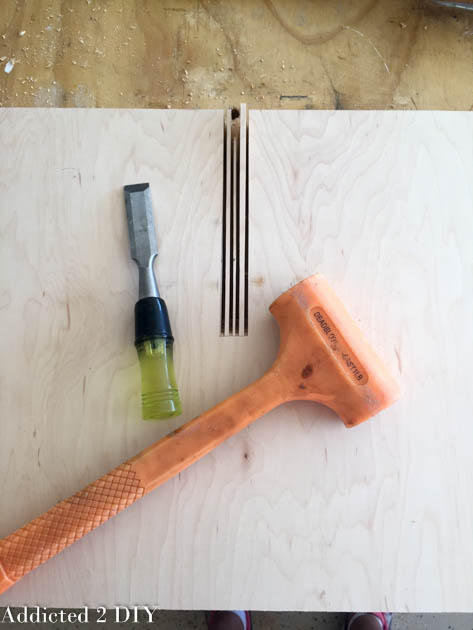
When I was ready to make the X for the wine storage, I measured the diagonal legth and cut my plywood pieces to size. I found the center point of each of the plywood pieces and figured out the center based on the 3/4″ width of the plywood panel it would be connecting to. The length of my notch was also determined by finding the middle of the board. I used my sliding miter saw to make the cuts for the 3/4″ thickness and then made a few extra relief cuts in between. I used a 3/4″ chisel to break out the rest of the wood and clean up the inside of the notch.
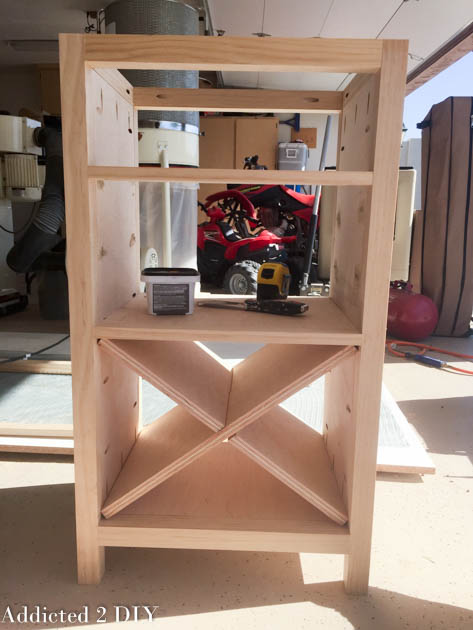
Once the pieces were notched out, I fit them together and slid them into the bottom portion of the cabinet. The X will be 3/4″ of an inch inset to allow for the trim to be flush with the cabinet face.
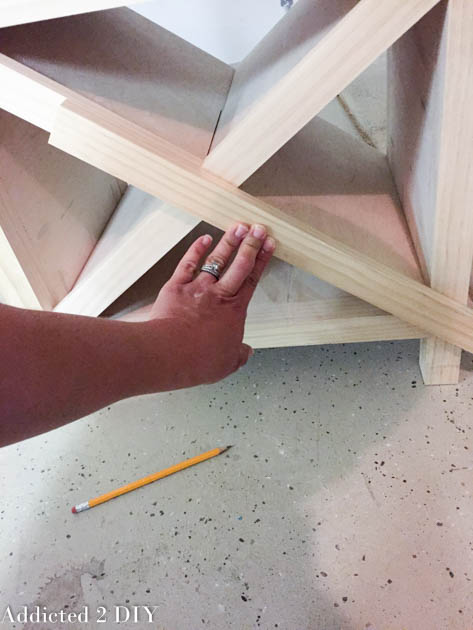
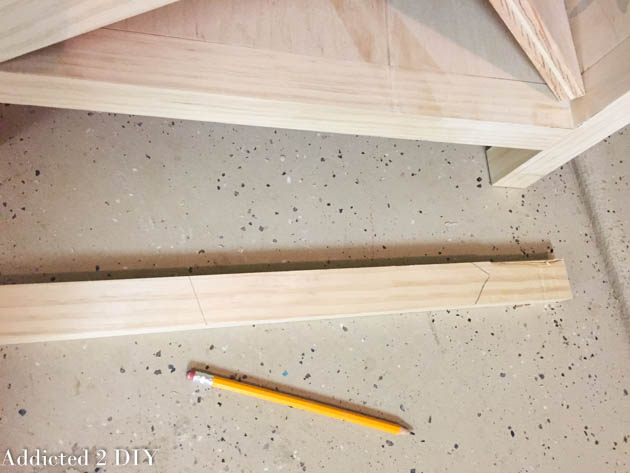
To figure out what angles and the length to cut my 1×2 trim pieces, I set them flush against the frame of the cabinet and marked the inside of the trim with pencil.
I then determined the angles by lining up my pencil lines on my miter saw. Once the trim pieces were cut, I glued and nailed them into place with 1 1/4″ brad nails.
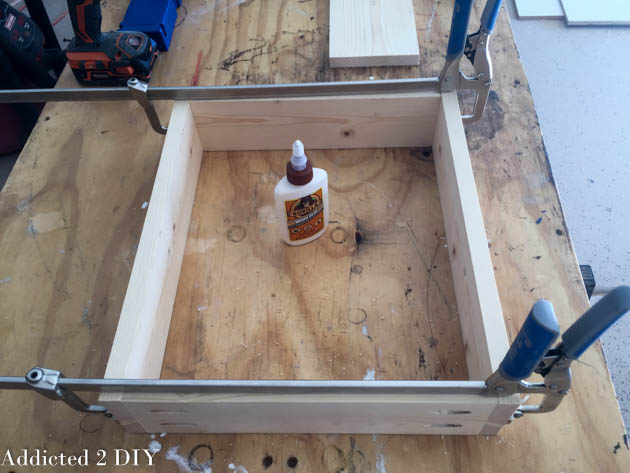
Next, I assembled the drawer. I used 1x4s for the drawer box; however, I modified the plans to use 1/2″ plywood instead.
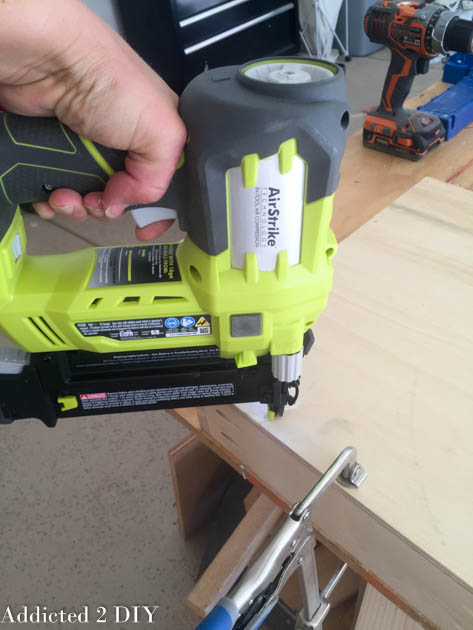
Once the drawer box was assembled, I glued and nailed the bottom on. Since this is 1/2″ plywood on the bottom, I used 1″ brad nails.
I sanded and stained the cabinet, added the drawer slides and then we nailed the back on. I had my husband help me with this step as I had a horrible shoulder injury I was dealing with. In fact, I pretty much had to build this entire cabinet with one arm. There were a lot of tears involved;) To attach the top, I cut a pine project panel down to size so there would be a 3/4″ overhang on three sides and flush on the back. I glued it to the cabinet top and countersunk 2″ wood screws to secure it.
Once the back is on and the drawer face is added, I added three coats of polyurethane and then added the drawer pull.
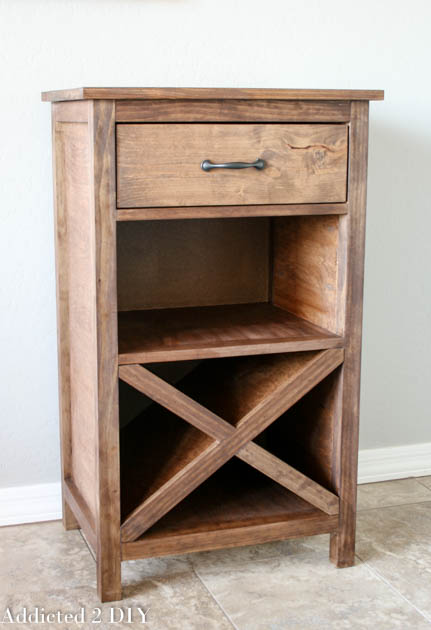
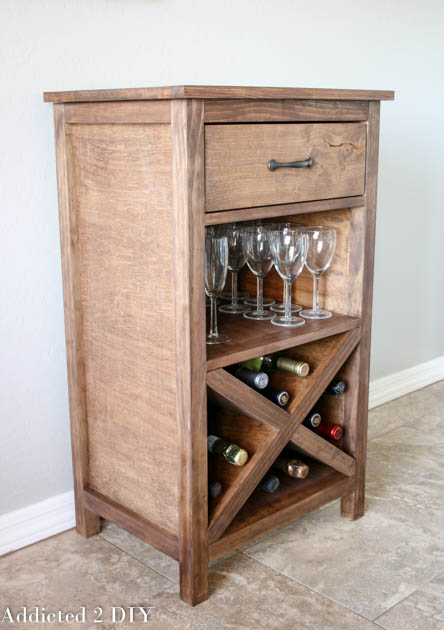
The finished wine cabinet was gorgeous and could hold up to 9 bottles of wine! The middle shelf is big enough to hold plenty of wine glasses and corkscrews and other wine accessories can be stored in the drawer. Like I said, this is a great weekend project, and perfect if you’re looking for a nice, handmade gift idea! Don’t forget to download the printable plans and be sure to share your finished project! I love seeing what you create! One reader who built this wine cabinet even modified my plans a little to omit the drawer and glass storage and added a second X for even more wine!



Wow! This wine cabinet is gorgeous and so functional!
Anika recently posted…DIY Distressed Wall Art with Paper and Paint
Thanks so much, Anika!
I just love this! It’s got a modern rustic look to it, beautiful work! I was curious, did you take courses in woodworking or somehow learn on your own? I’d love to learn as well
Thanks so much Viktoriya! I didn’t take any courses. I started small and then worked my way up to larger projects. A lot of trial and error was involved;)
It looks fabulous! Great job!
Thanks, Krista!
Man, this is impressive! You’re extremely handy to come up with the design and I LOVE the stain you put on it!
Absolutely love this. Gonna build a few but was wondering if you have your instructions in pdf format?
Hi Mike. Here is the link for the printable plans! https://addicted2diy.com/wp-content/uploads/2016/08/DIY-Wine-Storage-Cabinet-plans.pdf
Really nice work! What stain did you use on this, it is exactly what I’m looking for. Thanks.
I used special walnut stain by Minwax
Hey, love the design! What are the key dimensions of the finished product. I want to try and make it but don’t know if it will fit inside my house.
Hi Schapelle,
You can find the full dimensions of the project in the printable plans, which I have linked to in the tutorial.