Hey there, everyone! Mother’s Day is literally just around the corner and I’ve got a quick and easy last-minute gift idea that any mom would love! In fact, you may want to make one for yourself too! This past weekend, I was scrolling through one of my favorite sites and found the inspiration for this project. I told my husband I was cancelling my plans of cleaning and organizing that day and I’d be out in the garage if he needed me. I dug through my scrap wood pile and grabbed some leftover poplar from my recent Murphy Bed project and then I made a list of the items I needed to purchase and headed to the store.
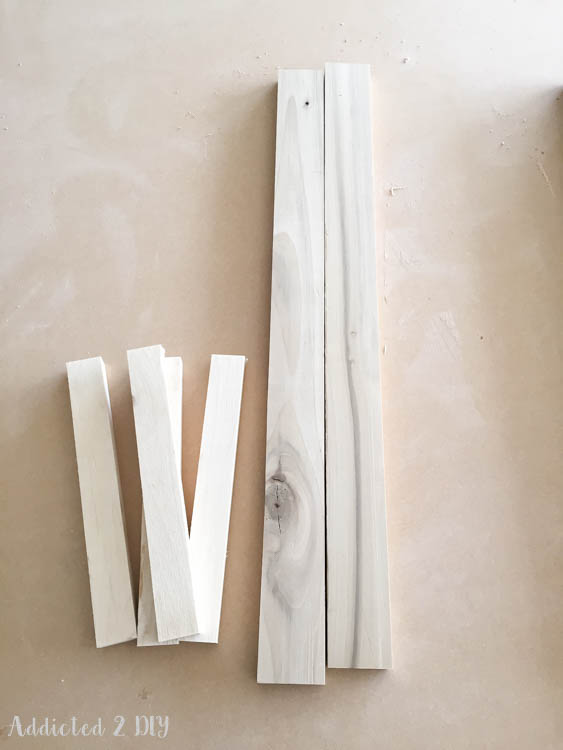
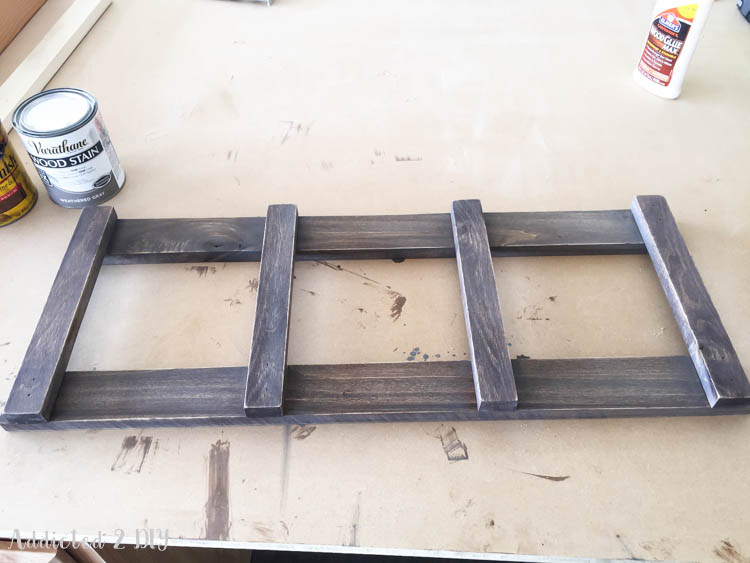
If you’re purchasing wood for this project, you’ll want a 1×3 board and a 1×2 board. Both are sold 8′ long, so you’ll have some scraps to save for another project! I ripped my poplar down on the table saw to the 1×3 and 1×2 dimensions. For the 1x3s, you want to cut them at 31″ long. Cut four 1x2s @ 12″ long. Before I got started with assembly, I sanded all of my pieces with 220 grit sandpaper.
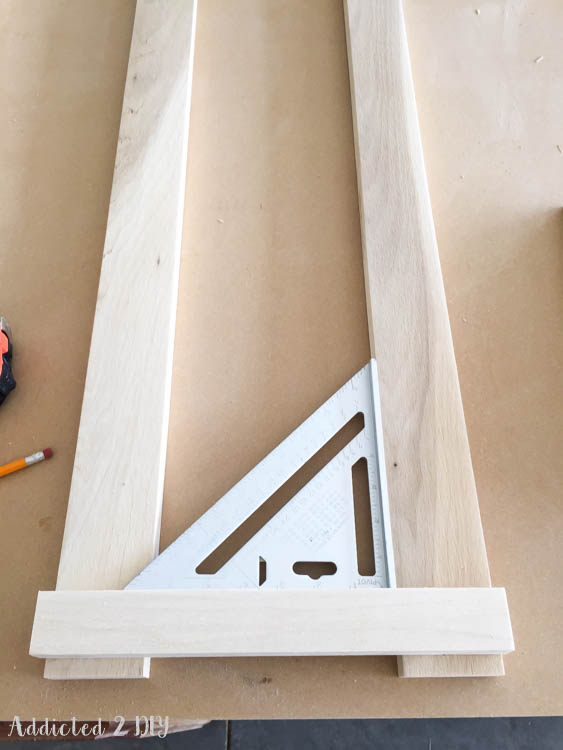
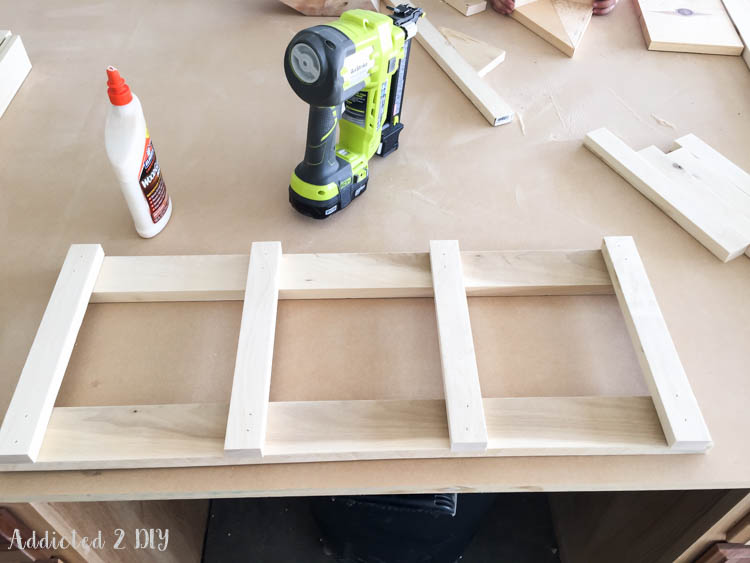
I marked 1/2″ in from the ends of the 1×3 boards and set my first 1×2 at those marks. I also set the 1x3s close enough that the 1×2 slightly overlaps the ends of the 1x3s. I didn’t measure it, but I’d say maybe an 1/8″ overhang on each side. I checked for square and then glued and nailed the first 1×2 down. I turned it to the other end and followed these same steps.
For the two middle rungs, I spaced them evenly apart, which was about 7 7/8″. I glued and nailed them into place.
I wanted the finish to have a rustic, barnwood look, so I wiped on a coat of Minwax stain in Special Walnut and then topped that with a thinly wiped on coat of Varathane stain in Weathered Grey. I let it dry and then distressed it a bit with 220 grit sandpaper.
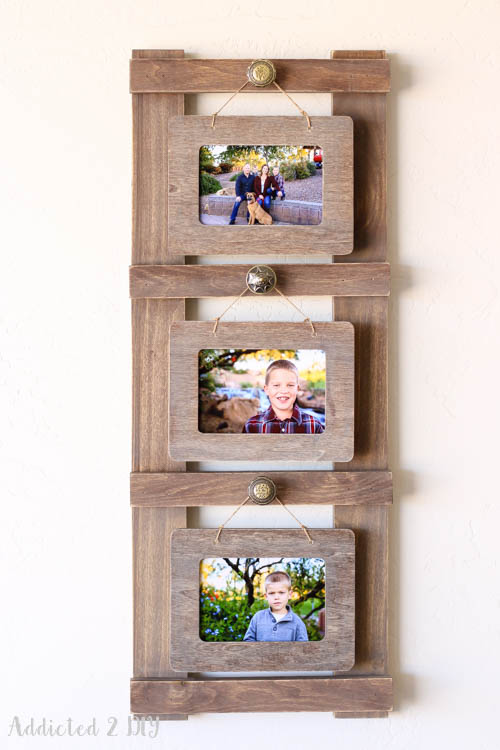
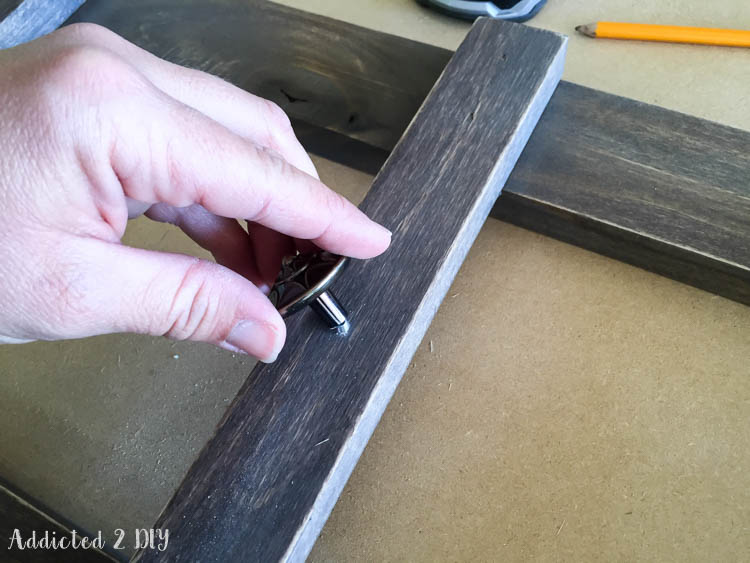
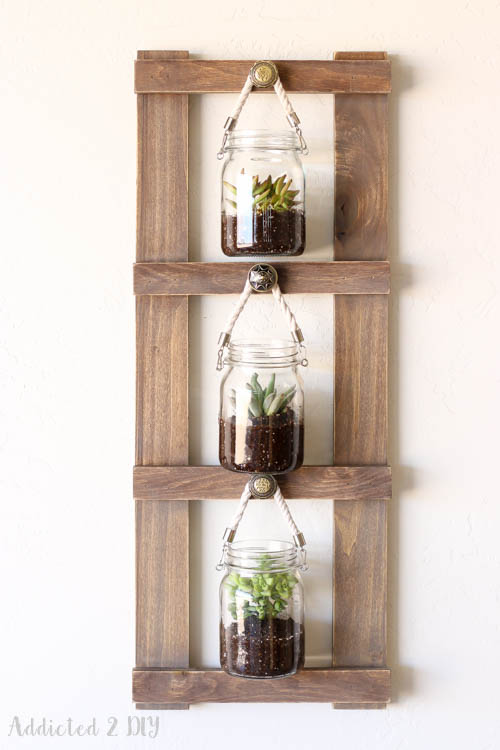
I bought some inexpensive cabinet knobs from Home Depot and installed them in the center of the top three ladder rungs. I bought two different styles to add a little variety.
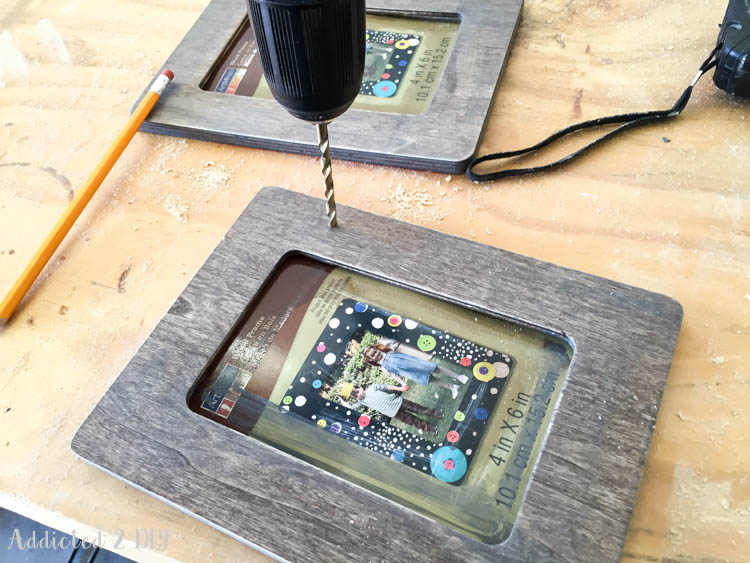
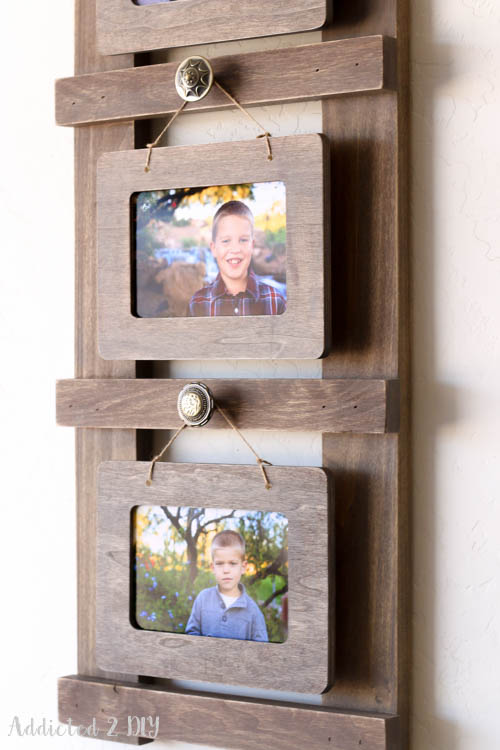
For the frames, I bought some $1 wooden frames from Michaels and stained them the same way as the ladder. I drilled holes into them to thread the jute twine through for hanging them over the knobs.
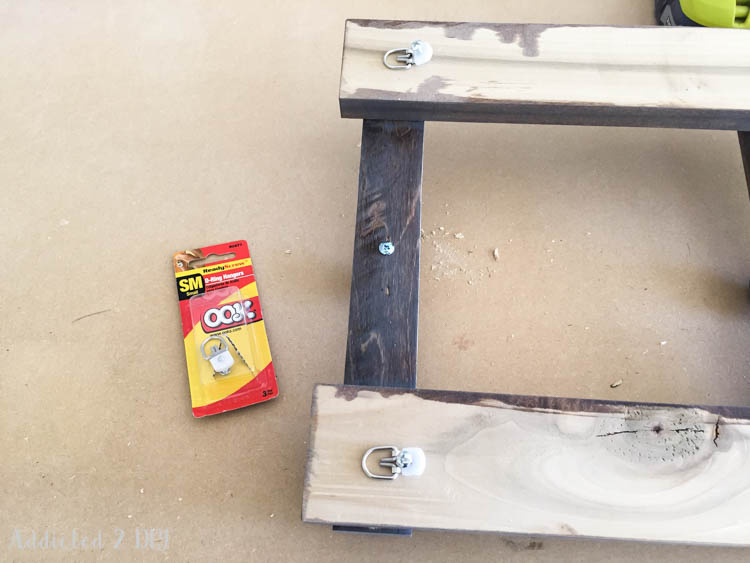
To hang the ladder, I used small D ring hangers and installed them on the top, backside of the ladder rails.
I sized my twine so the pictures all hung evenly and then tied it off. Don’t they look so cute?! You could fill the frames with pictures, printables, a combination of the two. I’m imagining this being super cute in a bathroom with “brush,” “floss,” and “flush.” in the frames.
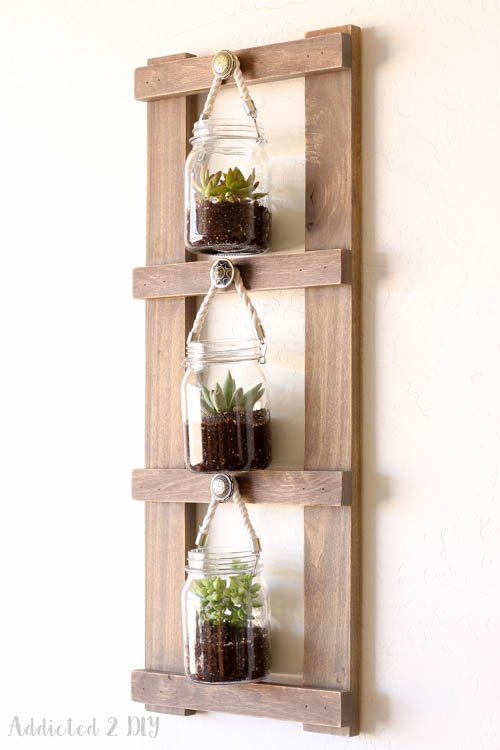
My grandma loves plants and gardening, so she’ll be getting one this Mother’s Day with these adorable little succulents! I found these glass hanging jars at Michael’s on sale for 50% off and planted some mini succulents in them. There are really so many different variations with this project. You can hang pictures, plants, or even hang empty jars to store office or craft supplies! I’m making several of these as Mother’s Day gifts and everyone’s will be slightly different.
Are you DIYing any gifts this Mother’s Day? If you’re still looking for an idea, you really can’t go wrong with this project. If a vertical display won’t work, you can always turn it sideways and hang the knobs from the rails for a horizontal display! I’d love to see your take on this project, so be sure to email me pictures or tag me on social media with the hashtag #addicted2diy if you build one or ten! Happy building!

What a fun way to display photos! It doesn’t look like it would be too hard to make either. I wonder if I could get my husband to make me one to hang in my office.
Jen V. recently posted…Easy DIY Camp Seat from a 5 Gallon Bucket
Thank you Jen! Yes, I am thinking I need to not only give these as Mother’s Day gifts, but also make one for myself!
So stinkin’ cute!!!! Love love love the hanging jars. I have to do that. So sweet. The pics are pretty dang adorable too!!! Take care.
These are very creative! I think I like the hanging jars the best. I have some succulent plants I need to replant and I haven’t thought about hanging jars – perfect for the screened porch room. Thanks for the idea.
Thanks so much! Yes, this would be perfect for that!
What a cute project – as I was reading this other ideas in my head have transpired. Super neat and I love the versatility.
Thanks for the inspiration.
Carole
Carole @ Garden Up Green recently posted…Homestead Series – Start Your Garden
Thank you! Yes, there are definitely a ton of possibilities with this!
It’s a lovely way to remember happy times . I love save photos as memories from the good times past. This frame will be perfect, I’m going to use it to display photos of my kids. Each frame can have a baby picture and two from growing up, it will be so cute in my foyer! Thanks for sharing!
Thank you, Barbara! Yes, my mom has hung hers up in her house already and I’ve decided she needs a second one for my brother and his family:)
Me and my husband is doing this right now. 🙂
Will post finished product soon!
I can’t wait to see it!
This is so quick and simple yet looks awesome!
This is awesome! I love that it can be used for anything from hanging photos to potted plants. And it looks pretty simple to make too! Thanks for sharing!