Hey there everyone! Today I’m going to share how I finished my modern farmhouse Murphy bed and also how I got it to look like it was painted by a pro! If you missed the first two posts about the Murphy Bed, be sure to check out the instructions on how to build the Murphy bed and also how to build the desk modifications. This post contains affiliate links to products I used for your convenience.
Before I get into how I finished the Murphy bed, I’m going to start by saying that I am always experimenting and learning new ways to improve my painting techniques. My all-time favorite painting tool is my HomeRight Finish Max. I seriously use it on just about everything. I very briefly tried rolling some of the paint onto pieces of my Murphy bed because of the weather and just couldn’t stand the orange peel finish I was getting. I’m a little spoiled now:) While I love my sprayer, one problem I would sometimes run into was my paint drying with almost a sandpaper feel to it. I found that weather seemed to play a big role in this (it’s hot and dry here in the Arizona desert), which lead to some VERY early morning painting sessions during the summer months just to get a little bit of painting in before the temperatures climbed into the triple digits. The type of material I was painting also played a big role. If I was painting over doors, cabinets, baseboards, etc., the paint dried just fine. If I was painting raw wood, it was a different story. With the paint being diluted and raw wood being very porous (especially plywood), my otherwise very smooth wood would suddenly soak up the paint and feel like 80 grit sandpaper. After a while, I figured out a simple way to get a high-end professional finish on all of my furniture pieces.
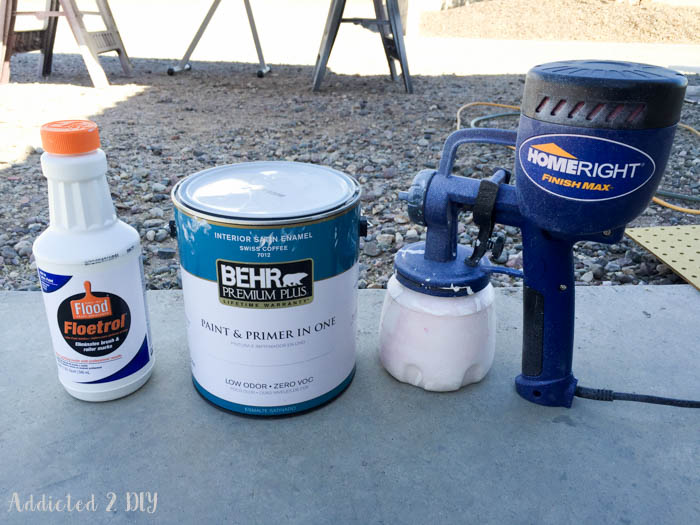
Let’s start with the cast of characters. The paint I used for this was Behr Paint & Primer. I chose a satin sheen in swiss coffee. Side note: I had no idea they sold it premixed now! That was a nice surprise. After chit-chatting with the helpful paint pro about what I was doing, he also recommended that I try using Floetrol. It acts as a conditioner for latex paint and extends the dry time, which allows the paint more time to level off and dry evenly. It’s fairly inexpensive and doesn’t affect the color or viscosity of the paint.
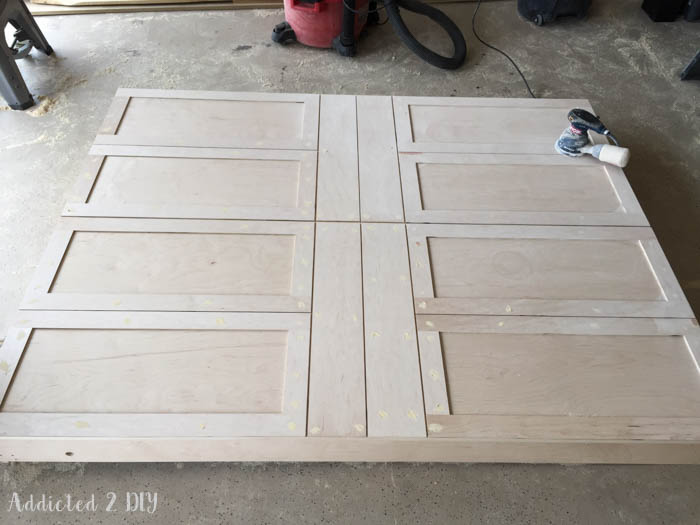
Before I started painting, I made sure to fill all of my nail holes with wood putty and then sanded everything down with 220 grit sandpaper.
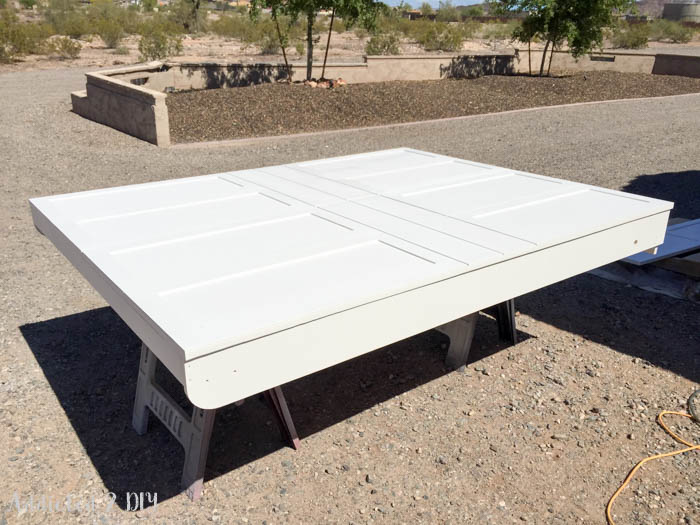
I set up my pieces on sawhorses on my driveway. To get the best coverage and finish possible, I sprayed thin coats of paint and let the paint dry completely between coats.
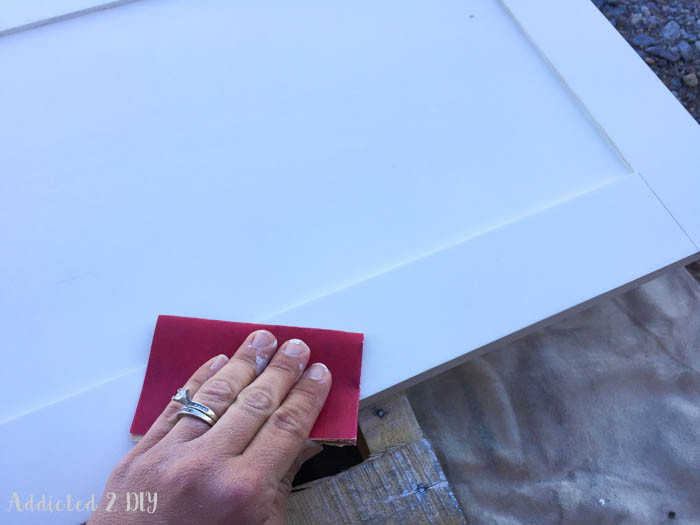
Once the paint was completely dry, I lightly sanded everything down with 320 grit sandpaper. All you want to do is smooth it out. You don’t want to sand any of the paint off to the bare wood. After sanding, I grabbed the air hose on the air compressor and blew all of the dust away. I sprayed another light coat and repeated the sanding once the paint was completely dry again. You’ll notice after the second coat that there is substantially less of a rough feeling. By the time you spray the third coat of paint, you are left with a beautiful, smooth finish. There’s no need to sand after the third coat. I followed all of these steps for every piece that needed to be painted. For the entire Murphy bed, including the desk modifications, I used just over a gallon of paint. I probably would have used less had it not always been breezy while I was painting. Unfortunately, some of these pieces are WAY too big to fit inside my spray shelter.
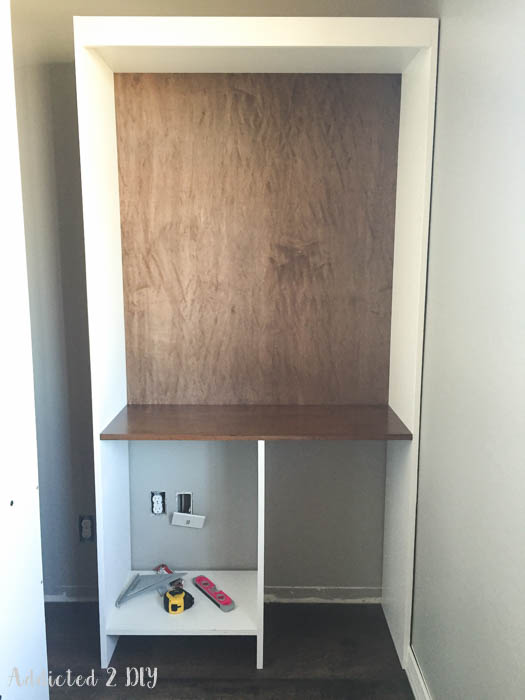
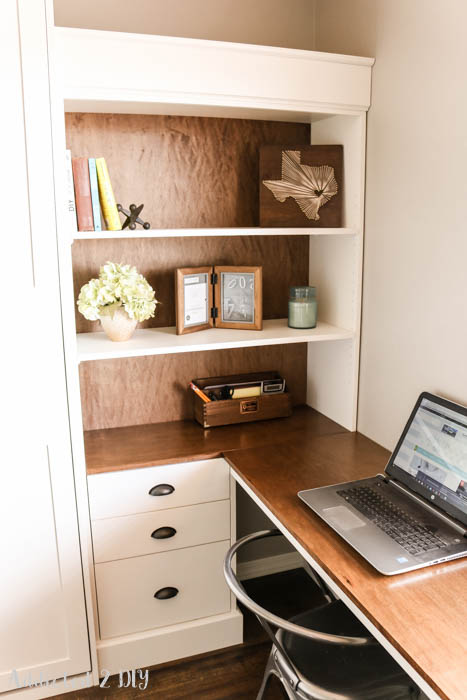
For the desktop and the book case backing, I chose to stain them with Minwax stain in special walnut. The desktop and the stained fixed shelf on the book case also got three coats of polyurethane. Once all of the pieces were stained and painted, we were able to assemble them.
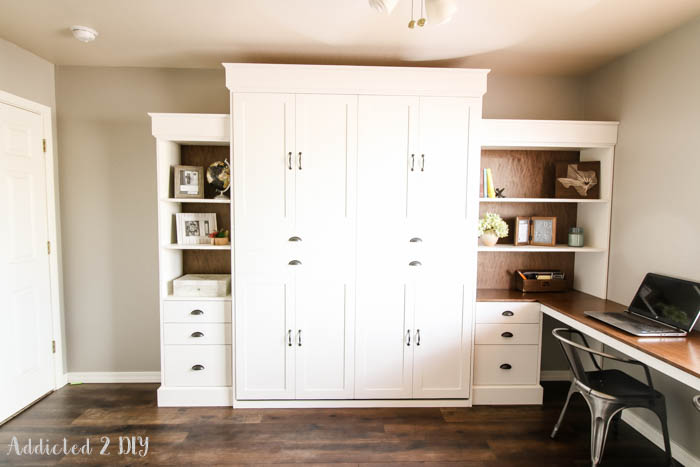
I am so happy with how the two-toned combination looks. It kind of screams farmhouse style, don’t you think? The book case backings being stained definitely help to add more interest to the entire Murphy bed unit, rather than just a sea of white, which would have felt a little boring.
Finishing a project, for me, is probably one of the most stressful steps in any project I build. You can spend weeks building the most amazing piece of furniture and completely screw it all up with a bad finishing job. I always try to take my time when painting or staining to make sure I don’t have any regrets later on. Using these steps has also helped me to get the best finish possible on all of my painting projects.
Do you have any tried and true painting tips that help you achieve your desired finish on your projects? I’d love to hear them!


Wow! You are so talented! I love your Murphy bed and desk! I am going to attempt to paint my bedroom furniture and then my kitchen cabinets so I really appreciate your tips on achieving a smooth finish! I can’t wait to get started!
Thank you Giselle! Good luck with your painting projects! I’m sure they’ll turn out wonderfully.
Looks great, thanks for the tip!
Fabulous job! I totally agree that staining the backs of the shelving units added a much needed visual break to what otherwise would have been a wall of white. Speaking of which, did you also use your Finish Max for the staining or just the painting? My new Finish Max should be here in a couple of days and I am avidly learning all I can so this posting was very timely and appropriate for me and very much appreciated!
Thank you! On this project, I only used it for painting. Staining the backs and table top were really quick to do by hand, so I opted for that. I have stained several projects with my Finish Max and it works like a charm:)
Thanks for sharing your experience. I am getting ready to begin using my Finish Max tomorrow. The only time it has been used was by my husband when it was actually colder up here in Northeastern Arizona. The doors he did turned out rather grainy and I am a little apprehensive to give it a try myself. I am doing a large banquette and want it to be very smooth. I will pay attention to the temperature, although we aren’t quite as hot as you are down there. If I can get the desired finish, I have a lot of furniture to tackle. Could be busy all summer. I was glad to see that you used yours with the project laying down. I have used Floetrol in the past for roller/brush painting and had so, so success. So, I am glad to learn that it helped when using the Finish Max. Did you add it before or after testing for the flow rate?