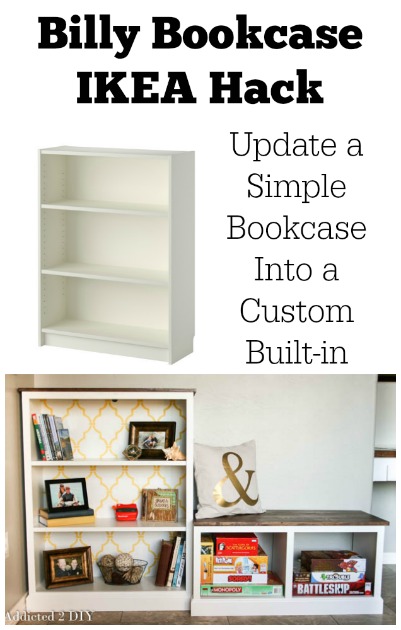
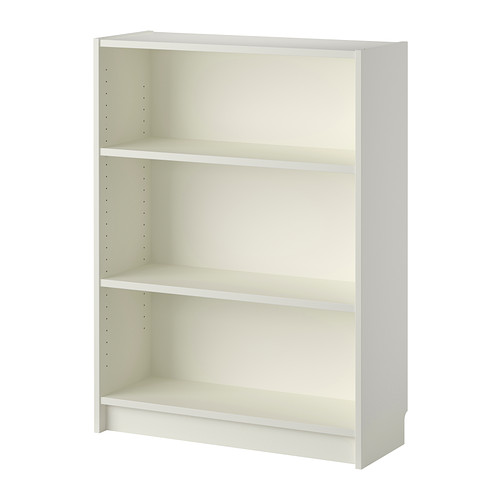
When I was asked to participate in this challenge, I was really stumped as to what I could do to this bookcase to make it really unique. I’ve been making over my den for a while now (it’s a marathon, not a sprint) and I thought maybe I could use it somewhere in there. That space alone is a challenge because of the layout and the fact that there’s only a half wall dividing it from the rest of the house. I decided a custom built-in look would be perfect! I put together the bookcase, but left the backing off because I knew I wanted to do something to make it stand out.
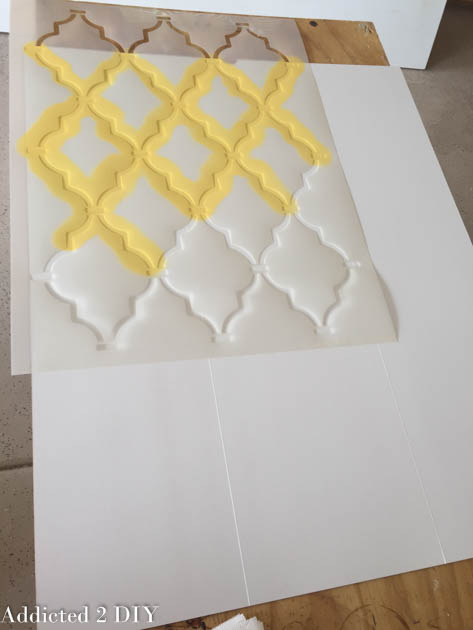
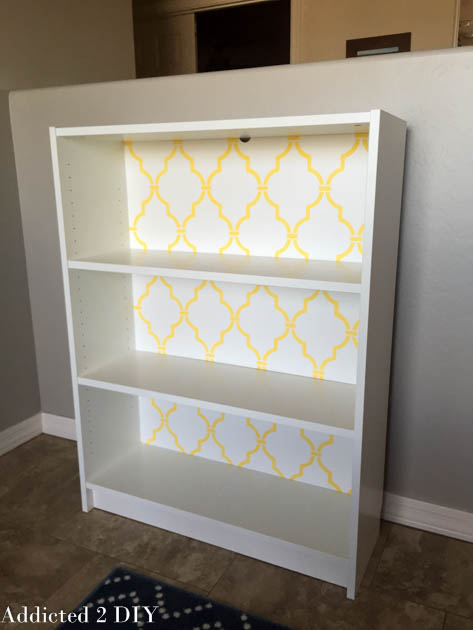
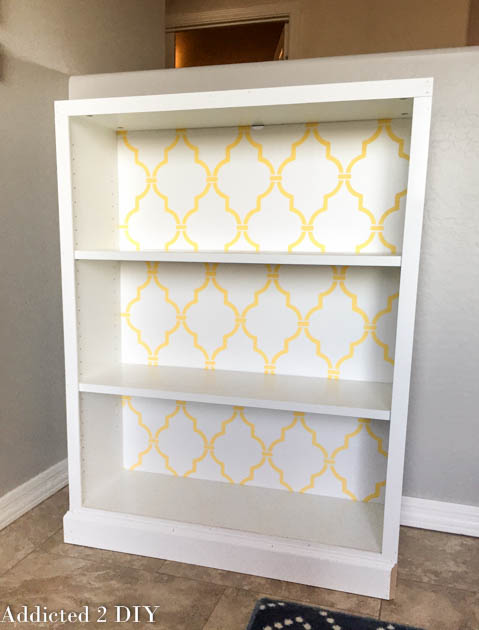
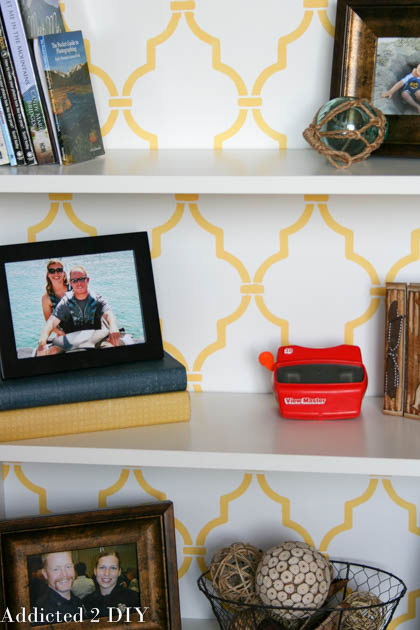
I have several stencils in my craft room and one of them was the Casablanca Trellis stencil from Royal Design Studio Stencils. I’m trying to be bolder and use patterns a little more, so this was a perfect chance to step outside of my comfort zone. My color palette for the den is navy, red, yellow, and grey. I hadn’t used much yellow yet, so I chose a bright yellow color for my stencil. The backing is laminate, so I mixed up my own custom chalk paint using BB Frosch chalk paint powder. It bonds to just about anything, so this backing was a piece of cake to stencil.
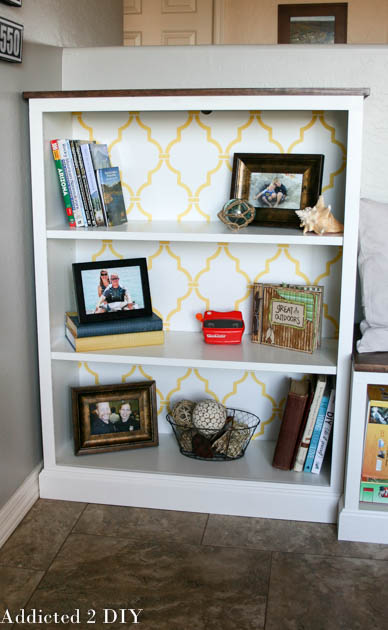
I was a bit giddy about how awesome the stenciled backing looked inside the bookcase. The pop of yellow is pure perfection in this room.
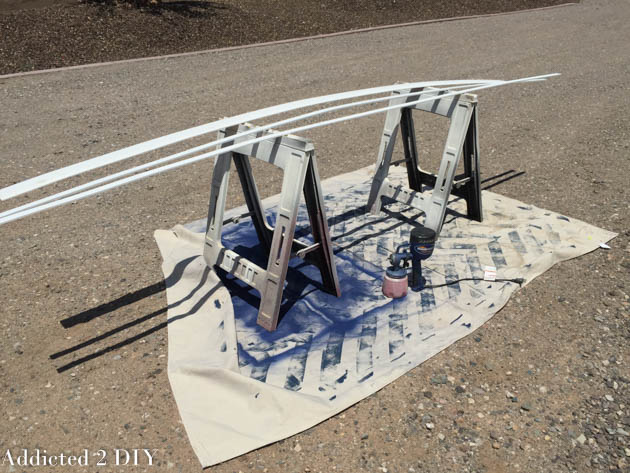
Next, it was time to add the trim. The bookcase came with a small random piece of laminate, so I took it in to Home Depot and had the friendly paint associate color match it for me. Then I came home and prepped it for my HomeRight Finish Max. I painted two strips of 1 1/8″ x 1/4″ lattice trim and a 3 1/4″ piece of baseboard moulding and let them dry.
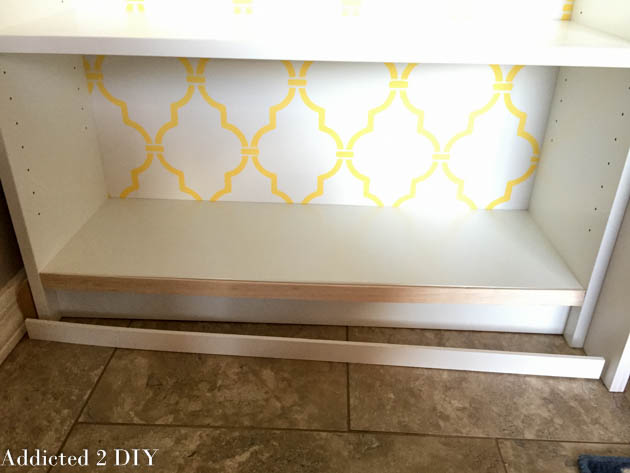
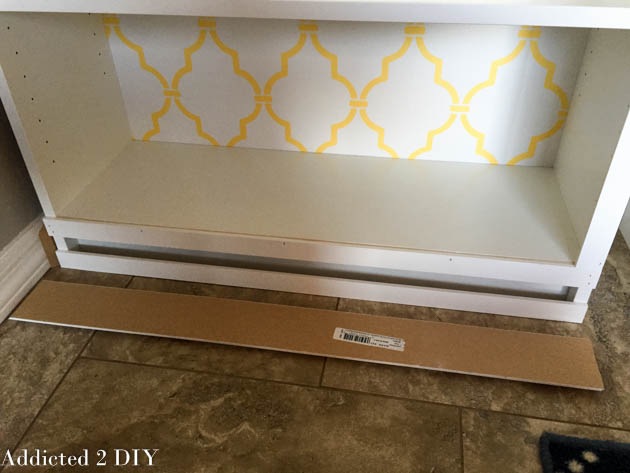
One thing you’ll notice with the Billy bookcase is that the shelves are not flush with the sides of the bookcase. The last thing I wanted was to create a beautiful custom look and then have an 1/8″ gap between the bottom moulding and the shelf. I figured out that buying a piece of balsa wood from the craft store shimmed that space perfectly.
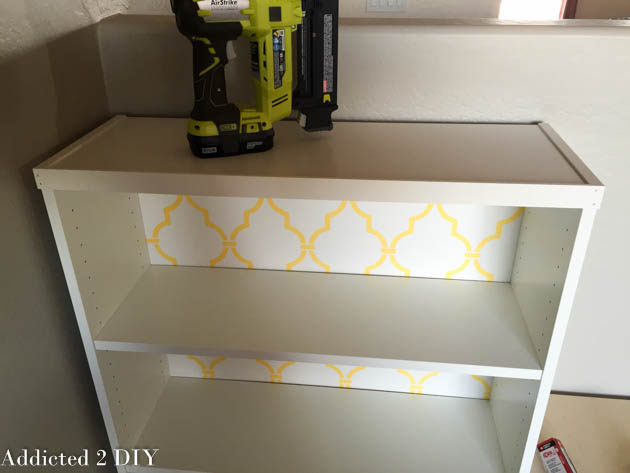
I cut two strips of lattice trim at 31 7/16″ for the bottom. I used my brad nailer and 5/8″ brad nails to attach the lattice trim flush with the bottom shelf and with the floor. I didn’t want this trim going anywhere, so I also added extra reinforcement with Elmer’s ProBond. It’s a great glue for bonding porous and nonporous materials together.
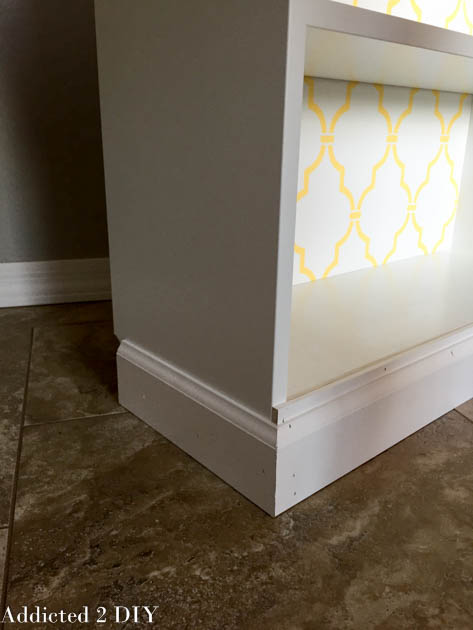
Once the lattice trim was in place, I added the baseboard moulding to the bookcase. I used 1 1/4″ brad nails and the Elmer’s ProBond to attach the pieces.
Next, I added the top trim, cutting another piece at 31 7/16″. The top of the bookcase as the same gap between the sides and the top shelf, so I shimmed that as well. I just used the scrap leftover from the bottom shim piece. Since I was building a custom top for the bookcase, I didn’t have to worry about seeing the gap. I just wanted to make sure it didn’t move at all when everything was finished.
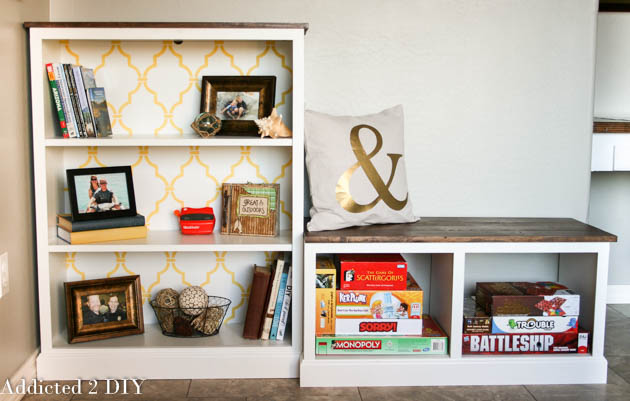
Once the top and bottom trim was attached, I measured and cut my side trim. I glued and nailed it on with 5/8″ brad nails. You’ll notice that the bottom baseboard moulding is cut with an inside 45 degree angle on the right side. This is where the bench will fit together with the bookcase to make it one whole unit.
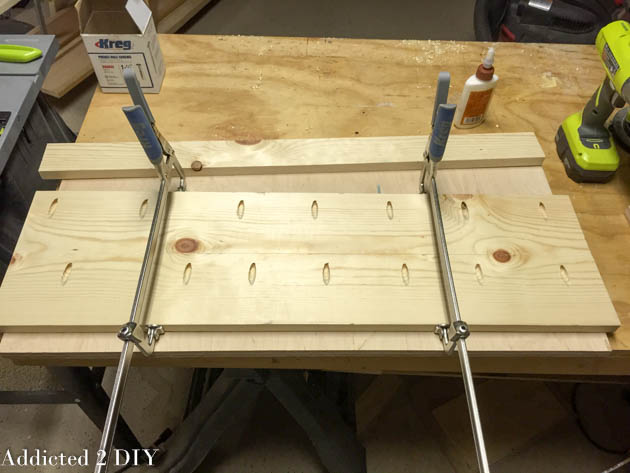
To build the wood top for the bookcase, I used a 1×10 and a 1×3. The plan was that it gave me the overhang I was looking for without having to rip any wood down. Unfortunately, I realized I hadn’t paid very good attention when I purchased my wood and it was crowning a bit in the middle. To remedy this, I ripped it straight down the middle on the table saw and then used my Kreg Jig and 1 1/4″ pocket screws to attach the pieces together. Once the top was finished, I sanded it down with 220 grit sandpaper and then stained it with Minwax stain in special walnut. I let it dry overnight and added a clear finish with polyurethane.
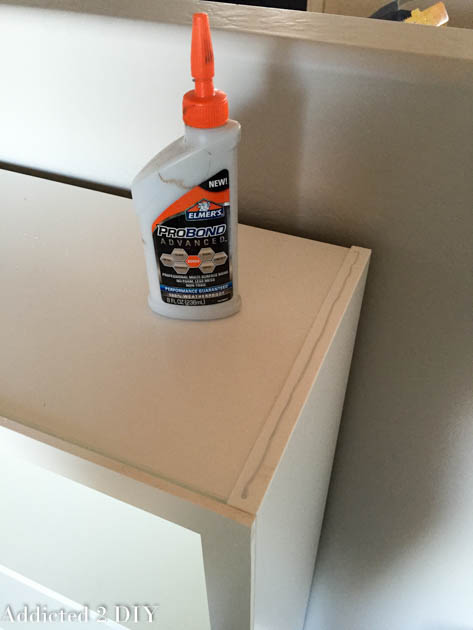
Once the wood top was completely finished, I attached it to the top of the bookcase with the Elmer’s ProBond and 1 1/4″ brad nails.
The finished bookcase turned out amazing! I love the pop of yellow behind the pictures and books and the wooden top offers the perfect contrast!
I’m so in love with how this new built-in looks in the den. Don’t forget to also check out part 2 of this project so you can built your own! For now, let’s get to the giveaway! Follow the Rafflecopter instructions below and one lucky reader will win a HomeRight Finish Max Fine Finish Sprayer! Entrants must be 18 or older and must live in the continental US. Void in Alaska and Hawaii. Entrants MUST follow HomeRight on at least one social media platform. The winner will be chosen at random and will be notified by email. If the winner does not respond within 48 hours, a new winner will be chosen. Good luck!
DISCLOSURE: I am a HomeRight brand ambassador. I was provided product and/or compensation for this post. All opinions and ideas used in this post are 100% my own.

awesome hack Katie! I love how the bench and book case compliment each other. 🙂
gail
gail recently posted…DIY Entryway Table
Thanks so much, Gail!