UPDATE! You can now download and print the free plans for this project! Click here for the link to the plans.
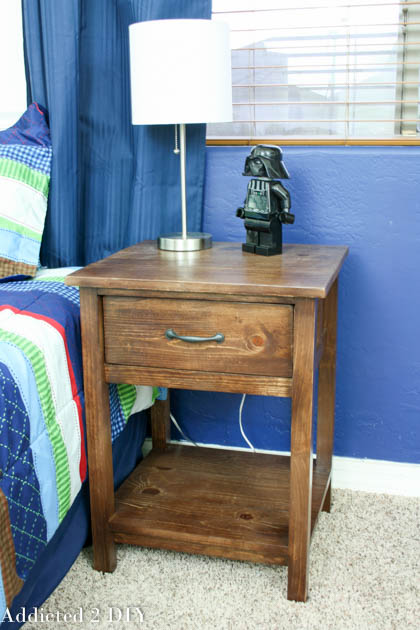
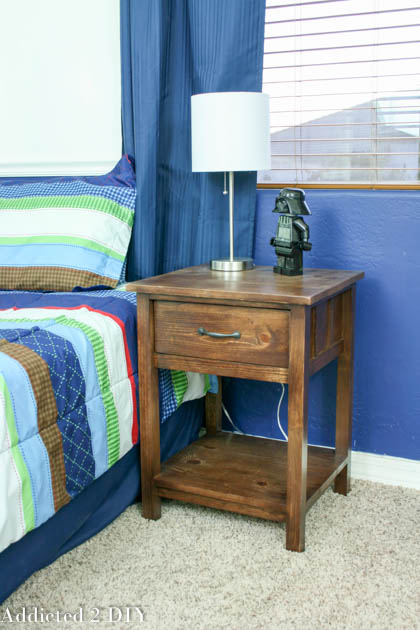
Hey everyone! I’ve got my latest knockoff project tutorial to share with you all today. I built a PB Kids-Inspired Camp Nightstand for my youngest son’s bedroom. It was a project he’d begged me to build for a while and I finally got the time to sit down and plan it all out. I’m still working on my goal of learning to draw plans, so you’ll just have to bear with my step by step pictures in the meantime. This nightstand is perfect for any kids room, but it’s also big enough that it could easily fit in a master bedroom or guest bedroom.
Supply List:
- 2 – 2×2 @ 6′ long
- 2 – 1×2 @ 8′ long
- 1 – 1/2″ birch plywood sheet (2’x4′)
- 2 – 1×6 @ 6′ long
- 1 – 1×4 @8′ long
- 1 – 1×3 @ 8′ long
- 1 1/4″ pocket screws
- 1″ pocket screws
- 1 1/4″ brad nails
- 1″ brad nails
- 3/4″ brad nails
- Kreg Jig
- brad nailer
- Kreg Rip-Cut
- circular saw
- miter saw
- drill
- orbital sander
- 220 grit sandpaper
- Wood stain
- Polyurethane
- Wood glue
- stain brush
Cut List:
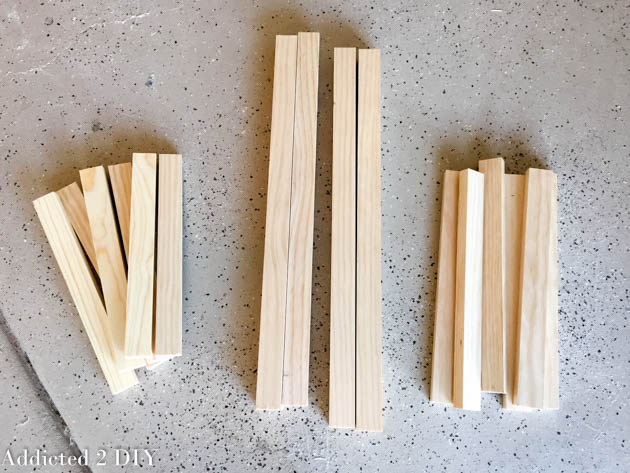
- 4 – 2×2 cut @ 25 1/4″ (legs)
- 6 – 1×2 cut @ 15″ (front & back braces)
- 6 – 1×2 cut @ 13.5″ (side braces)
- 2 – 1/2″ plywood cut @ 5 3/4″ x 13.5″ (side panels)
- 1 – 1/2″ plywood cut @ 5 3/4″ x 15″ (back panel)
- 3 – 1×6 cut @ 18″ (bottom shelf)
- 3 – 1×6 ripped to 5 1/4″w cut @ 19 1/2″ (top)
- 1 – 1×3 cut @ 19 1/2″ (top)
- Pine trim pieces – 4 @ 5 3/4″ long, 1/4″ thick, 3/4″ wide (use strips cut from top pieces)
- 2 – 1×4 @ 11 1/2″ (drawer sides)
- 2 – 1×4 @ 14″ (drawer front and back)
- 1/2″ plywood cut @ 13″x14″ (drawer bottom)
- 1 – 1×6 @ 14 3/4″ (drawer face)
Step 1: Cut all of your wood pieces and lay them out so you can drill your pocket holes.
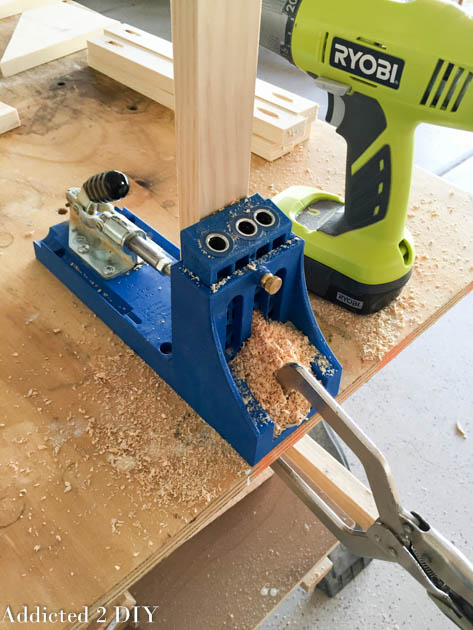
Step 2: Drill 3/4″ pocket holes into all of the 1×2 braces.
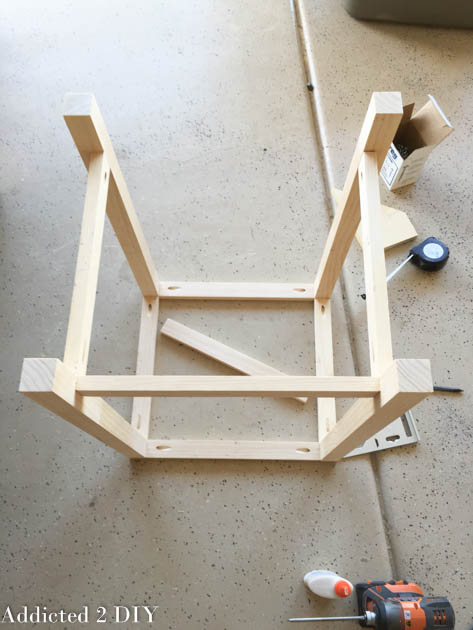
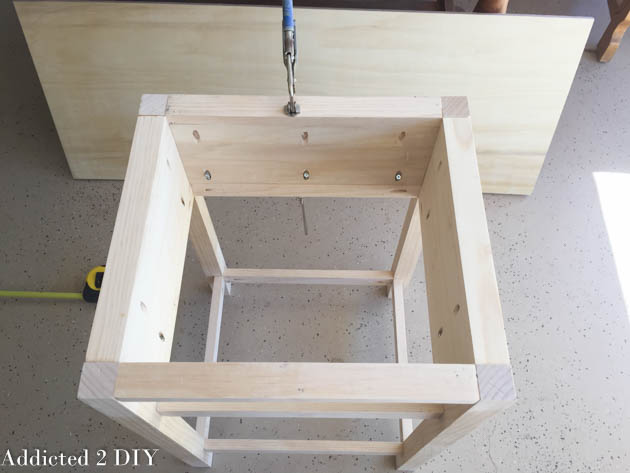
Step 3: Attach the top 1×2 braces flush with the tops of the legs using 1 1/4″ pocket screws and wood glue.
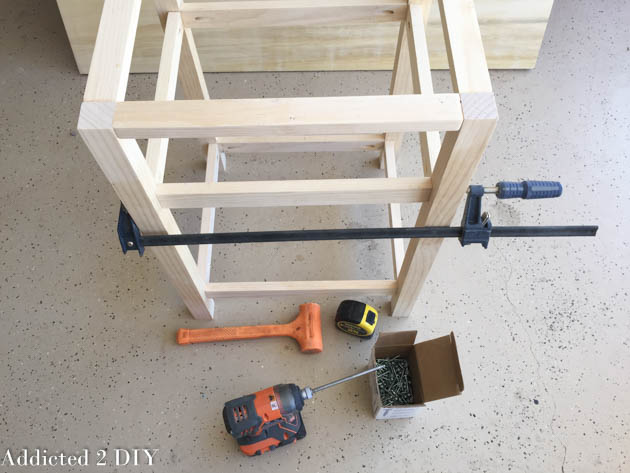
Step 4: Attach the bottom 1×2 braces 3″ up from the bottom of the legs using 1 1/4″ pocket screws and wood glue.
Step 5: Attach the middle 1×2 braces 5 3/4″ below the top 1×2 braces.
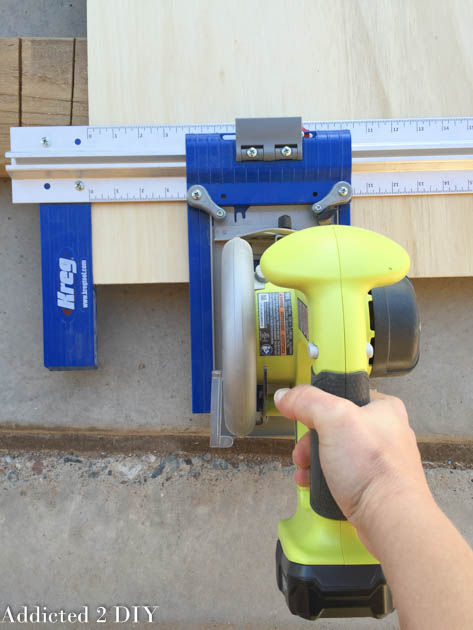
Step 6: Using the Kreg Rip-Cut, rip down 1/2″ plywood pieces at 5 3/4″ wide. Then using the miter saw, cut two pieces at 13 1/2″ long and one piece at 15″ long.
Step 7: drill 1/2″ pocket holes into the plywood panels and attach them between the top and middle 1×2 braces using 1″ pocket screws.
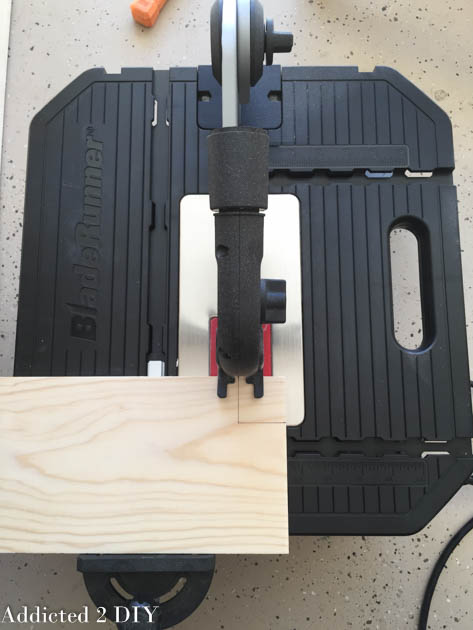
Step 8: Cut three 1×6 pieces for the bottom shelf. For the two outside pieces, cut a 1 1/2″ x 1 1/2″ notch out of the corners to fit around the nightstand legs. I used my new Rockwell Blade Runner for this and it was the perfect tool for the job!
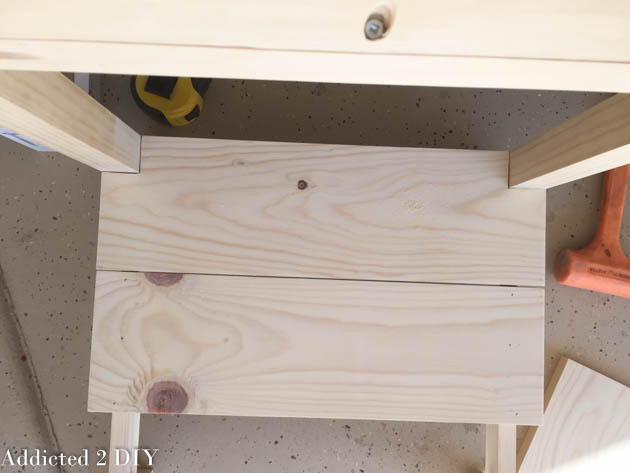
Step 9: Attach the 1×6 shelf pieces to the bottom braces using wood glue and 1 1/4″ brad nails.
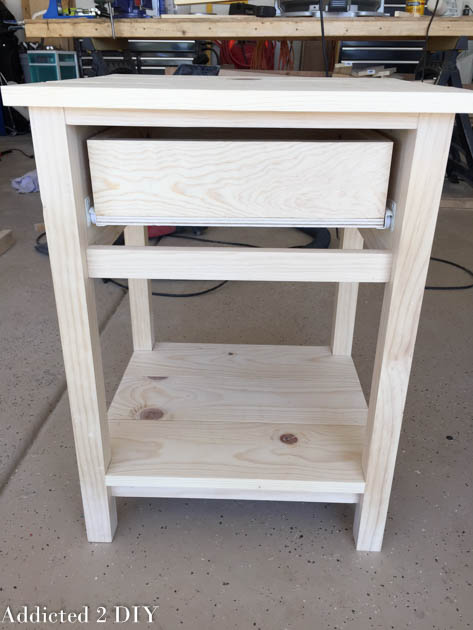
Step 10: Assemble the drawer using 1 1/4″ pocket screws and wood glue. Normally the pocket holes would be facing the outside of the drawer, rather than the inside, but I had a momentary lapse in thought. I ended up filling the pocket holes in with wood putty to hide them.
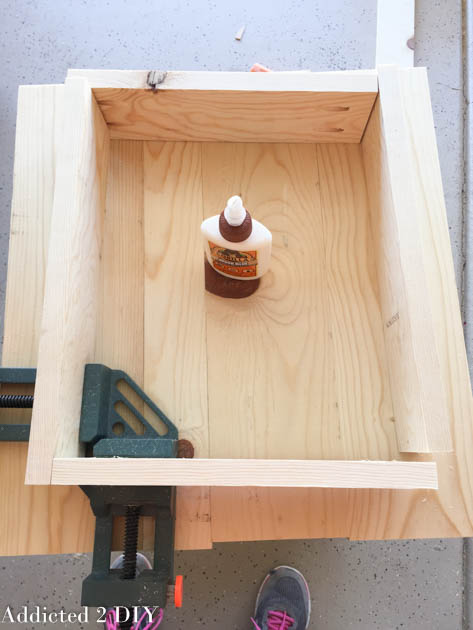
Step 12: Prior to staining, I attached the drawer glides. I took them off to stain the nightstand, but I wanted to have all of the holes in place when I was done and I wanted to make sure everything fit properly.
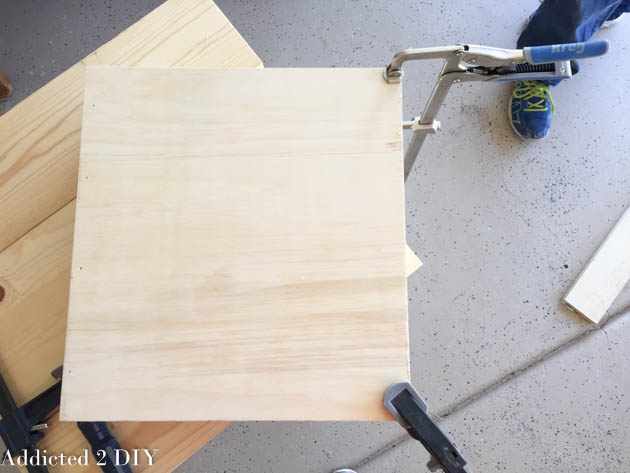
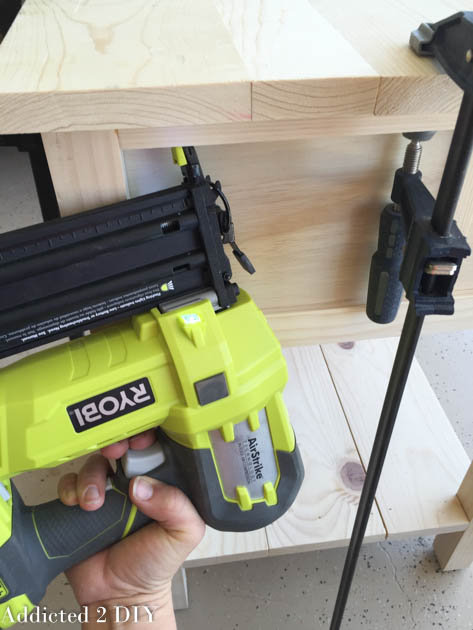
Step 13: For the top, drill pocket holes into the underside of the boards and glue and attach the top boards together using 1 1/4″ pocket screws. Glue and clamp the finished top to the base.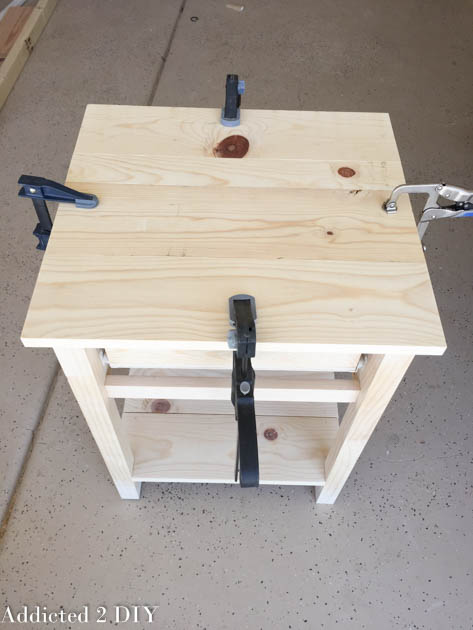
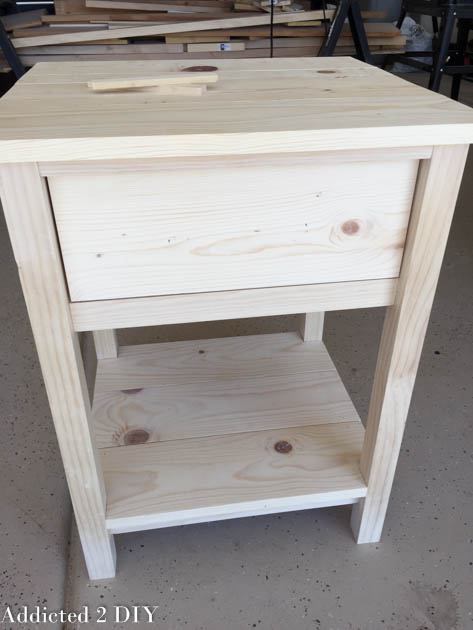
Step 15: Attach the drawer face using wood glue and 1 1/4″ brad nails. Center the drawer face so there is a 1/8″ gap around all sides.
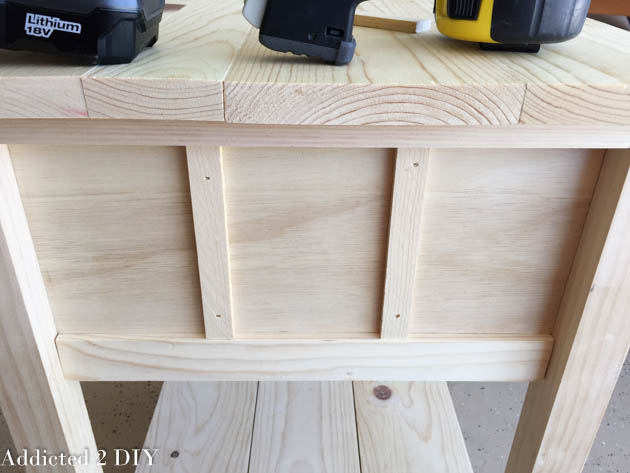
Step 16: Cut the trim pieces at 5 3/4″ and evenly space two on each side of the nightstand. Attach with wood glue and 3/4″ finish nails.
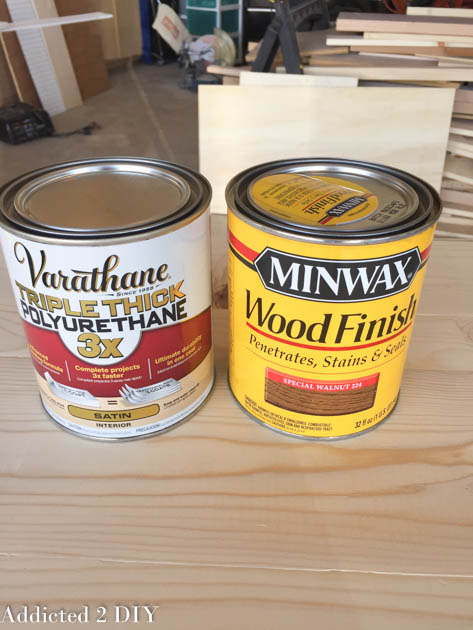
Step 17: Fill all visible pocket and nail holes with wood putty and let dry. Sand the entire piece with 220 grit sandpaper. Distress if desired. I used Minwax stain in special walnut and decided to try Varathane Triple Thick Polyurethane for the first time. I liked the idea of being able to apply the finish in one coat. It wasn’t as easy to work with as I’d hoped; however. I think it really all boils down to preference, but I probably won’t be using it again on a project. I can still see brush strokes and there are tiny bubbles that appeared that always self level when I’m using traditional polyurethane.
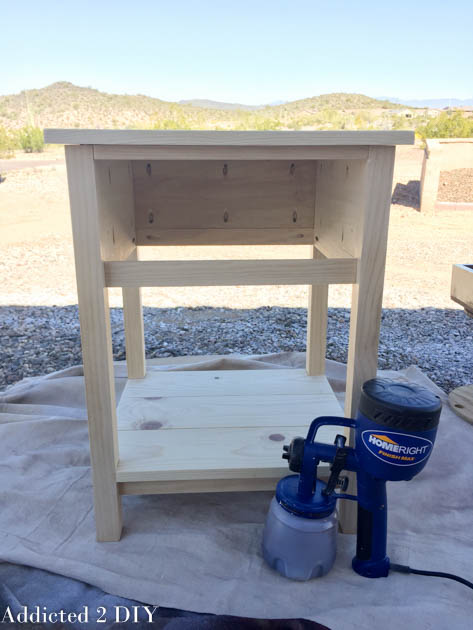
Step 18: To stain the nightstand, I used my HomeRight Finish Max. It makes the entire staining process so easy. You can see a full tutorial here. I let the stain dry overnight and then applied one coat of the triple thick polyurethane.
Step 19: Once the nightstand was dry, I attached the drawer pull and reinstalled the drawer glides.
I was so happy to finally have the nightstand finished! It took a little while for me to finish it while I worked on other projects. That meant my son hounded me almost daily about getting it done. Of course, when I did finish it, he decided he didn’t like it! My boys don’t like change, so they take a while to warm up to things like this. Now he loves it, although he won’t admit that. He likes being able to read books with his lamp on instead of his bedroom light. He’s reading The Boxcar Children series right now, so he keeps the books he hasn’t read yet in the drawer on standby. Next up will hopefully be his bed! If you have any questions about this project, please don’t hesitate to ask! I’ll answer them as best as I can.
*This post contains affiliate links. If you purchase an item from these links, I will earn a small commission at no extra cost to you.

What drawer glides did you use?
They were standard drawer glides from Home Depot. I think they were around $5 or $6
how long are the drawer glides?
12″ drawer glides
Great. Then I bought the right ones. Thank you.
Of course! I’d love to see your finished nightstand!
Did you post download instructions?
I didnt see any this time.. or did I miss them?
And as always… thans again.. for another AWESOME project!!!
Love Love Love it!!
I haven’t created plans, but that is on my list. Hopefully I can get them posted in the next week or so:)
I used this website (https://www.printfriendly.com) to make own pdf file of the webpages.
What type and grade of wood is used in the picture?
For the legs, I used select pine 2x2s, common boards for the rest of it, then 1×2 veneer plywood for the side panels.
On the cut list, how did you get the drawer to work out with a 13×14 bottom and sides that are also 13 and 14 inches long, it doesn’t really work? Should i make the bottom smaller or the sides smaller?
Now that I am almost to the end I realize that the drawer is too deep for the face to fit flush. Did anyone else run into this problem? I think I will just make the face bigger to cover. We shall see…..
You are absolutely right. Thank you for pointing out that error and I will get that fixed right now. I apologize for that! The drawer sides should be 11 1/2″.