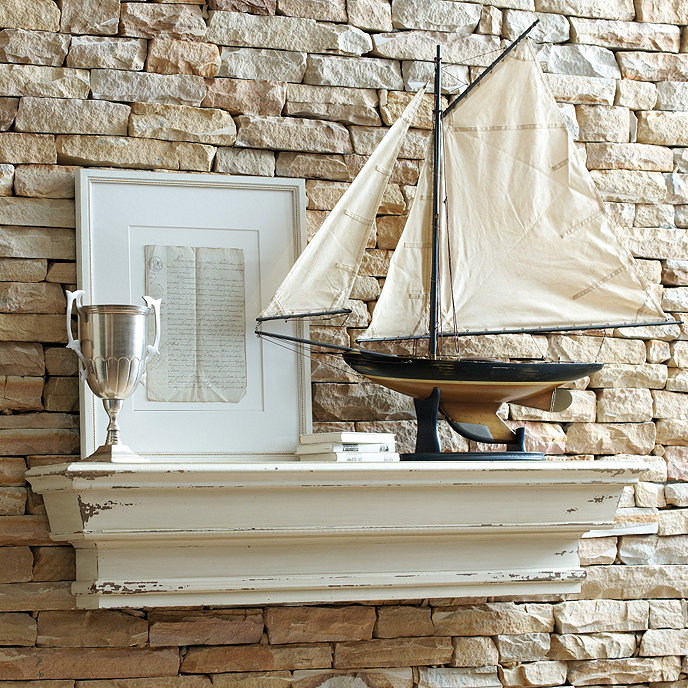
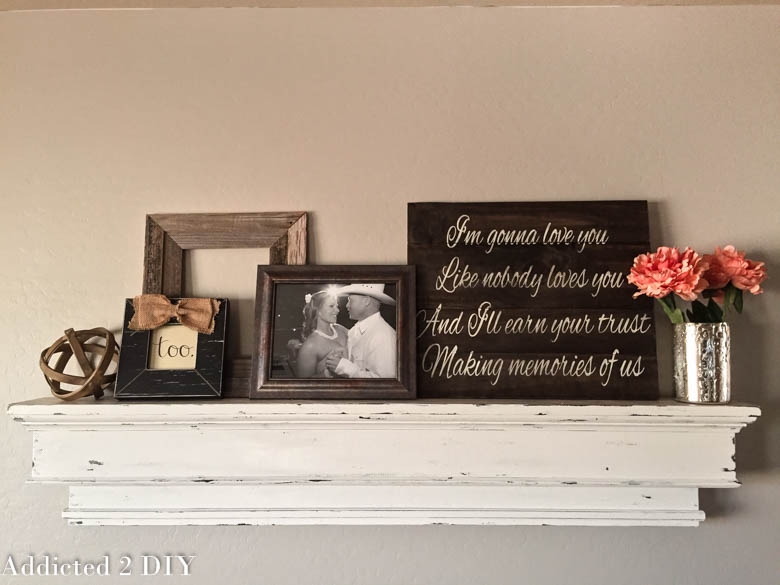
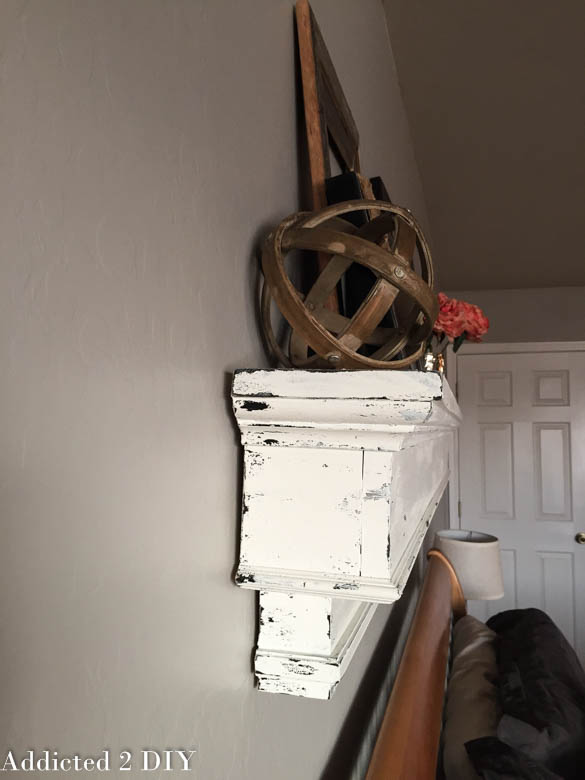
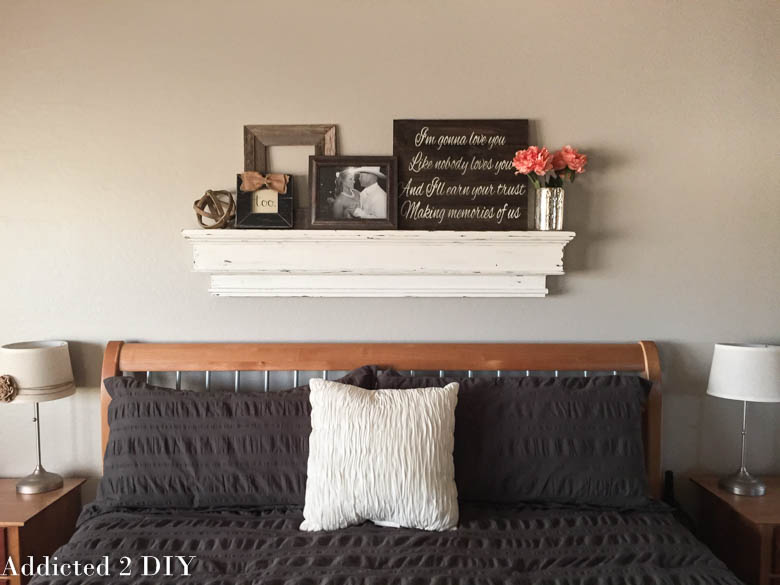
If you remember, back in November, I shared the tutorial for how to make your own wedding song wood art. To hold this beautiful wooden art, I decided to build a knockoff version of Ballard Design’s Rouen Mantle Shelf. Their shelf is $300 to purchase it. I made my own knockoff version for just $40! I made my version to be slightly longer because it hangs over our king size bed. But other than that, it looks just like the original!
Supply List:
2 – 1×6 boards @ 6′ long
2 – 1×4 boards @ 6′ long
1 – 1×2 board @ 6′ long
1 5/8″ PVC crown moulding @ 6′ long
2 – 4′ pieces of cove moulding (pine)
2 each of 4′ pine trim. You’ll be able to see what I used in the tutorial. Unfortunately there were no descriptions of them at Home Depot.
5/8″ brad nails,
1 1/4″ pocket screws
1 1/4″ brad nails
wood glue
wood putty
kreg jig
drill
brad nailer
Cut List:
1 – 1×6 @ 54″
1 – 1×6 @ 51 1/2″
1 – 1×4 @ 50 1/4″
2 – 1×4 @ 5 1/4″
1 – 1/4 @ 47 3/4″
2 – 1×2 @ 3 1/2″
1 – 1×2 @ 46 1/4″
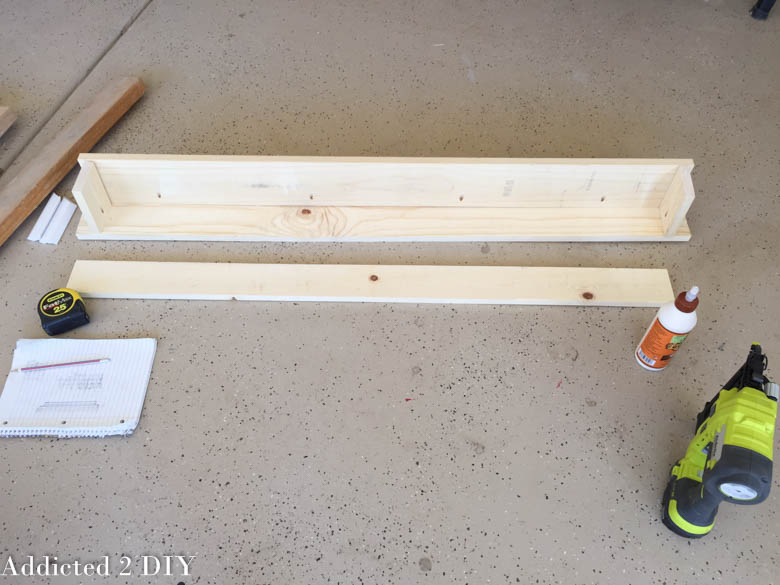
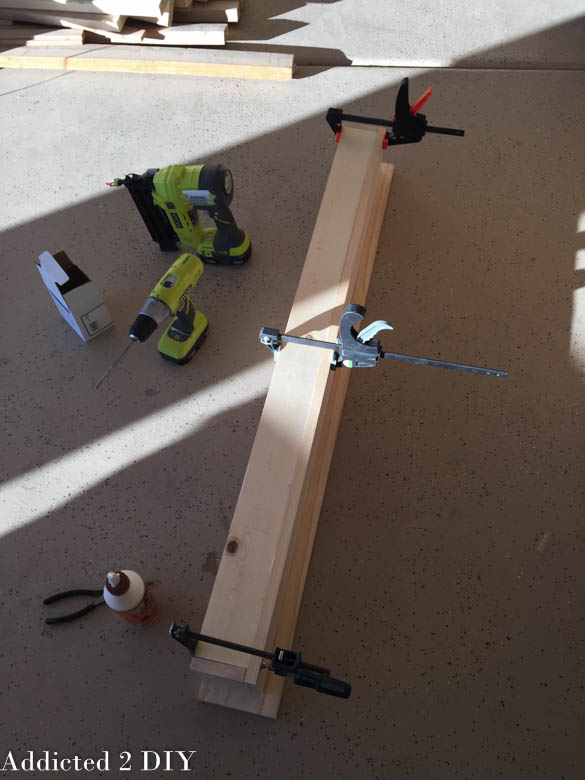
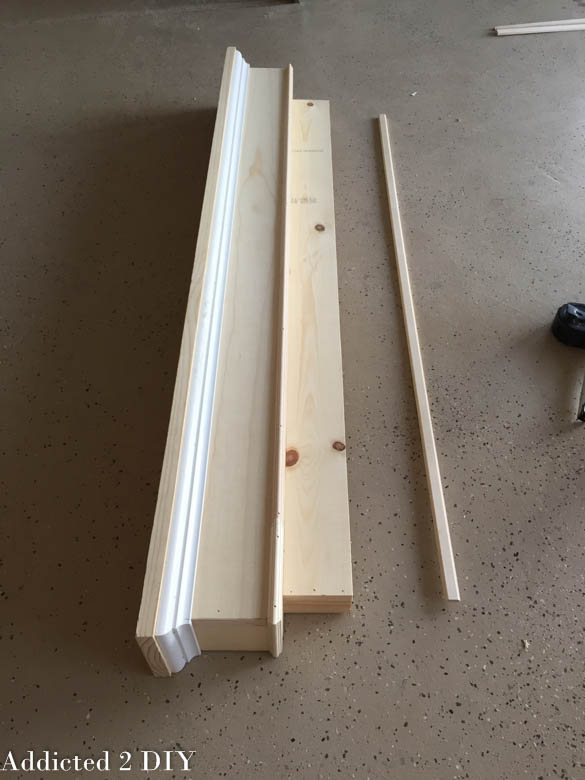
Use wood glue and 1 1/4″ finish nails to nail these pieces together.
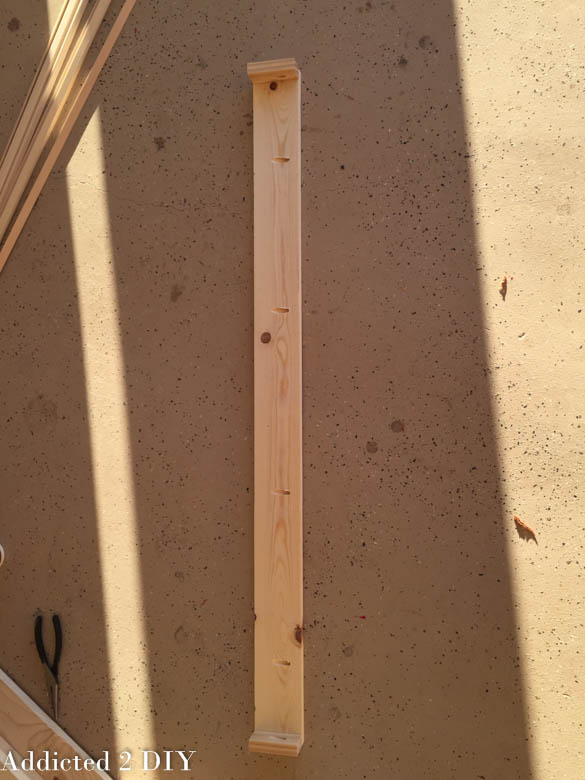
Center this piece on the top of the shelf (the 54″ piece) and line it up flush with the back of the shelf. Attach with wood glue and 1 1/4″ pocket screws.
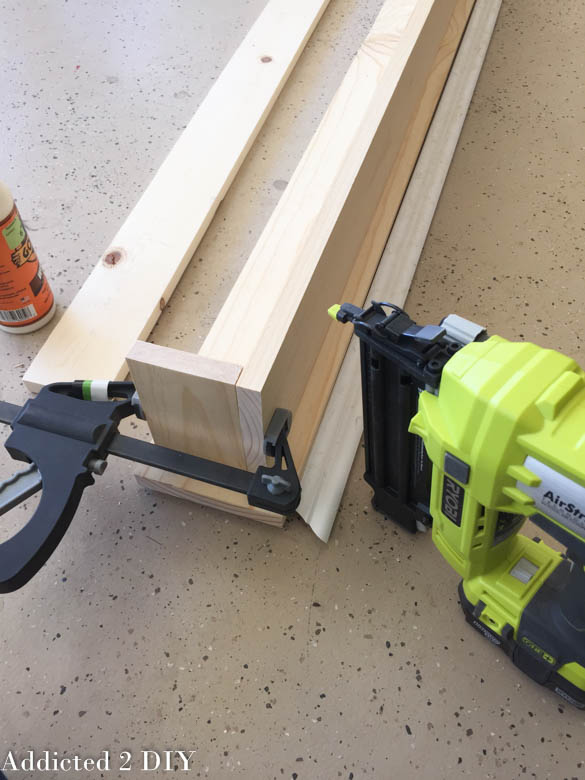
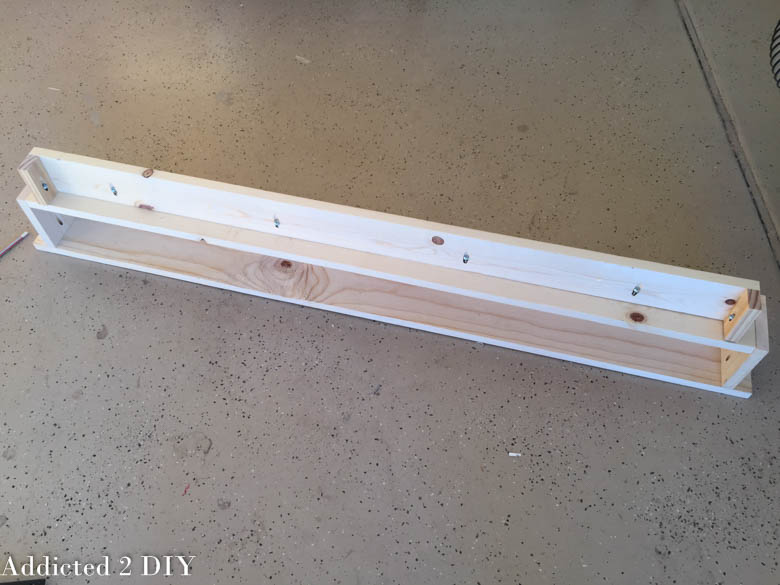
To finish off the box, glue and nail the 50 1/4″ 1×4 piece to the bottom using 1 1/4″ brad nails.
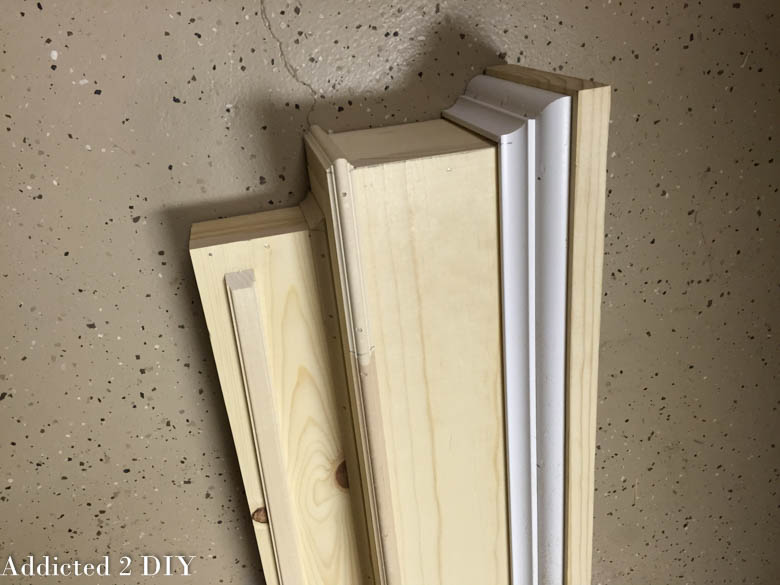
Build the bottom half of the mantle in the same way as the top.
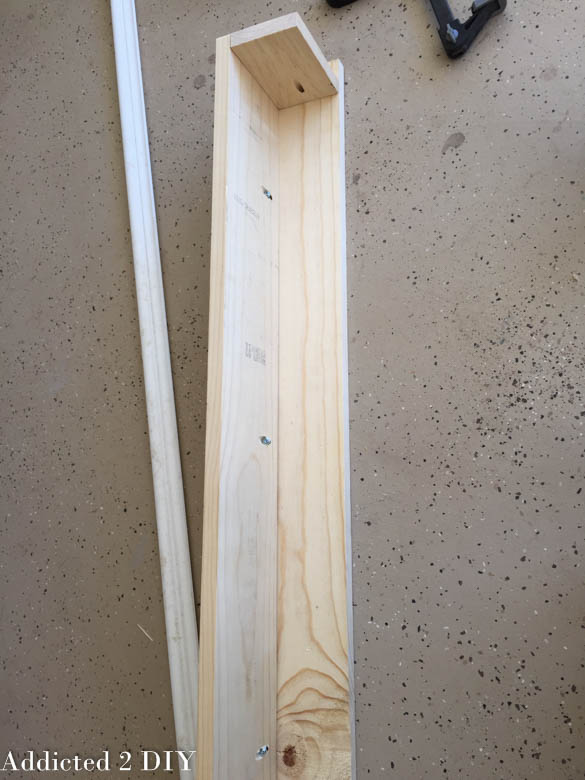
Attach to the top half with wood glue and 1 1/4″ pocket screws.
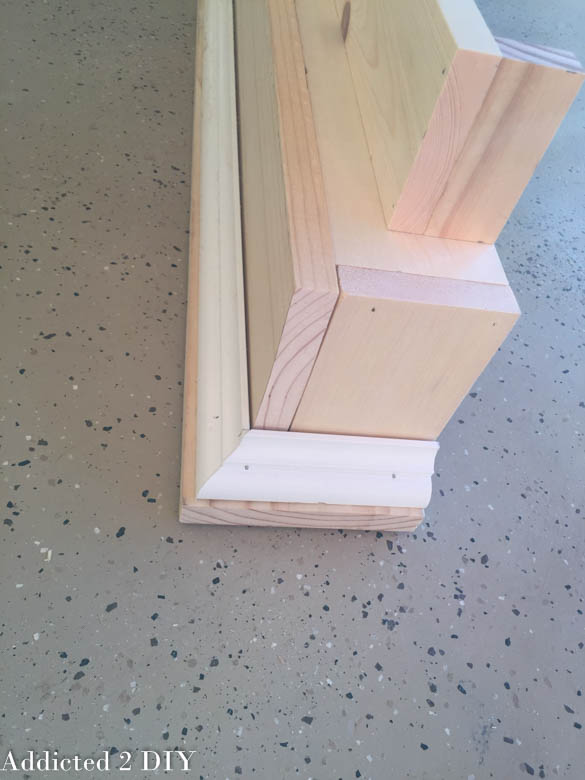
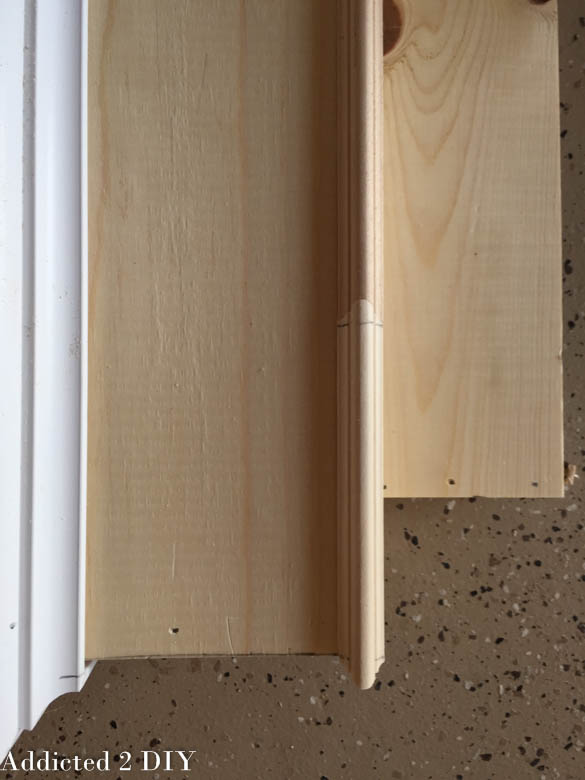
The crown moulding was a first for me, but I used this tutorial from Sawdust Girl to cut them at the correct angles. I cut the side pieces at 5 1/4″ on the long side and the front side at 53 5/8″ fron the long edges. I nailed the pieces in place with 1 1/4″ brad nails.
For the smaller trim pieces, I cut them to size using 45 degree mitered cuts. Since I bought 4′ pieces, some had to be pieced together. I glued them and attached them with 5/8″ brad nails. Then I filled all of my nail holes with wood putty and sanded them when dry.
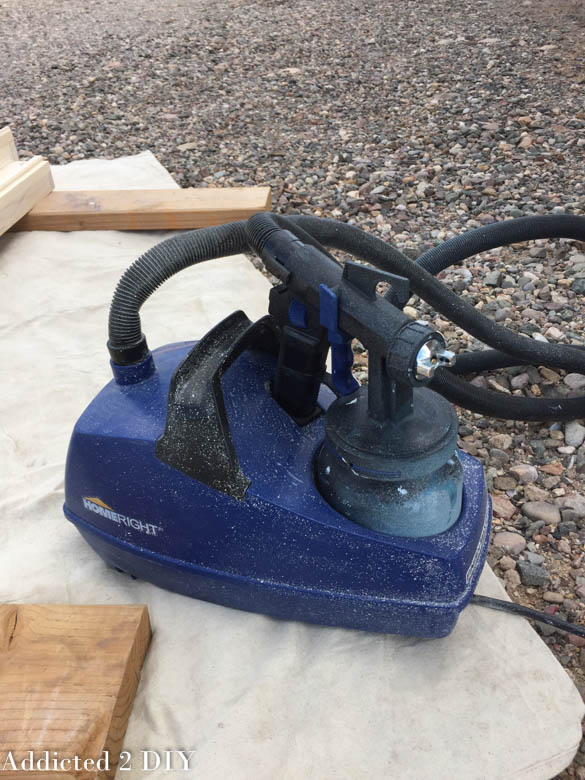
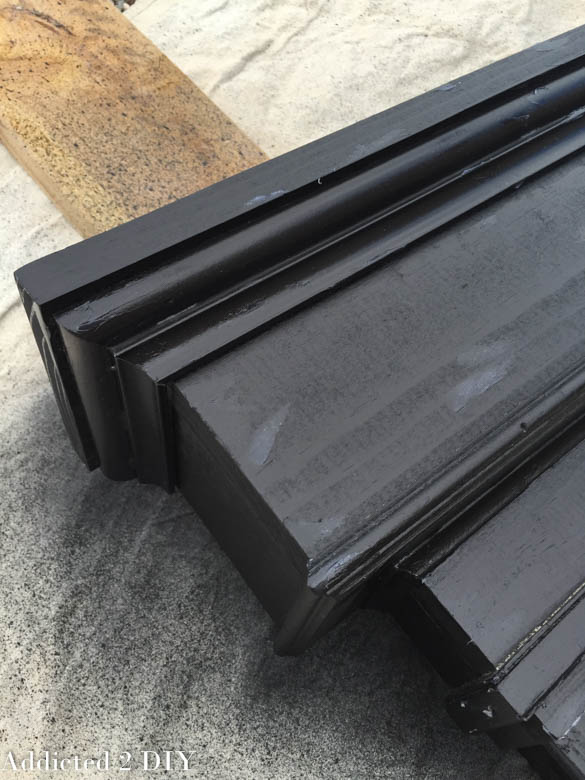
I wanted this to be distressed just like the original, so I used both black and white (swiss coffee) paint. I used my favorite paint sprayer, the HomeRight FinishMax Pro to get the job done quickly and easily. (affiliate link)
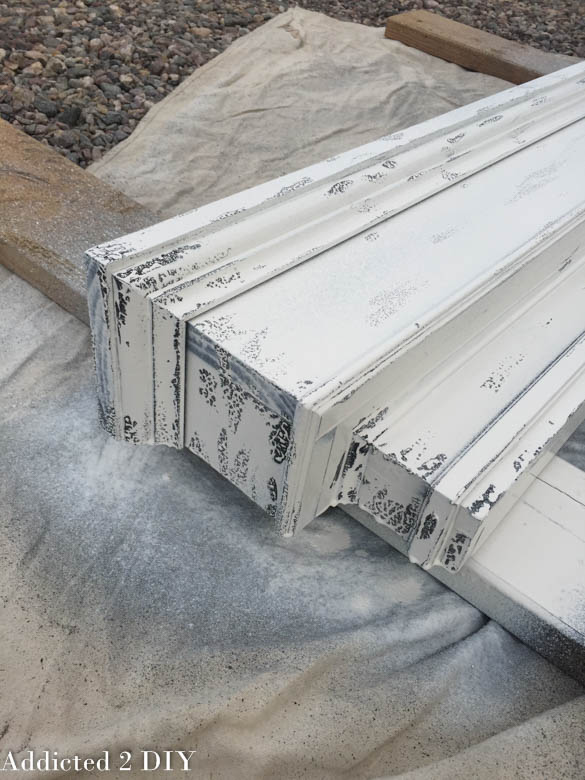
I used the vaseline method to distress the shelf, so once my coat of black paint was dry, I lightly rubbed small amounts of Vaseline onto the areas of the shelf I wanted distressed.
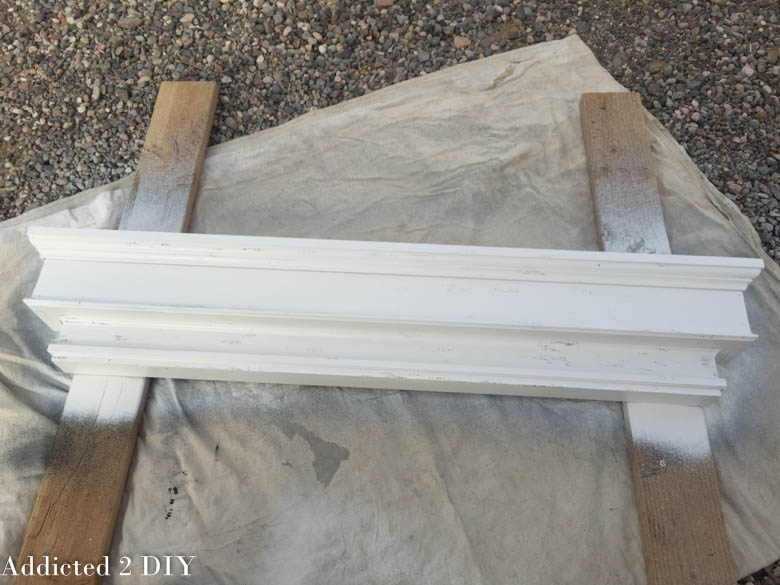
I used my swiss coffee colored paint to spray the next two coats on. I realized after the first coat that I’d gotten a little overzealous with the vaseline and when it combined with the watered down paint from the sprayer, it beaded up a lot more than I had wanted. Thankfully, when distressing stuff, it doesn’t really matter if it’s not perfect. That’s the whole point of the distressed look.
I painted my second coat of paint on and let it dry. Then I took some 120 grit sandpaper and lightly rubbed it over the entire shelf. Once again, since I went a little crazy with the Vaseline, I ended up taking off a lot more paint than I had wanted to. It was a really simple fix and I just grabbed a 1″ foam brush and touched up the areas that were a little too distressed. Once I was happy with everything, the shelf was ready to hang over our bed.
I bought this OOK Hangman French Cleat Picture Hanger from Home Depot. It holds up to 200 lbs, which is definitely overkill for this shelf, but it was the right length to hit at least two studs in the wall. Since my husband was certain that I was trying to kill him by hanging a heavy shelf above his head, I figured it would make him feel better to know it wasn’t going anywhere;)
I can’t even begin to say how much I love this shelf! It looks so amazing over our bed and, combined with the freshly painted walls and new baseboards, it makes our room feel so much more like a retreat. You can find details on where I got everything to style the shelf HERE.
I’ve mentioned that one of my goals this year is to learn how to create plans using Sketchup. Once I learn how, I’ll be sure to post printable plans for how to build this shelf. It really is simple to build and has such a huge impact for a small price tag.
Linking up at these parties:



I love the shelf. It compliments the room really well and was a huge savings!
Felicia | Beloved Style
Felicia recently posted…DIY No Sew Pillow Cover
Thanks Felicia! It definitely makes the room more complete and not so stark.
Looks great Katie. Can’t wait till you master Sketchup. I have never used Vaseline but am wondering if it is difficult to keep the brush clean. Perhaps that is the goal. All I can think of is spreading it throughout the entire piece.
This shelf is amazing! Great job!
Thank you, Laura!
Katie, I love the shelf and everything on the shelf. I wanted to make a shelf for my entry way and I love yours.
Love the shelf, you have great skills.
Thanks so much!