I am getting so excited for Halloween! Mostly because I love the excitement my boys have for it. Plus I love taking pictures of them in their costumes!
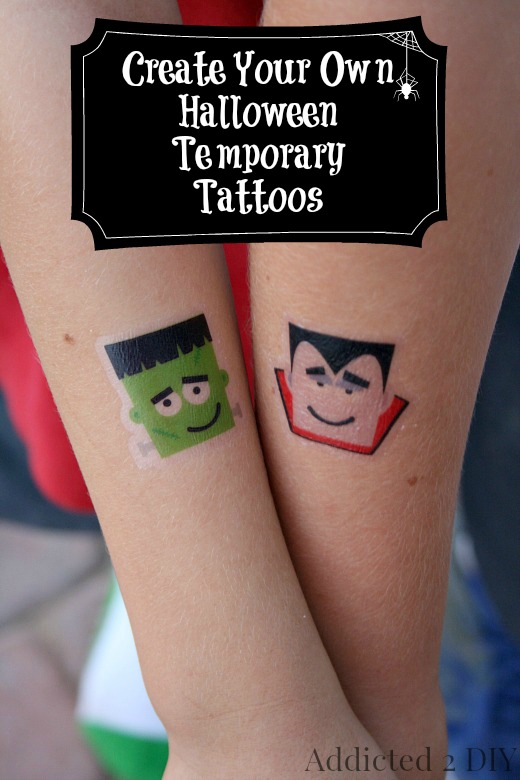
As many of you know, I recently became the very proud owner of a Silhouette CAMEO. I absolutely LOVE my Silhouette! I’m allowed to create things on my own when I want to, or use their own images when the creative juices just aren’t flowing. Silhouette America has so many awesome tools and media that you can use with your CAMEO or Portrait machines and one of them is their printable tattoo paper. I was super excited to try this out and thought it would be so fun to make Halloween temporary tattoos for my boys to take to school and share with their friends!
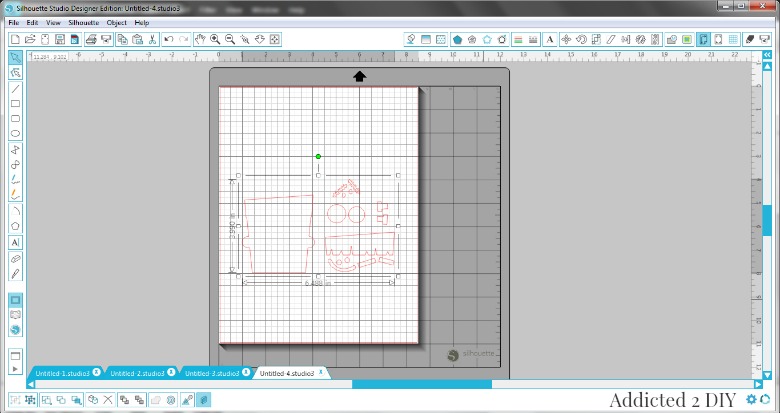
To get started, I found some super cute images in the online store. I downloaded these fun Frankenstein, Dracula, and witch shapes.
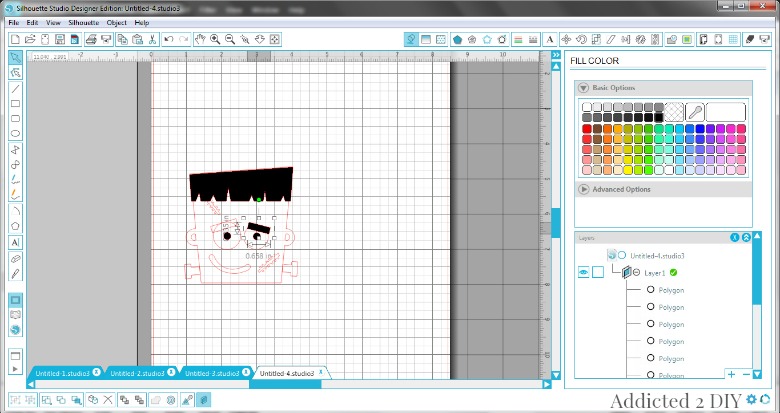
When I opened the Frankenstein and Dracula shapes, they were separated into layers. All I had to do was ungroup the shapes, and then layer them together. I then grouped them back up.
Once the design was pieced together, I started coloring in the image. For the green colors of Frankenstein’s face and stitches, I ended up using the advanced color options to get the perfect shade that I was looking for.
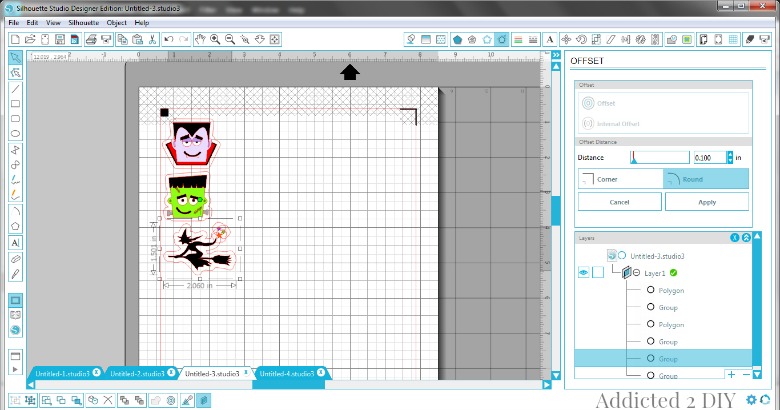
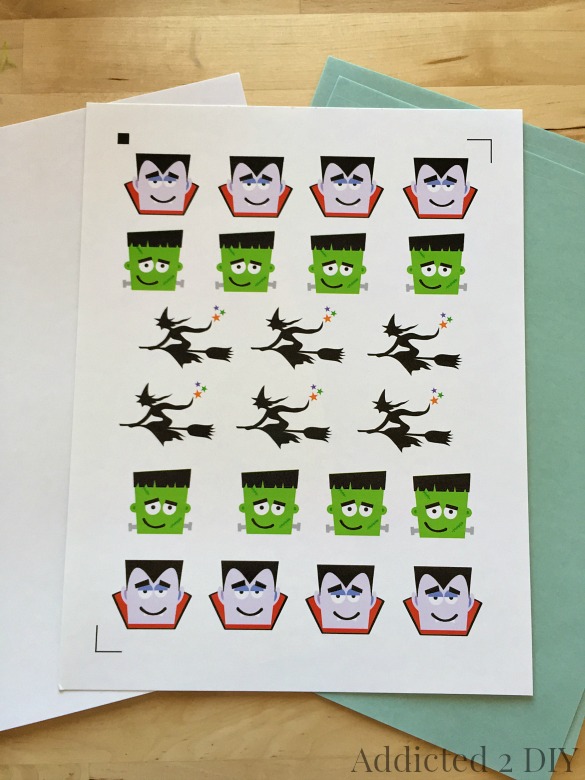
The witch was easier to work with. All I had to do was color her and the stars in. Once the shapes were all set, I sized them down and then created an offset border for them. I sized the border down to my desired thickness and then duplicated the shapes to fit in the screen. The most important thing to remember with this project is to add the registration marks and then place your images inside that border. Also, with the cut settings, make sure that you set your Silhouette to cut the outer edge and not all of the pieces inside the offset border. If you are printing letters or numbers, you’ll want to mirror your image so that when the tattoo is applied to your skin, the words aren’t backwards. For these shapes, it didn’t really matter.
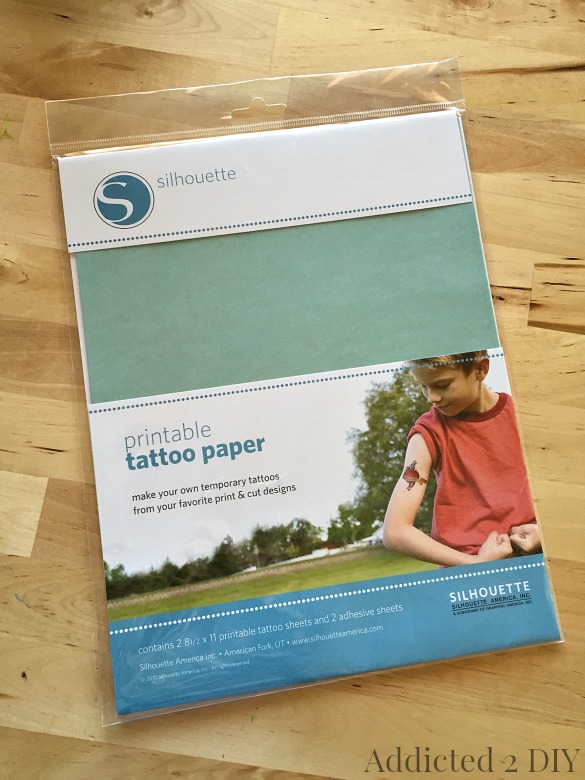
When my images were ready to print, I grabbed my tattoo paper. The package comes with two 8.5×11″ sheets of paper and two adhesive sheets.
Once the images were printed out, I applied the adhesive sheet over the tattoo paper. This is the clear film that you find on all temporary tattoos. I used my scraper tool to smooth the adhesive sheet onto the paper and then it was ready to cut.
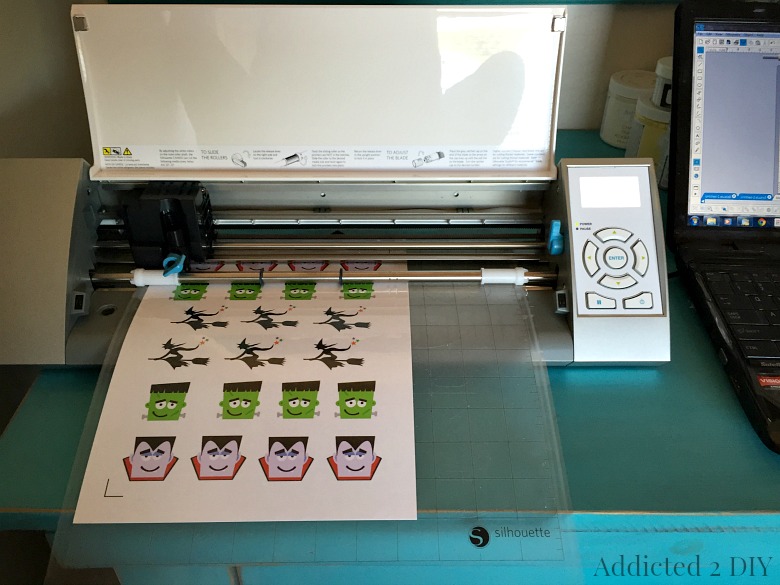
This was my first print and cut project and it was so cool to see it cut exactly where I wanted it to. The tattoos came out so adorable and were cut perfectly.
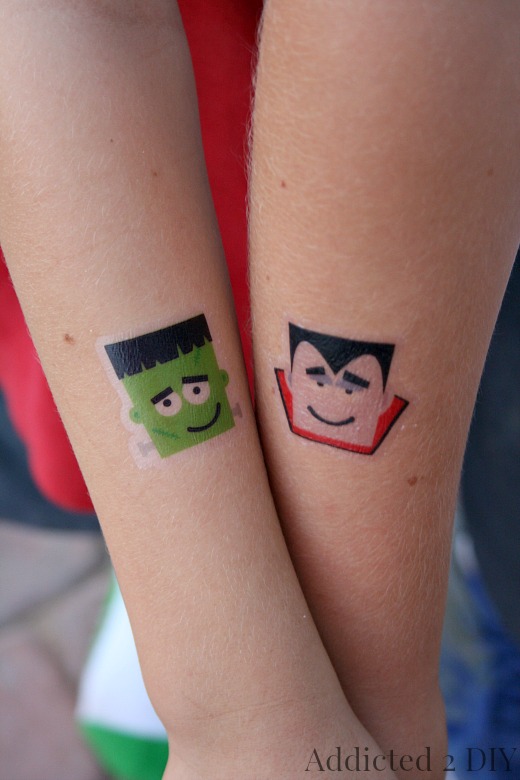
I let my boys pick their favorites and had them model the tattoos for me. What I was most pleased with is the fact that the tattoo paper is such good quality. Have you ever placed a tattoo on your kid, only to have them in tears because the quality of it was so poor and it basically disintegrated when it got wet? These are not like that at all. In fact, my youngest decided he wanted to be a little stinker and didn’t want his tattoo anymore. I rubbed a little oil on it and it and then peeled it off like a bandaid!
I know my boys’ friends at school will be so excited when they get these fun little Halloween treats!
Also, starting today, Silhouette American has got an awesome sale starting for a Silhouette Portrait machine and specialty media bundle. You get some seriously amazing products at an even more amazing price! Just click the image below and use the code ADDICTED2DIY at checkout to receive your discount!
DISCLOSURE: I am an affiliate with Silhouette America. I have received products and or compensation for this post. All opinions of the machines and products are 100% my own. This post also contains affiliate links. If you purchase and item through the affiliate link, I will receive a small commission at no extra cost to you.


Hello,
I have a question in regards to the tattoos you made.
you said…
“When my images were ready to print, I grabbed my tattoo paper. ”
To print the images onto this paper… Did you use your inkjet printer , or the Silhouette printer?
I’m interested in using the gold foil paper to make gold tattoo jewelry.
How would you go about doing that with the tattoo paper and the Silhouette printer?
-Steven
http://www.StevensTATs.com
I used my inkjet printer to print the images on the tattoo paper. Silhouette doesn’t make a printer, so you would have to use an inkjet printer in order to print designs in order to cut.
Hi, great post! I’ve been avoiding tattoos for a long time but when I have done one I got one point that custom made tattoo can be really cool. I still don’t understand how people can pick the tattoo from catalogue and become another twin from the crowd. What do you think about custom made tattoos? Thanks
Definitely love them! My husband and I got matching tattoos last year to spread awareness for our son who has Tourette Syndrome. I came to our tattoo artist with a design in mind and he blew our minds with custom artwork he’d already drawn up!