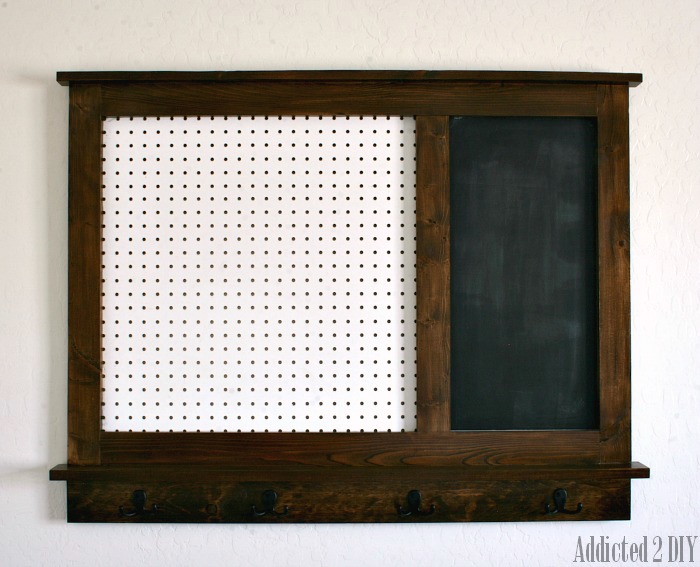
Hi everyone! Today I’m going to share with you this awesome pegboard organizer with a magnetic chalkboard! I have been planning to build this project for about 6 months and finally got around to it. When I built the pegboard organizer for my craft room, I had to buy a full 4’x8′ sheet of pegboard. That left me with some extra pieces and my boys decided that they needed pegboards too. They liked to remind me often that I still needed to make some for their rooms.
I decided to design a custom pegboard frame for them that would have a little bit of shelf space for some of their sports trophies, but I also wanted it to have a special twist too. That’s where the magnetic chalkboard came into play. I, unfortunately, do not have plans drawn up as SketchUp makes me want to pull every last hair out of my head. I’m hoping that I can figure it out soon and post actual plans to this project. In the meantime, just follow along with my step-by-step tutorial:)
For this project, I purchased the majority of my materials at Home Depot. We buy our pocket hole screws on Amazon. (affiliate link)
Materials Needed:
3 – 1×3 boards at 8′ long
1 – 1×4 board at 4′ long
1 1×2 at 8′ long
1 – 2’x2′ pegboard
1 – 1’x2′ piece of sheet metal
Kreg Jig (affiliate link)
4 coat hooks
orbital sander with 220 grit sandpaper
stain of your choice (I used Minwax Special Walnut)
finish of your choice (I used Minwax Fast Drying Polyurethane)
Wood Glue
nail gun with 1 1/4″ and 5/8″ finish nails
chalkboard paint
Cut List:
2 – 1×3 at 28″ (sides of frame)
2 – 1/3 at 36.5″ (top & bottom of frame)
1 – 1×3 at approx 23 1/8″ long (measure inside of frame and cut to size)
1 – 1×3 @ 43″ (bottom shelf)
1 – 1×4 @ 41.5″ long (for coat hooks)
1 – 1×2 @ 43″ long (top piece)
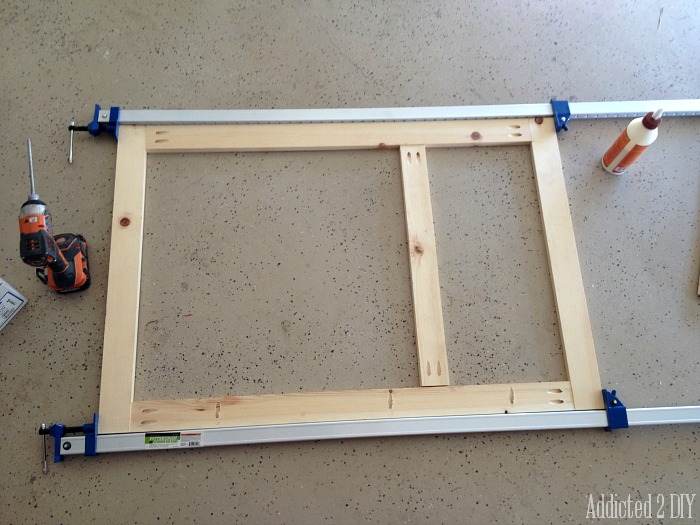
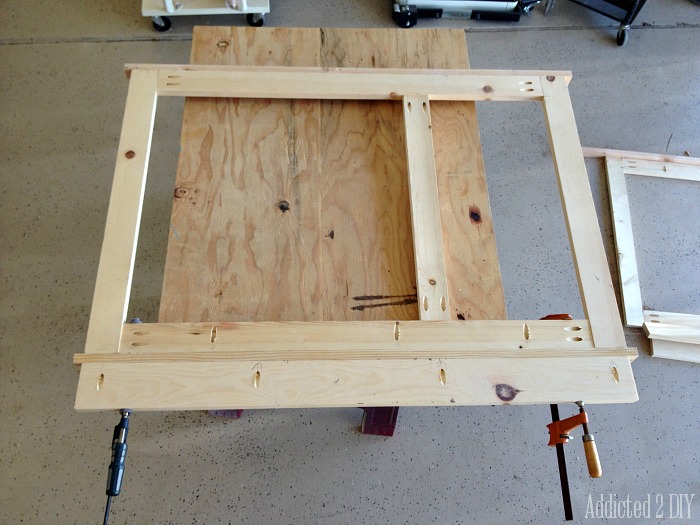
Cut all of your wood first and then pre-drill your pocket holes with the Kreg Jig. You can see from this picture where I drilled my pocket holes. On the bottom piece of the frame, I also drilled pocket holes going downward. This is to attach the 1×3 shelf to the frame. Clamp and glue the frame together, then attach with 1 1/4″ coarse thread pocket hole screws. For the divider in the frame, glue and clamp it together after the outside of the frame is attached. Sand the frame with 220 grit sandpaper.
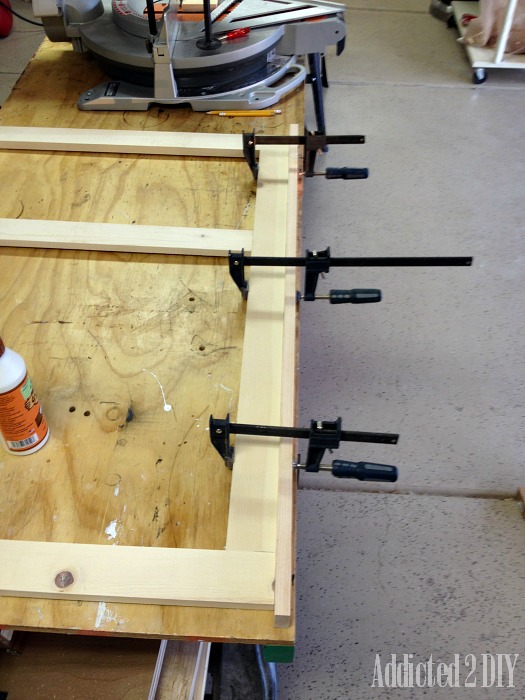
To attach the top 1×2 piece, center it over the frame with 3/4″ overhang on each side. Glue and clamp into place. Attach with 1 1/4″ finish nails.
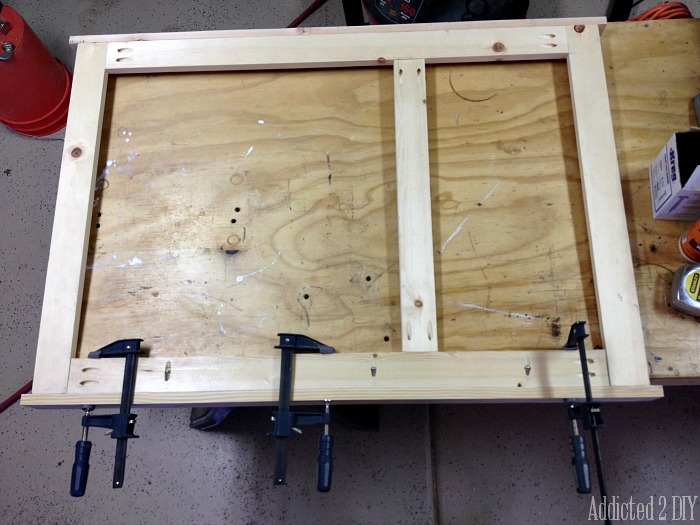
For the 1×3 shelf, you will center it on the bottom of the frame, once again leaving a 3/4″ overhang on each side. Glue and clamp together, then attach with 1 1/4″ pocket screws. I didn’t use pocket holes on the ends because I didn’t want to have holes overlapping, so I nailed each end with 1 1/4″ finish nails.
For the 1×4, you can see that I made sure to drill my pocket holes offset from the 1×3. That way I didn’t have screws accidentally meeting up when they went into the 1×3 shelf. I glued and clamped it and then attached it with the 1 1/4″ pocket screws. Once everything was attached, I sanded the entire piece with 220 grit sandpaper.
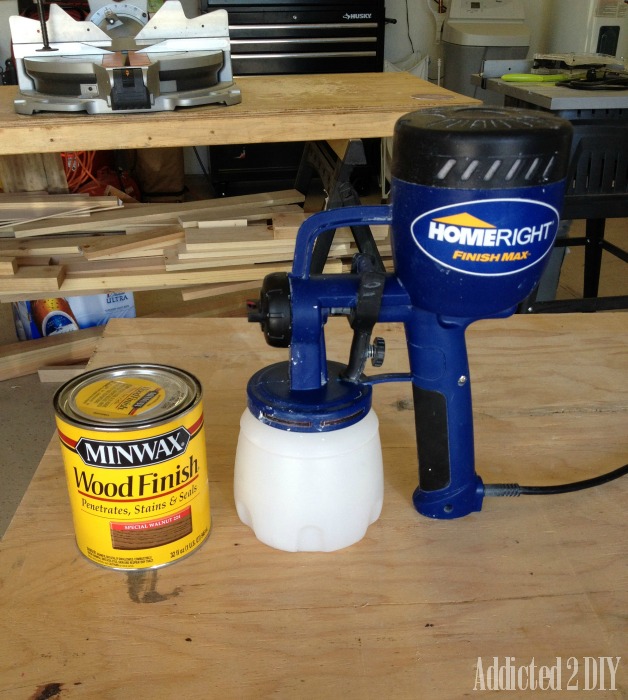
For the staining portion of the project, I decided to give my HomeRight Finish Max sprayer a spin. I love how it makes my painting projects so much faster and better, but did you know you can also stain with it? It’s really easy! I’m going to give a tutorial in a few days on how to stain with the sprayer and how easy the cleanup process is.
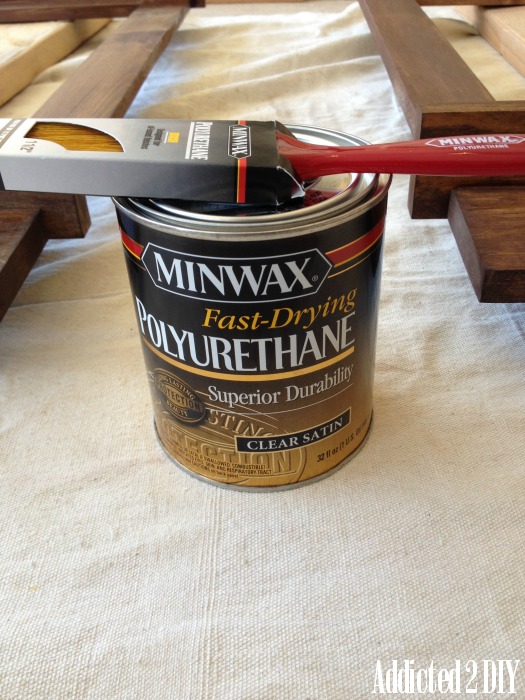
Once my stain dried for 24 hours, I brushed on some Minwax polyurethane. You can also use polyurethane in the sprayer, but it has been 112+ degrees outside all week and I didn’t want take any chances with the finishing process. Especially since it’s so windy here that leaving it outside to dry is like begging for dirt to blow onto it. Once the weather cools down, you can bet I’ll be spraying polyurethane on all of my projects. Once again another time saver!
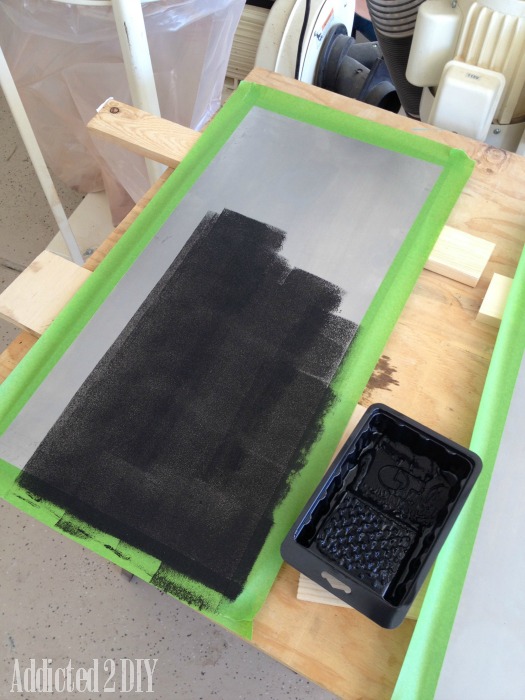
While my polyurethane was drying, I grabbed my pieces of sheet metal. I taped off about 1/2″ of each edge with Frog Tape and then rolled on some chalkboard paint. It took about 3 coats of chalkboard paint to completely cover it all.
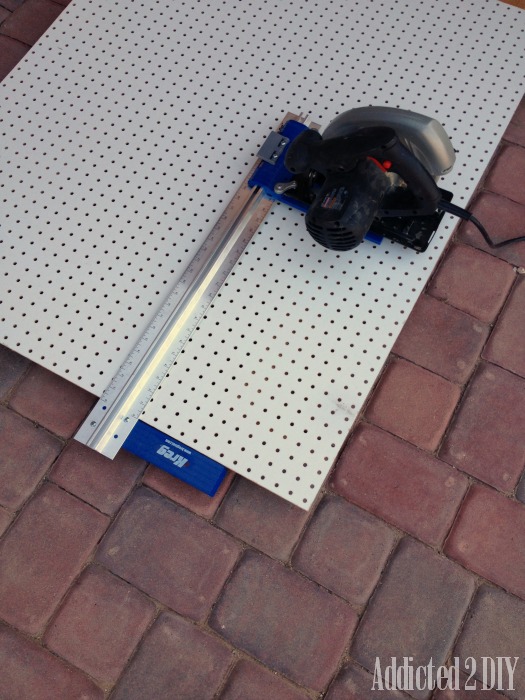
Since my pegboard pieces were really large, I used my Kreg RipCut to cut my pegboard pieces down to 2′ x 2′. Like I said though, you can find 2’x2′ pieces of pegboard at Home Depot for just a few of dollars.
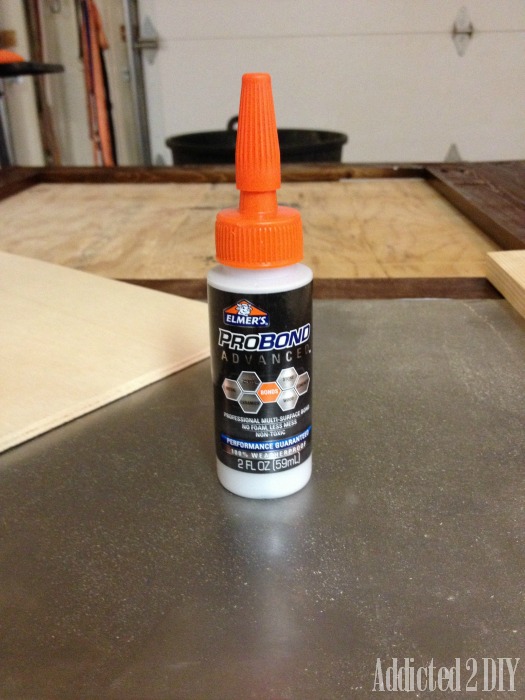
When it was time to attach the sheet metal and the pegboard to the back, I grabbed my nail gun (for the pegboard) and some Elmers ProBond. I had heard that it is great at adhering metal to wood, so I thought I would give it a try. This is also why I didn’t paint the outer edges of the sheet metal. I squeezed a thin line of the glue around all four corners of the sheet metal and then carefully placed face down onto the back of the pegboard frame. I made sure that I had it all lined up so that the only thing you saw when you flipped the frame over was the painted chalkboard. I placed some pieces of plywood down over the sheet metal and some paint cans on top to make sure it was completely against the wood and let it dry for 24 hours.
For the pegboard, I also squeezed a thin line around all four edges and then carefully lined it up on the back of the frame. I took special care to make sure that it was completely straight so that my holes weren’t going at an angle when I flipped it over. I secured the pegboard further with 5/8″ finish nails. Staples would work great for this too, I just don’t have a big enough staple gun:)
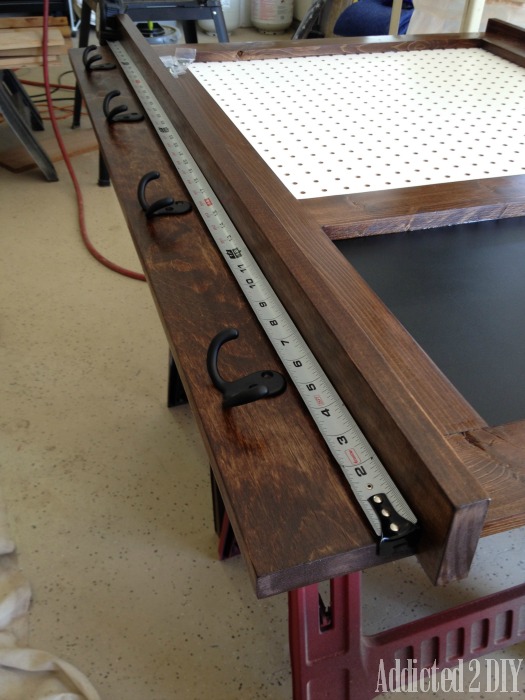
I used four coat hooks on the bottom of the frame to try to finally rein in the growing hat collection that my boys have. While I was building this project, I was dreading the idea of buying hooks. They’re so expensive, and when I’m building two pegboards and need 8 hooks, that adds up fast! Luckily, I waited long enough and had the pleasure of meeting Derrek from D. Lawless Hardware while I was at the Haven Conference in Atlanta. He had these hooks out on display in his vendor booth. I asked him how much they were, bracing myself for a high number. I about fell over when he said they were only$0.87 each! I thought for sure there was some sort of catch and these beautiful hooks would be cheap plastic or something. They’re not! They’re sturdy metal! So my $24+ purchase for 8 hooks turned into a $7 purchase!
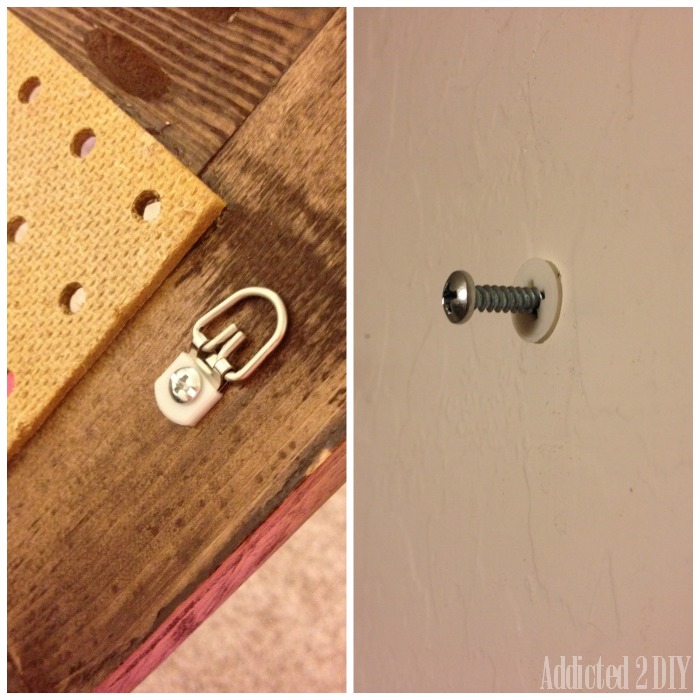
To attach the pegboard to the wall, I used some D ring hooks (they have a 25lb weight limit) and attached them to each side of the frame. I measured 4 inches down from the top to make sure they were in identical spots. To attach them to the wall and have the necessary gap that pegboards need, I used drywall anchors (because God forbid we ever find a stud when we need one) and 1 3/4″ screws. The screws that came with the drywall anchors were shorter, which is why I bought the small package of 1 3/4″. This way the screw stuck out from the wall by about 1/2″ to allow us to reposition hooks and baskets on the pegboard.
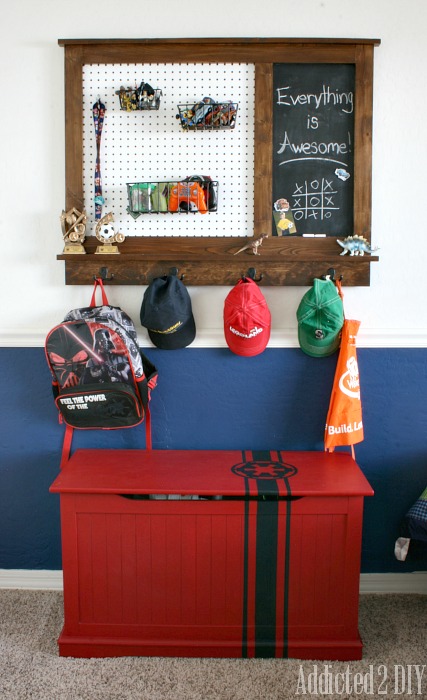
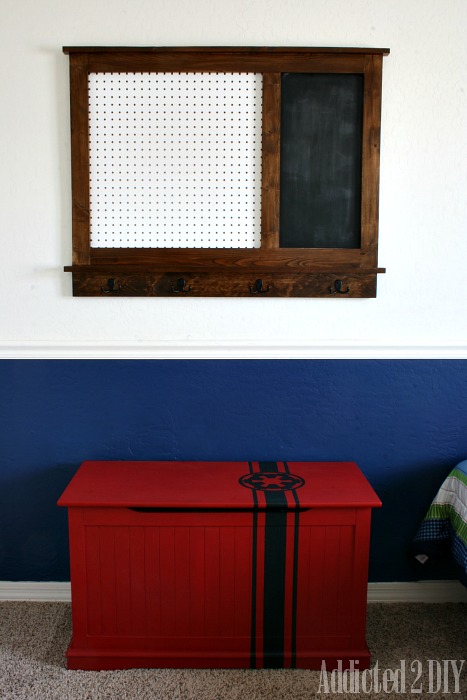
Here’s the finished project in all its glory. When I first started building this, I wasn’t too sure how it would actually turn out. Now I absolutely love it! It would be perfect to add a calendar to it rather than the pegboard as well. The magnetic chalkboard will allow the boys to hang pictures but also doodle or allow us to write their chore list;)
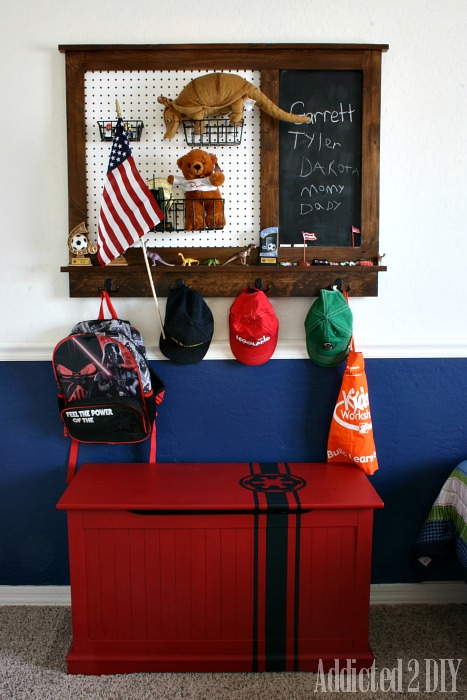
My youngest claimed the first pegboard I completed as his own, so we hung it over his toy box. He wanted it over his bed, buy my husband was a little nervous about hanging a heavy pegboard over his bed. I think he had visions of Flat Stanley in his head and didn’t want a Flat Garrett;) As for the other pegboard? Well, my oldest decided to inform me after I was done that he isn’t sure he wants a pegboard in his room anymore. Isn’t that sweet of him? I won’t force it on him, but I’m still working on convincing him that he will enjoy having a place to hang his sports medals, trophies and write fun messages on his chalkboard.
Speaking of Garrett, he was so excited to have his pegboard hung that he decorated it himself the night we hung it. I love the creative mind of a 6 year old. I also love that we can now have all of the boys’ baseball caps in one place. Garrett has way more hats than in the picture, but I can’t find any of them because, like I said, they are all over the place!
Are you in need of some organization for yourself or your kids? This project is such a great way to keep everything in once place. If you’ve got kids going away to college this year, this is a perfect piece to hang in their dorm rooms! I’ll hopefully have plans drawn up for this soon. In the meantime, if you have any questions at all about this project, feel free to leave a question in the comments!
Linking up to these parties!

wow, amazing!!!! super creative idea, pinned!! Christine from Little Brags
Christine recently posted…A few new things from IKEA
Thanks so much, Christine!
Amazing! I love the combination of pegboard and magnetic chalk board! Don’t you love using sheet metal? Your kids are lucky to have such a wonderful room! Great job!
Katie @ little house of four recently posted…10 Beautiful White Kitchens
Thanks Katie! I love the chalkboard addition too. It adds a little more personality and the kids get to “write on the wall.” 😉
I really like this! Such a great design. I’m pinning this for future reference, so I can get my hubby to help me make one! Thanks for sharing :). Happy to of found your blog!
Have a beautiful weekend 🙂
Limeade Gal recently posted…Photo
Thanks for stopping by! Hopefully you can get your husband to make one for you;)