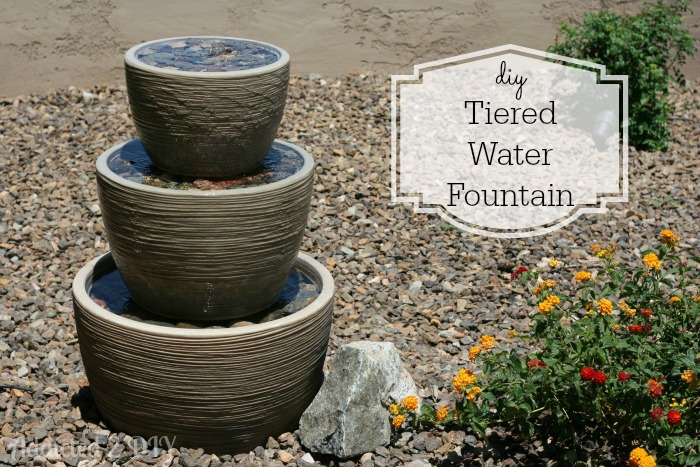
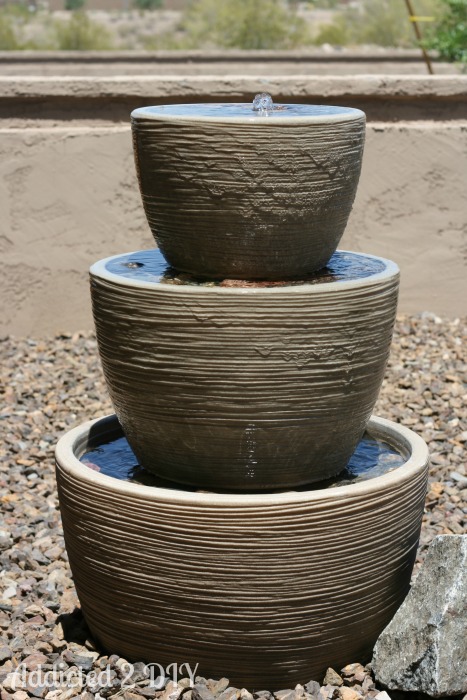
Hey there, everyone! Today, I’m going to be sharing with you how we built this DIY fountain for our front yard using a few different sized pots, an inexpensive water pump, and rocks that we found around our yard. I got the inspiration for this project from the tutorial on Scattered Thoughts of a Crafty Mom. I showed my husband and he agreed that it would be great in the courtyard. This DIY fountain was so simple to build and serves as the main focal point in our front courtyard.
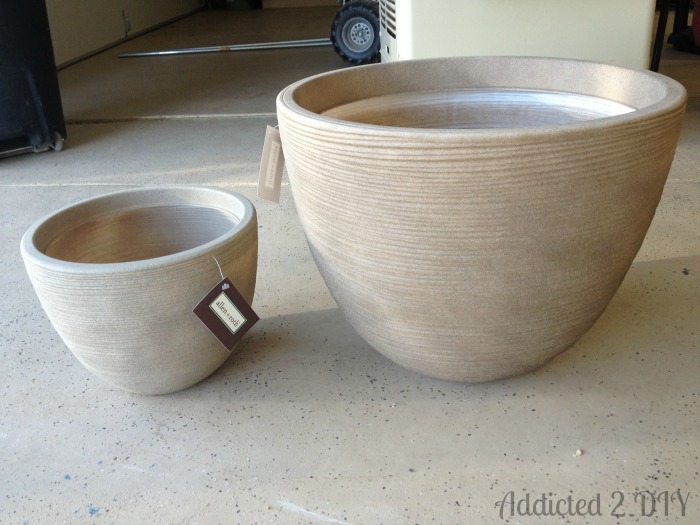
To build the fountain, I bought these PVC pots from Lowes. They weren’t super cheap ($22-$39), but compared to purchasing a fountain, it was a bargain. I originally bought two pots (the largest and smallest ones they had), but our courtyard alone is massive. It would have completely swallowed the fountain if we left it that small, so I ended up going back and getting a third pot.
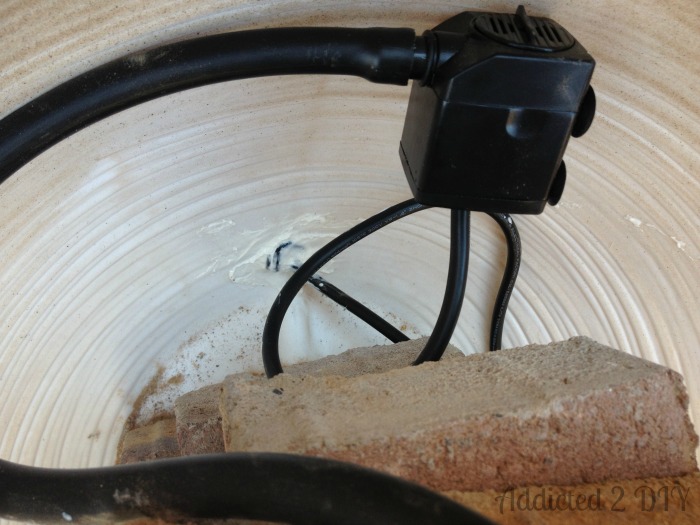
We happened to have a roll of 1/2″ rubber hose on hand already, so that was a bonus! I bought the water pump from Harbor Freight for $5. For the bottom pot, I had to drill a hole large enough to feed the plug for the pump through. Per the original tutorial, they used silicone to fill the holes. I did the same, but it just wouldn’t work for me. I don’t know if it was because it was July and 110 degrees outside, but 48 hours later, the silicone was just as tacky as when I squeezed it out of the tube. I cleaned it off and ended up using a two part epoxy putty to fill the holes. It worked great and there were no leaks!
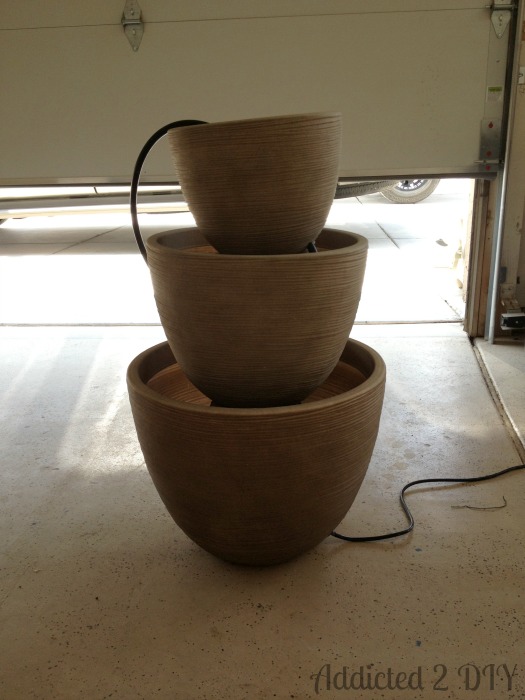
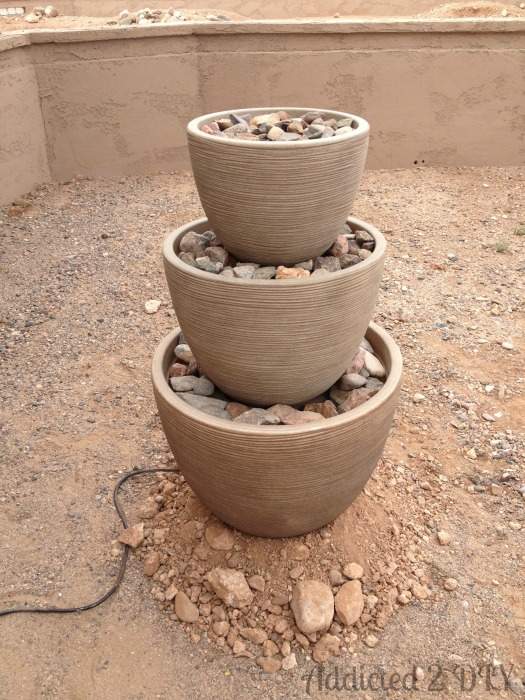
For the next two pots, I did the same thing and drilled holes as close as I could to the bottoms of the pots. I then fed the 1/2″ hose through the pots. I waited to trim the hose until I had everything placed just right. To stack the pots, I used some extra pavers we had lying around.
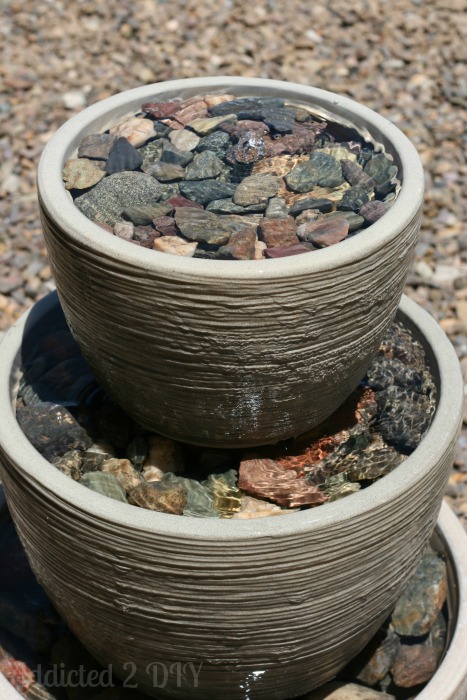
I got it out to the front yard and set it up exactly where I wanted it. There wouldn’t be any moving it after it was filled with rocks, so choosing the proper place for it was very important. After I leveled the pots for even water trickling, the boys and I set out on an adventure to find rocks all over the yard to fill the pots. Given that we live in the desert and didn’t have any landscaping at the time, we had quite the pick of rocks from around the yard. I filled it up and plugged it in and our DIY fountain worked perfectly!
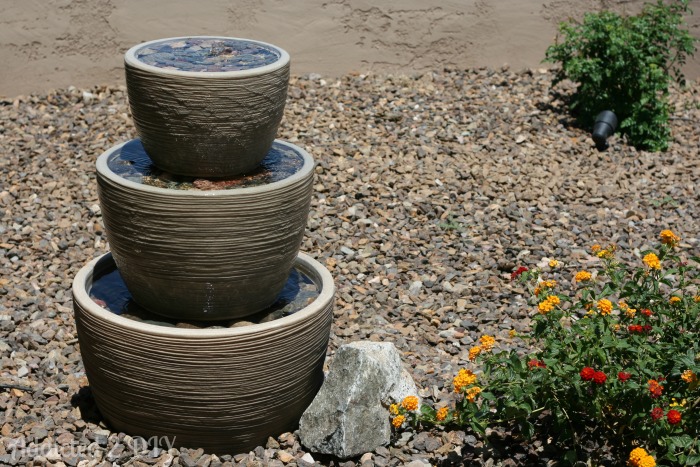
I’m so happy that we finally finished our landscaping so that we can properly show this off. It looks so good in the courtyard and I love hearing the faint bubbling of the water. The boys love watching birds landing in it to take baths or drink water. I’ll be sharing the rest of the front yard transformation with you soon. It was so much work, but we love how it all looks now.

Those are the perfect pots for a fountain – what a great find! We’ve talked about adding a water feature and I like yours better than any we could buy. Thanks for sharing it!
Melissa @ A Prudent Life recently posted…Thursday STYLE #19
Thanks! I agree that it is hard to find a good fountain and this version is WAY cheaper. Even being a resin material, it still held up in full sun for almost a year and looks brand new.
Katie! LOVE THIS!! I’ve desperate for a fountain in our patio bed… a few questions for you, girl… 1. did you run an extension chord or do you have this hardwired? We don’t have an outlet our back so that’s been a factor, but I think there’s a way to run an extension cord…. as for water…. does it just recycle itself and you top it off occasionally or is there a well? Sorry… I came over from Hometalk and skimmed because I was SO excited for this tutorial!!!
Thank you, Charlotte! We placed an outlet on the wall somewhat near the fountain. We needed it for our landscape lighting as well. The cord for the pump reaches the outlet, but it isn’t quite long enough to sit completely on the ground. We’re planning to splice the wires to extend the cord, although I may just try to find a short extension cord and tape the plug ends together to make them water tight and then bury it under the rocks. In regards to the water, it just recycles itself. The pump is all of the way at the bottom of the large pot, so if the water gets a little low it will still work. I fill it every day with water. It seems to evaporate quickly here because we have so much wind and it is so hot. One of our neighbors does the same with his fountain as well, so I guess it’s just a normal thing here in AZ. We ran one of our drip lines into the fountain to fill it when the plants get watered, but they are only watered every third day, so it doesn’t help me too much. Let me know if you have any other questions! Oh and one more thing…I also put a few drops of algaecide in there once a week to prevent any nasty buildup.
Very nice! Nice addition to any yard!
Wow! This is just beautiful! Thank you so much for sharing it with us at The Makers. 🙂
Alexis @ Persia Lou recently posted…Be Gentle with Yourself Free Printable and Thoughts on SNAP
Thank you! Thanks for hosting such a fantastic link party! Have a great weekend:)
Just curious as to what size pump you are using (gallons per hour). I am wanting to do this myself and only want the water to slightly bubble and trickle over, not spray up. But I also want to get one that is powerful enough that I don’t have to replace it after a short time of use.
Your fountain is gorgeous and is just what I’ve been looking for!
Thanks!
I believe it was a 5 gallon per hour pump. Not a large one.
Love this project…thanks for your tutorial!
Thank you, Karen!
Hello there. I love your fountain. How did you tier three pods together? Bricks?
Yes, I used brick pavers stacked under the pots.
wondering about the sound the fountain makes. Seems like the water would just travel down the sides of the pots until it flows into the next pot, as compared to dripping to get the tranquil sound i’m looking for. Wonder too if the outside texture of the pots influence how the water flows down the outside of the pots. Definitely want the dripping fountain sounds.
It makes a faint bubbling sound, not the dripping fountain sound you’d be after. What you could do is always purchase pots that have a lip on them which would cause the water to drip over vs. flow down the sides. Of course now that kind of makes me want to build one like that too! 🙂
It is cheaper with fountains too. And really cool to look at. Lovely article.
drinking fountain Melbourne recently posted…Original and unique creative balustrading design
What a beautiful fountain. Really cool to look at and enticing to drink from.
drinking fountains Perth recently posted…Original and unique creative balustrading design
Free water on drinking fountains helps a lot of people. An answer to dehydration when having a run in the park.
water bottle refill fountains Adelaide recently posted…Original and unique creative balustrading design
Great work. He came out to level our fountain and fix the pump. It need a good amount of work…He is the hardest worker I have ever seen, and after a complete home remodeling his promptness and the quality of his work. My faith has been restored that there are still people out there you take pride in the work they do. He is definitely one of them. We called him back to work on a wall fountain about a week or so later, and again, he was amazing. Thanks http://www.indoorfountainpros.com.
http://www.indoorfountainpros.com recently posted…Incorporate Feng Shui in Your Indoor Décor
It is cheaper with fountains too. And really cool to look at. Lovely article.
What a beautiful fountain. Really cool to look at and enticing to drink from.
drinking fountain recently posted…Stylish Picnic Tables for Functional new School Recreation Area
We bought a fountain yesterday for $$$$ and took it back today .. We made this today and we love it
So good to hear! Yes, it can cost a lot of money to purchase a fountain and this is so much more inexpensive.
This looks so nice, I’m going to try it for my front flower bed.
I have a question, did you fill the pots completely with pavers or with the smaller rocks? I know you said you set the pots on pavers, but just a few for the next pot to sit on or did you put pavers on the sides of the pots and then filled in with smaller rocks on top?
I used pavers just to lift the pots so they would be higher. Then I filled them in with rocks.
So there is next to no sound? My wife and I fell in love with this design over making a waterfall with sandstone, but we are trying to decide if the look is more important than the sound. Also did you fill all the pots up or how did you put the water in? Thanks and AMAZING job!!
There isn’t a lot of sound as the water runs down the sides of the pots. We filled the pots with rocks and then filled them with water.
How do you clean it?
Hi Barbara,
I purchased an algaecide at Home Depot that helps to clear the algae. I’ve also tried chlorine pucks and had luck with those as well.
Hi! Thanks for sharing! 2 questions: Did you have to put 2 stacks of brick in the bottom in order to leave a gap for the hose to go up the middle (if that makes sense)? And did you have to use a pvc pipe or anything to hold the hose up straight or do the rocks just hold it in place?
Hi Christina,
I just stacked the pavers in a way that the hose could go up between them. As for the hose coming out at the top, I just stacked the rocks in a way that they would hold them straight.