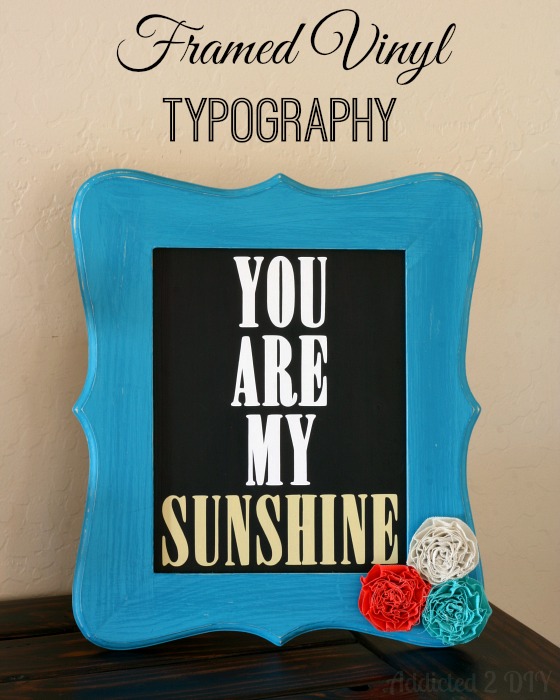
Hi guys! I’m over at the Expressions Vinyl Blog today sharing this fun framed vinyl sign. I’ve been working on freshening up the house with some fun new decor and I have been wanting to make a little sign like this for quite some time. I can’t count how many times I’ve pinned things like this on Pinterest. I decided it was finally time to stop pinning and start doing! To see how I create this project, just hop on over to the Expressions Vinyl Blog for the tutorial and free SVG file to download. To see how I made the pretty rosettes for this frame, just keep on reading!
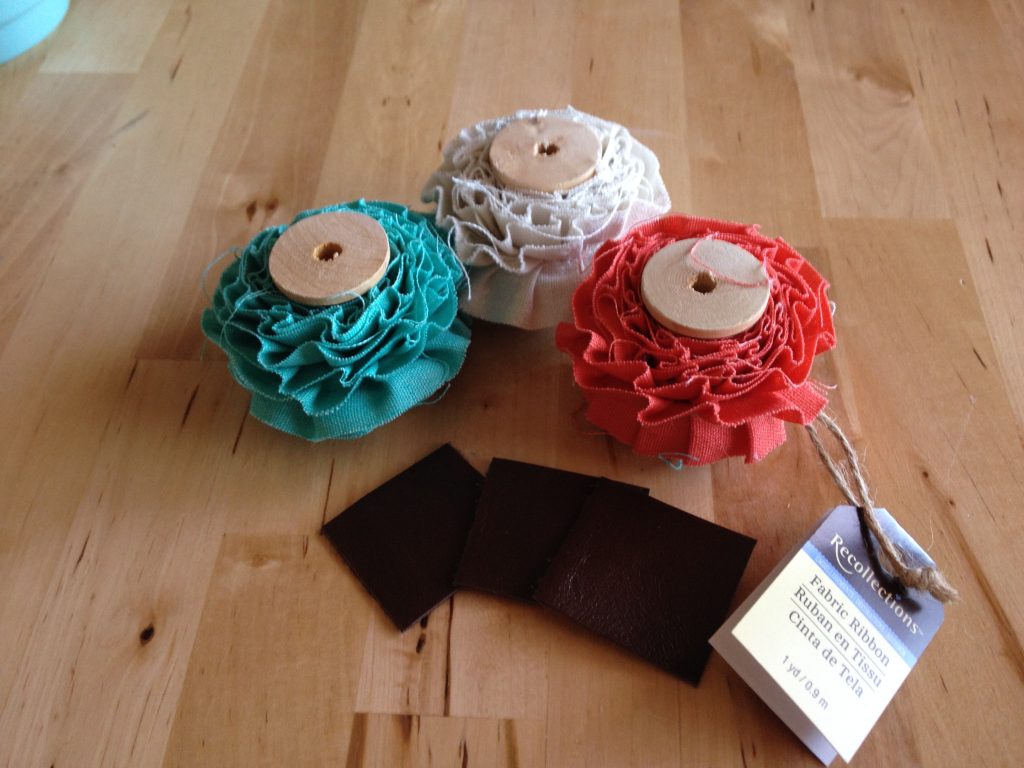
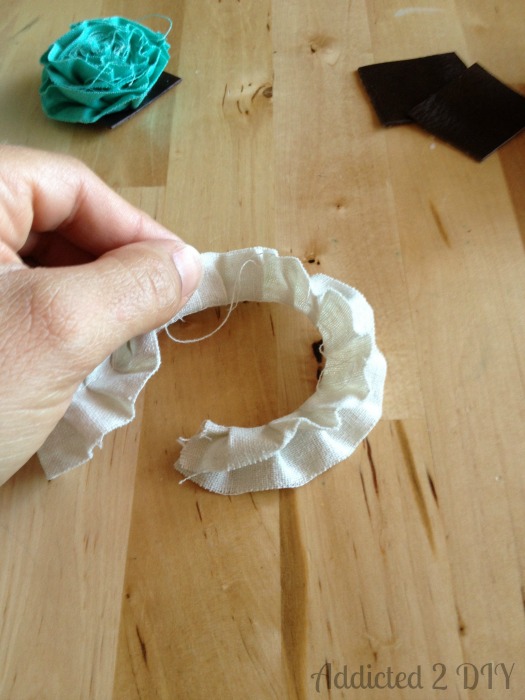
I started by unwrapping the ribbon (an obvious step) and folding it in half.
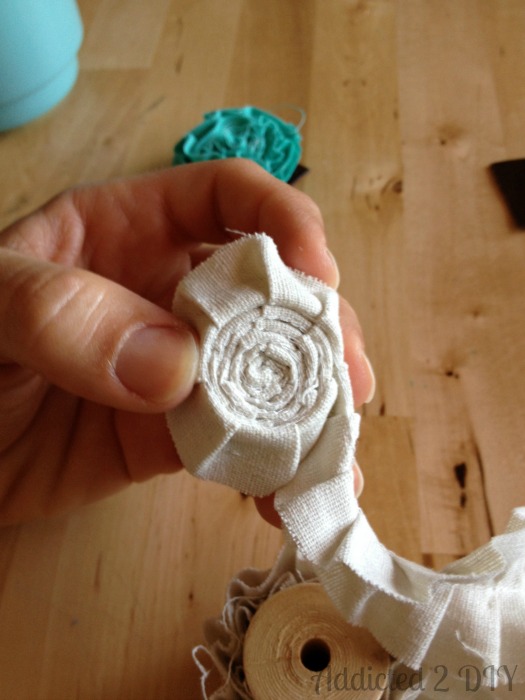
Then I just started rolling it up into a coil. At this point, I should probably change the name of this tutorial from simple rosette tutorial to so-ridiculously-easy-that-you-could-do-it-with-your-eyes-closed-and-one-hand-tied-behind-your-back rosette tutorial.
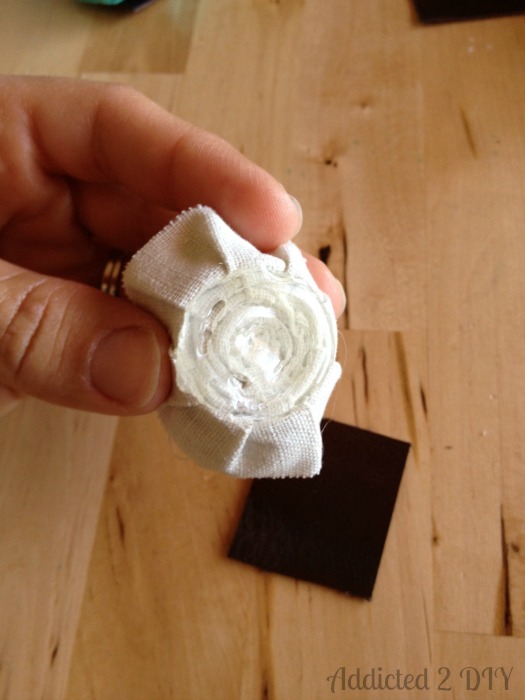
Once I had the ribbon rolled into the desired size, I trimmed end and grabbed my hot glue gun. I made sure to cover all of the individual coils to make sure none of them worked their way free later on and then stuck it to a little square of leather. You can use fabric for this step too. I just happened to have a couple of small leather scraps on hand from another leather project and it was easier than getting up in search of fabric scraps. I’m a bit lazy sometimes.
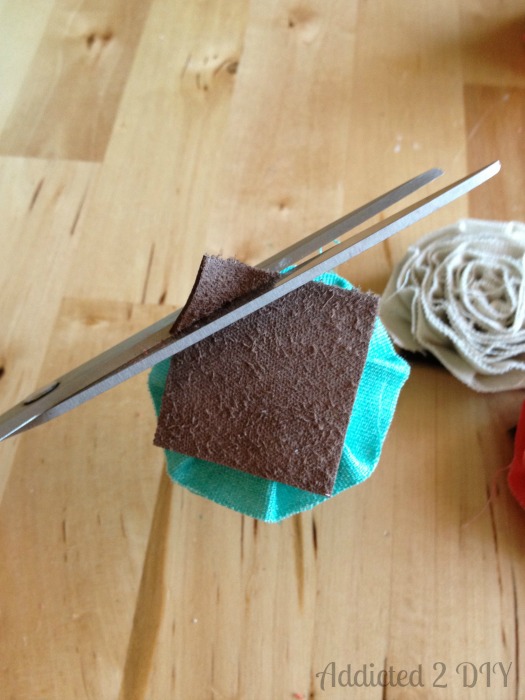
Once the hot glue had cooled down, I trimmed the leather squares up a bit so they wouldn’t be visible when I glued them to the frame.
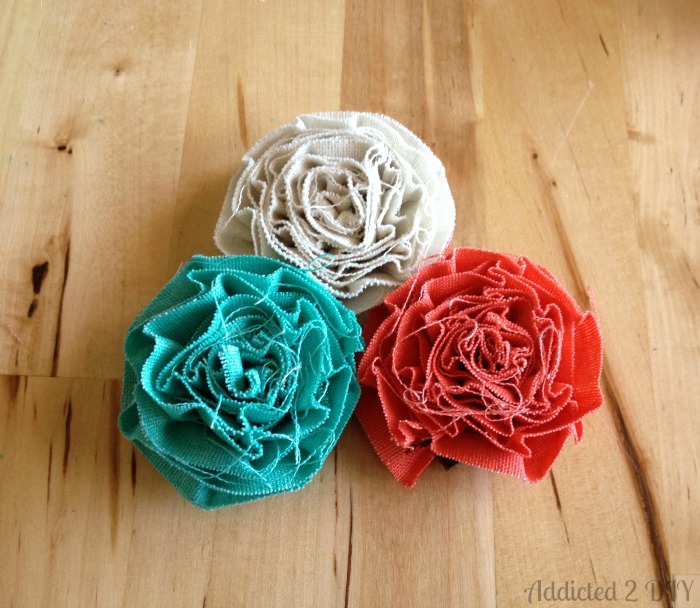
I fluffed up the rosettes a bit and I was done! The pleating in the fabric ribbon is really what makes these so easy. It naturally gives them some dimension without trying at all.
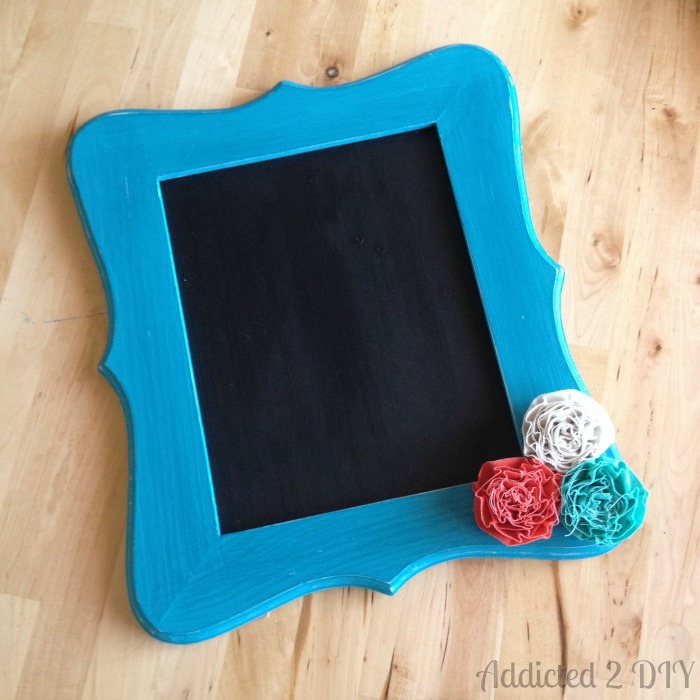
I put a dot of hot glue on each of the rosettes and attached them to the frame. I think the hardest part was deciding the placement of the different colors.
Don’t forget to head over to the Expressions Vinyl Blog to get the rest of the tutorial for this frame and the SVG file for the vinyl! And keep an eye out for the Recollections coupons if you have the Michaels phone app. This ribbon is usually $3.99 a roll. With the coupon, I scored them for $1.60 each!
~Katie

I love this project! And I think I need to go to Michael’s and snag some of that ribbon! Tose roses are gorgeous!
Tracy Roach recently posted…Sewing Machine Accessories Pouch
Thanks Tracy! It is really neat ribbon. They even have a wider ruffled burlap ribbon that I bought that day too:)
I’m seriously going to Michaels to get that ribbon! I’ve been looking for something to make rosettes out of for my diy bridal sash and this is perfect! Thanks for the tip and the frame is too cute.
Amanda michelle recently posted…Thursday S.T.Y.L.E. Link Party # 19
So glad I could help! I can’t wait to see what your sash looks like. It sounds like it will be beautiful!