{Disclaimer: I am a member of the DecoArt Blogger Outreach Program. I received compensation and/or products for this post. All opinions and ideas for these products; however, are my own.}
Hi everyone! Today I’m sharing part 2 of my son’s Star Wars bedroom transformation. In case you missed it, on Monday I shared his Star Wars Upcycled Toy Box. I was so happy with how it turned out! Especially being my first big project using chalky finish paint.
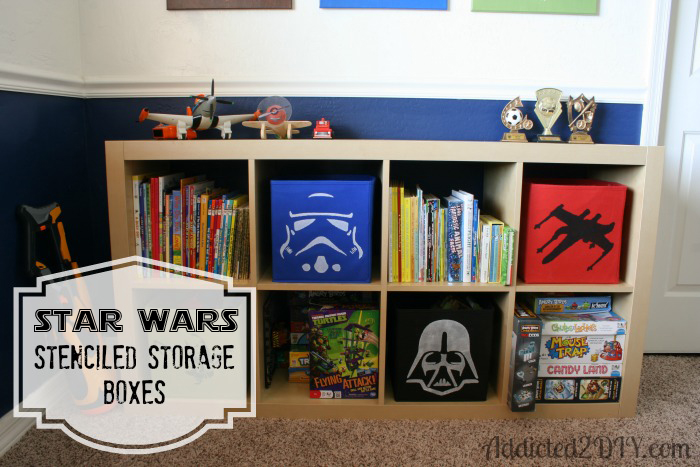
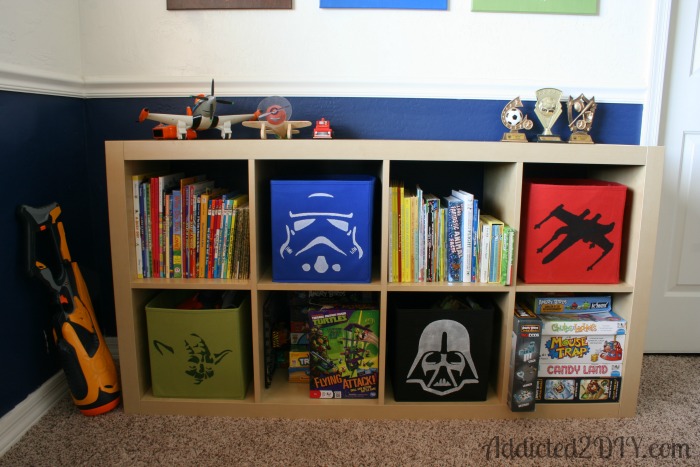
Both of my sons have these Expedit 8 cube bookcases in their rooms from Ikea. They make for perfect toy and book storage for the boys. This one actually used to be in my craft room, but just wasn’t enough storage for me. Hopefully sometime soon I’ll have everything done in there and you can see the Expedit system I have now:)
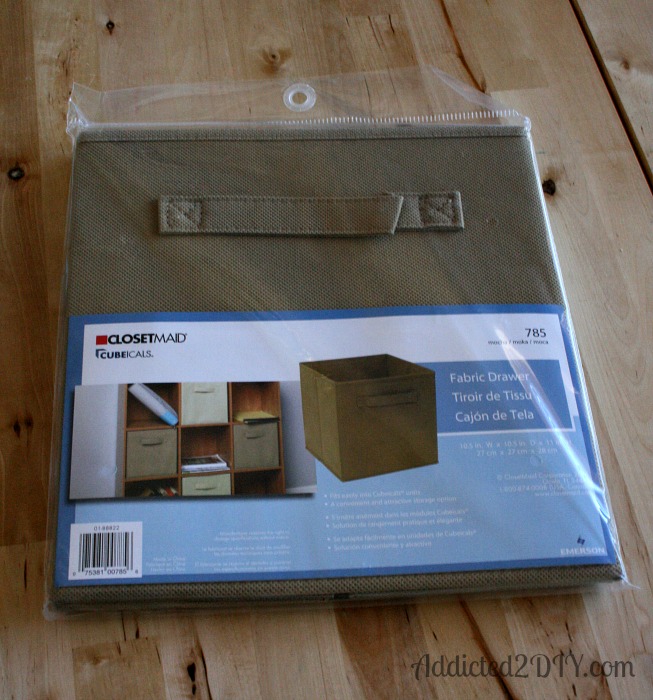
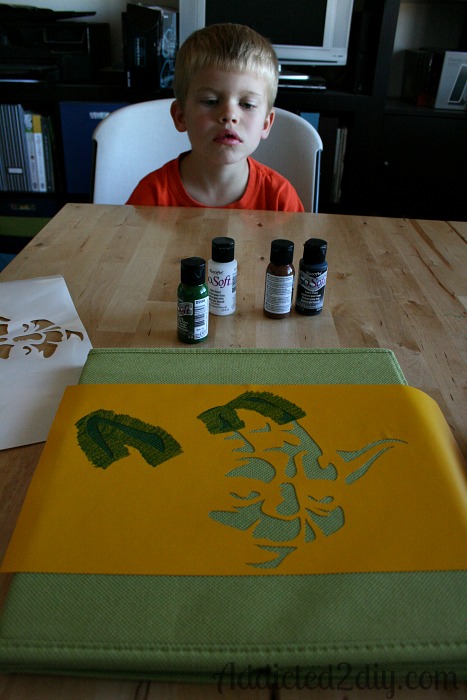
For this project, I used:
1 bottle DecoArt SoSoft Fabric Paint in Ultra White
1 bottle DecoArt SoSoft Fabric Paint in Olive Green
1 bottle DecoArt SoSoft Fabric Paint in Lamp Black
1″ foam brushes,
vinyl for cutting the stencils {affiliate link}
4 ClosetMaid storage boxes
If your craft store doesn’t carry the SoSoft Fabric Paint, you can always sub in the Americana Multi-Surface paint.
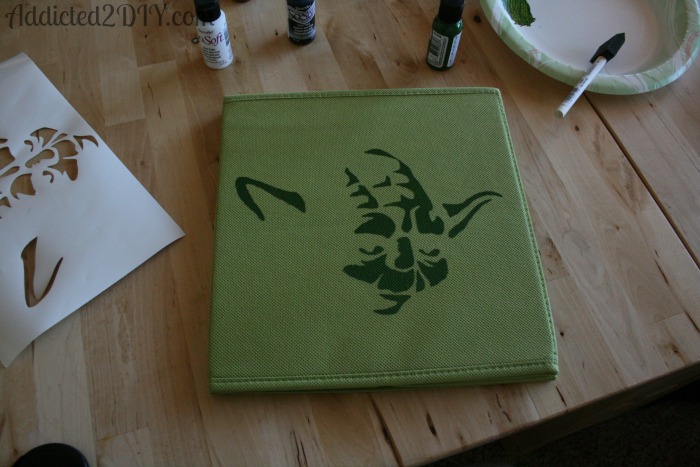
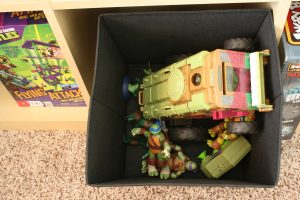
Now his room look super cool and these boxes can rein in all of his cars, legos, Ninja Turtles, etc. This was my first experience using the SoSoft fabric paint, and the name definitely fits the paint. I ran my hand over the dried paint and couldn’t tell the difference between where the fabric was painted and where it wasn’t. I think this means a cool t-shirt is in order soon:)
As promised, here are the SVG files for you to download and cut on your own:
Thanks for checking out what I’ve been doing in my son’s room. I’ve got more to share later this week!
~Katie
Linking up to these parties:

A Star Wars room is such a great idea, and I love these stenciled boxes!
Found you on Link Party Palooza, and I’m now following your blog. Pop over to mine and visit too, if you like! 🙂
Gayle x
http://makethriftlovelife.blogspot.co.uk
Thank you Gayle! Have a wonderful weekend!
How cool are these, they turned out great!! I need to use my Silhouette and make some stencils like this and add my boys names to boxes like this for our play area.
Courtney @ Crafts by Courtney recently posted…Easy DIY Upcycled Laptop Table Makeover for Spring
That would be such a great idea! It would probably stop a lot of arguments between the kids too;)
Im not able to use them in my silhouette studio, is there a trick or another file? Thank you! 🙂
I just got a silhouette and am still learning, so I’m not sure of any tricks that I can share right now to make it work. Sorry!