{Disclaimer: I am a member of the DecoArt Blogger Outreach Program. I received compensation and/or products for this post. All opinions and ideas for these products; however, are my own.}
Chalky finish paint is becoming very popular lately. I see it popping up all over social media and blogs with people reviving furniture with these beautiful chalk finishes and wax. I have been dying to find a reason to paint something with chalk finish paints. I almost painted this kitchen island for my mom with it, but I felt it was better to start small. With Valentine’s day rapidly approaching, I thought it would be a fun way to try out some of DecoArt’s Americana Decor Chalky Finish paints. There are so many colors to choose from and so many finish options. This paint is sold online at Home Depot and you can have it delivered to the store for free pickup. They sell it in 8 oz. and 16 oz. sizes for all of your crafting needs.
Here’s what I used for this project:
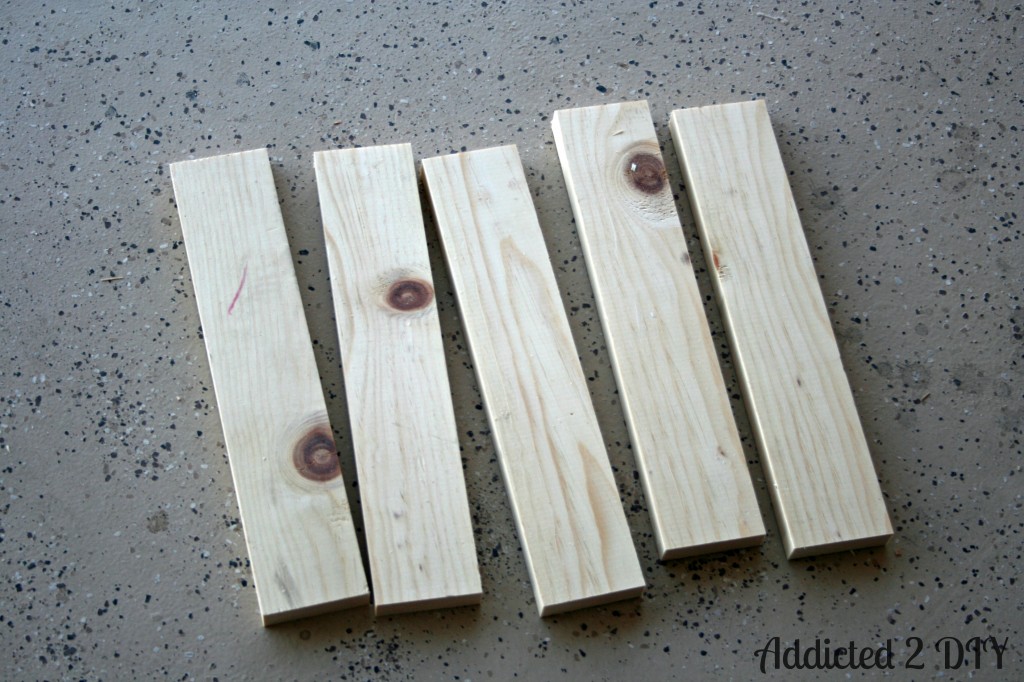
1 – 6′ long 1×2 board
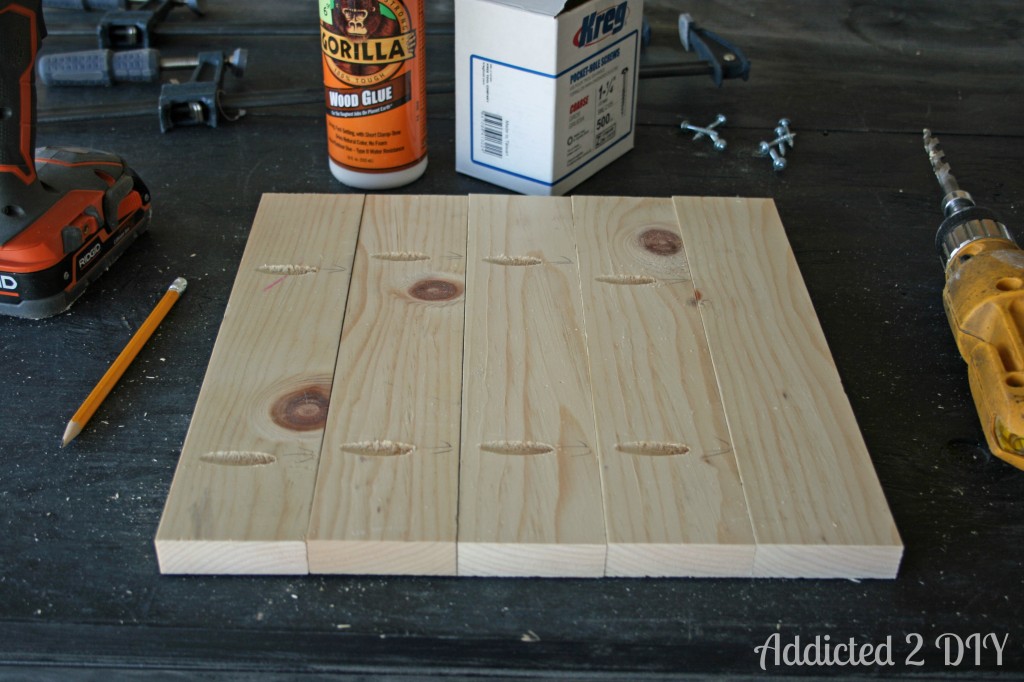
Wood glue
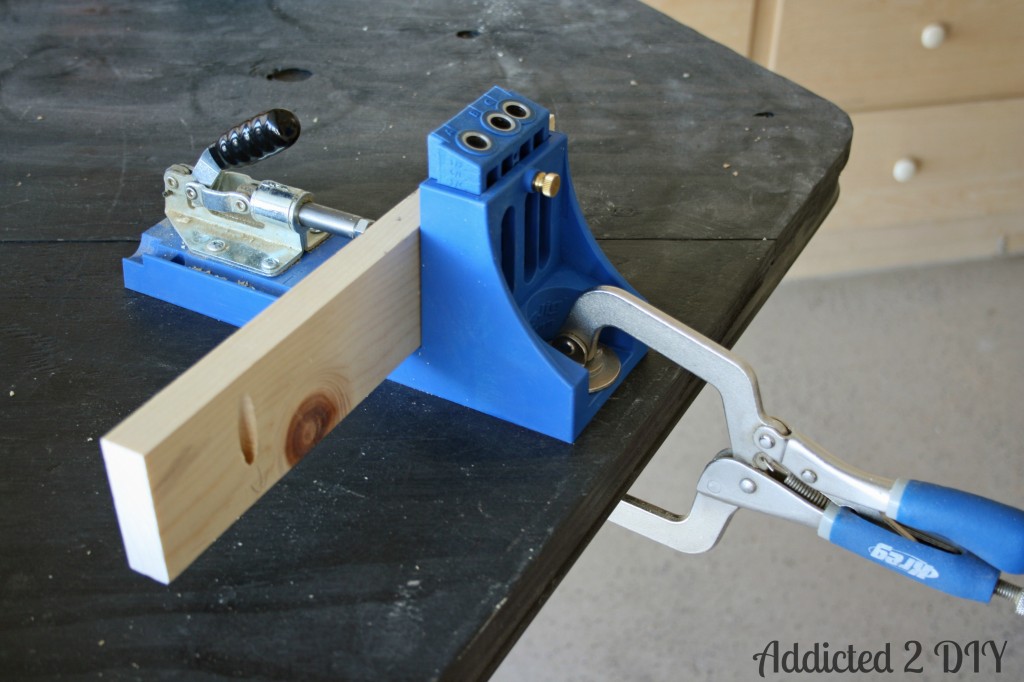
Kreg Jig
1 1/4″ pocket hole screws
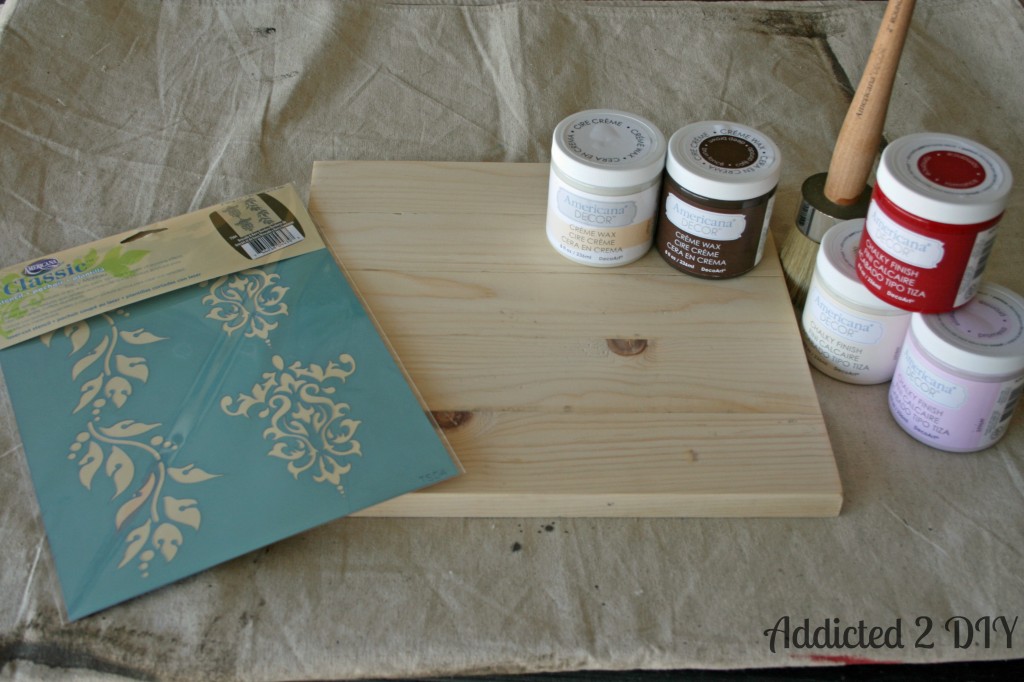
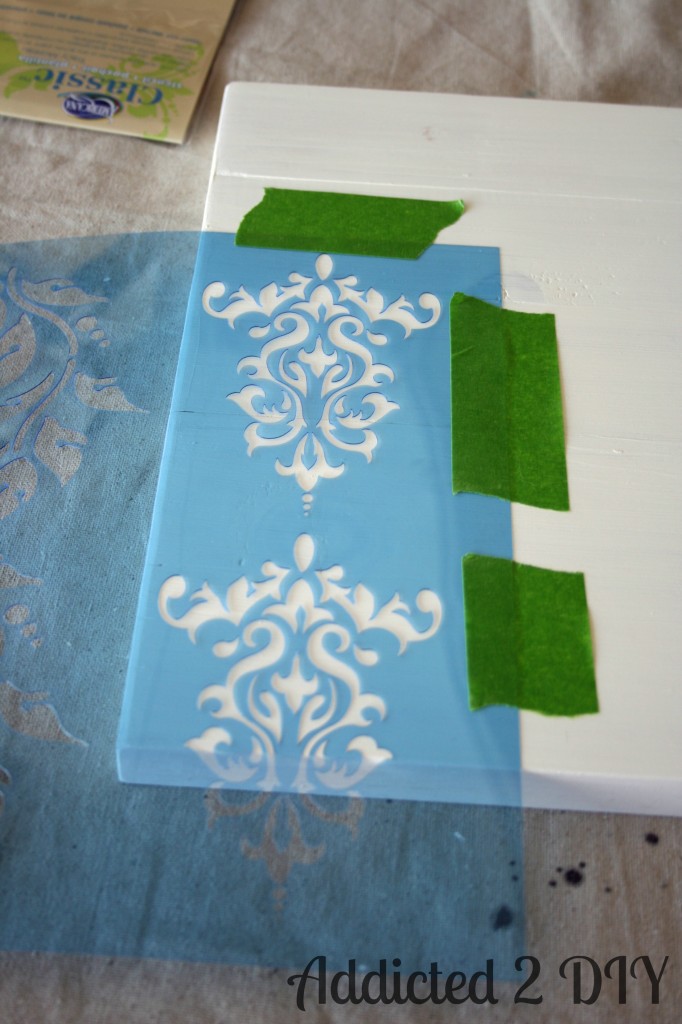
Americana Classic stencil
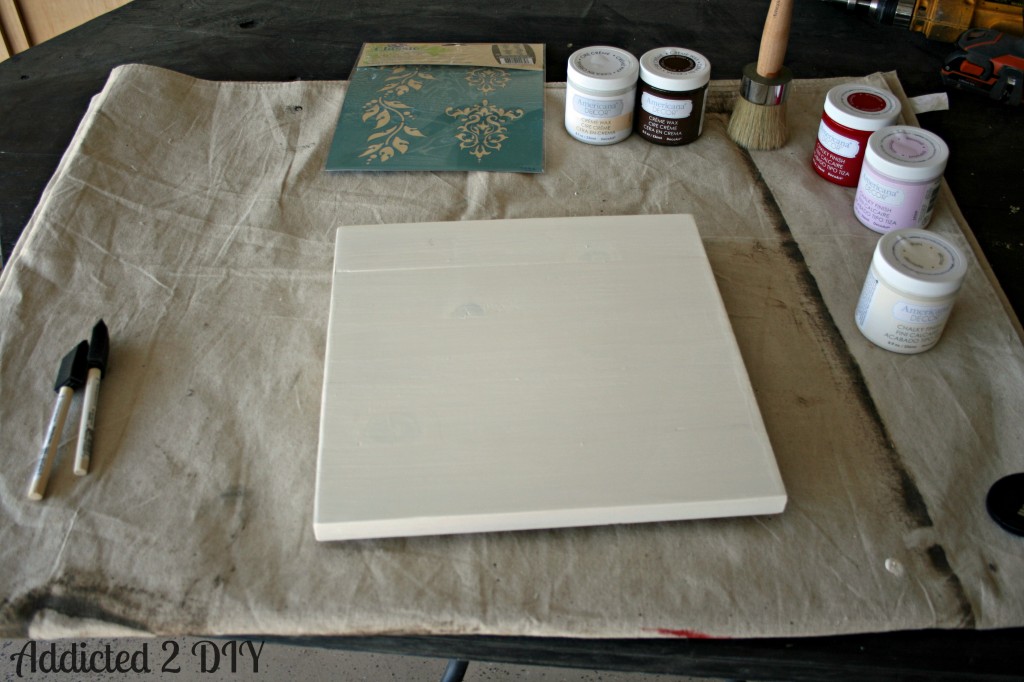
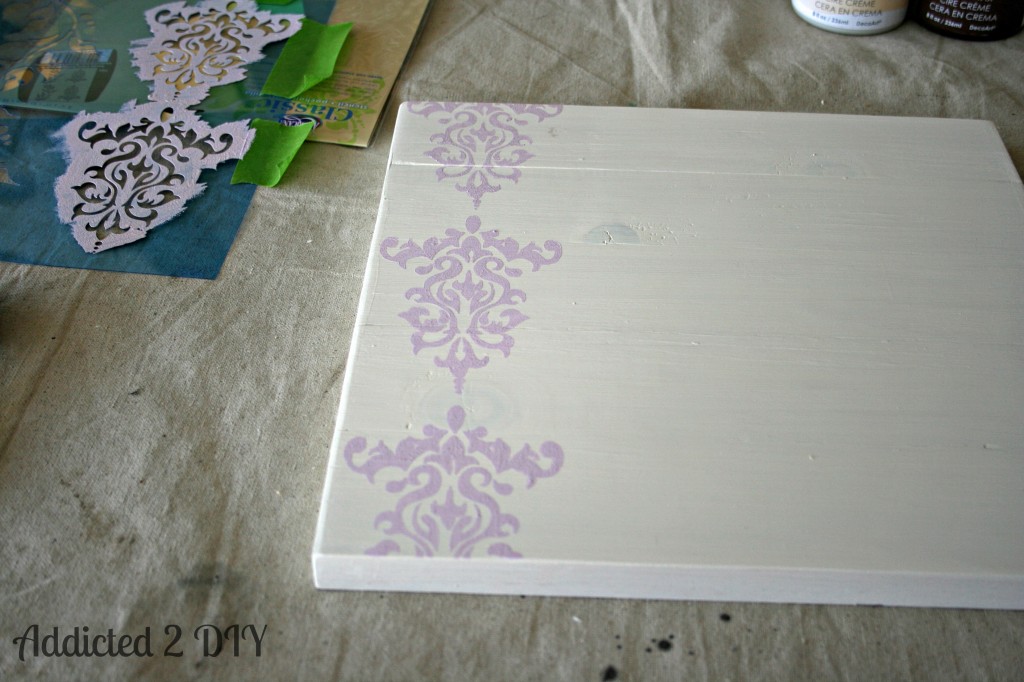
Americana Decor Chalky Finish paints in Lace, Promise, and Romance
Americana Decor creme wax in clear and deep brown
foam paint brushes
2″ waxing brush
lint-free pieces of cloth
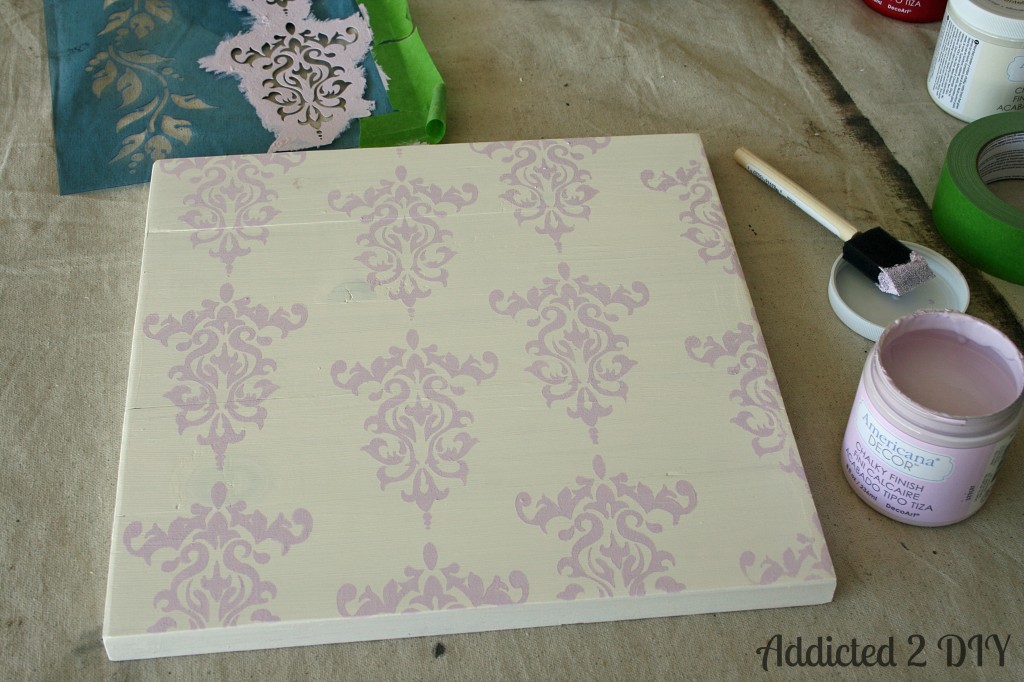
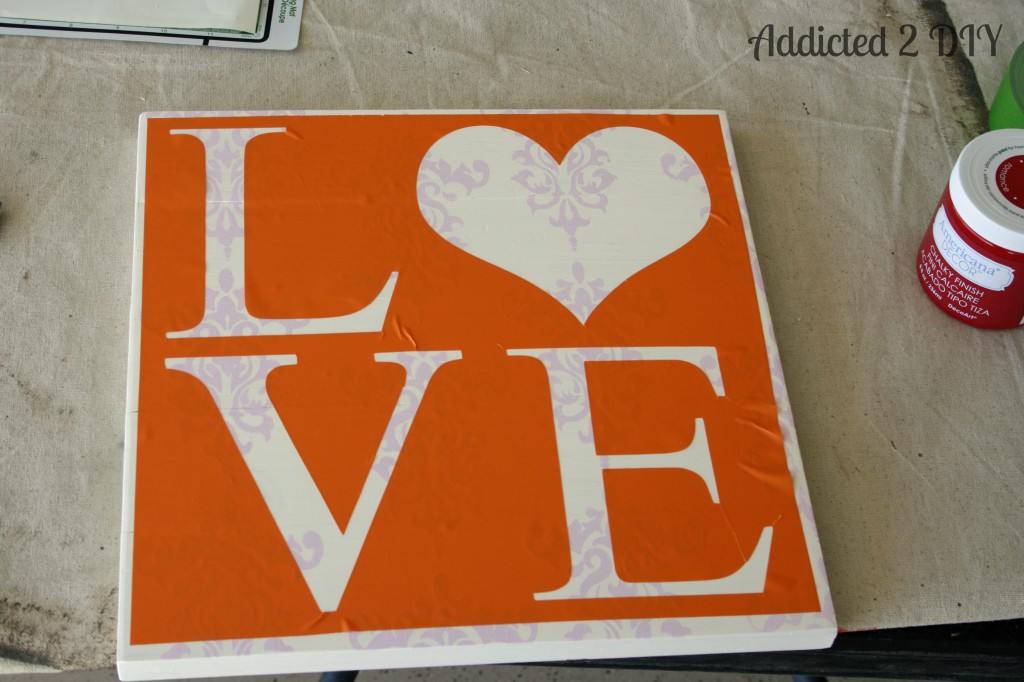
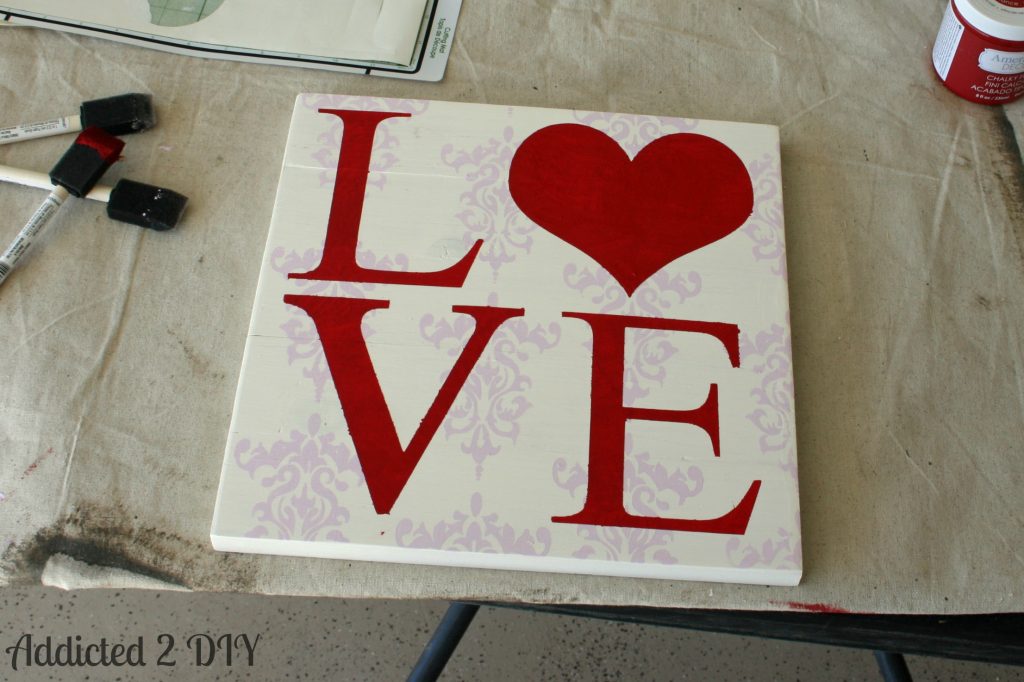
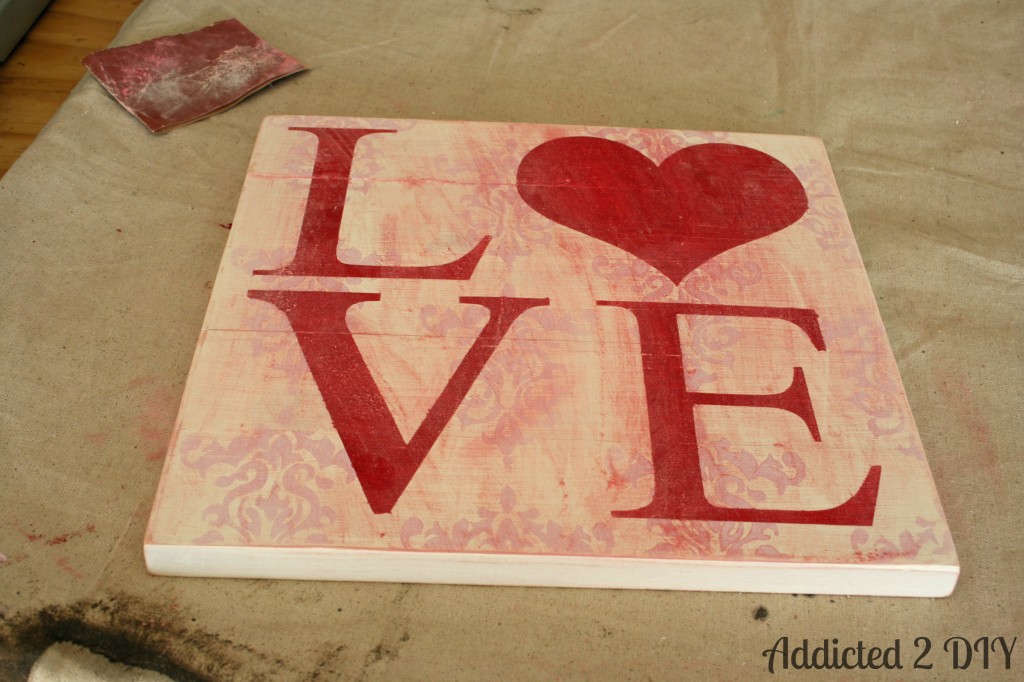
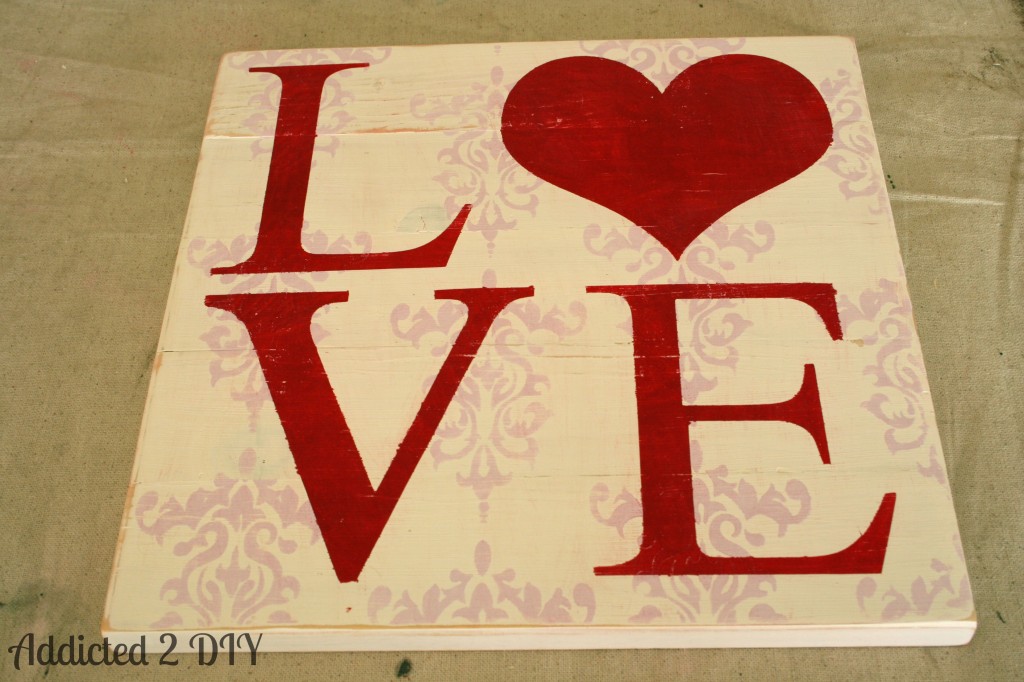
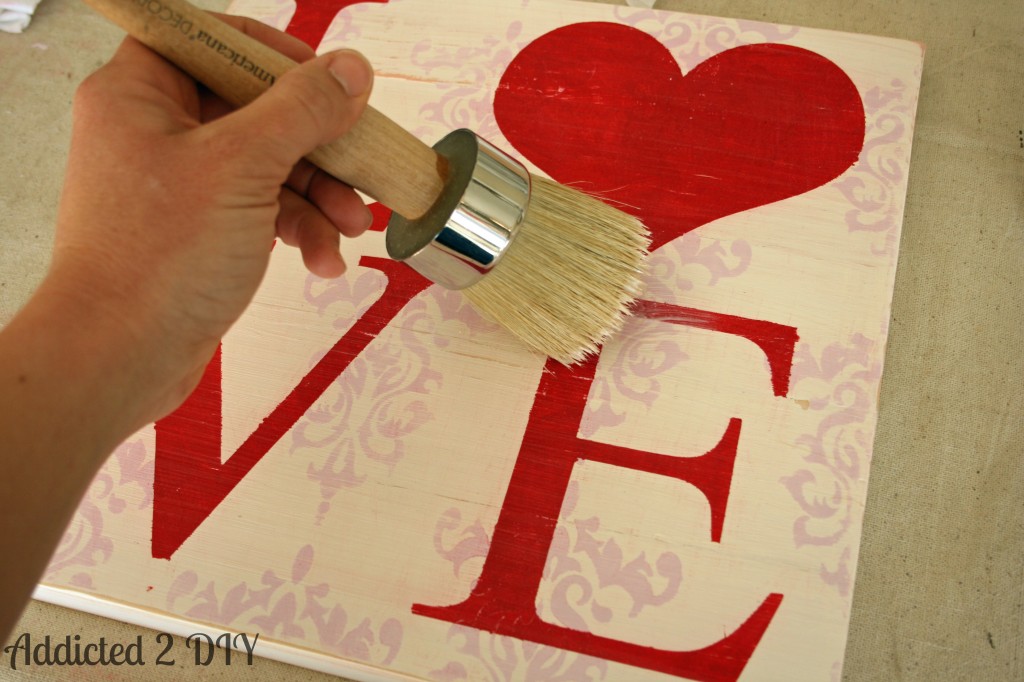
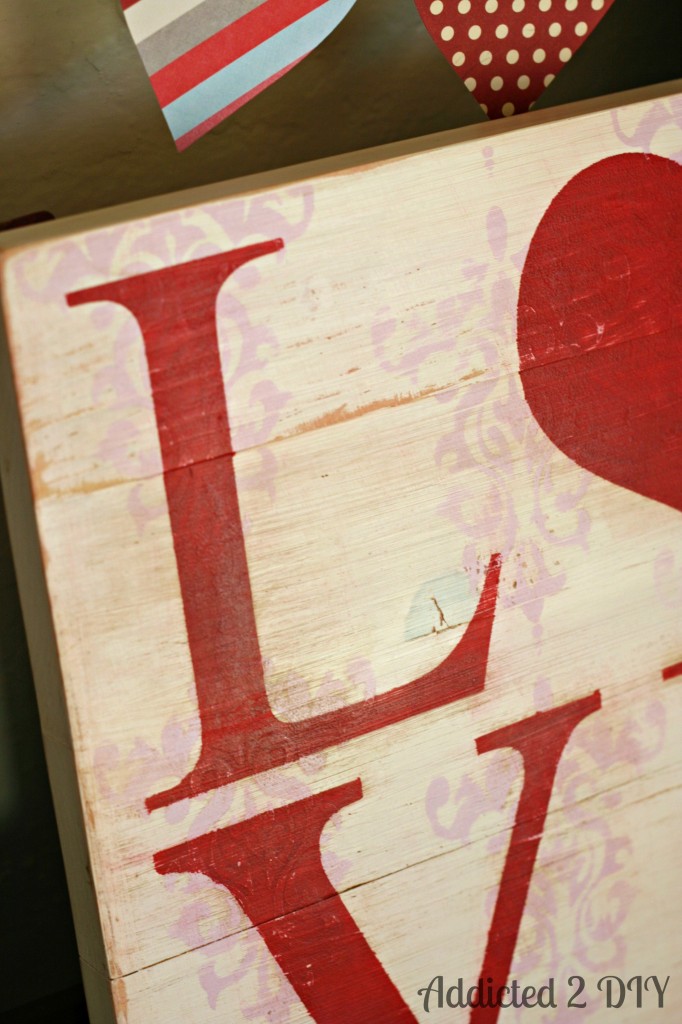
Once the wax was completely dry, I buffed it with a clean lint-free cloth. You don’t have to use a ton of elbow grease to do this. Just rub the entire piece until you achieve the glossy finish you are looking for. Or you can leave the piece as is and have a matte finish.

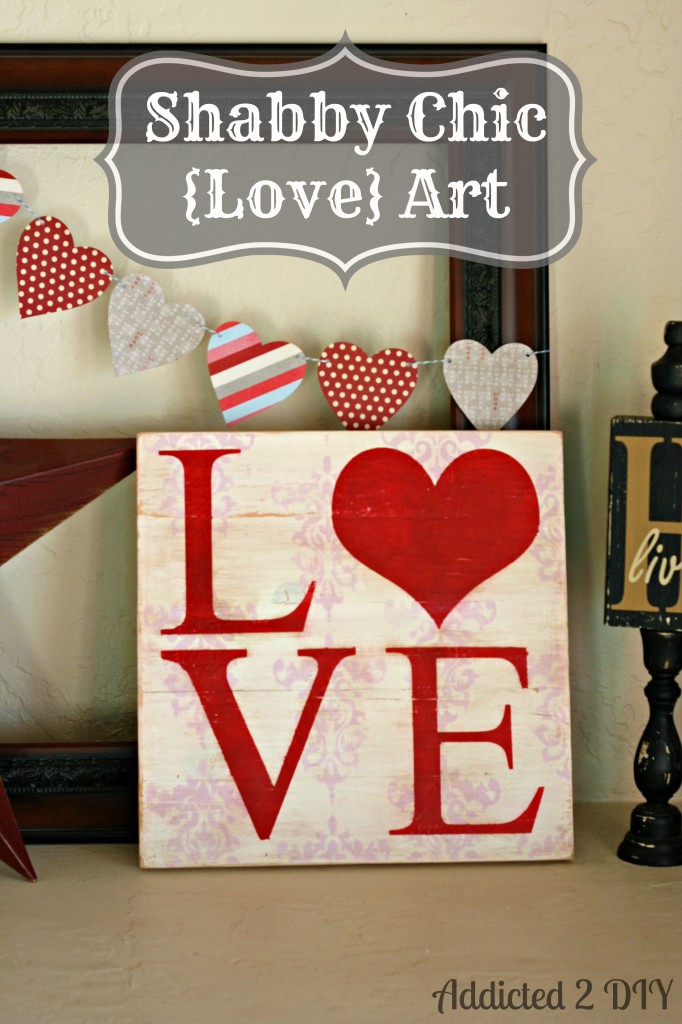
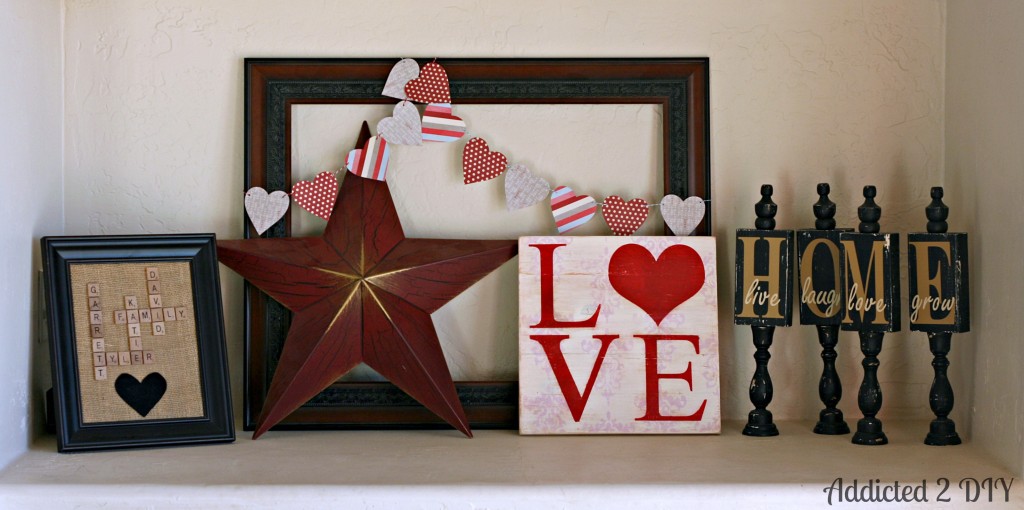
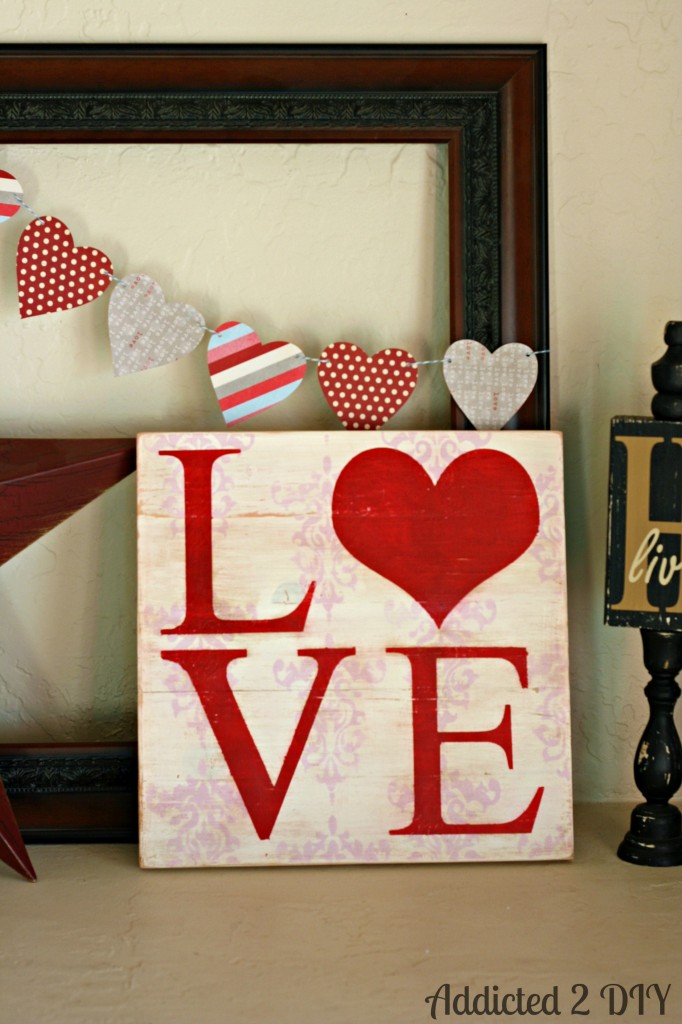
I have a huge niche in our built in media center that always seems sparse, so I decided this would fit best in there with a large picture frame and some quick paper garland. I love that this area doesn’t seem so bare anymore.
I really love how this turned out. I was thinking yesterday that it would be fun to make one a less Valentinesey (I know that’s not a word) color and leave it out year round. After all is said and done, I’ve now been bitten by the chalky paint bug and I can’t wait to work on another project. Now that I’ve gotten my feet wet, I think I’m ready to move onto something bigger:)
~Katie
Here’s where I link up:


This is AWESOME! I love it! I just pinned! The sign is so, so pretty and I love the vignette too 🙂 Great job!
Angela (Life in Velvet) recently posted…Ampersand Valentine Art
Thanks Angela! I have never decorated for Valentine’s day, but now that I have this, I do enjoy having a little something out:)
I absolutely love this!! What a creative idea!! I saw this on the work it Wednesday link party 🙂
Cathy
Thank you and thanks for stopping by:)
I’m loving the subtle stencil you choose for the background instead of leaving it a solid color. Great idea!
Melissa @ aprudentlife recently posted…Upcycled Vase Trio – Frugal Valentine Decor
Thanks Melissa! I didn’t want that extra paint color I ordered to not get used, and now I’m glad I accidentally ordered it:)
LOVE this! I have already pinned it. Great job!
Tasha @ Designer Trapped in a Lawyer’s Body recently posted…YOU Can Make an Upholstered Headboard {in one afternoon}!
Thanks Tasha!
I love this idea! Thanks for inspiring me!!
Thanks Breese!
You always inspire me with your woodworking ideas. Too cool.
Amanda Michelle recently posted…Thursday S.T.Y.L.E. Link Party #4
Thanks Amanda! I can’t wait to paint something else!
Love this idea! I’ve have some scrap pieces of wood that I’ve been wanting to do something with. Thanks for the inspiring idea!
Courtney @ Crafts by Courtney recently posted…Simple Upcycled Cork Board Turned Inspiration Board
Thanks Courtney! I love when scrap wood gets used for new projects!
Thank you so much for sharing your post at The Weekend re-Treat Link Party on The Best Blog Recipes this week! Wanted to stop by and pin to our Party Boards while I was here tonight 🙂
Shauna @ The Best Blog Recipes
Shauna {The Best Blog Recipes} recently posted…The Weekend re-Treat Link Party #51
Thanks Shauna!
I’m such a sucker for pallet wood signs! It’s super cute 🙂
Norma @Paint Me Pink recently posted…Favorite Valentines Day Crafts and Decor
Thanks! Me too. Thanks for stopping by and have a great weekend!
I want to do that too. It would make a great gift for my wife.
Mike Huiwitz recently posted…ways to get your ex back
Love your sweet project! Featuring you to tomorrow at Work it Wednesday! Hope you can stop by!Xo~
Aniko@PlaceOfMyTaste recently posted…FREE VALENTINE’S DAY PRINTABLES
Thank you! I’ll definitely be stopping by!