Learn how to build your own custom dining chairs with this DIY Upholstered Dining Chair tutorial, featuring step by step photos and printable plans.
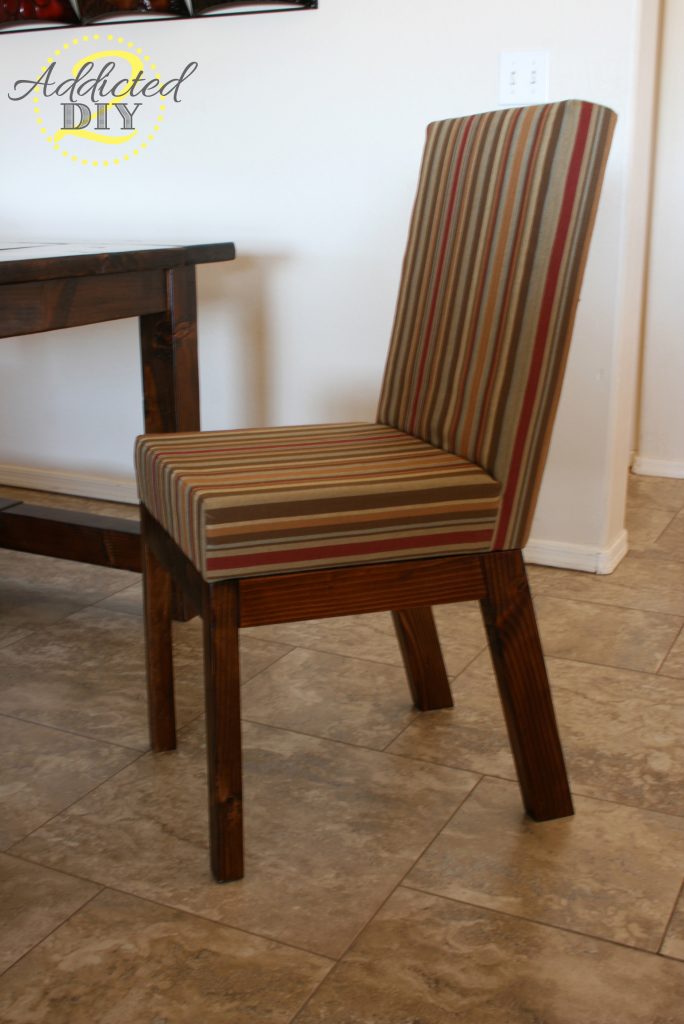
Hi everyone. As I said earlier this week, I’m sharing how I built the Parson chairs for our DIY Farmhouse Table. I really wanted to still try to save money on the chairs as well, but I couldn’t find any that either matched our table, had the fabric we liked, or that weren’t an arm and a leg. Each of these chairs cost about $40 each to make. The biggest cost came from the fabric. Home decor fabric isn’t cheap, but I found this on sale at Hobby Lobby. I wanted something that would complement our home decor and wouldn’t show stains from dirty little fingers. I found the plans for these chairs once again from the fabulous Ana White. Her plans are great, but I made a few modifications to better suit our needs/desires. Based on another brag post, I used 2x3s for the chair seats and backs as well as the back legs. I also increased the height of the chair backs to 22 inches and changed the angle of the backrest from 15 degrees to 5 degrees. I wanted them to sit a little straighter since they are formal dining chairs at our not-so-formal dining table:)
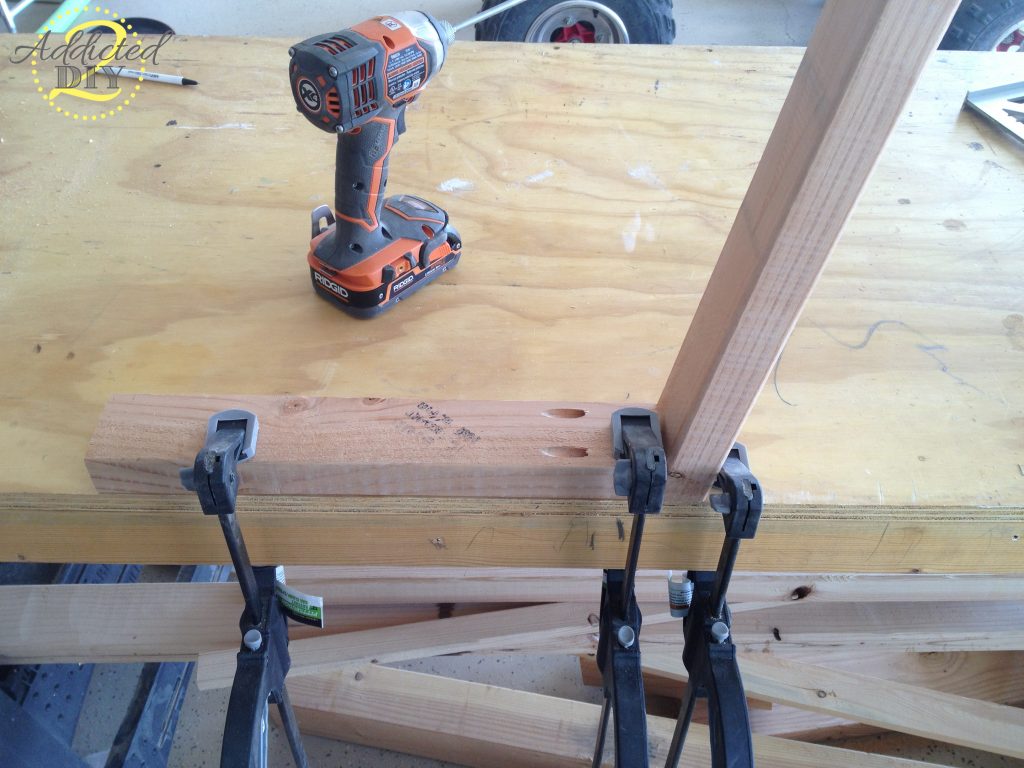
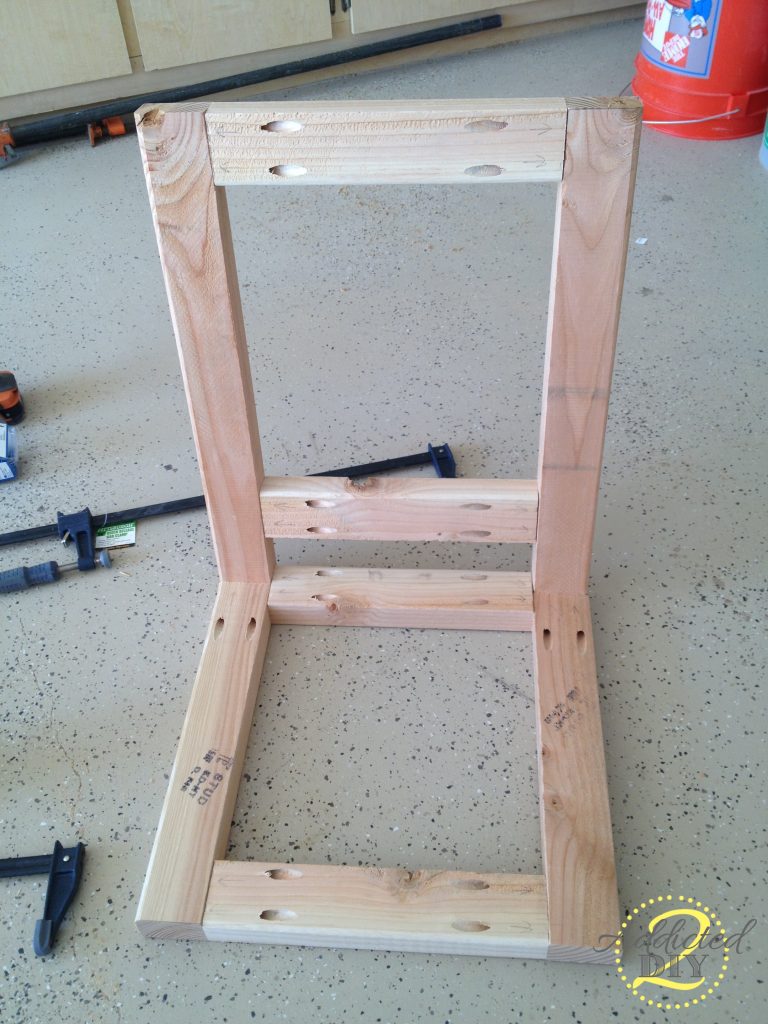
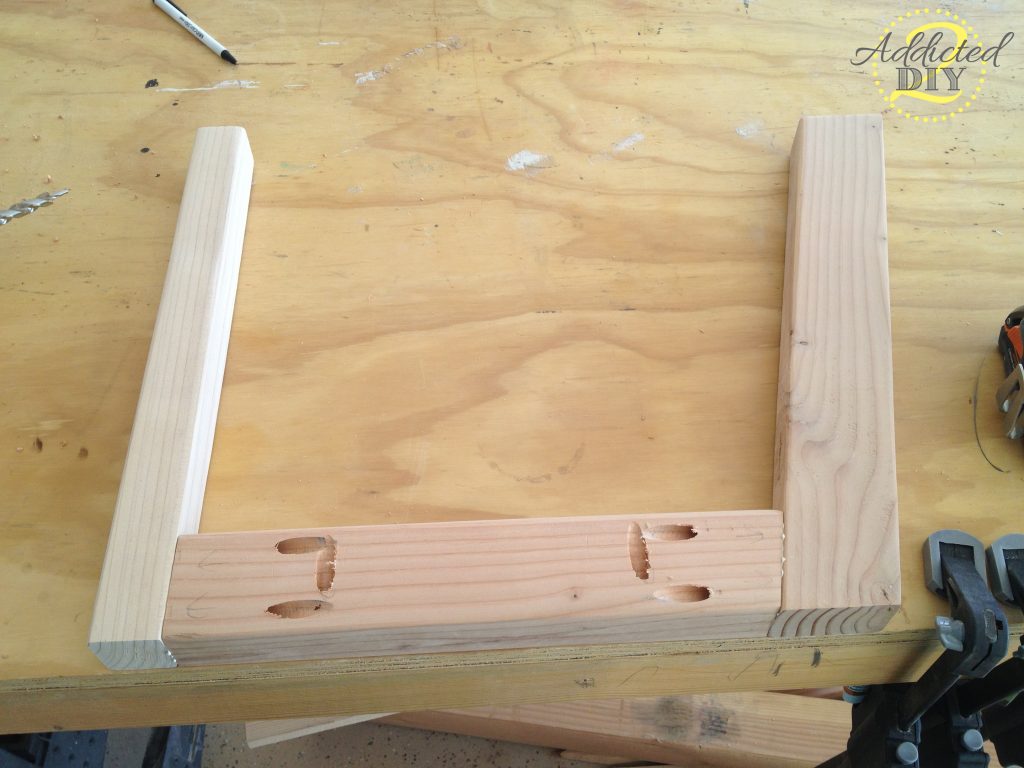
The first step is to assemble the chair seats. I used my Kreg Jig to drill all of the pocket holes in my chair pieces. Using 2 1/2″ pocket screws, I screwed the sides of the seats together. This was by far the hardest part. Stabilizing the back in order to screw it all together was a bit tricky.
Once the sides and backs are attached, you’ll attach the bottom and back seat supports once again with 2 1/2″ pocket screws.
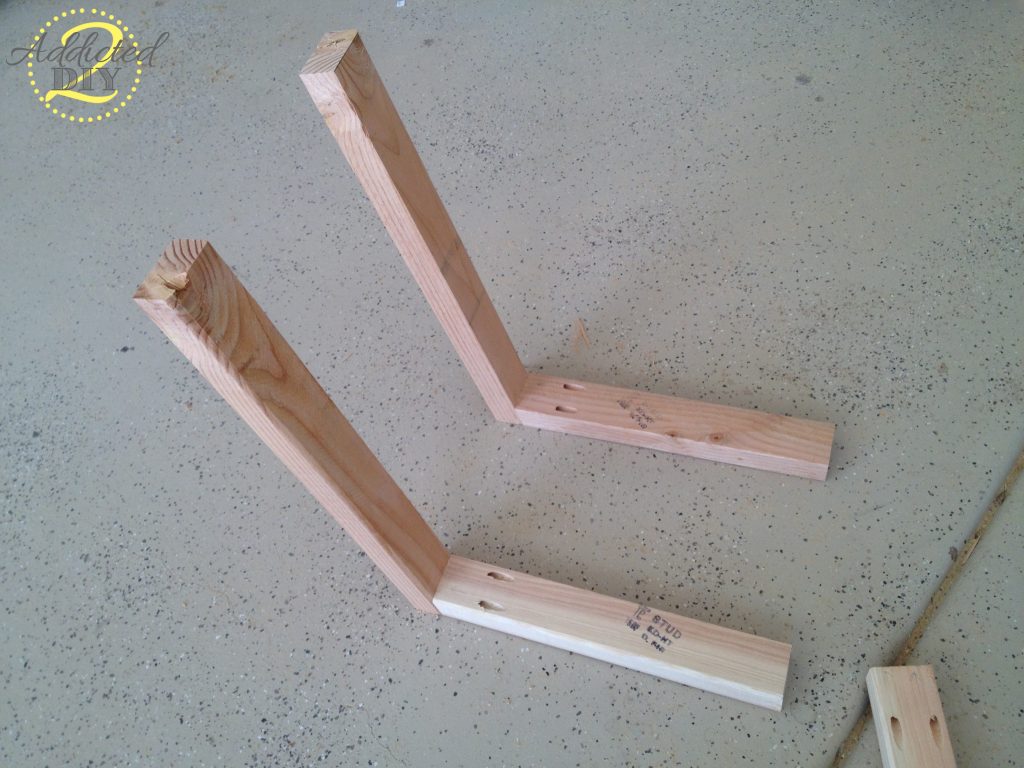
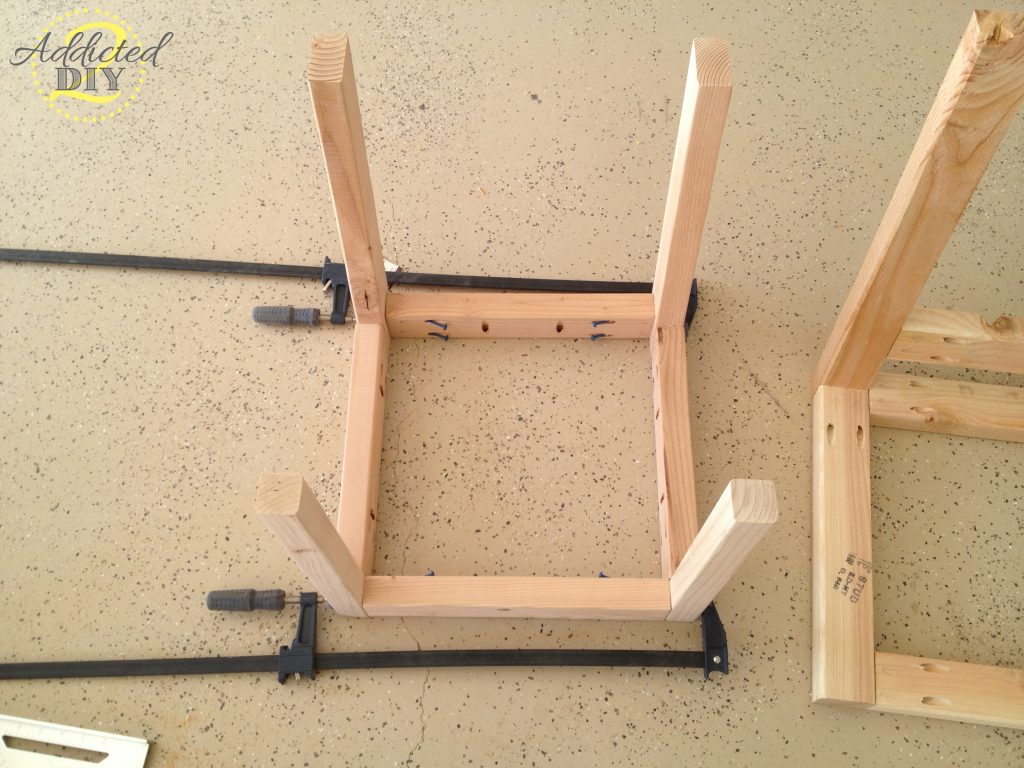
Next, you’ll start building the legs. Make sure that when you assemble the legs, you have the pocket holes for attaching it to the seat pointed in the right direction. I came close to making that mistake a few times:)
Finish building the legs by attaching the front and back aprons.
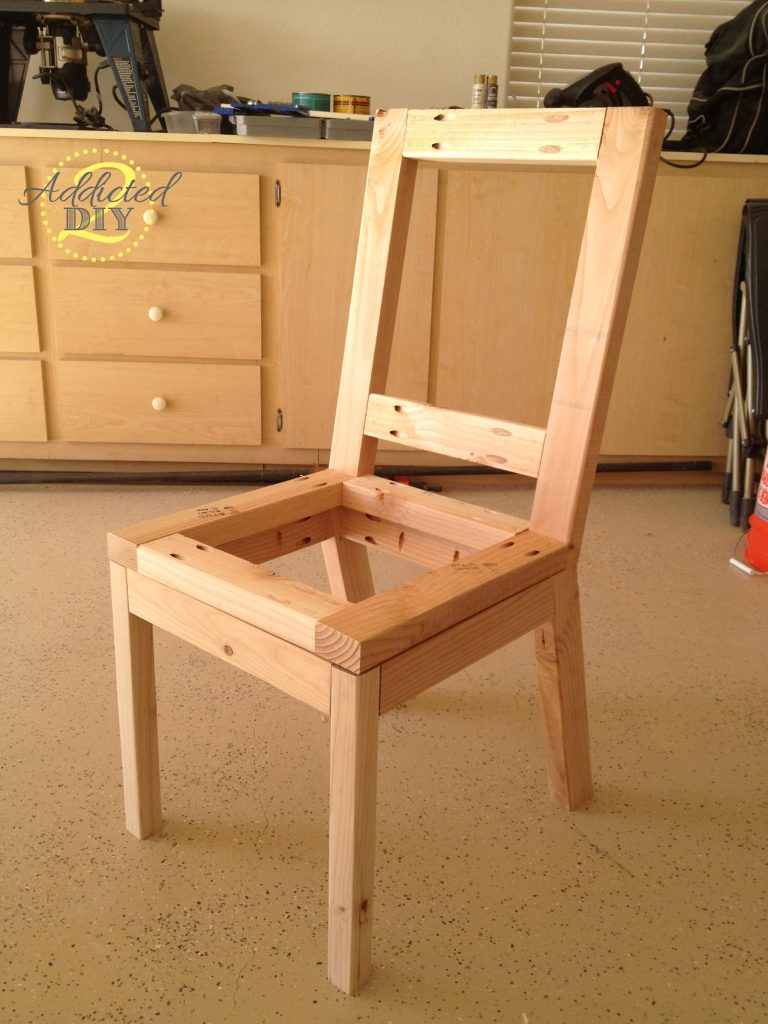
Here’s the skeleton frame of the chair.
I used 1/2″ plywood for the seat backs and bottoms. You can also use jute webbing (found at upholstry stores and fabric stores) for the seat bottoms. After sitting in these for a few months, my husband thinks we should have gone with the jute webbing to make the seat feel a little springier (is that even a word?). I may end up swapping out the plywood bottom for the webbing if I can. Someday… After I assembled all of the chairs, I finished the bases with Minwax Provencial stain and Minwax Polycrylic. No need to finish the seat since it will be covered with fabric.
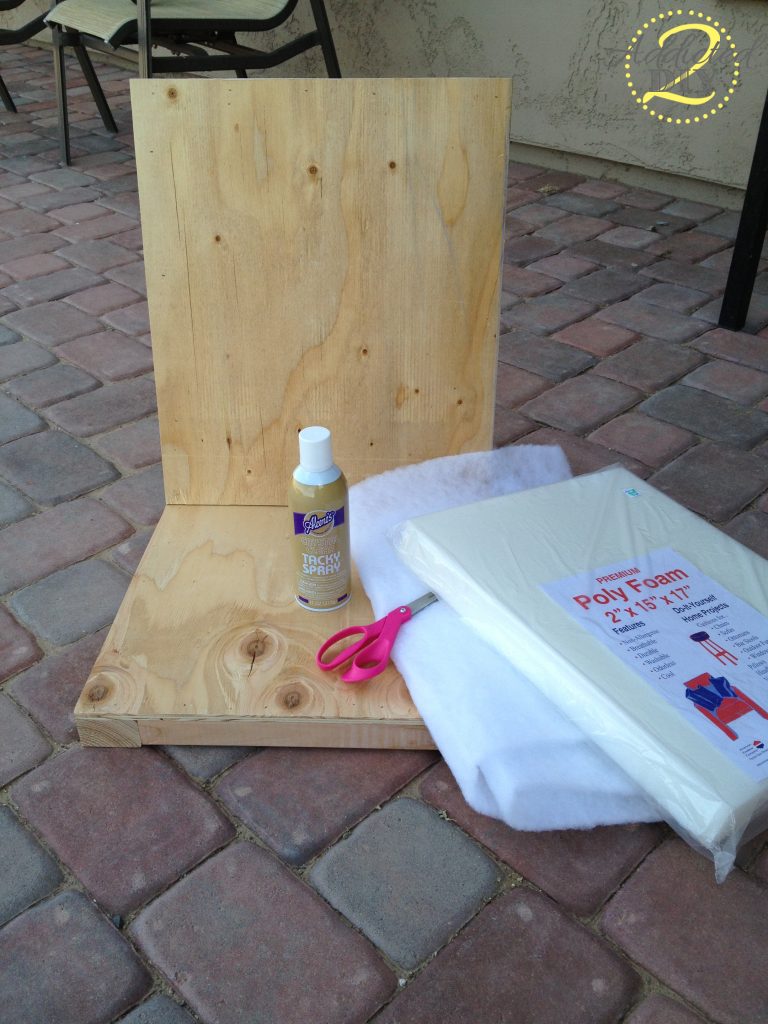
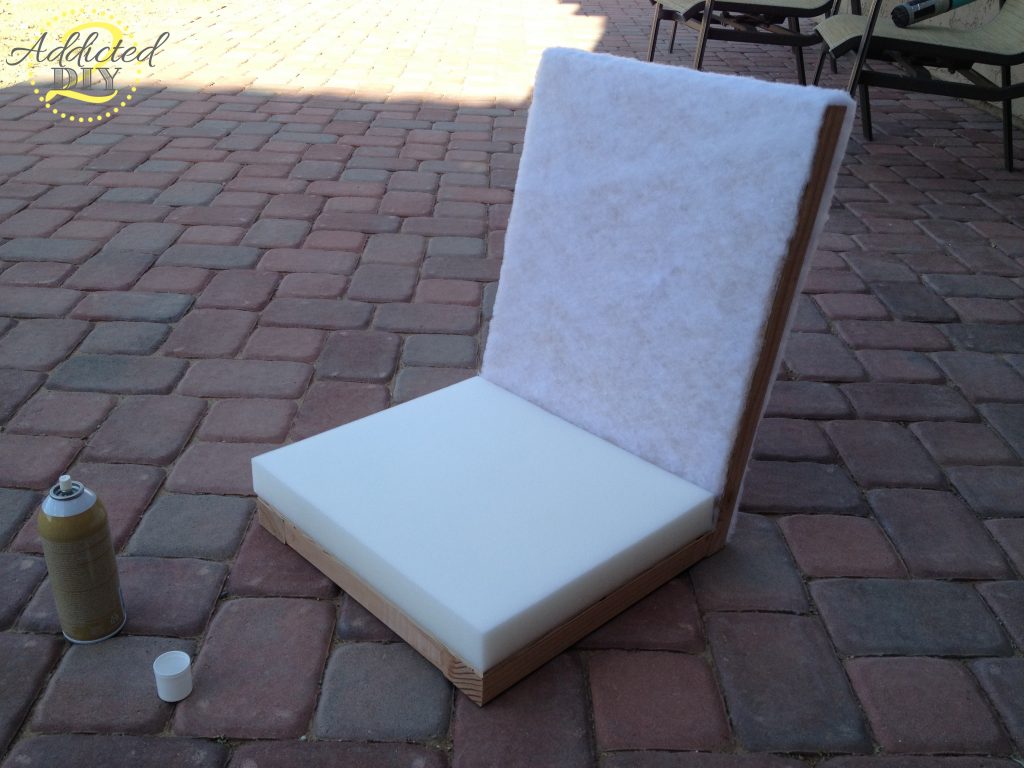
I used spray adhesive to attach the 1/2″ foam batting over the back of the chair. Be careful on the back side of the chair that you don’t push the batting too hard.
I trimmed off the excess with scissors to make it flush with the sides of the back. I then sprayed the adhesive on the seat and attached the foam pad.
Then came the part I dreaded the most. I am not one of those people who enjoys sewing. I wouldn’t say that I hate it, but I certainly don’t do it because I want to either. The layer of dust on it when I pulled it out would probably make my grandmother cringe.
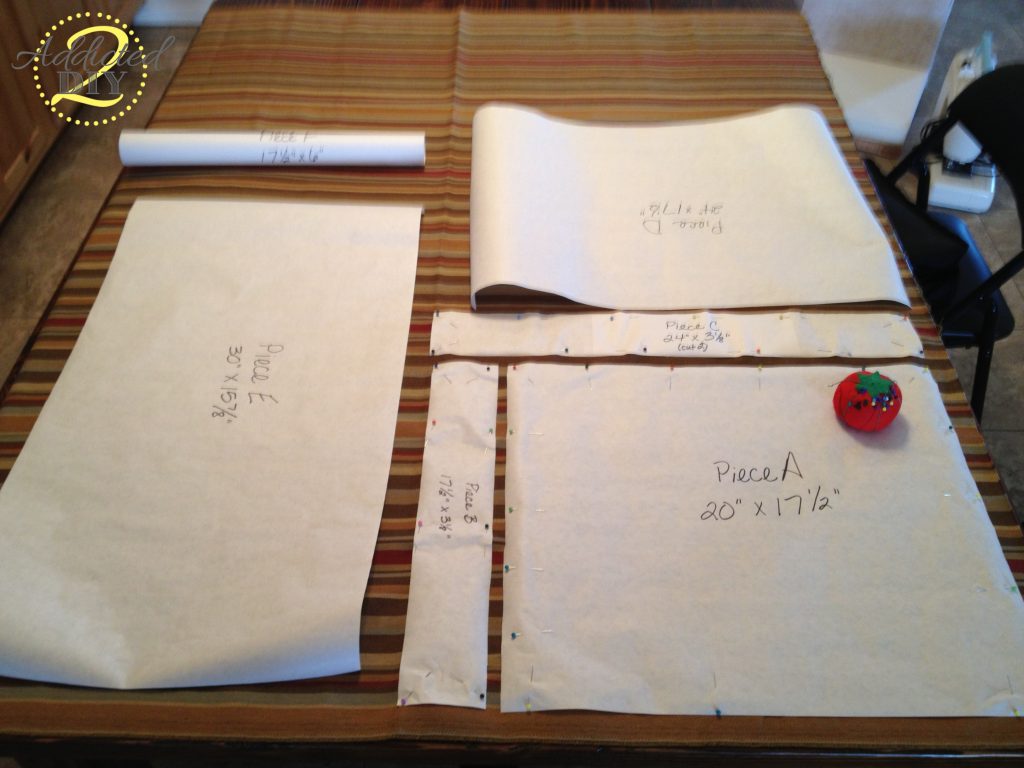
Since I was making four chairs, I made a pattern out of freezer paper so I could reuse it again and again. Remember that if you are modifying the chair to fit the 17×15″ seat pad and/or the height of the chair backs, you’ll need to make those same adjustments to the fabric pattern. Because I am not much of a seamstress, I’m also not very good at explaining how to sew this together. I’ll let Ana take over with her tutorial. She describes it so much better than I can.
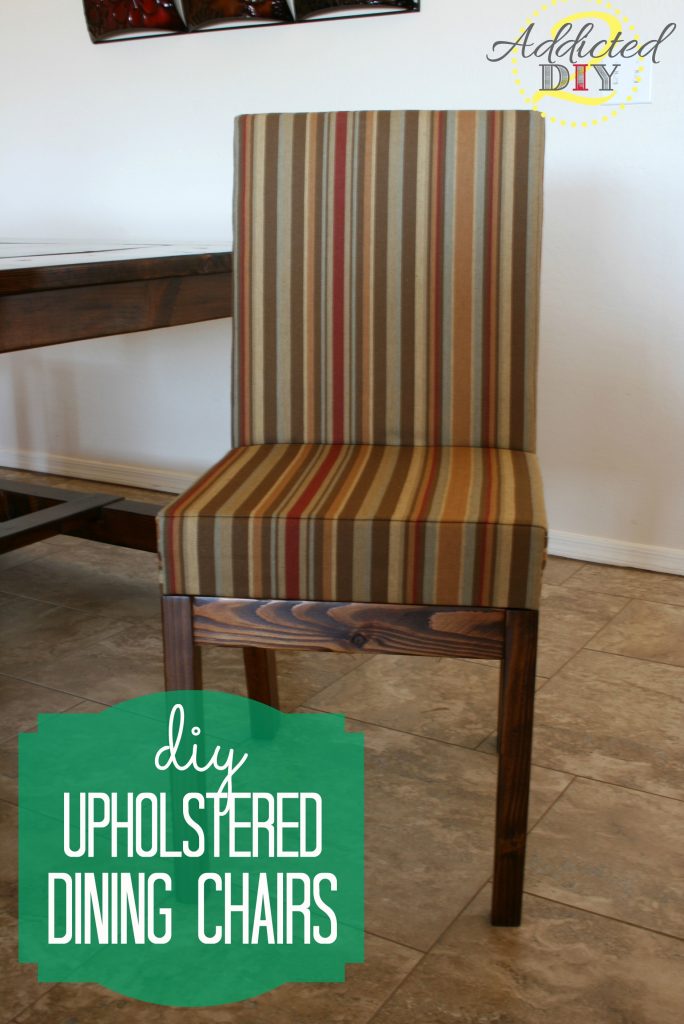
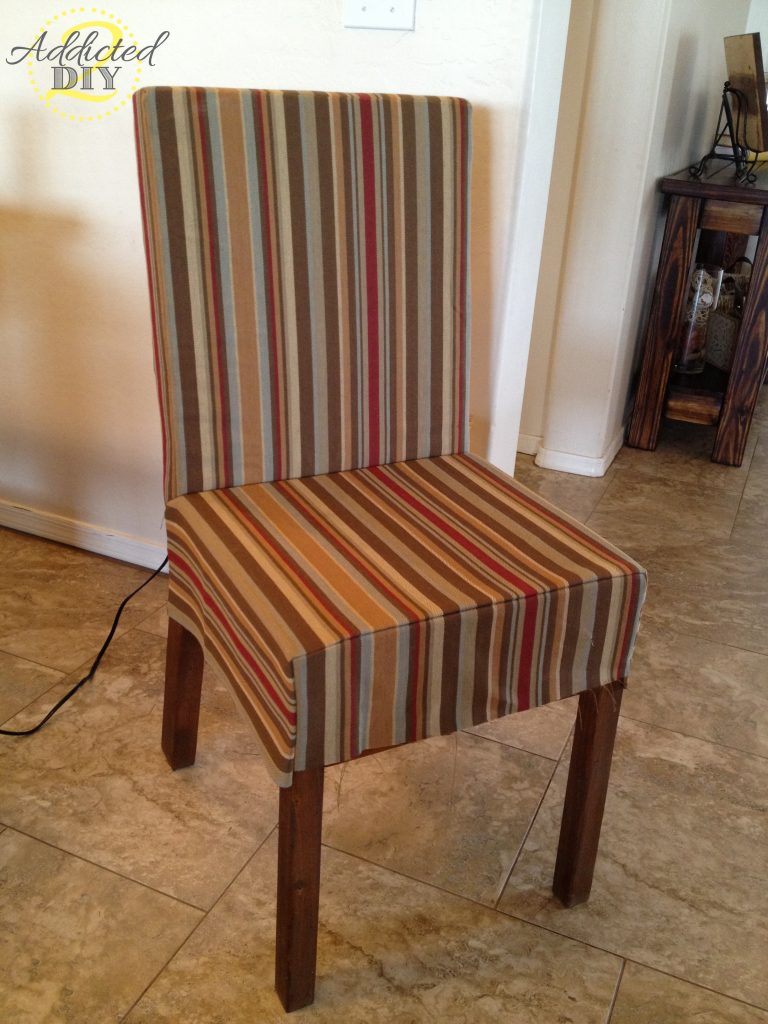
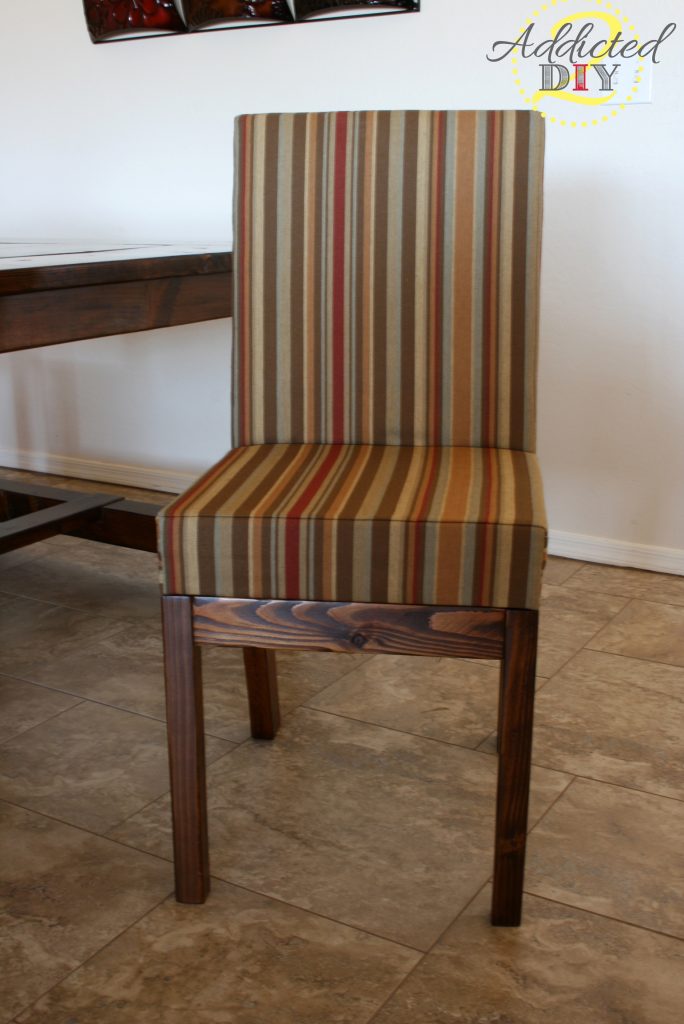
Here’s how my chair looked when I was done. The hardest part about the sewing was trying to make sure my stripes all matched up. I accidentally put one together wrong and sat with the seam ripper for quite some time undoing that mistake. If you would like these to be more of a slip cover, you can easily just sew a hem on the bottom. Whatever suits your fancy:) Just make sure that you still do the whipstitch to finish the side seams.
I used a whole lot of staples to secure the fabric to the bottom of the seat and then trimmed off the excess fabric.
Use a whipstitch method to sew an invisible seam on the sides to finish off the seam attaching the seat bottom to the back.
After all of the sewing is completed, use 2 1/2″ pocket screws to attach the base of the chair to the seat. Before we let one of the kids even touch one of them, we sprayed them with scotch guard to protect them from drips and stains.
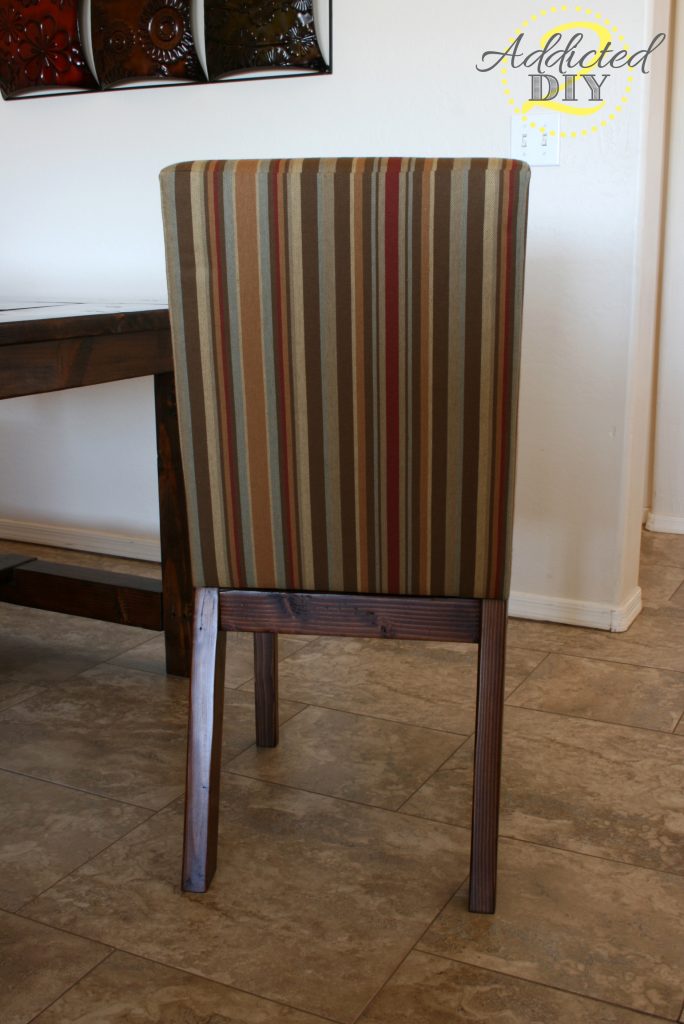
I was so happy with how these turned out. I liked the fact that we could stain them exactly the same color as our table and we save a ton of money.
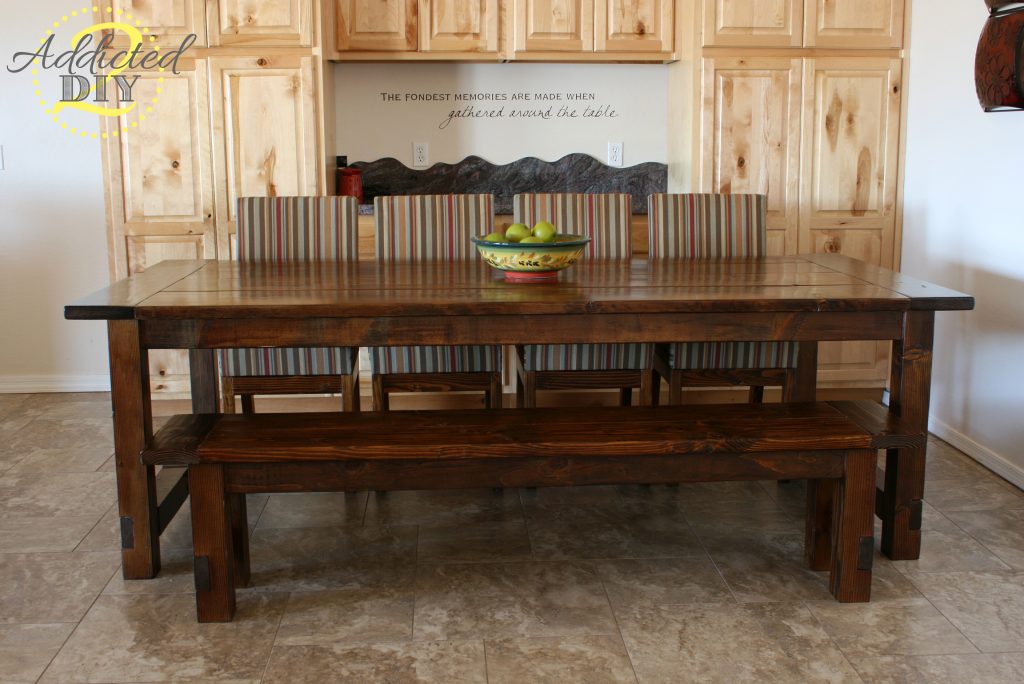
Here they are at our table. They are super sturdy chairs and so far we haven’t had a stain yet! Of course, that’s probably because I make my boys sit on the bench;)
If you like these chairs, I’d love for you to share them with your friends. I hope that if you have been wanting to do something like this that you will give them a try. The original plans make for great occasional chairs or a great craft room addition. I may do the same thing for my craft room:)
{This post contains affiliate links. If you purchase an item from one of these links, I will receive a commission at no extra cost to you}




Well for somebody who’s not fond of sewing you sure did a professional job! Your chairs look beautiful!
Val
Thank you:) I am happy with how they turned out, but I lost count of how many times I told myself “this is why I don’t sew.” 😉
Simply Stunning!
Wow, very nice! I love the stain color you chose, and the whole set looks fabulous!
Cher @ Designs by Studio C
Thank you!
I just ran across your chairs on Pinterest and I LOVE them! I do have a question though, you said you made your back 5 degrees instead of the 15 degrees Ana suggest. Do you make the same adjustment for the back legs as well? I built a Farmhouse table last weekend and have been scouring the internet for Parson Chairs to sit at the head of the table. I saw Ana’s one, but seemed a little short, saw yours in the brag post too, I so want to build your version, but my math is fuzzy to say the least. Thanks.
I kept the 15 degree angles for the legs. Only the baks got the 5 degree angle:)
Thank you so much. I am anxious to build these, they are beautiful 🙂
Oh! that chair, can’t believe that you did it with yourselves. Nice idea it is simple yet elegant. Thank you for sharing this DIY idea, will try this soon.
Reema @ Uratex Hotel Mattress recently posted…The Suite Life: Embrace the Hotel Experience in your own Bedroom
BEAUTIFUL!!! I wish I could build things like this, but I wouldn’t even know where to start. The table, the chairs, the bench… it all looks amazing. You are awesome!
I noticed you stapled the back as opposed to sewing the whole thing as a slipcover and just sewing the sides. Did that seem easier? I’m about to tackle a replication of your chairs once we finish up our table, but as an individual completely useless with a needle and thread, I’m a bit overwhelmed haha! The whole whipstich bit has me confused. I also don’t own a sewing machine (surprise), but I AM incredibly handy with a staple gun.
I love that your chairs look a bit more formal than the originals.
You definitely need a sewing machine to make these, but it isn’t too hard to do. I personally DO NOT enjoy sewing and the seam ripper is in my hand at least once for every single sewing project, no matter the size;) The whipstitch was a challenge, but after the first chair, I figured out a system and it went much better for the others. I did staple the back cover and the seat cover to the bottom, but that is personal preference. You could also finish the bottom with a hem and make it a slip cover. I may do that when I reupholster them sometime.
Hi, i was wondering why you added the extra rails to your seat and not put the ply directly on the bottom seat rails?
Do you remember how much fabric you used for your chairs? Also, would you use jute webbing for the back as well as the bottom or just the bottom?
I wish I could remember. I feel like one yard per chair is a close measurement. For the jute webbing, you could try it on the back. It would give them a little more give and comfort.
I did the jute webbing for the back as well as seat of the chairs for mine and they’re very comfortable!
Hi! Loved your chairs! =D
Right now I am about to build my self a pair too, but i have a question, I saw Ana’s and yours, but I still dont get how you get to attach the base of the chart to the bottom, it might be a stupidity, but I can’t get it… :/
You mentioned you used some screws, but where… how? Thanks for answering.. ang great chairs, thnx for sharing them and giving us more inspiration =’D
Thank you Gon! The seats are attached to the base using pocket joinery. So the 2×3 frame of the chair base has vertical pocket holes drilled into them which then attach to the chair base with 2 1/2″ pocket screws. I hope that helps!
Can you tell me which items from Ana’s shopping list you replaced with the 2×3’s?
2 – 2x2s, 8′ long
1 – 2×3, stud length of 8′ long
1 – 1×3
1 – 1×2
Hi Ashley,
I replaced the rear chair legs with 2x3s. I kept the front legs as 2x2s.
Lovely job with the chairs! For someone that doesn’t like to sew you’ve done a great job of getting the seams straight and tidy.
One suggestion I’d make (it might be covered in the Ana White tutorial) is to somehow attach / glue a layer of some sort of silky material to the top of the seat foam (or the underside of the outer fabric) before putting the outer upholstery fabric over. I’ve discovered to my dismay that many upholstery fabrics have a sort of nap on the underside, and over time with people sitting on the chairs this bites into the foam and the fabric slowly ‘walks’ over to one side (it looks like this may be happening slowly to your seats as well – see how the stripes are becoming a gentle curve?). It’s a small detail, but a slippery layer in between would save a lot of frustration and trying to straighten the darn fabric up again in the future 🙂
This is definitely something I wish I had know/thought of before doing this! You are absolutely right. Having this between the foam and fabric would have been genius! Thank you for that tip!
Do you have your exact cut list I could follow? Thanks!
I don’t. Just what is in the tutorial and following Ana White’s original plans.
Can I find all your mesurments somewhere? I’m making some blieprints that is like to try when summer comes and would love your measurements!
Hi Maria,
You can find the link to the chair plans in my post. Thanks for stopping by!
I tried clicking on the links to get to ANA’s version of these chairs.
The links dont work.
Hi Matthew,
Here is the link! http://www.ana-white.com/2010/11/plans/parson-chair-plans