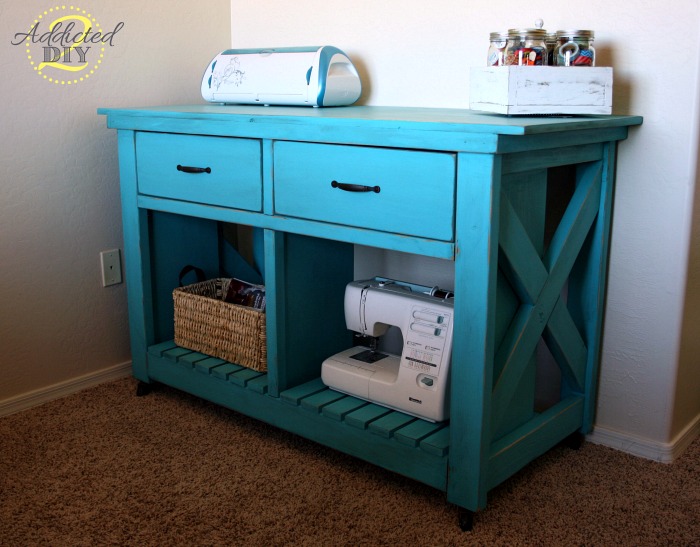
I’m so excited to share my very first project post with you today. I’ve been searching for the perfect table to build for my craft room for several months. When I saw this Pottery Barn inspired kitchen island built by the very talented Whitney over at Shanty 2 Chic, it quickly made my shortlist of ideas. When Ana White made plans for the double version of this kitchen island, it made it all of the way to the top of my list. It came together very quickly and I love how it turned out. It’s a big part of my craft room revamp and I’ll be sharing all of that with you when I am finished. I got everything for this project from Lowes and it ended up costing only about $175!
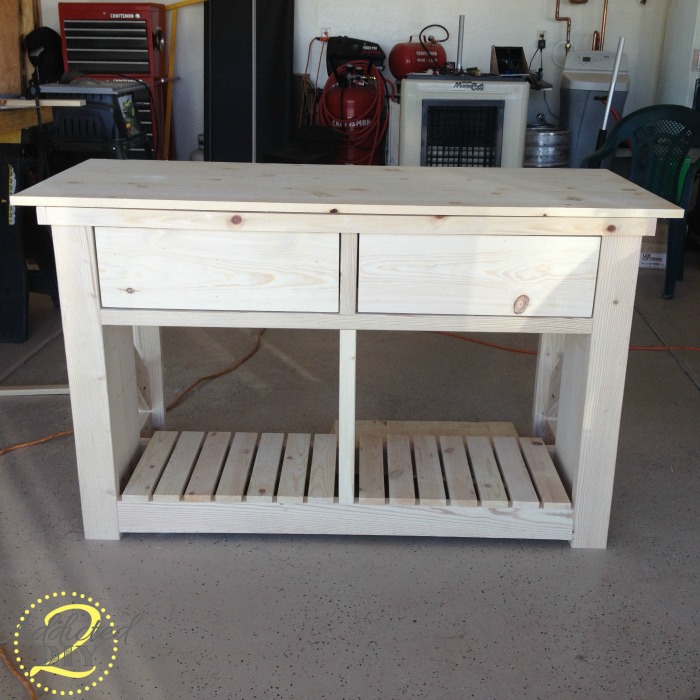
I’m so in love with how it turned out. I modified it just a bit and left out the shelves on the bottom. I needed to be able to fit my sewing machine on the bottom shelf, so I just left them both off. You can find the plans HERE on Ana White’s website. Below are some of the steps for the project plans:
I pre-cut all of my wood before beginning the project. It just makes it easier for me to have everything organized and the sawdust all cleaned up before I begin assembly. I also used my orbital sander and sanded all of my pieces before attaching them together with 150 and 220 grit sand paper. There are a lot of nooks and crannies on this project and pre-sanding makes life a lot easier.
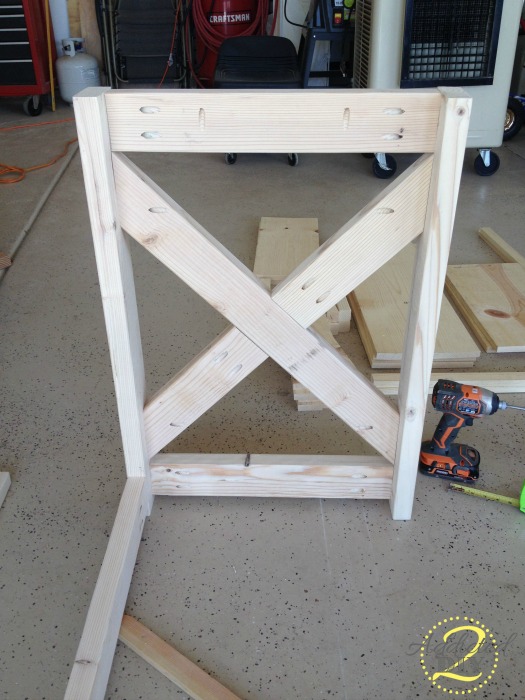
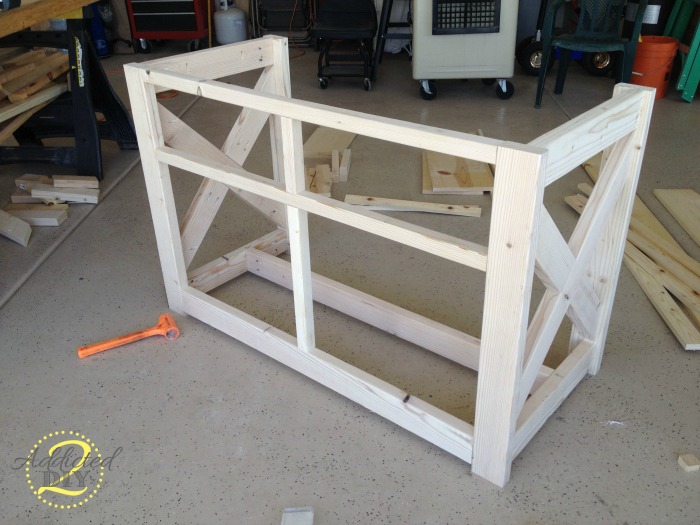
The plans don’t show exactly where to drill your pocket holes with the Kreg Jig, so I wanted to show where I placed mine. In the plans, it was recommended to also drill 3/4″ pocket holes in the top brace to attach the table top. I found later that after drilling the holes, only one ended up being exposed because of the 1×12 drawer/shelf sides.
I wanted to have the middle of the tabletop secured to the base as well, so I drilled 3/4″ pocket holes into the center divider. I drilled these same holes into the drawer/shelf sides on each end of the base, but didn’t get a picture of those.
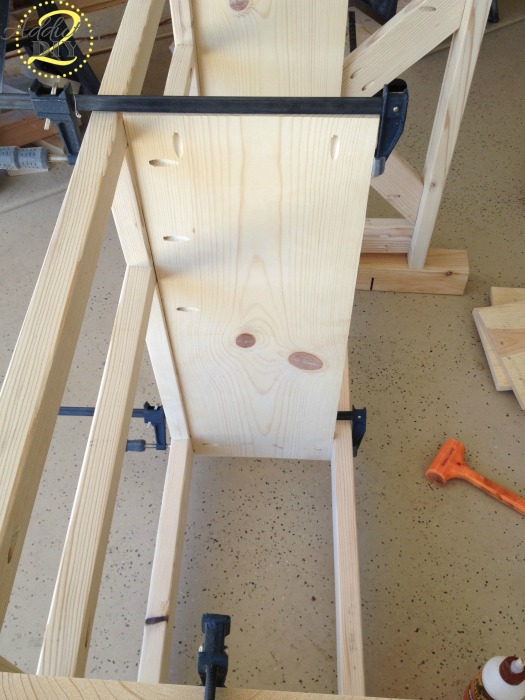
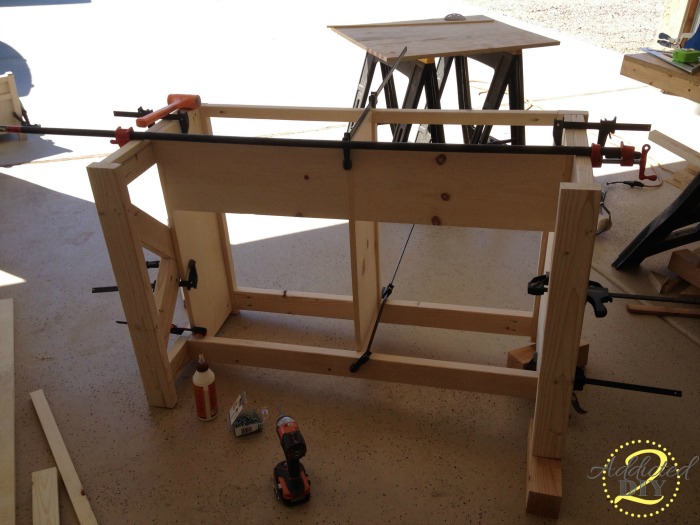
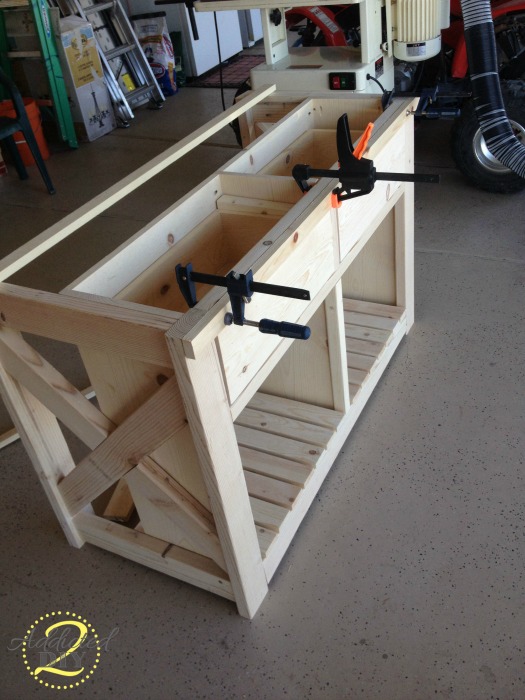
I attached the drawer/shelf sides with 2″ screws and the drawer stops with 1 1/4″ pocket screws. I also used wood glue on all of my pieces prior to screwing them together. I’ve found with projects like this that you can never have too many clamps.
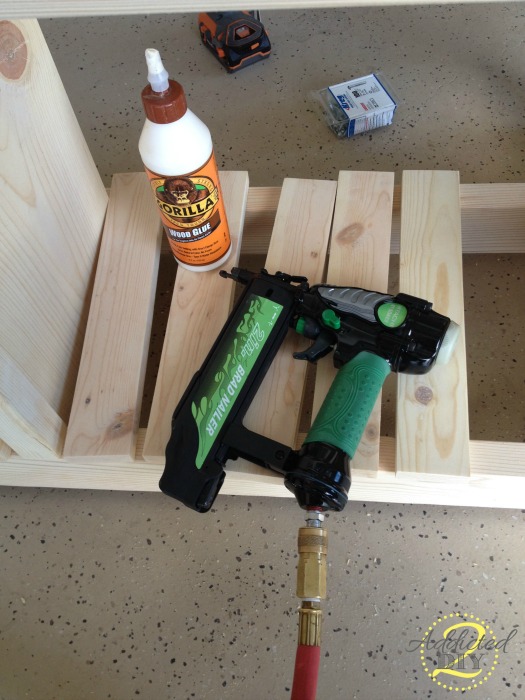
I attached the slats at the bottom of the base with wood glue and 1 1/2″ brad nails.
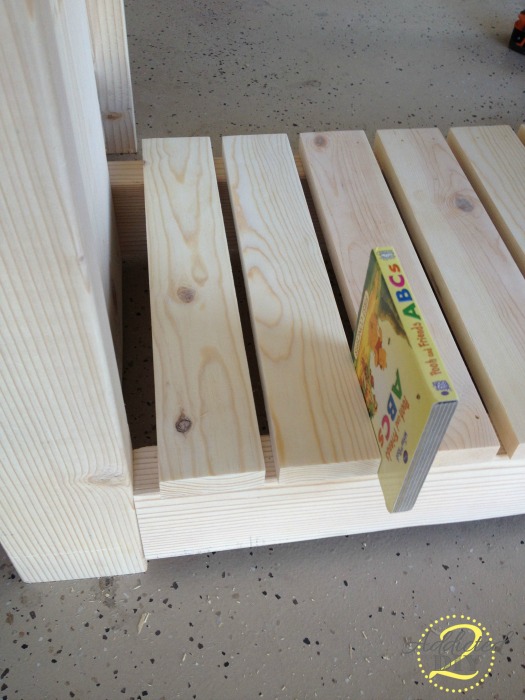
It was a little tough trying to find that perfect gap between the slats that would make them even all of the way across. I tried different pieces of scrap wood, measuring the distance between, etc. I finally just grabbed one of my younger son’s old board books and it happened to be the perfect width! I set my gap on one end, glued and nailed it, then moved the book to the other end of the slat and did the same thing.
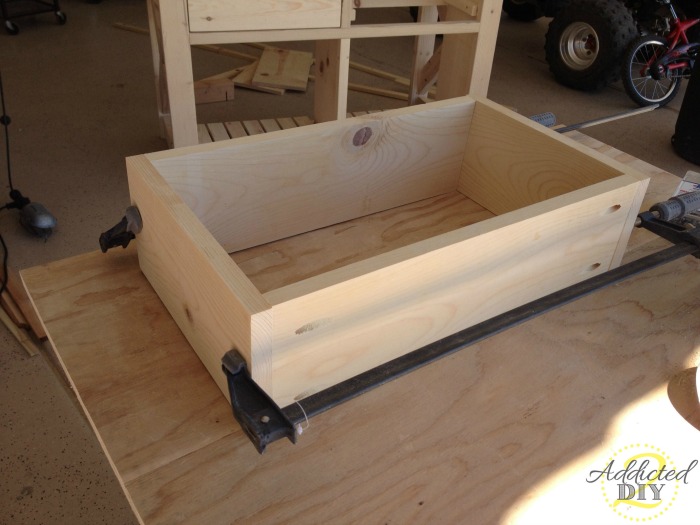
The drawers were really easy to assemble. I bought a 2’x4′ sheet of 1/4″ plywood for the bottoms of the drawers and ripped those down to size after making the box. I glued and nailed the plywood to the drawer bottoms and sanded any edges that weren’t perfectly flush.
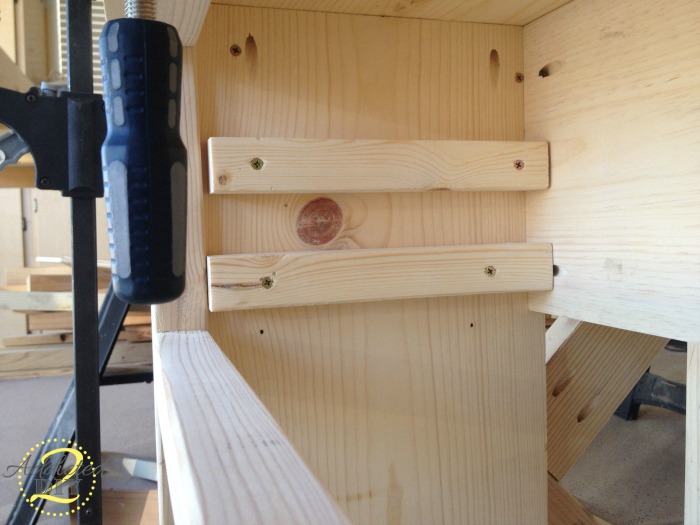
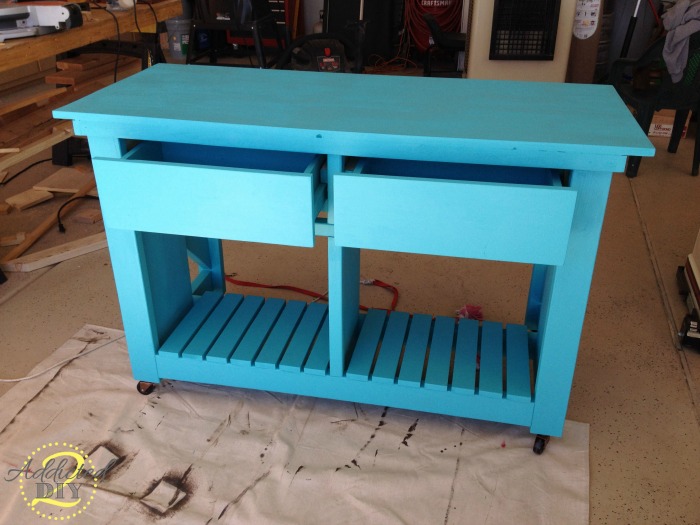
The original plans call for 2×2 pieces to use as a brace to hold the drawers in. I added a second 2×2 above each brace to give the drawers some extra support. This way the drawers don’t fall out when you open them. Since the slides on the sides of the drawers are 1x2s, I cut a small piece of scrap wood an 1/8″ longer than the thickness of the drawer slides and used that as my guide when screwing in the top support.
I glued, clamped and nailed the 1×2 trim to the top of the base and let that set up for a bit.
I added a bead of wood glue to any piece of wood that would have contact with the table top, then used 1 1/4″ pocked screws to attach the top. I wanted the table top to have a bit of an overhang, so I cut it to have a 2″ overhang on each side.
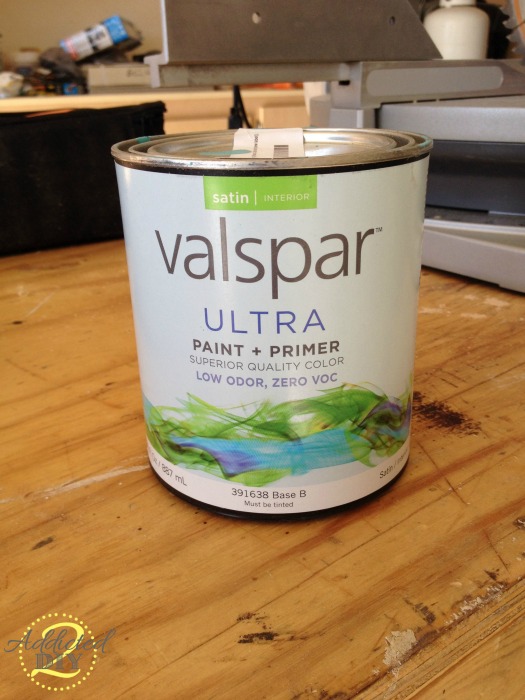
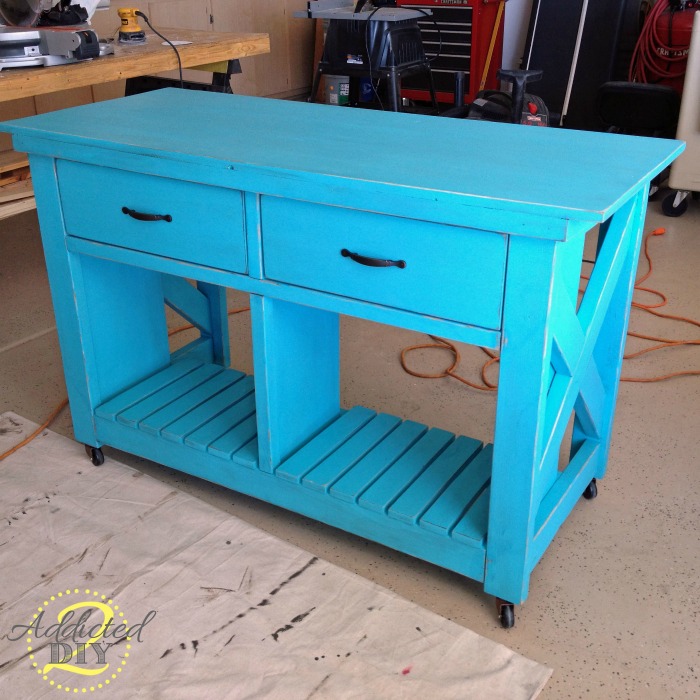
Since the bookcases in my craft room are a very dark color, it took me a while to decide how to finish the island. I finally decided to step way outside of my comfort zone and paint it a turquoise color. I chose Valspar Rushing Stream as the paint color in a satin finish. I knew I wanted to give the island a rustic patina, and this color was exactly what I envisioned.
I’m not going to lie, I spent a good 4 1/2 hours painting the entire island. I painted the drawer slides on the sides of the drawers but didn’t paint the supports that are attached to the base. I didn’t want to have to go to war with the drawers to get them to slide in and out due to the paint sticking together. It is still recommended to wax those pieces to allow them to slide in and out a little easier.
I finished it off by distressing the paint by sanding the edges and then using Valspar antiquing glaze to give it the aged patina I was looking for. I’ll be posting a tutorial for the glazing technique very soon. I got the drawer hardware at Lowes for about $3.50 each and the bronze-colored casters for about $2.50 each. The casters will make it so nice when I want to turn it around and sit down to use it as a sewing table.
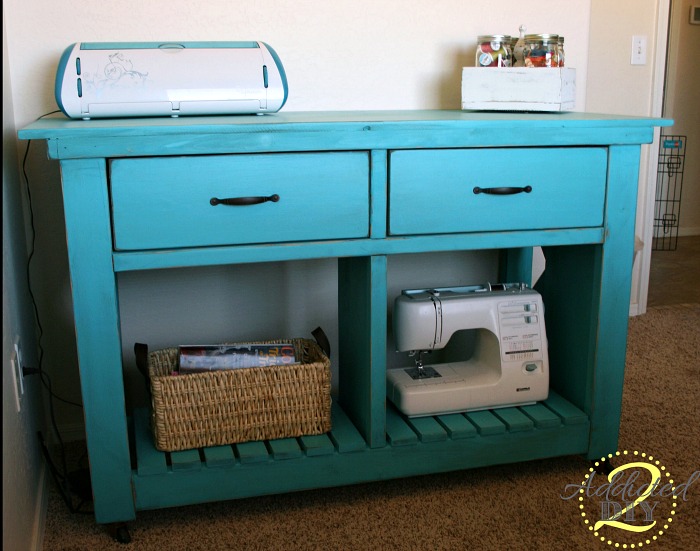
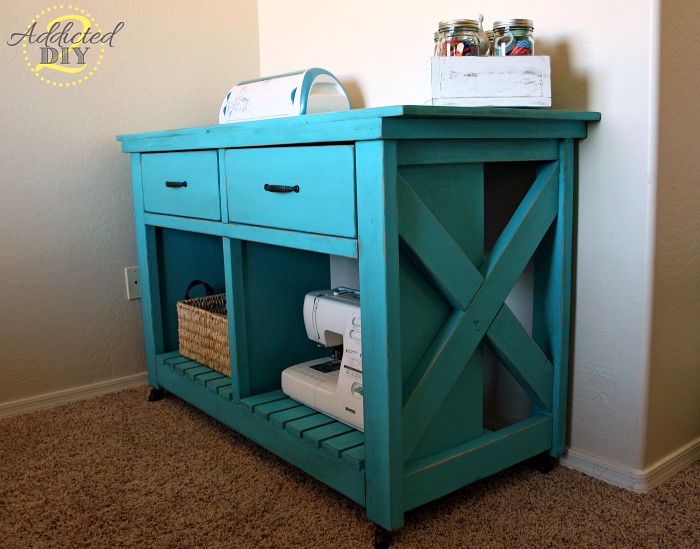
And here is the finished product!
I’m absolutely in love with how it turned out and I’m so happy that I stepped outside of the box and chose this color for it, rather than staining it to match my bookcases.
I’d love to hear your comments and/or questions about this project and feel free to pin away!
{This post contains affiliate links. If you purchase a product linked in this post, I will receive a commission at no extra cost to you.}

Great first post, and great job!!! I love it, I think the Blog world will be perfect for you to show off your talent! I’ll be reading 😉
Thanks:) I’m so excited to finally get the ball rolling on this!
Love this!! When I first saw the island post I thought “too bad I already have an island”. Never thought to do it for my sewing machine & silhouette. This is perfect!! Great job.
Thank you! I’ve been searching high and low for ideas and when I saw this plan, I knew it was what I was looking for.
Great Job! What a detailed post, too. I found your blog through Ana White’s FB post. Off to a great start on your new blog!
Thank you for visiting and for your kind comments! I’m looking forward to seeing where this journey takes me:)
Congratulations! Great blog! and your first post is excellent! I’ll be addicted to addicted to DIY!
Yes. I’ll be sharing a post on how to do the glazing technique very soon. Thank you for visiting!
It’s gorgeous! Great work.
Thank you for sharing this. I LOVE the way it turned out. Stunning!
Thank you:)
Thanks:)
I absolutely love the color! And it looks fabulous! I love islands in the kitchen and this one is awesome!
Great post. I am now a follower 🙂
Thank you and thanks for following!
Beautiful!!! I am actually in the middle of building the smaller version for my kitchen. Brilliant idea to add 2×2 cleats on top of the drawer supports as well, I was wondering how I was going to keep my drawer from flopping down every time I opened it. I’m so glad I found this post. 🙂 And the color you chose is so perfect. Great job!
Thank you! I’m glad I could help out. Feel free to ask if you have more questions:)
Very, very impressive! I love the color you chose, too:)
Thanks! The color was a big step outside the box for me, but I love it and my it’s even starting to grow on my husband;)