Hey there, everyone! Earlier this week, I shared with you how I teamed up with Thompson’s WaterSeal to bring you the printable plans and tutorial for how to build this beautiful DIY Outdoor Sectional Sofa. Today, I’m going to share the finishing process, along with what product I used and why. If you missed that first post, you can find it, along with the printable plans, HERE.
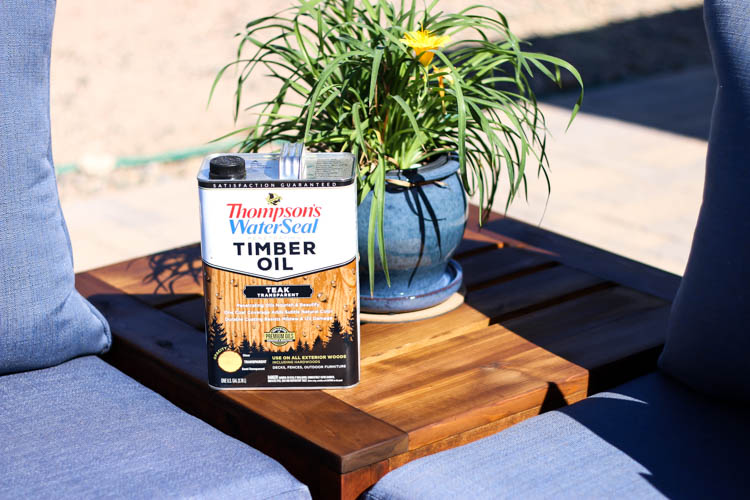
Thompson’s WaterSeal is an industry leader in outdoor surface protection and we have used their products on a number of different projects around the house. One of my favorite products is the Penetrating Timber Oil. It’s an oil based formula made to not only to make your outdoor wood projects look beautiful, but also keep them looking beautiful with it’s water, UV, and mildew resistant formula. You may remember that I used it on a hexagon cedar bench project a few years ago and it worked beautifully. You can purchase the Thompson’s WaterSeal Penetrating Timber Oil online or in stores at The Home Depot.
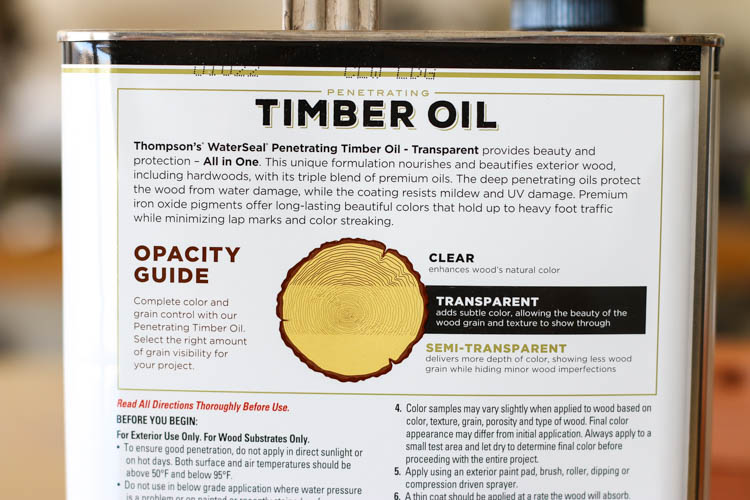
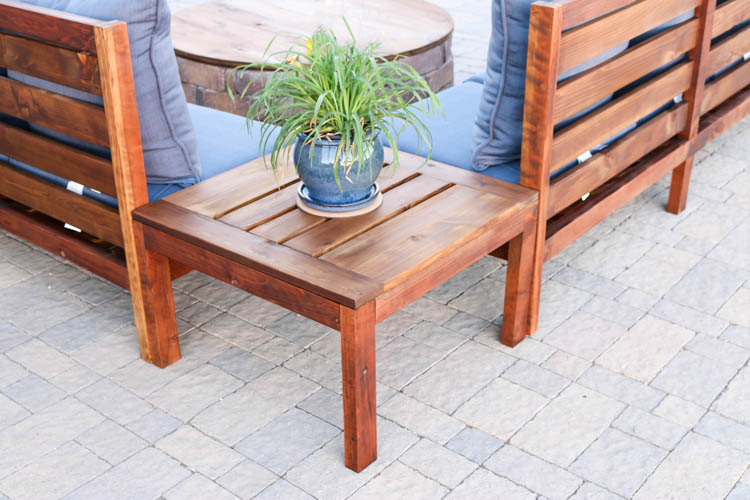
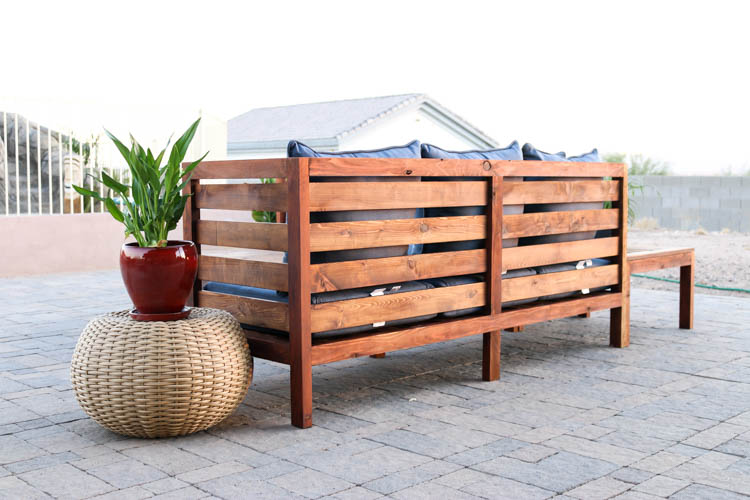
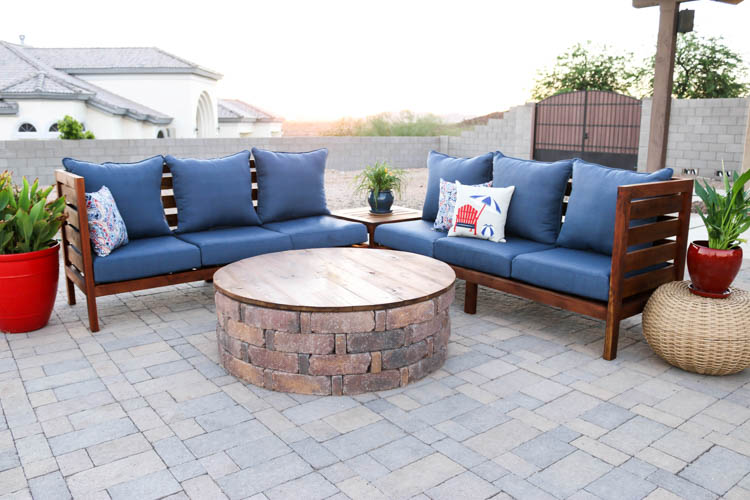
Now the Penetrating Timber Oil comes in three different opacities: Clear, Transparent, and Semi-Transparent. I chose the Transparent formula, because I wanted to add some color into the wood, while still showing off the gorgeous grain of the redwood and cedar. I chose the teak color to add a richness to the wood and DEFINITELY was not disappointed.
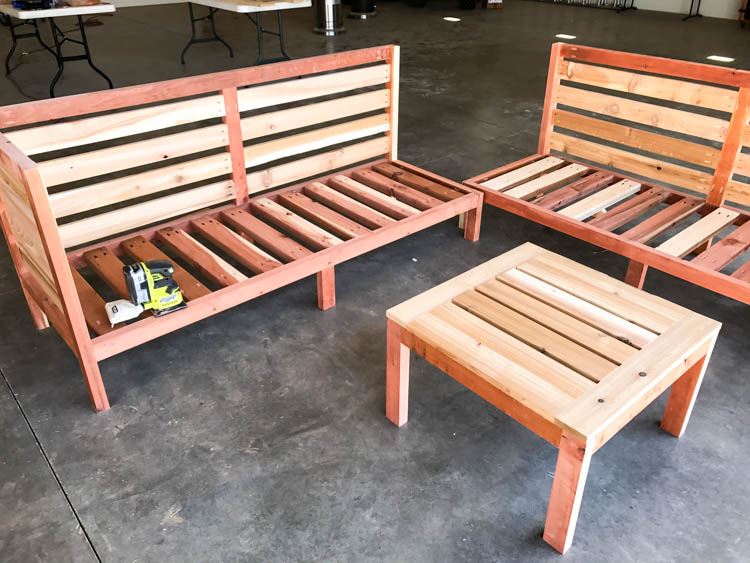
Before applying the finish, I sanded down the entire project with 120 and 220 grit sandpaper. I cleared away all of the dust and debris before bringing it outside to stain.
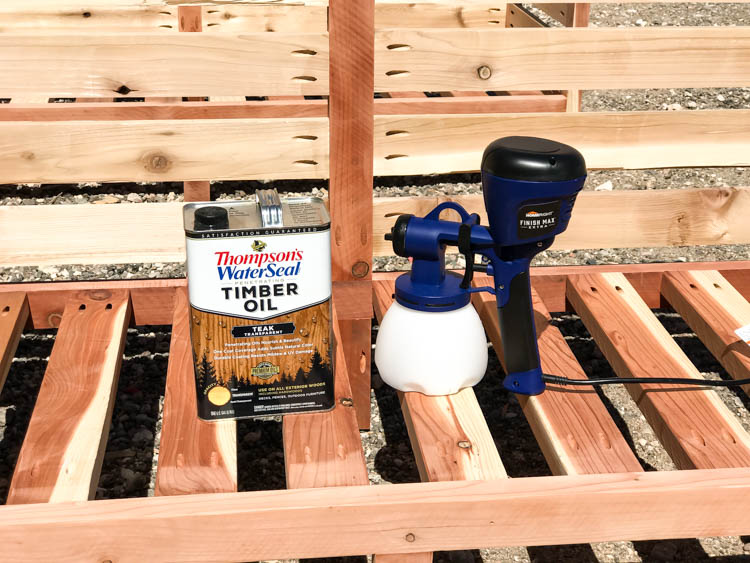
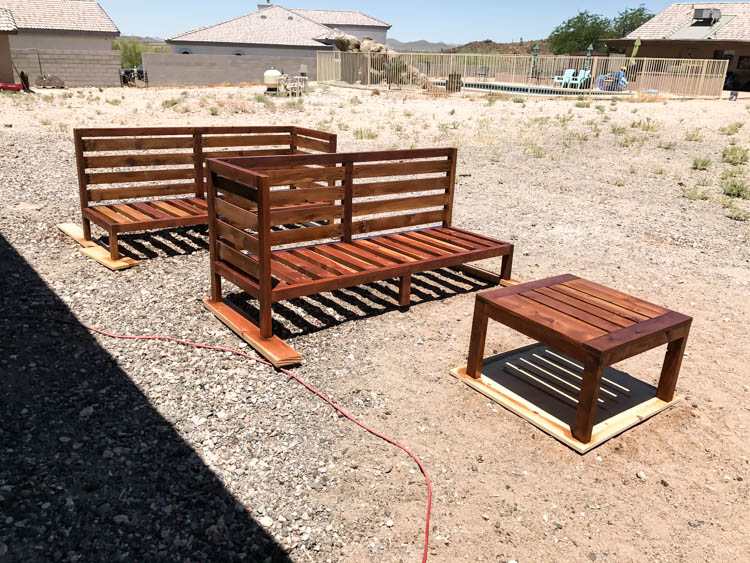
I used my Finish Max sprayer to apply the Penetrating Timber Oil. You can use a brush, pad or roller, but I chose to use my Finish Max sprayer because it makes the process so much faster.
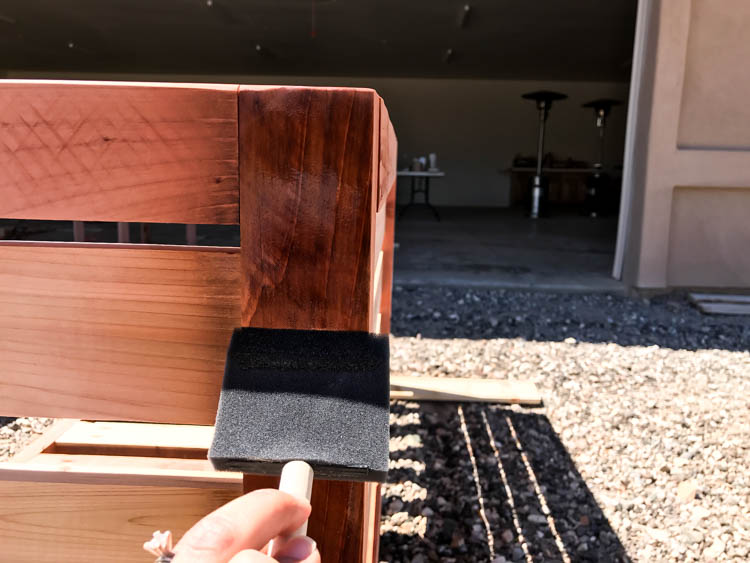
Like me, you may get a few drips with your paint sprayer if you get it too close or spray too slowly. I grabbed a foam brush and cleaned up any drip marks quickly and easily, then moved on to the rest of the project.
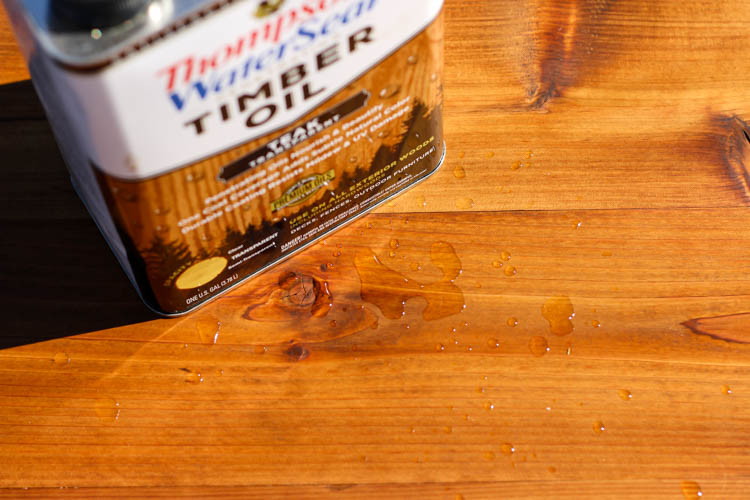
It is recommended to only apply one coat of the Penetrating Timber Oil to your wood projects. If it appears that the wood is soaking up the finish like a sponge, you can apply more; however, it will increase the drying time. I let the finished project dry for about 8 hours before moving it to the patio.
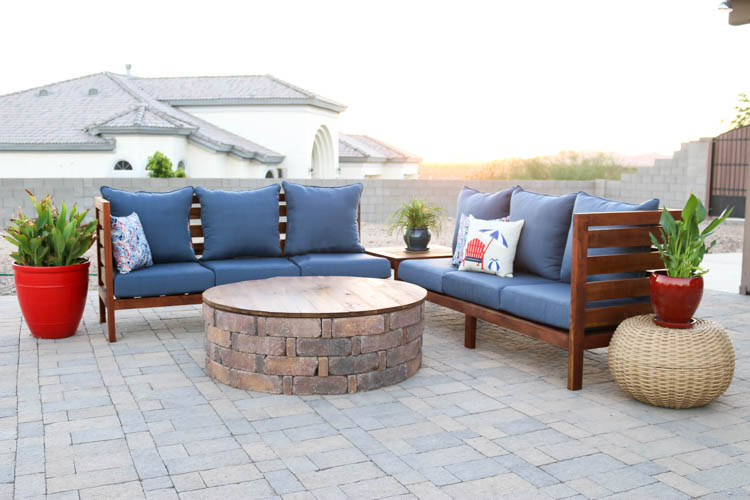
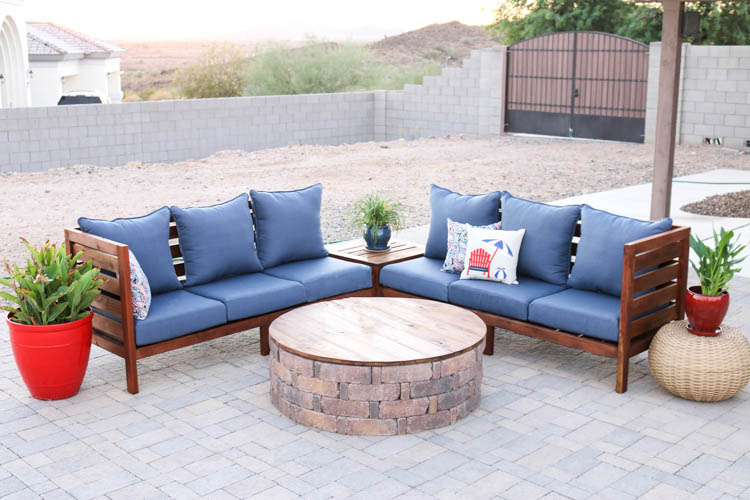
I purchased the sofa cushions and accent pillows from The Home Depot and I love the color of them next to the rich color of the wood. The Penetrating Timber Oil color I chose turned out EXACTLY like it looked on the can and I couldn’t be happier with how it looks!
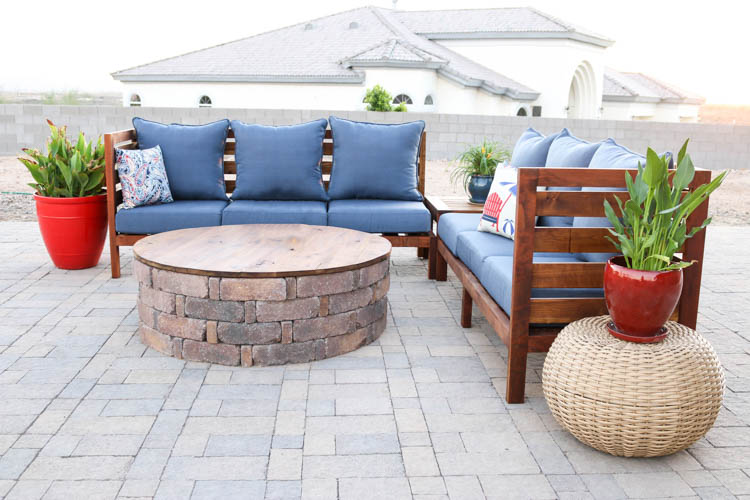
As I said in my previous post on how to build it, this may be one of my favorite projects to date! You know those projects where you just can’t help but stare at it and say “ahh.” That’s how I feel about this sectional set. I can’t wait to entertain friends and family here, or relax after a long day. Someday (hopefully) soon, we plan to build a pergola over this area, which will make it even more dreamy. Want to build one of these for your outdoor space? Make sure you download the printable plans! I want to see your versions of this outdoor sectional, so be sure to also share and tag me on social media (@addicted2diy)!
DISCLOSURE: I was provided product and/or compensation for this post. All opinions and ideas are 100% my own. For more information, please read my full disclosure policy.

Leave a Reply