Hey there, everyone! Happy Monday! Today’s project is something that I have been wanting for a LONG time, a coffee table for our great room! I’ve put off building one for so long, trying to find just the right inspiration for a design and it finally came to me several months ago in a random magazine that I bought. What’s crazy is that I’ve never seen this magazine before and I haven’t seen it since, so clearly it must have been fate! I saw a coffee table similar to this in the magazine and instantly fell in love with the unique design. I knew I needed to build it and immediately hopped on the Osborne Wood Products website to see if they had anything similar to the legs in the inspiration picture. Of course, they did and they were thrilled with my idea! They kindly provided the legs for this project (and another one I’ll be sharing soon), so I hopped on Sketchup and drew up the plans.
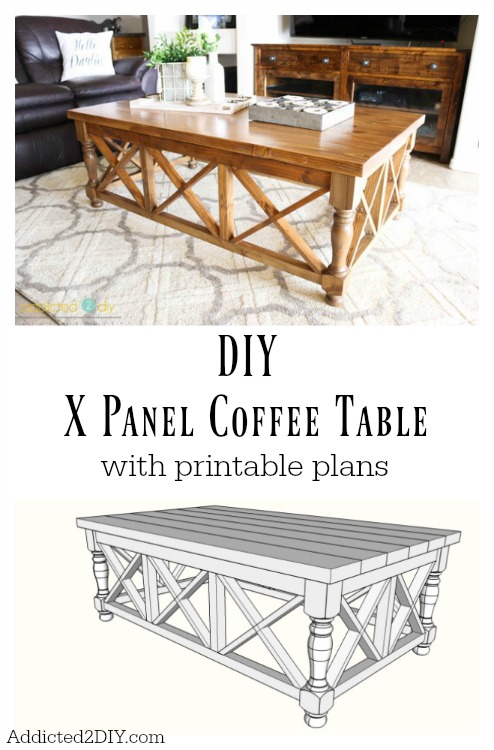
They make these legs in a variety of different species, but I chose knotty pine, since the rest of the table is also built out of pine. Don’t let the “knotty” part scare you, though. They take great care to make sure that there aren’t huge knots in the wood that they turn for their legs and there’s just enough to add a little bit of personality. Since my hope is that you’ll want to build this project, too, I’ve included the free printable plans for you to download. On there you will also find the shopping list and cut list. Other than the legs, I used stud grade lumber from Home Depot and some 1x2s. I’ve also included affiliate links to other products used in this project. If you purchase any of these products, I will receive a small commission at no extra cost to you!
UPDATE! You can also watch the step by step tutorial in this latest YouTube video:
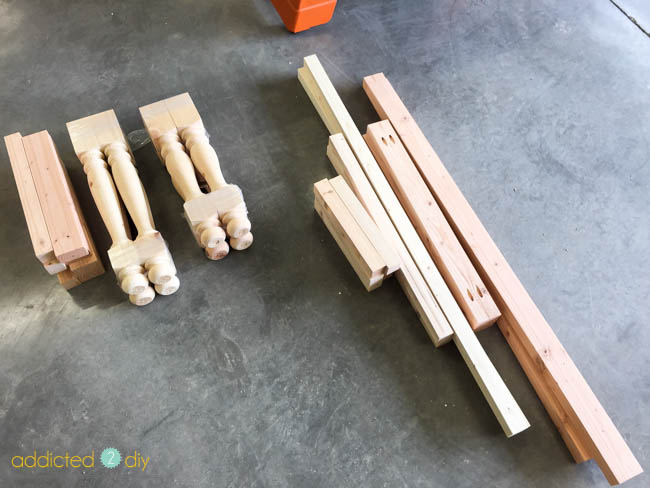
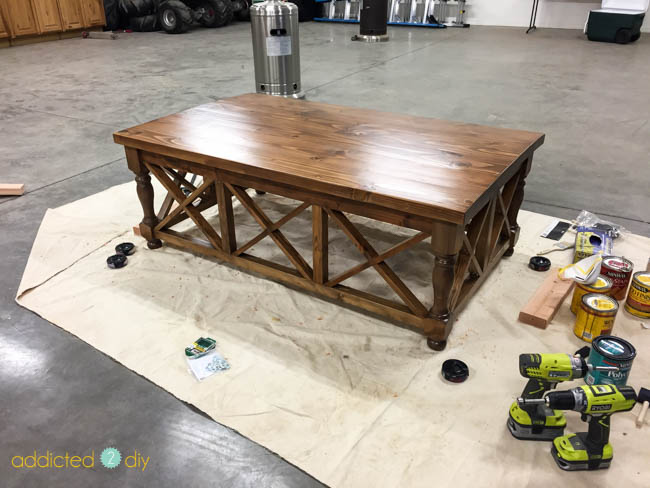
Before I got started, I used my table saw to rip down all of my pieces of lumber to the proper dimensions so everything would have a square edge, vs. the bullnose edge that typically comes on stud-grade lumber. My husband surprised me with a Kreg Foreman for Christmas, which made drilling the pocket holes so fast and easy! You’ll notice there’s two sets of table legs. Those are for the matching side table I’ll be sharing with you later this week!
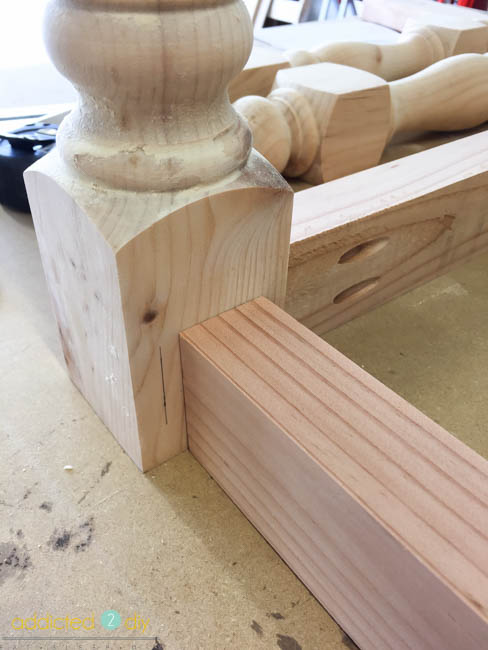
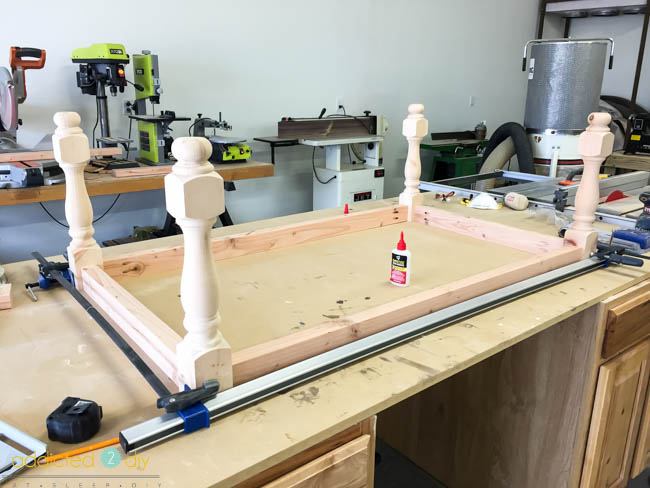
Flip the legs upside down and set them on a flat, even surface. On each of the table legs, I marked 1/2″ in from the outside edge for the 2×3 apron pieces.
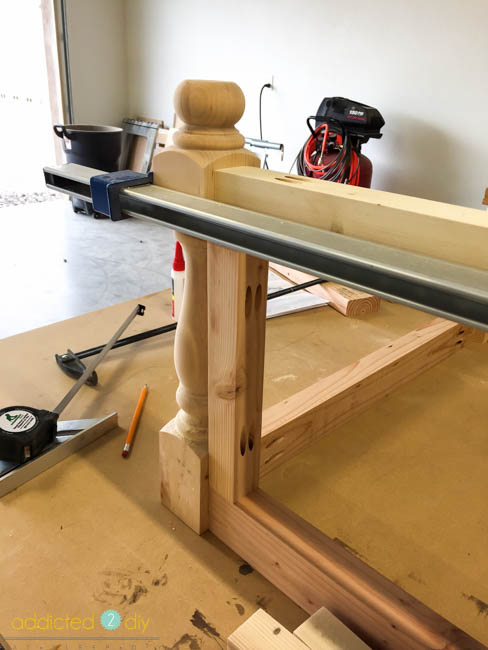
I set the apron pieces at the pencil marks I made and then glued and clamped them in place. I attached the apron pieces to the legs with 2 1/2″ pocket screws.
To attach the stretchers, measure in 1/2″ from the outside edge of the bottom portion of the leg. Using the 11 1/2″ vertical pieces as spacers, set the 2×2 stretchers in place, lining them up with the mark you made on the leg. Glue and clamp into place, then attach with 2 1/2″ pocket screws.
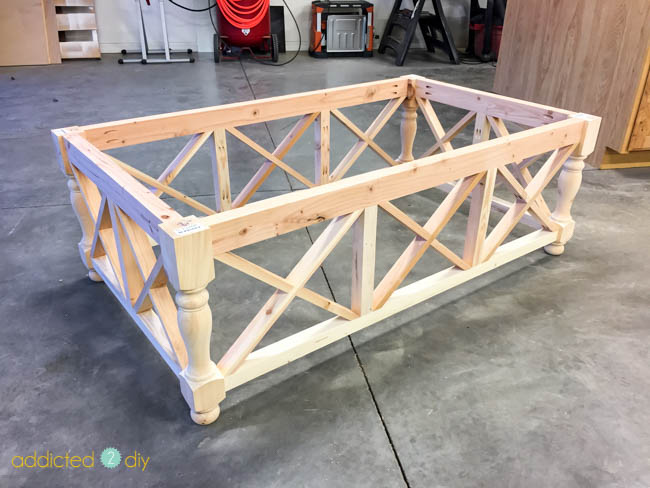
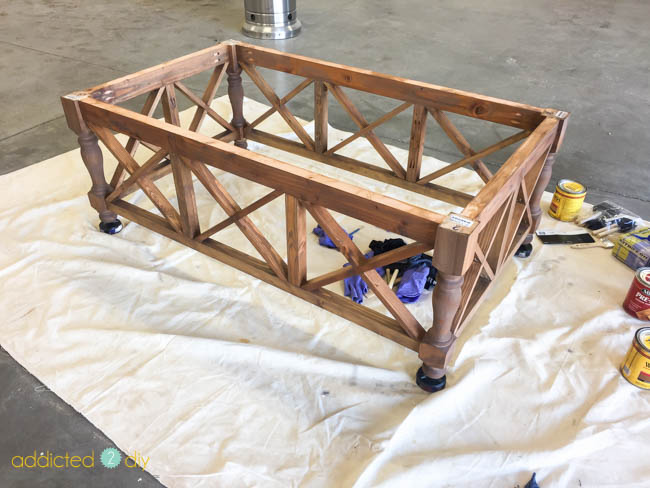
Once the stretchers are in place, place the 2×2 vertical pieces in place. You want the spacing between the verticals and the legs to be even. For the sides, this is approximately 14 7/8″ spacing and on the ends it is approximately 12″ spacing. Glue and clamp, then attach with 2 1/2″ pocket screws. Sand the entire base down with 220 grit sandpaper.
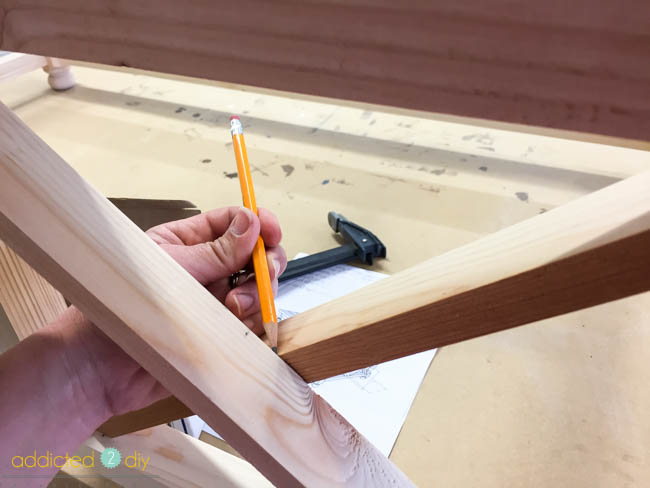
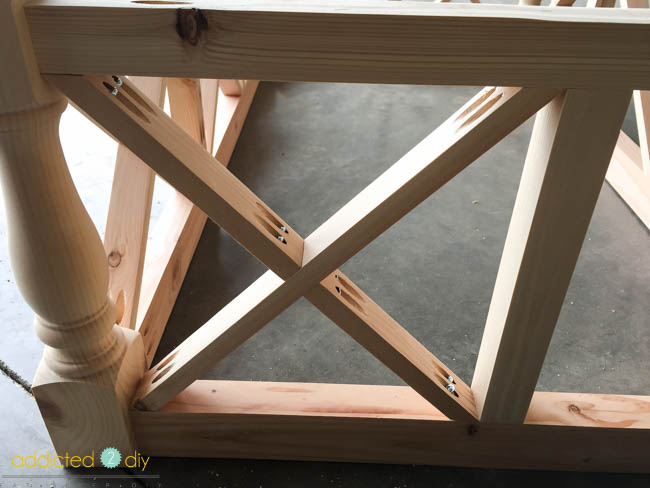
To make the Xs for the coffee table, I lined up my 1×2 pieces against the sides of the coffee table and then marked with a pencil the length and the angle of the cuts. I lined up the angles on my miter saw (in this case 50 degrees for the sides and 45 degrees for the ends) and then cut the first piece to size, making sure to test fit it. REMEMBER, you can always take more wood away. You can’t put it back, so cut your first piece slightly longer and shave off material if you need to. For the remaining pieces, use your first pieces as a template. For the second portion of the X, again line up your 1×2 perpendicular to it and mark with a pencil where the cuts will be in the middle. For the sides, this will be about 10 degrees. For the ends, it will be about 3 degrees.
Drill pocket holes into all of the X pieces following the instructions on the printable plans.
Set all of the X pieces in place to prep for screwing them together. It’s definitely a lot of work to attach all of them, but I promise you it is so worth it!
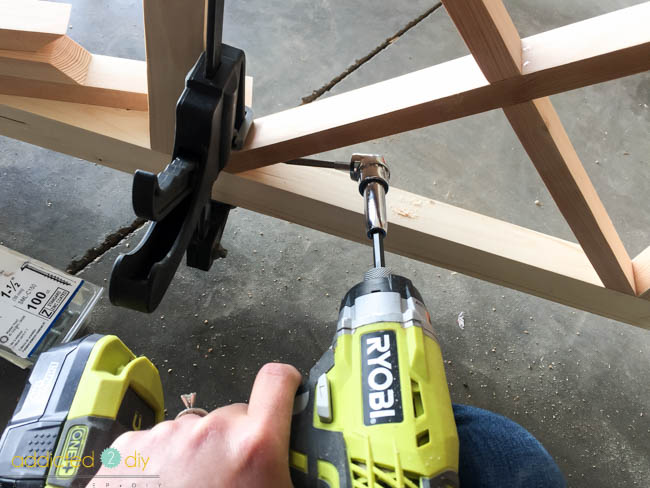
For the 50 degree angled pieces, I used 1 1/2″ pocket screws to attach them. For all of the other angles and pieces, I used 1 1/4″ pocket screws. My absolute favorite tool to use when working with tight spots like this is my offset drill adapter.
After the first X was screwed in, I flipped the table over to make my life a little easier. I HIGHLY recommend a second set of hands when screwing these together. I did it by myself and it kind of sucked and took longer than it would have had I had some help. I also recommend doing this up on a work bench or table. I did it on the ground and my back was not happy with me later that day. The coffee table has 10 Xs in it and it took me until the 9th X to finally figure out the best way to attach all of the pieces. I attached the long piece with pocket screws, then attached the short pieces by partially screwing in all of the pocket screws to hold them in place. Again, a second set of hands here would have probably made this even easier. I then drove each screw in all of the way alternating between middle and corner, top and bottom, until they were all in.
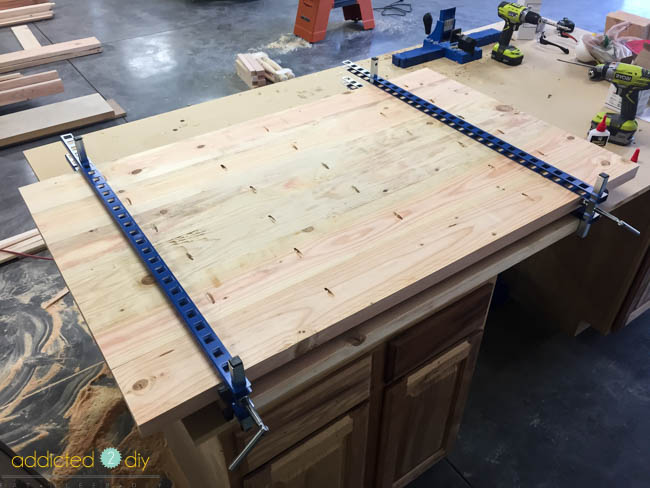
To assemble the top, I ripped down the 2×8 pieces until they were 2×6 pieces. I drilled 1 1/2″ pocket holes into each board, then glued and clamped them together with my new favorite panel clamps. These clamps are seriously life changing when you’re gluing up a big section like this. Everything was perfectly flat and stayed that way when I took the clamps off. That is until the wood (which was still a little wet) dried more and bowed slightly. I’m all about being up front with you guys. MAKE SURE YOUR WOOD IS DRY! I should have let this set for another week or two to let it fully dry before building with it, but everything is fine now and the top is flat once again:)
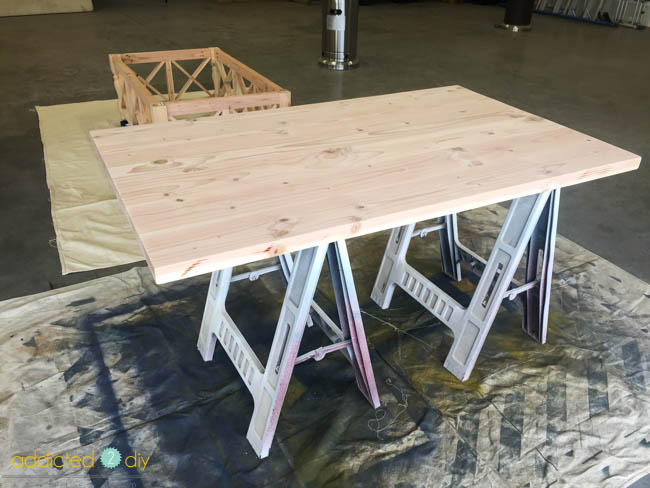
I sanded down the top with 120 and 220 grit sandpaper and then prepped everything for staining. I really wanted to try a different technique this time and after some testing, found a stain combo I loved!
To get this look, I first wiped on a coat of wood conditioner, which opens up the pores in the wood and allows even absorption of the stain. I wiped on a coat of Minwax Golden Oak stain and let it dry for a bit (15-30 minutes), then wiped on a coat of Minwax Weathered Oak stain. After another 15-30 minutes, I wiped on a coat of Minwax Special Walnut. I experimented further with the top by adding a coat of Minwax White Wash Pickling stain, but that did not yield the results I was hoping for, so I sanded the entire top down again and restained it with the first three coats.
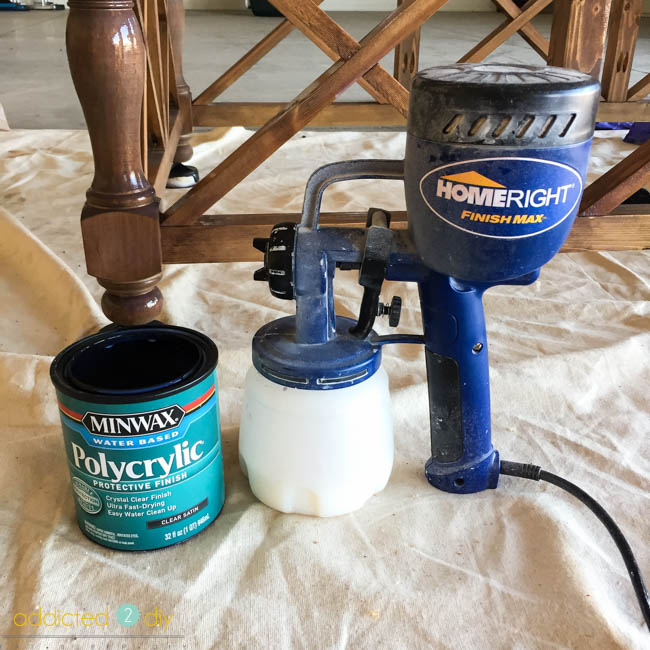
I let the stain dry for 24 hours, then it was time for polycrylic. I originally started applying it with a brush on the top and quickly gave that up once I tried brushing it on the legs. I’ve been wanting to try using polycrylic in my HomeRight Finish Max for pretty much forever, but was too chicken to do it. Given that this base would have taken me DAYS to apply one coat, I grabbed my sprayer and gave it a shot. Let me tell you, I will NEVER brush polycrylic on again! I had the entire base sprayed with a coat in less than 10 minutes! I didn’t need to dilute the polycrylic, just sprayed it straight from the can. Some areas had a few drips, so I quickly brushed them away with a foam brush, then let it dry. I sanded in between coats with 220 grit sandpaper and added a total of three coats to the top and the base.
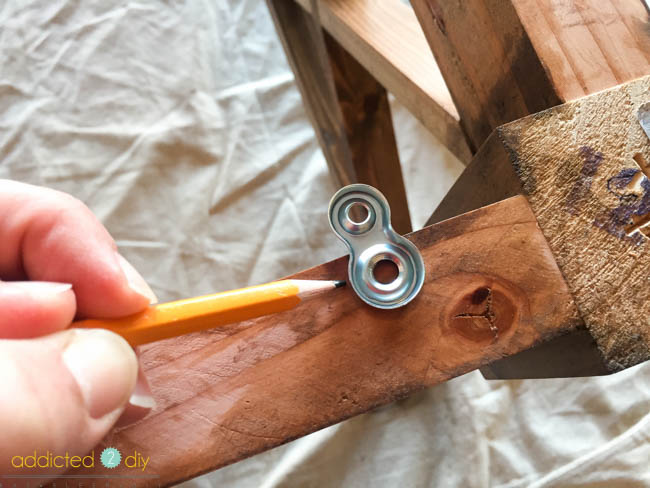
I ordered desktop fasteners to attach the top to the base. These allow for the wood to expand and contract with changing weather conditions, like in AZ where we have VERY dry climates and then occassional very humid climates. I marked where I wanted the fasteners to go with a pencil, then drilled holes with a 3/4″ forstner bit.
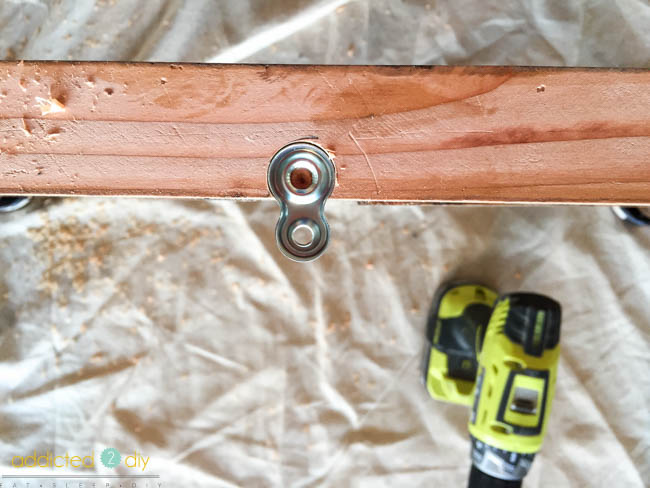
The holes only need to be about 1/8″ deep to allow the fasteners to sit flush with the top of the wood. You can see that I drilled the holes so that the hole went slightly off the edge of the wood. This will allow the fastener some movement should the wood expand/contract. I attached the fasteners with 1 1/4″ wood screws.
Next, it was time to attach the top. As I said, the few days I spent staining and finishing the table top, it decided to bow on me. Again, my fault for not letting the wood dry completely. To flatten it out, I clamped the top down to the base and then used 1 1/4″ wood screws to attach the fasteners, attaching the ends of the table first. I used three fasteners on each side of the table and everything flattened out and held together really well.
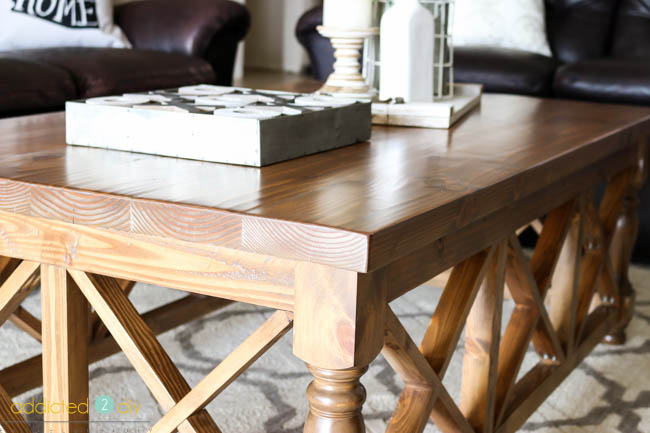
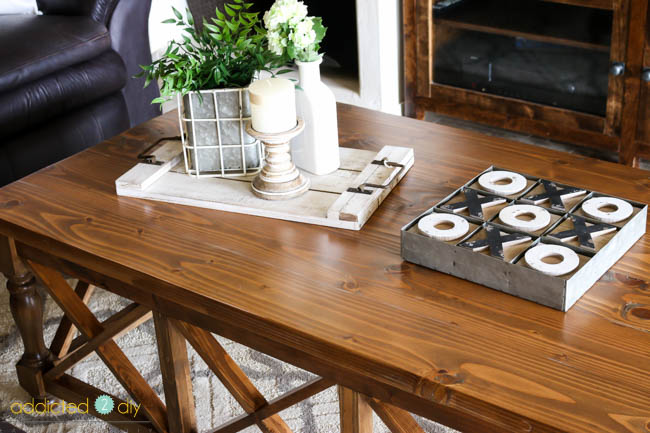
You can see just how gorgeous and smooth the finish turned out on the table. Usually I have brush strokes or bubbles that form, but this is like a professional finish!
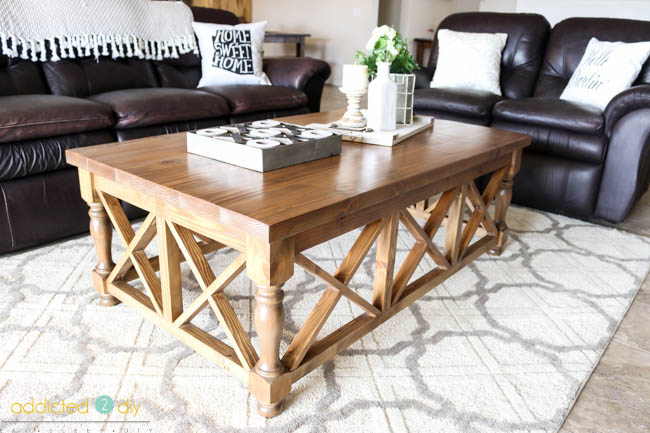
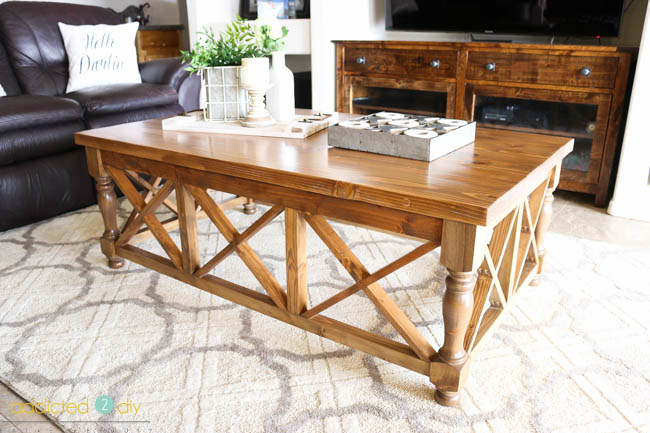
Given that we haven’t ever had a coffee table, it was REALLY weird when I put it in the room, but after I styled it and got used to having a piece of furniture in there, I am in love! It makes our great room look so much more inviting and finished. Even though those Xs were a little bit of a pain, this design is so worth it. Now to finish the matching side table and the room will be complete! At least until I rip out our built-in entertainment center;)
Don’t forget to download the printable plans to build your own! If you do build this, I’d love to see it and feature you! Feel free to email me photos or tag me on social media! Be sure to pin this project so it can be added to your project list!
DISCLOSURE: I was provided product and/or compensation for this post. All ideas and opinions are 100% my own.

i am so jealous this is gorgeous xx
Thanks so much!
This is gorgeous!! I love the look and the all thise X’s. I need to get myself an offset drill adapter too!!