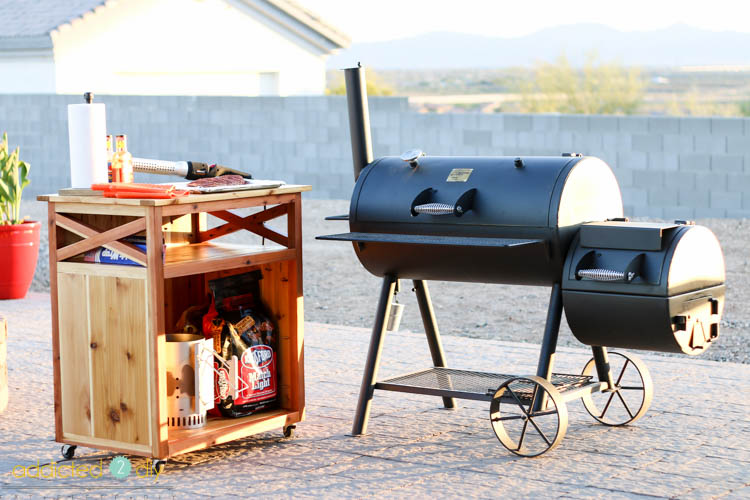
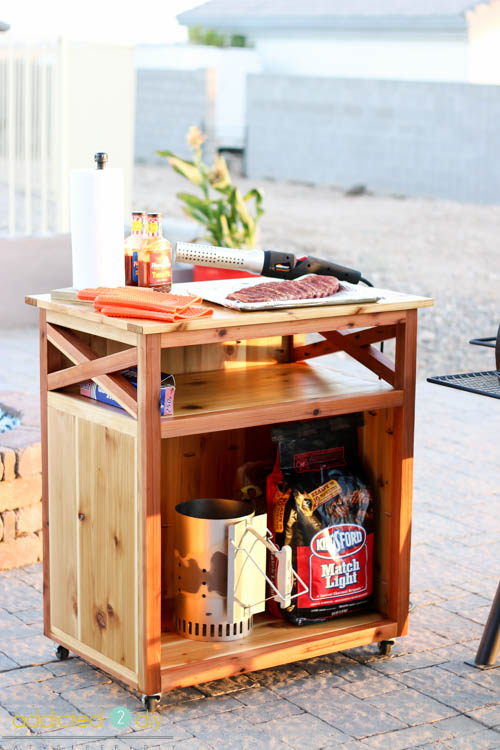
 Hey everyone! Happy first day of summer! Hopefully you are all dealing with nicer temperatures that we are here in the Valley of the Sun where we’ve already hit 120 degrees this year. I’ve never been so happy that we have a dry heat! Today I’m teaming up with HomeRight to bring you the free plans for this handy DIY BBQ Accessory Cart! It’s a great way to store all of your BBQ and grilling necessities as well as extra counter space when BBQing or grilling your favorite foods! I’m also giving away one of the coolest new tools from HomeRight, their ElectroLight Fire Starter!
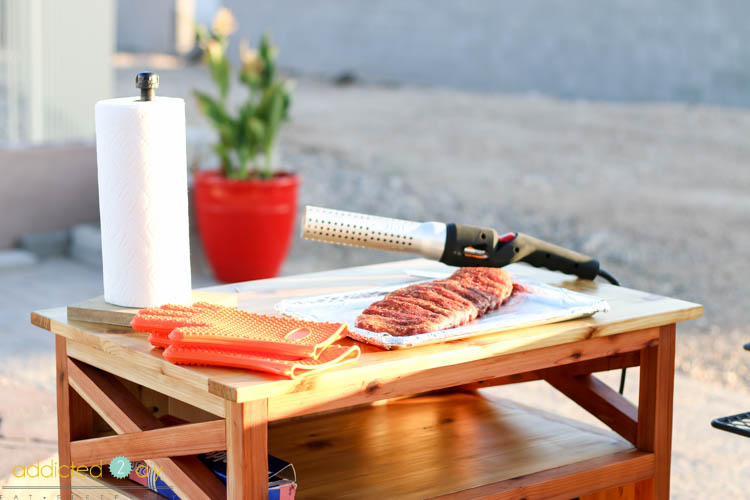
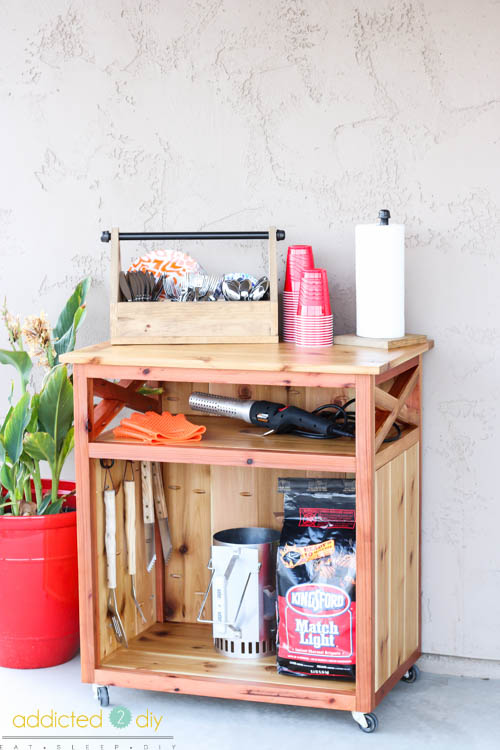
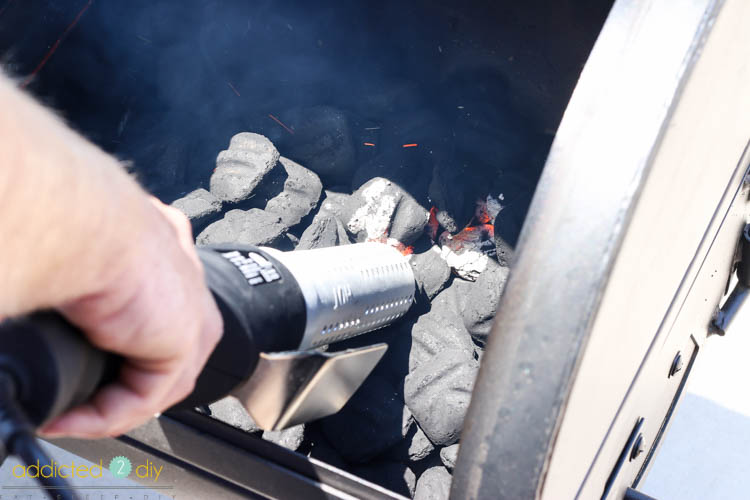
The ElectroLite Fire Starter is a great tool to get those coals nice and hot when firing up the BBQ or to light your backyard fire pit when it’s time for S’mores. With the simple press of a button, the super-heated air lights your grill or wood-burning fire pit in no time. No lighter fluid or torn up paper required. I built this BBQ Accessory Cart to hold the ElectroLight as well as your charcoal, cooking utensils, and whatever else you might need when you’re firing things up this summer. Pun intended:)
I’ve included the step-by-step photo tutorial for this project, but you’ll also want to download the FREE plans that include the materials and cut list so you can build your own. The cedar and redwood construction of this cart means it will withstand the elements and the finished project will look great! Because all wood is not created equal, make sure to use my measurements as a guideline. The cedar boards lined up side by side should (in theory) equal out to 27 1/2″ wide for the back, but in this case, it was 27 3/8″. I had to modify the cuts for the frame, shelf, bottom and top to reflect that.
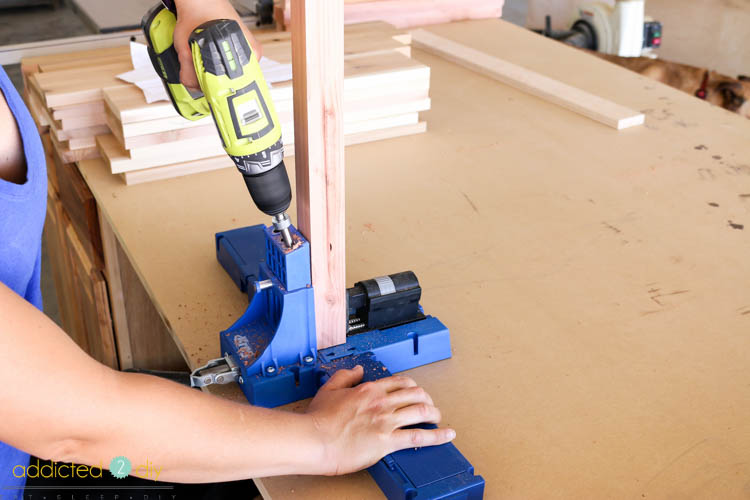
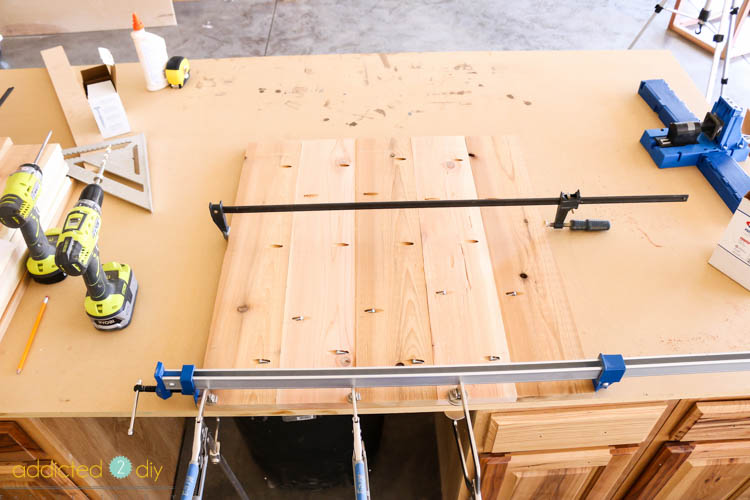
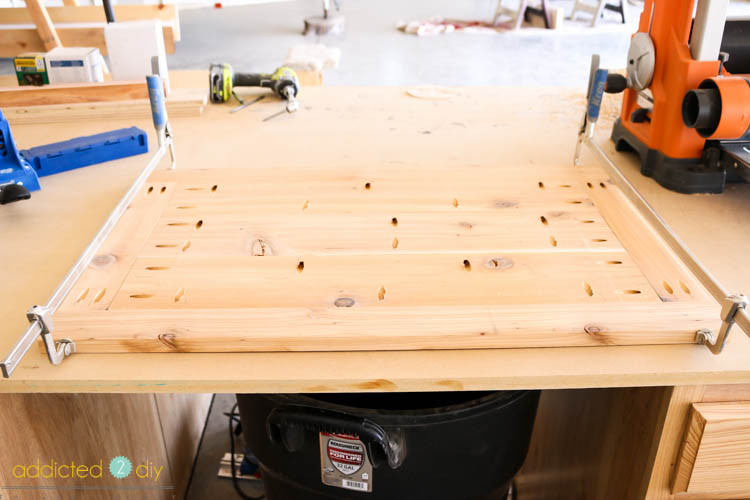
To start things off, I ripped down a bunch of 2×3 redwood boards into 2x2s. These pieces will make up the frame of the cart. I marked and drilled all of my 1 1/2″ pocket holes using my Kreg Jig. I also planed all of my cedar boards so they were nice and smooth. Home Depot sells them 7/8″ thick with only one side planed, so there is plenty of material to allow you to plane them down if you like. Otherwise, so coarse grit sandpaper (80 grit) will smooth down the rough side.
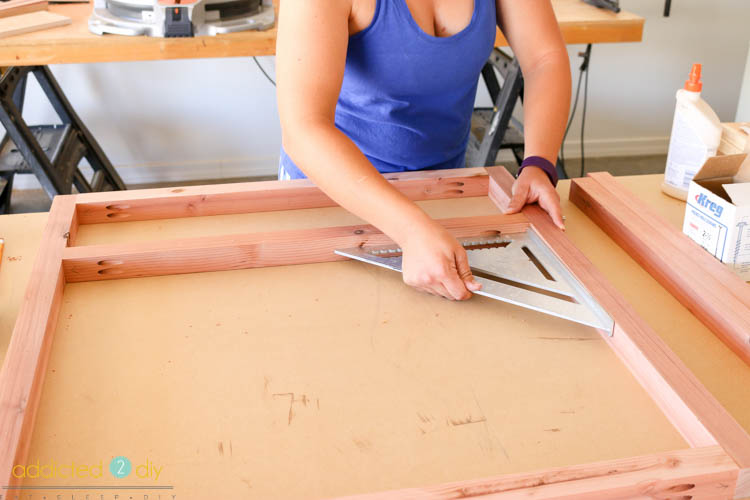
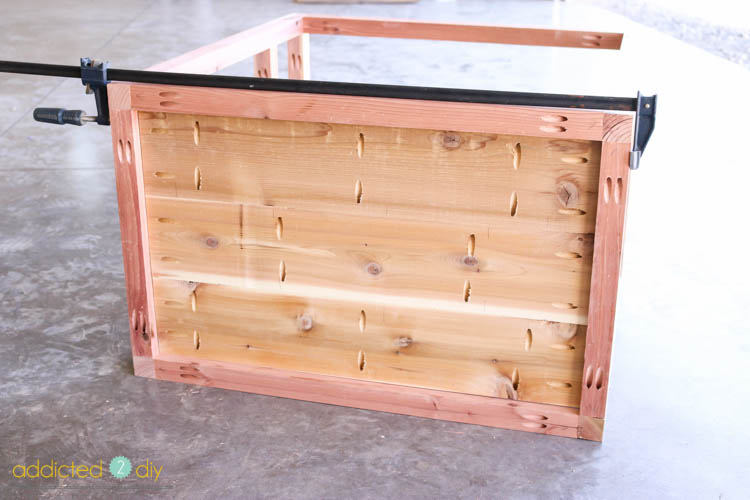
I assembled the frame by squaring up all of my corners and attaching them with wood glue and 2 1/2″ pocket screws. Make sure that the pocket holes are facing down so they will be hidden once the cart is assembled.
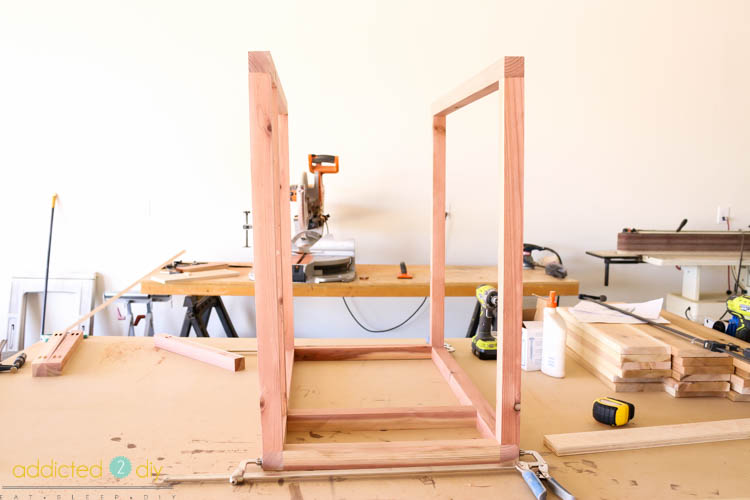
When the front and back frame pieces are assembled, attach 2×2 side stretchers using wood glue and 2 1/2″ pocket screws.
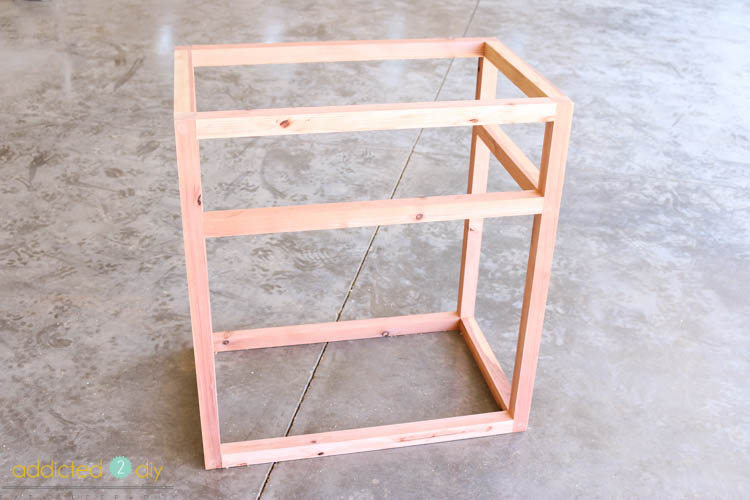
The finished frame is ready to have the sides and shelves added.
To build the back, sides, and shelves, I joined together the cedar boards with 3/4″ pocket holes and 1 1/4″ pocket screws.
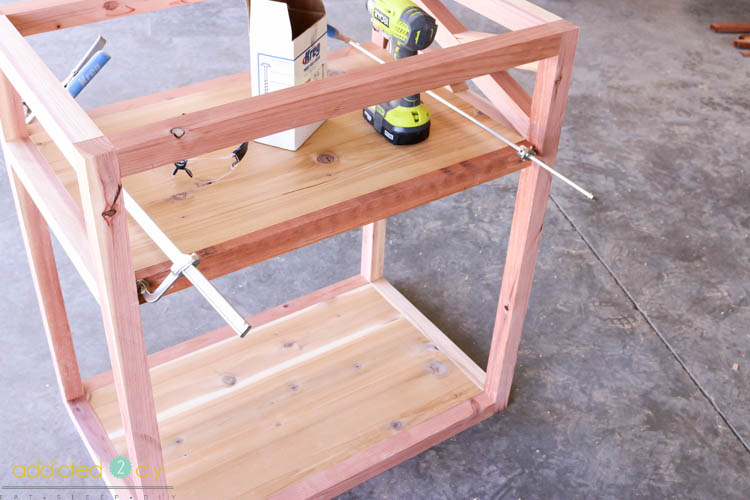
I started with the bottom of the cart. I fit the bottom inside the frame, making it flush with the top side of the 2x2s. clamped everything and attached it with 1 1/4″ pocket screws. I did the same with the top shelf.
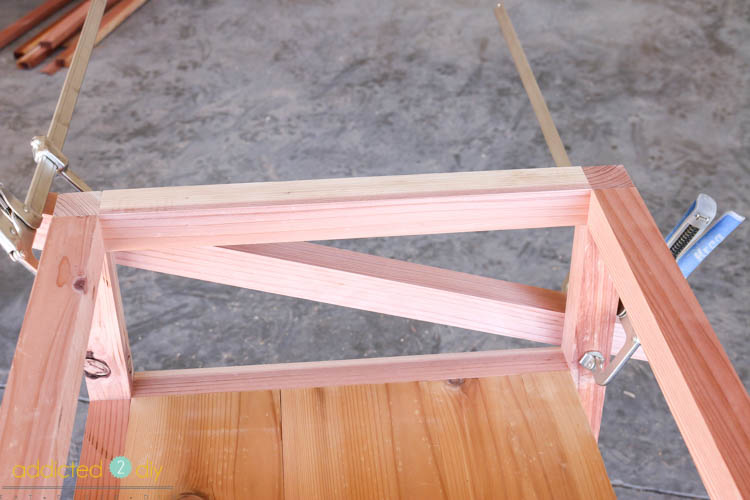
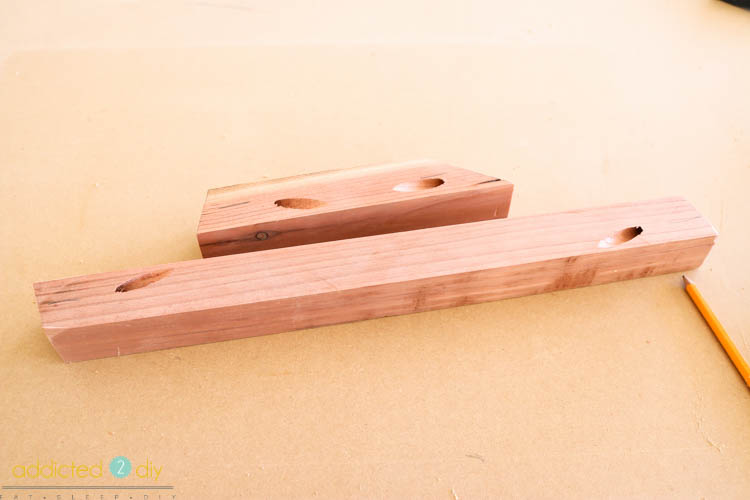
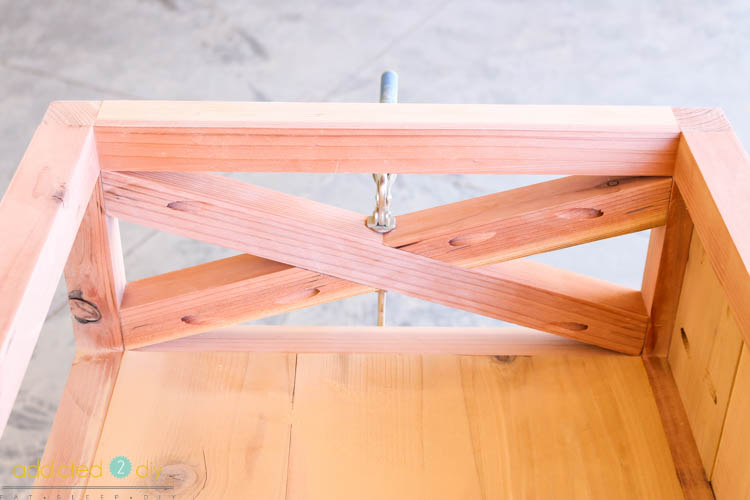
To make the X on the sides, I clamped a 2×2 into place and marked the cuts with a pencil. I then placed the 2×2 on my miter saw and determined the angle of the cuts. In this case, I cut the angles at 16 degrees. Once the longer piece of the X was in place, I followed the same steps to determine where to cut the remaining pieces to make the X. The cuts ended up being 16 degrees on one side and 56 1/2 degrees to form the center. I then set these aside for later.
The back is one solid panel, so I used a piece of leftover redwood (a 1×2) to fill in the gap between the top shelf and the back panel. I attached it with 3/4″ pocket holes and 1 1/4″ pocket screws into the legs and then from the underside, attached the 1×2 to the shelf with the 3/4″ pocket holes I had pre-drilled into the shelf.
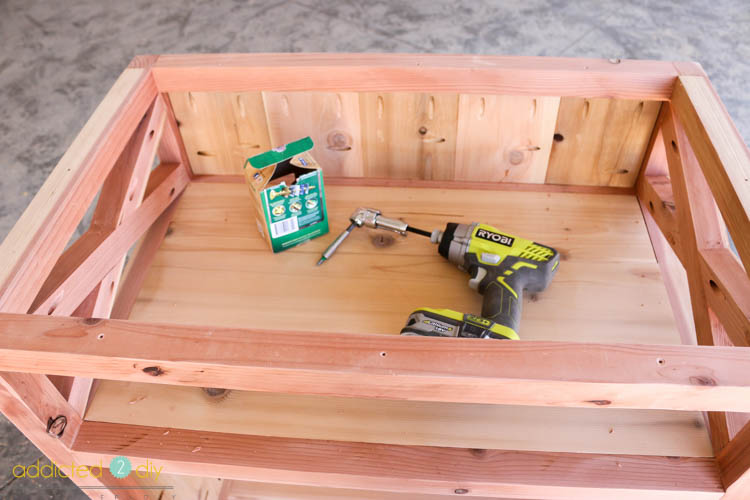
I attached the back panel and the sides of the cart with 1 1/4″ pocket screws. Because the top shelf doesn’t leave a lot of space to work with, I again called on my handy offset driver adapter to drive the pocket screws into the frame.
Drilling pocket holes into angled pieces is always a challenge, but I figured out an easy solution. For the 16 degree angled ends, I set them with the angled end flat against the bottom plate of my Kreg Jig. I drilled 1 1/2″ pocket holes into those ends with the drill bit set at 1 1/2″ depth. For the 56 1/2 degree ends, I set the 2x2s vertically in the Kreg Jig so only the tip of the angle was touching the bottom plate. I set my drill bit to 3/4″ depth and drilled my pocket hole off to the longer side of the 2×2 so that the drill bit didn’t come through the end.
I clamped the pieces into place and attached them with 2 1/2″ pocket screws.
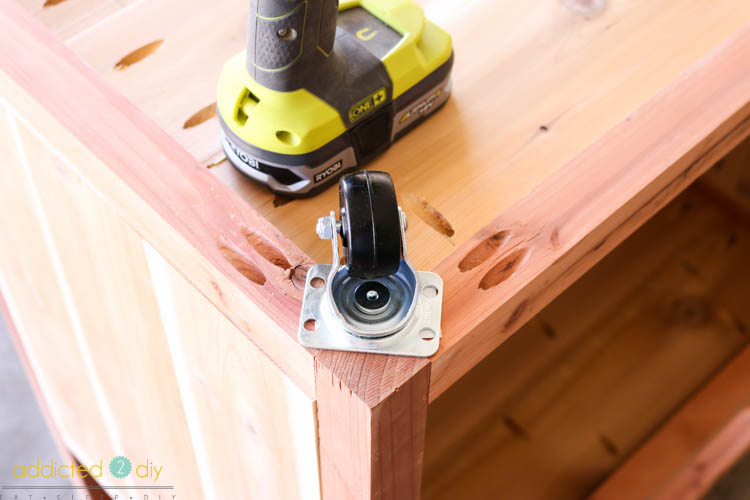
I bought some 2″ casters and attached them to each corner of the underside of the cart. Because the plate of the caster had a larger footprint than the corners, I angled them to ensure that every hole would line up with the wood for a screw to be driven in. I attached them with 1 1/4″ wood screws.
For the top, I ripped down the remaining cedar into 1×3 pieces (2 1/2″ wide) to build the frame of the table top. Again, it is important to make sure you measure your own project and use my measurements as a guideline. The 1×6 center boards could be slightly narrower than 5 1/2 inches, which will affect the length of the shorter frame pieces on each end. I assembled the table top with 3/4″ pocket holes and 1 1/4″ pocket screws.
To attach the table top to the cart base, I drilled 1/8″ pilot holes around the entire top. I centered the table top over the base and clamped it in place. I used my offset adapter to drive 2″ screws through the underside of the top pieces and into the table top. It got a little tricky on the sides, where the X is, but it all worked out in the end.
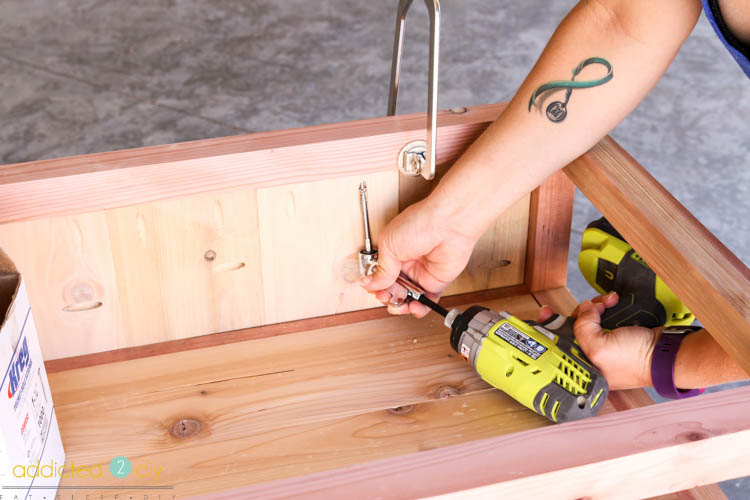
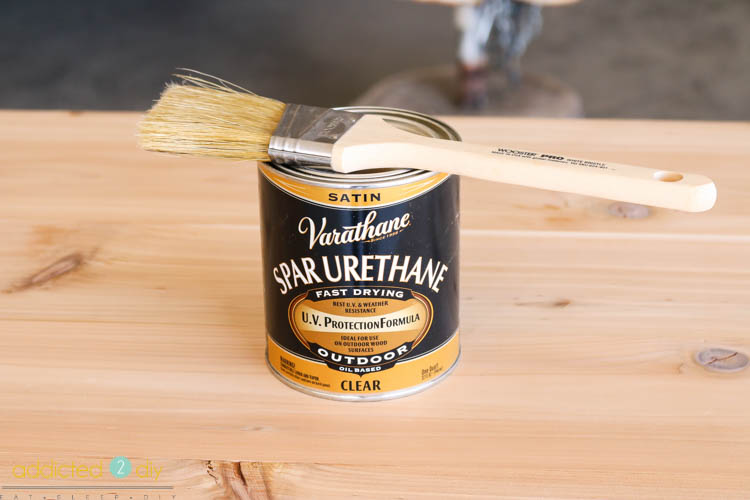
Once I had the entire cart sanded down, I applied a few coats of outdoor Spar Urethane to seal the wood. I loved the way the wood grain popped once the sealant was applied. Once the sealant was dry, I also installed hooks into the side to hold cooking utensils.
Are you ready for the giveaway? One lucky reader will win their very own ElectroLight Fire Starter from HomeRight! Just follow the instructions below to enter to win. The winner will be randomly selected and notified by me when the giveaway has closed. Winner must respond within 48 hours to claim their prize or another winner will be chosen. This giveaway is open to U.S. Residents ages 18 and over. Void in Alaska and Hawaii. Good luck!
DISCLOSURE: I was provided product and/or compensation for this post. All ideas and opinions of the products used in this post are entirely my own. This post contains affiliate links to products used for your convenience. For more information, please read my disclosure statement.

I like going on family bike rides with my wife and kids.
I like spending time with family and friends, enjoying the summer rays.
Grilling out and baseball!
my fave part is the evenings the cool breeze after a long day and swimming during the day
Fresh from my garden vegetables are my favorite thing about summer!
I love the summer days at the pool or in CA on a family vacation. Anytime to relax with family and friends is a great summer activity.
LONG NIGHTS, CAMPFIRES, SMORE’S AND NO HOMEWORK!
I like that cris cross pattern – nice project and you made it look so easy!
Carole West recently posted…Deep Mulch Raised Beds
Hi Katie. One comment/question. You put the wheels in the corner where the pocket screws are. Did you have any issues hitting the pocket screws at this location? I would consider adding a plate (using short screws and glue) to each corner to support the wheels better.
Actually, I didn’t have any problems. I made sure to position the wheel plates so they didn’t align with the screws.