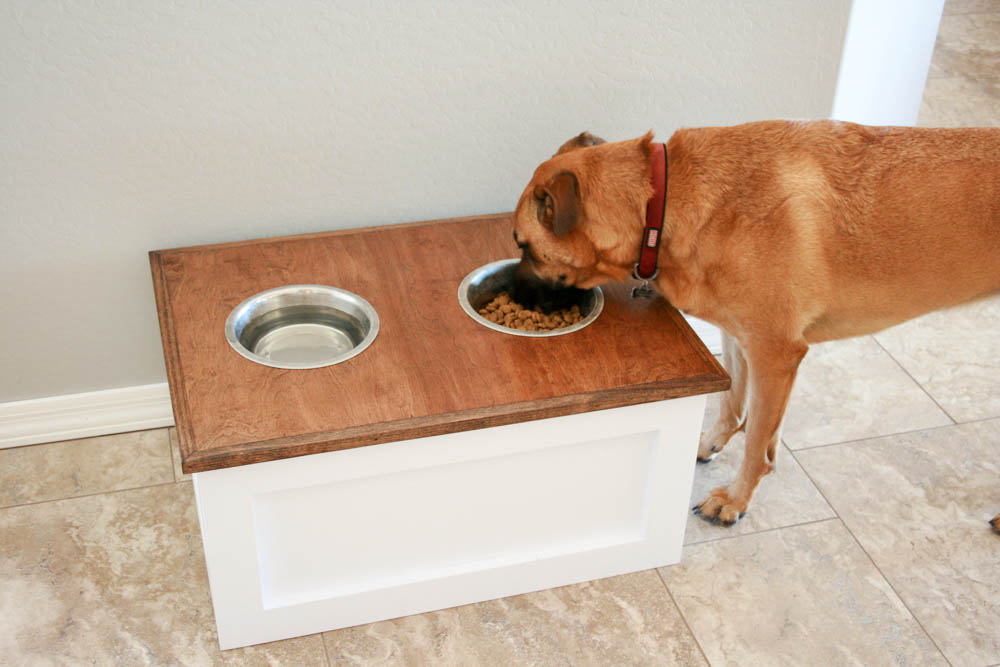
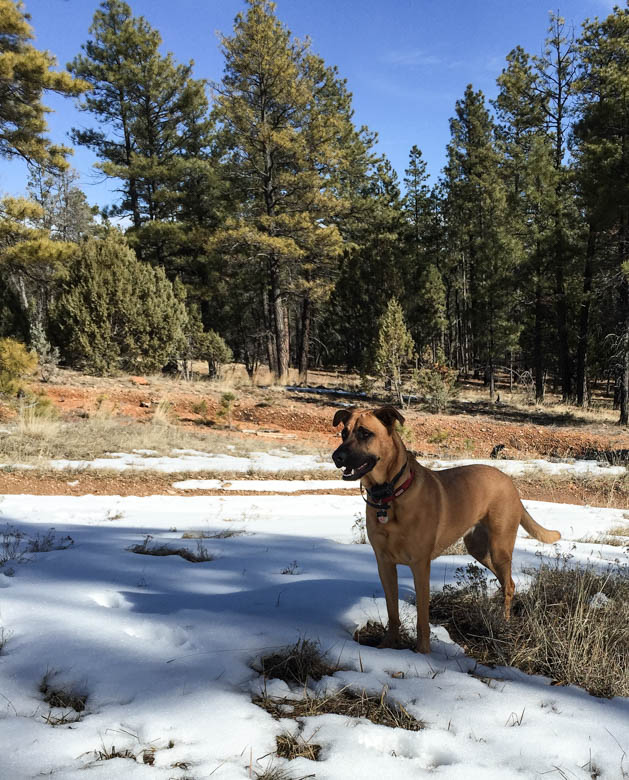
Happy Friday everyone! For those of you who don’t know, this is Dakota. She’s our sweet, loving, super spoiled furbaby. So spoiled, in fact, that we’re pretty certain she thinks she’s human. Just yesterday morning, I rolled over in bed to find her 6″ from my face, asleep on the pillow next to me. Hubby is sleeping on the other side of me in a recliner due to his shoulder surgery, so she apparently decided to take advantage of the extra bed space. For as much as I love her, she has a few quirks that drive me insane! Aside from having a 42″ vertical jump to get on the kitchen island, she also loves to spill what’s left of her water bowl everywhere. It’s her way of announcing that she’d like a refill. Such an endearing quality, right?
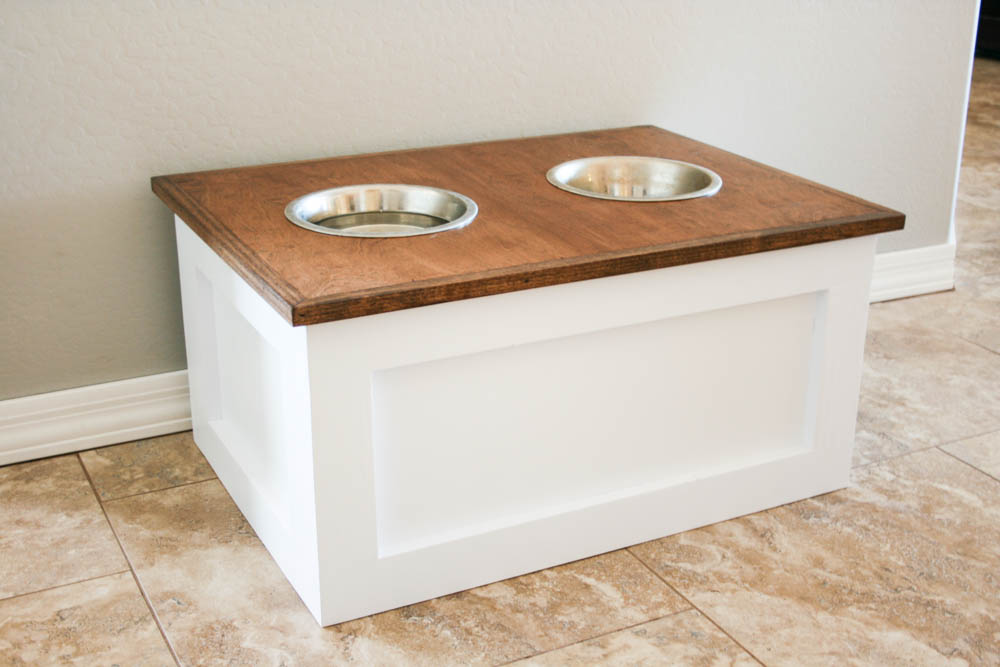
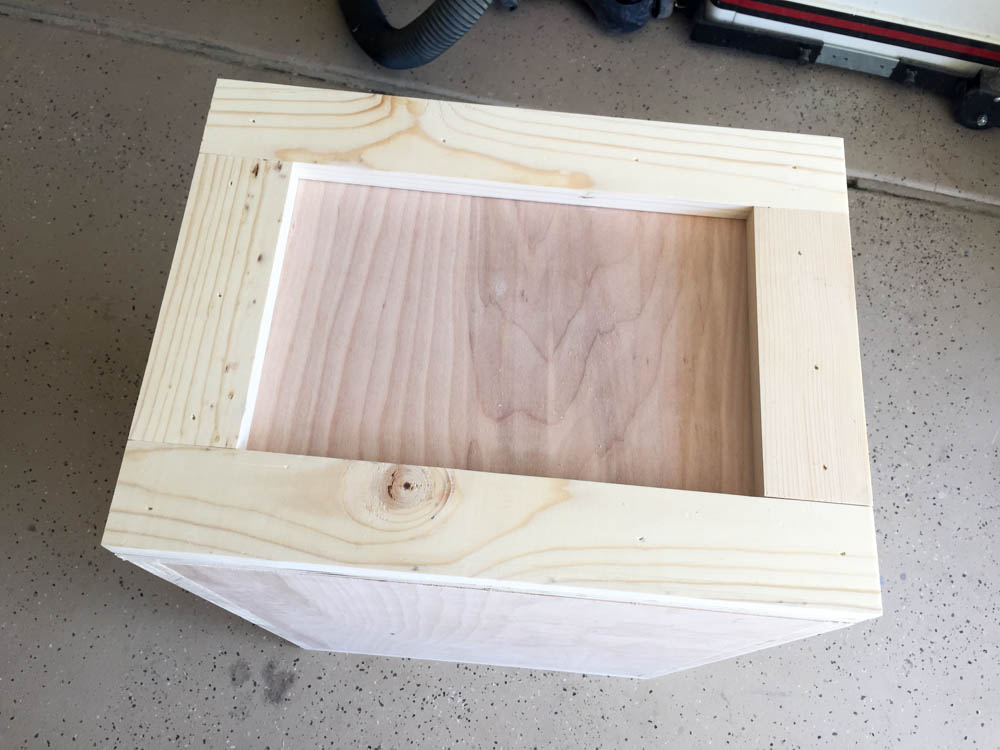
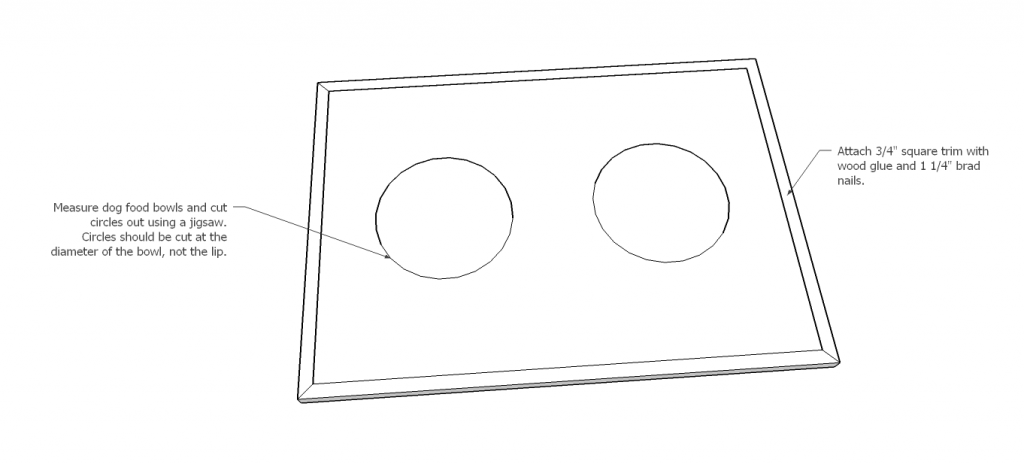
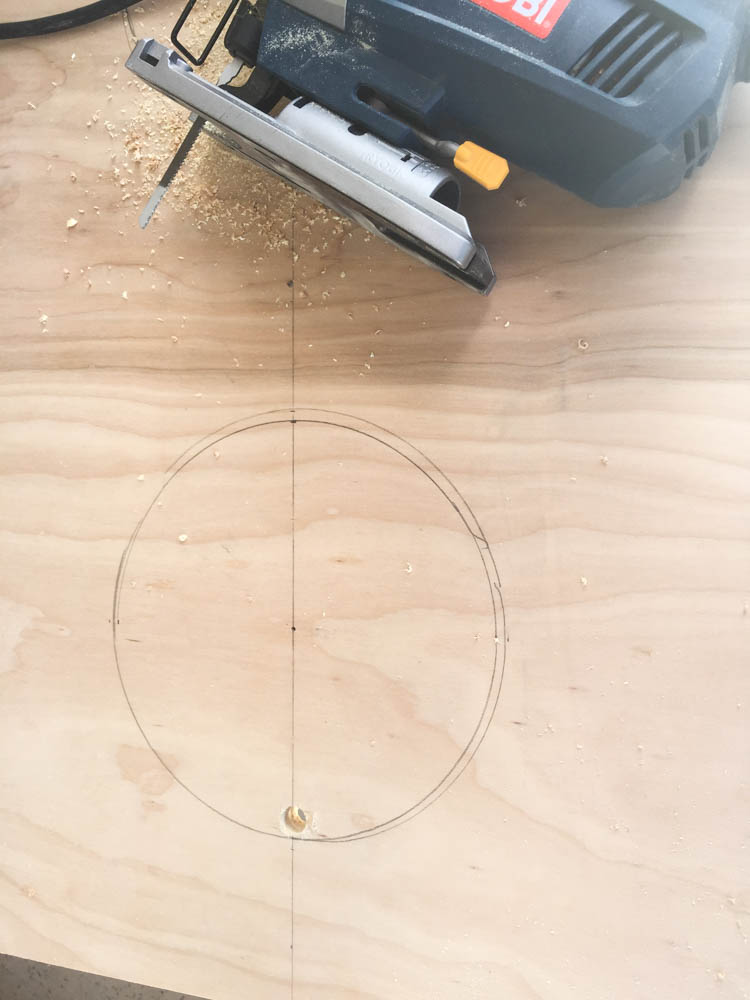
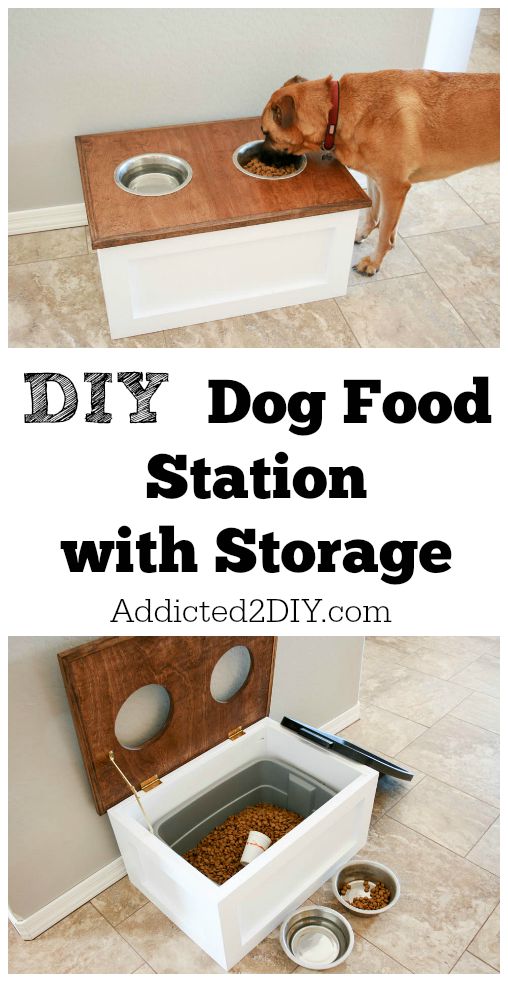
The metal dog dishes that Dakota has are about 8 1/2″ diameter at the lip, so I cut these to be around 7 3/4″ wide so the bowls would set right in. I made my circles and cut them out with a jigsaw.
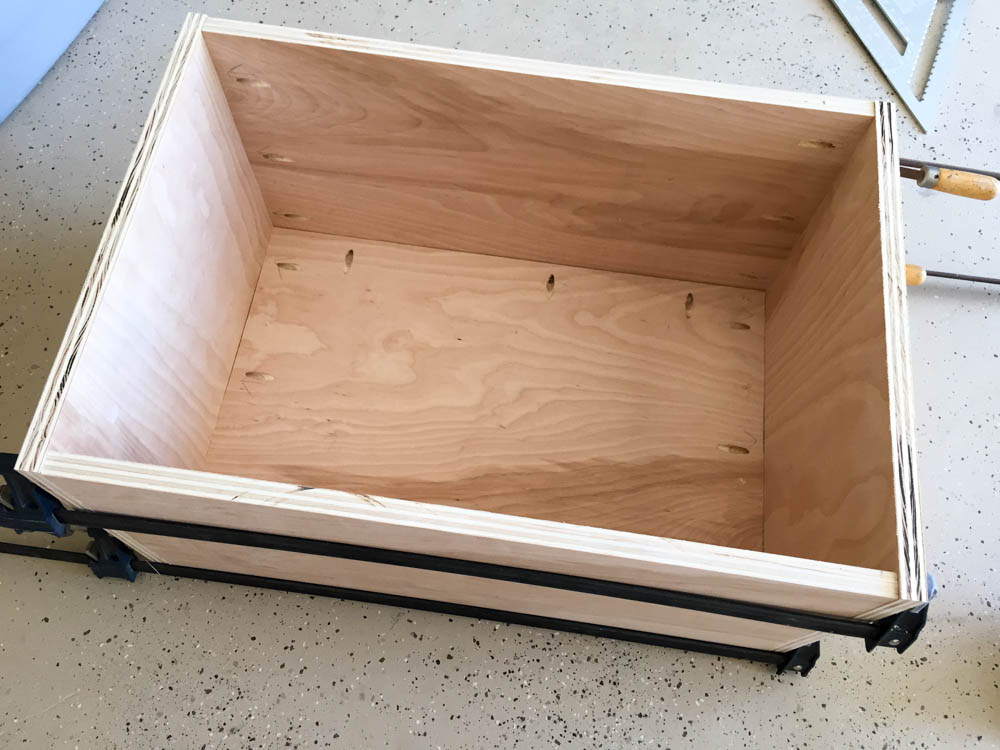
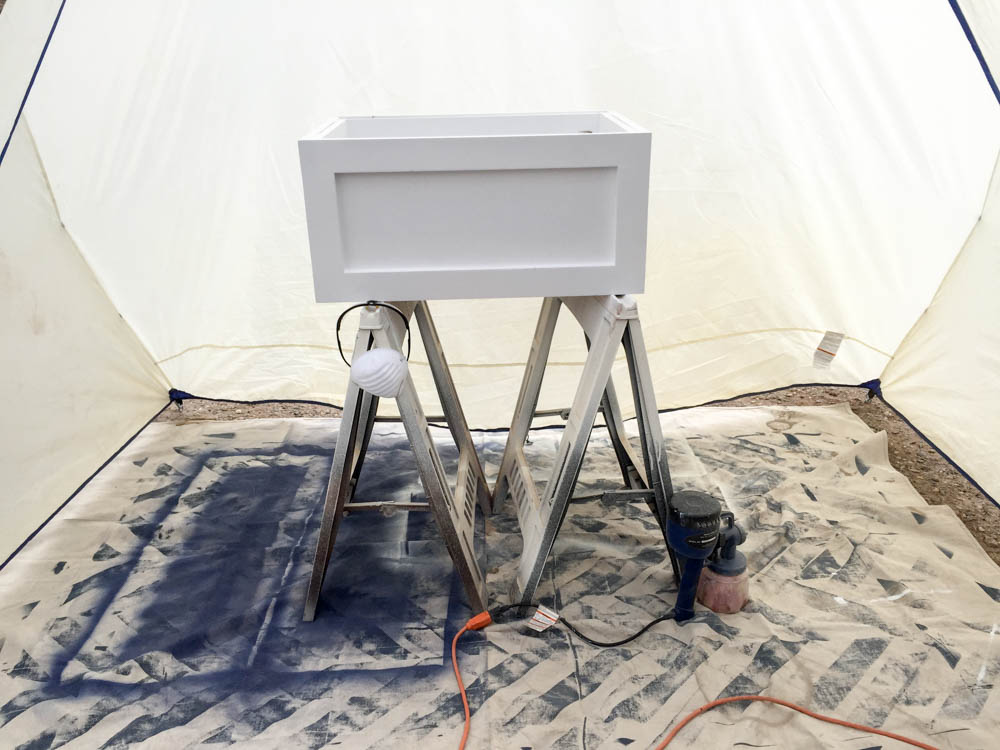
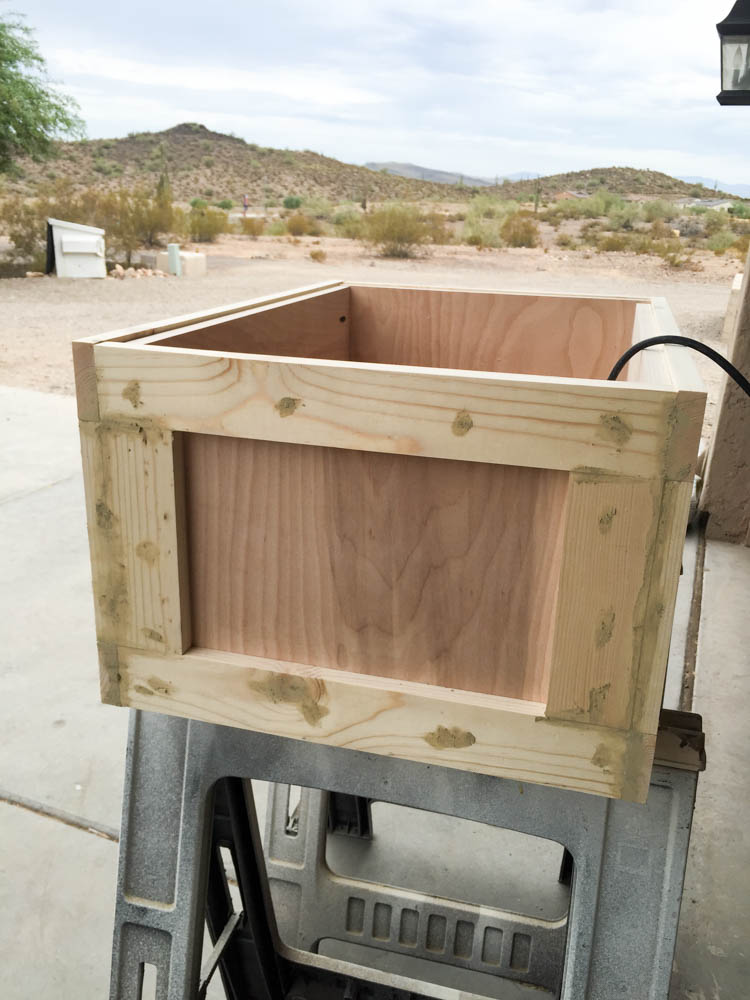
Once the box and lid were built, I filled all of my nail holes and any seams with wood filler, then sanded everything down.
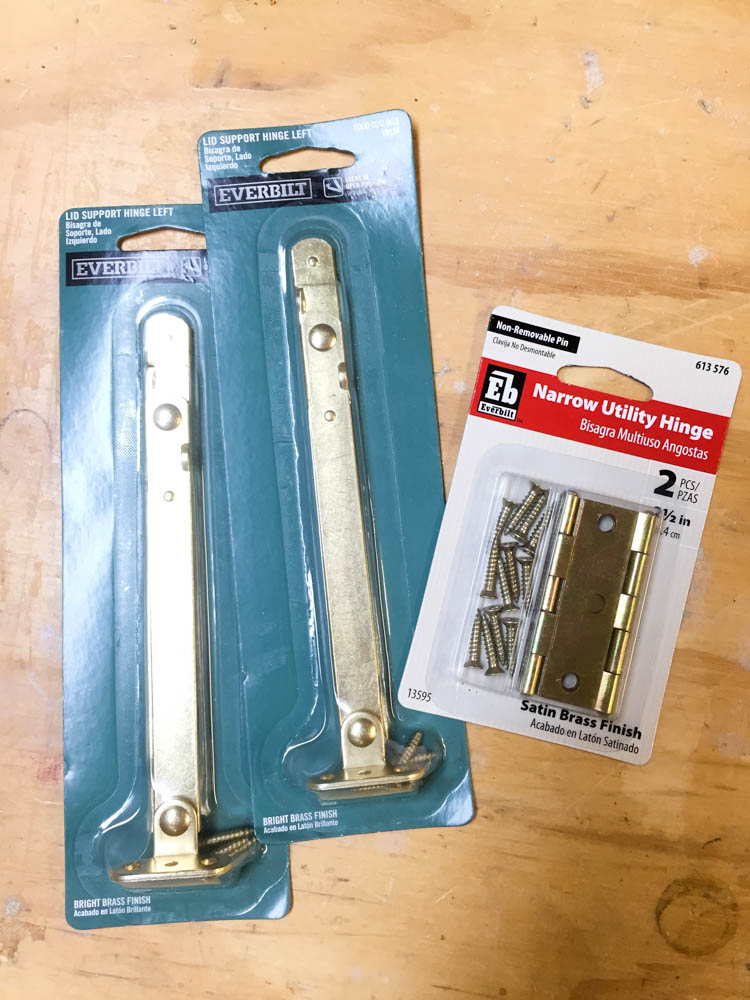
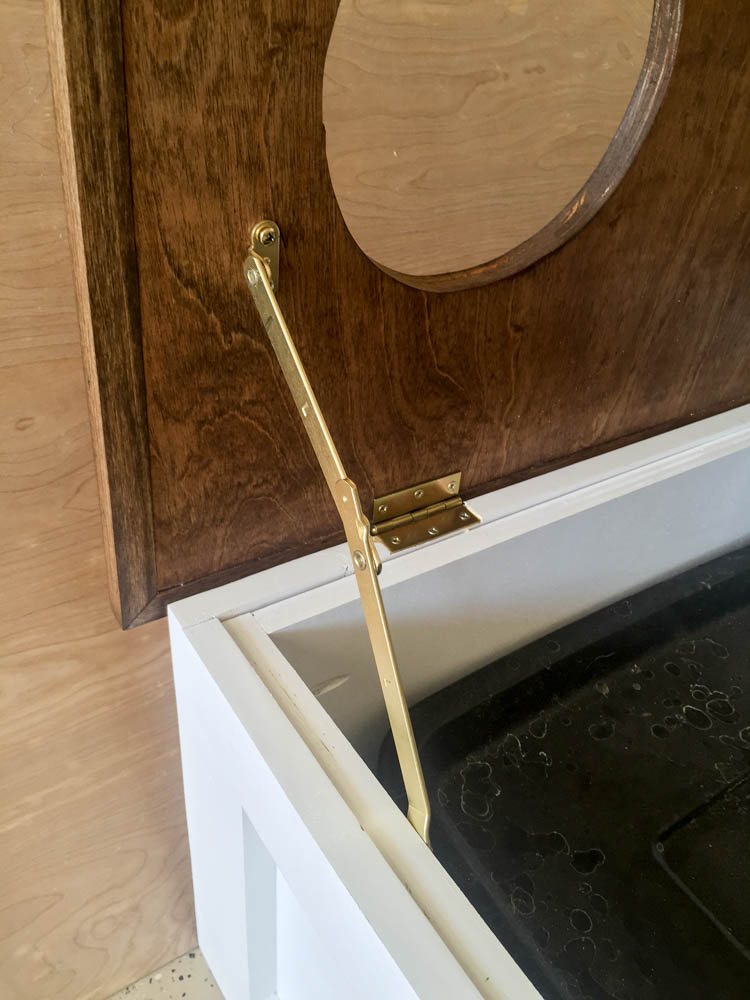
I originally wanted to buy the fancy coffee table hinges that would lift the lid up and out of the way, but at $50 it was a little expensive for a dog food stand. Instead, I bought these narrow utility hinges for the back and then the lid support hinges to keep the lid from slamming down if the kids were filling the dog bowl. I was originally going to use two of the lid support hinges, but you’ll notice that both of these hinges say “left.” Not something I paid attention to when I was standing in Home Depot.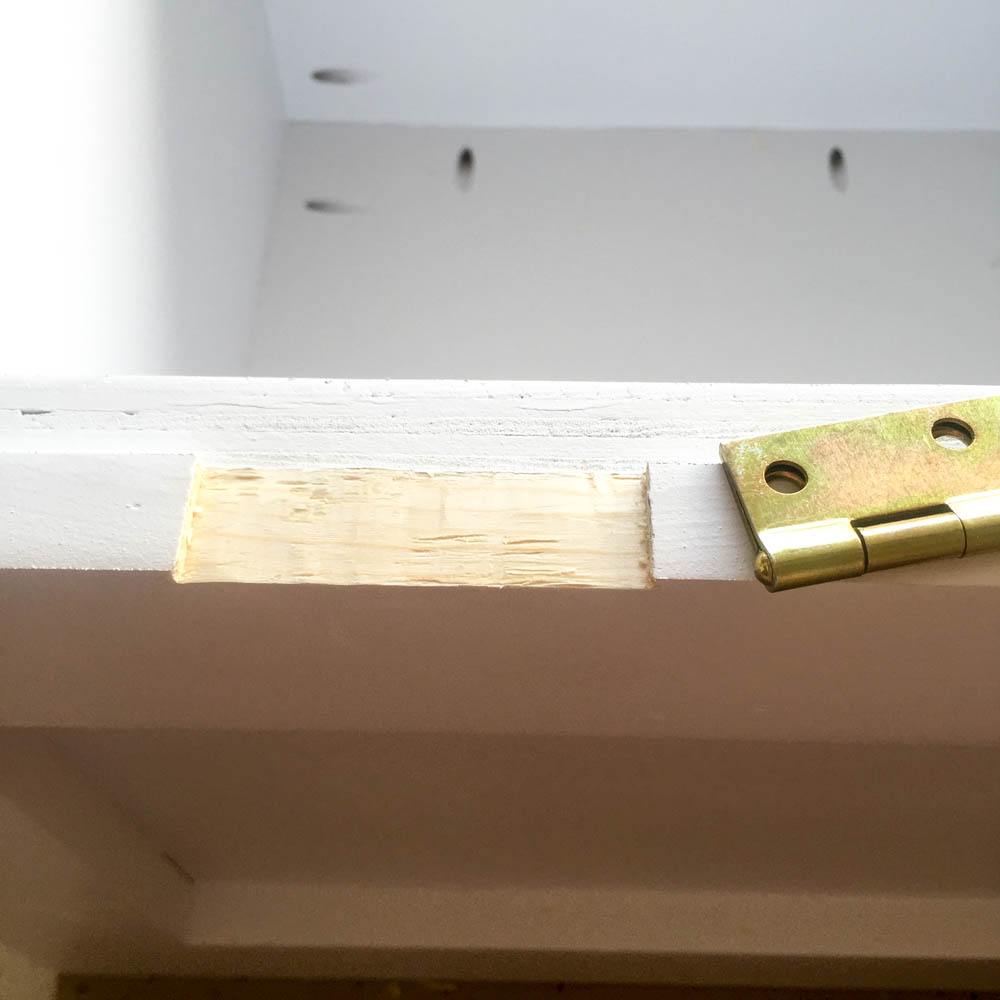
I added only one of the lid support hinges. Partly because, you know, I bought two left hinges, and also because this lid is pretty light and two would have just been overkill.
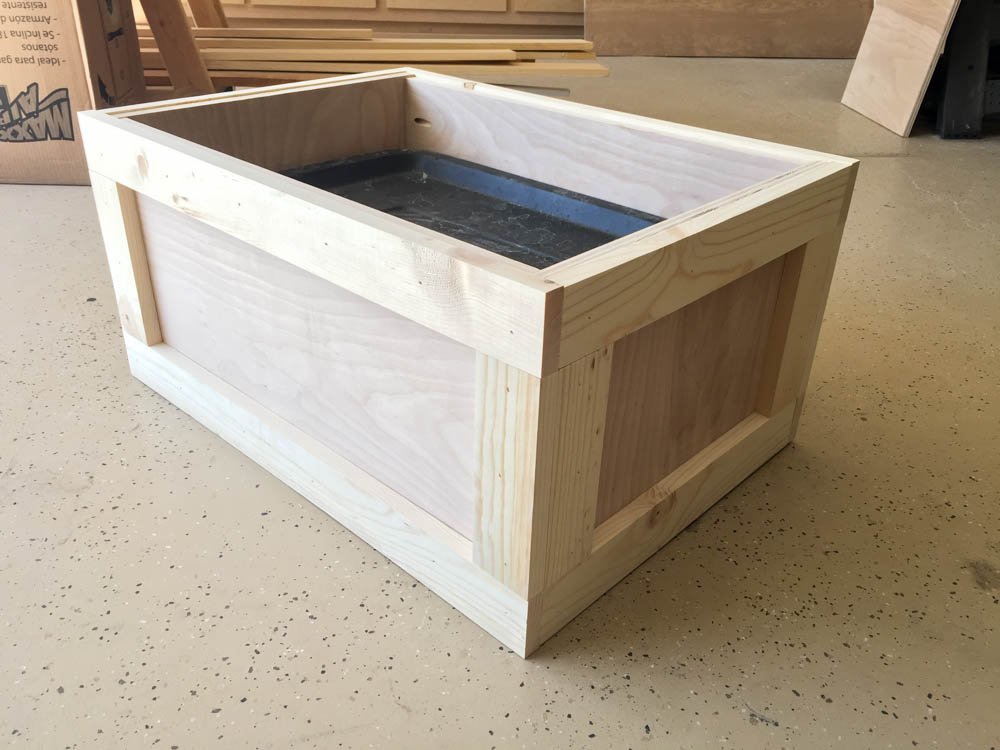
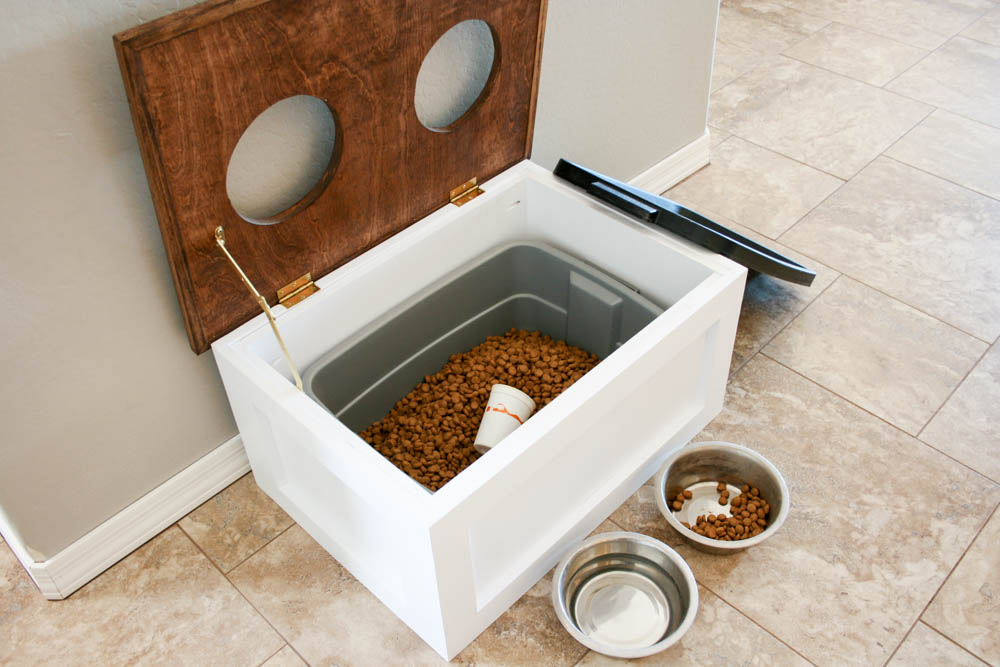
The tote fits perfectly into the box and flip open lid makes it easy to access the food when Dakota needs to be fed.
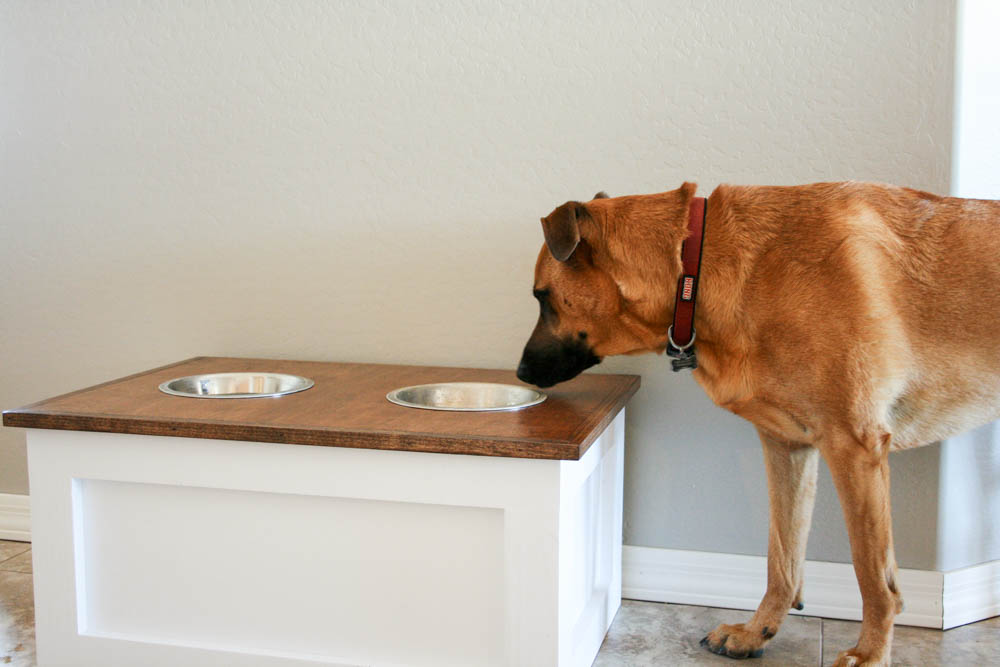
Again, you can download the step by step printable plans for this project so you can build your own! If you do happen to build it, I’d love for you to tag me on social media and also use the hashtag #addicted2diy. It is a huge thrill when I see my readers build one of my projects and your project could be featured on Instagram and Facebook! Happy building!

This is very cool – My dogs would love this!
Carole West @ Garden Up Green recently posted…DIY Wall Spackle
Thanks Carole!
That tote is not food safe and can leach chemicals into your dogs food.
Love this! Might have to make one for my pup! Did you use any sort of poly to coat it? My dog makes a mess when he drinks water, so I’m worried it might damage the wood.
Thanks! Yes, I used polyurethane to seal the lid
This is awesome. I am definitely going to make this. Also looking for a dog bed that can also be used as a side table next to a couch for a small living room with a big dog!! Would love that too if you have a lot plans like that! Thanks!!
Thanks so much, Adrienne! I don’t have plans for one, but I’m pretty certain you can find the plans for exactly what you’re looking for on Ana-White.com
Great design! What did you use as paint tent or booth? I definitely need something like that for my projects. Thanks.
It’s the new spray shelter from HomeRight. Stay tuned, because later this week I’ll be starting a giveaway for one:)
How big is your dog? Im trying to decide if this will be the right size for a black lab thats weighs 60lbs and is medium height.
She’s about 75 pounds and 2′ tall at the top of her shoulders. You could definitely make this slightly shorter if you are concerned about height. I just stuck my hand under one of the bowls and have a few inches between the bottom of the bowl and the lid. Maybe 3″.
I’m doing this, this weekend! I changed the plans just a bit to include a drawer instead of a piano hinge lid so i don’t have to remove the dog bowls before filling them, and also added a 3rd bowl since I have two pups to feed. Thanks!
That sounds like a great idea, Mike! I’d love to see a finished picture.
love your idea for sweet big Dakota, i’m sure gonna have to made one for my Browny & goldy, thanks for sharing this beauty
Thank you! Yes, it’s been really nice having her food put away and she seems to enjoy her new dog food station:)
I don’t even have a dog and I want to make one of these!
Lol! Thanks!
I’m pretty sure we have the same breed of dog (black mouth cur?), and mine does the same thing with his water bowl and in bed!!
I might just have to beg my husband to build this with me!!
She’s actually a mutt. We tank she’s a Rhodesian Ridgeback and German Shepard mix
We got ours off of Craigslist, so it’s anyone’s guess what he really is! Dakota is a beauty!
Thanks, again for the plans!
Same here! Thank you:)
We have the same dog (mutt) too. We believe our Lincoln is Ridgeback/German Shepard/Pitbull Mix. Something about their facial features (head) seem very Pitbull-like to us.
Lincoln likes to lay out in the sun like a ridgeback, hairy like a german Shepard and protective of our children like a pitbull. 🧐
I found your Dog feeder station looking for something for our dog not knowing we have the same breed. 🙂
Oh how funny! We did a DNA test on her a year or so ago and it came back saying she was German Shepard/Lab/Mastiff. Definitely makes sense for her size, and that undercoat;) We can’t say for sure if the DNA test was all that accurate, but she definitely has Shepard in her.
Our dog looks just like her! From the DNA test we did, he’s mostly Grand Pyrenees & Australian Cattle Dog. It’s so interesting how different combinations look so similar. …or maybe the test aren’t super accurate. 🙂
I haven’t been on your site before but like what I see! Maybe I’ll frequent it from now on!
what size dog food bag does this fit? We always buy the huge bags. Lol
It will fit a 30 pound bag of dogfood:)
Oh my,so handy! Can I just pay you to make me one? I envy your skill!
Melody recently posted…Last year I had my students select songs that would be on the…
Lol! It is definitely handy! We just got a new puppy, so I’m sure I’ll be designing plans for a bigger one when she’s old enough:)
Wonderful idea! What great storage for food, and gets the bowls off the floor. Thanks for the post!
Christine Meckle recently posted…Easy Homemade Pastries (Toaster Strudels)
Great idea! love it. I will try to made one and let’s see… Thank you for sharing.
How tall is ur dog because I have a small dog so I need to now how tall I have to make it
She’s about 2′ tall at the shoulders. Basically made it the height of her legs. Hopefully that makes sense:)
What is the Width and length ?
Hi Kiana,
You can find the full list of measurements in the printable plans:)
I would love for my hubby to be able to make this for our dog but every time I click on the link for the printable design it is just a blank grey screen. Is there a way you could email them to me or help me please. Thank you!
That’s strange! Yes, I’ll email the plans to you:)
Very cool, I have been searching for dog dish ideas for days.. well mostly thinking about looking but you get the picture.
Lol! Totally get it;) I do the same thing.
We used to use an elevated wooden thing (? sorry, brain NOT engaged this a.m.) that contained both the food & water bowls. Alas, it would get so gross from food slobber and the water would run off of it and get under the lip of the water bowl… Therefore, as a friendly warning – I would ensure that the dog food is contained with its own lid so that if water does drip down it doesn’t get into the food… (ewwww!) and you may want to either use polyurethane over your wood, veneer it with something waterPROOF, and/or use a laminate or acrylic lid/top – for easier cleaning.
But then again, it may be that Boxers are oh so much messier than others… ‘bless their hearts’. LOL
Best wishes to all and I am loving your site!
Cyndi
Yep! My dog drips water everywhere. The dog food inside is contained in a Rubbermaid tub, so it stays fresh and dry:) We have insanely hard water here, so there are some water spots, but I did seal the top and it’s held up great to the moisture:)
This is a great idea! I want to make this. Has anyone tried adjusting the plans to make this for 3 bowls? We have 2 dogs, so would need space for 2 food bowls and 1 water bowl. I am a novice at this kind of DIY, so any advice on adjusting the dimensions would be appreciated 🙂
Hi Marche,
I have had readers adjust this to hold two dog bowls and a water bowl in the middle. Basically, it is just made to be longer. I actually now have two dogs and our puppy is big enough now that it’s time to build a new one. I’ll be sure to post the plans when I do!
How do I get plans? I’d like to try to make this for my girls.
Hi Colleen, you can click the link for the plans in the post and it will take you to Gumroad where you can purchase them:)
What are the dimensions of the storage bin you used and where did you buy it? I bought the plans, put it all together but I am having trouble finding a storage bin to fit under!
It’s a 10 gallon Rubbermaid roughneck storage tub from Home Depot. Basted on the Home Depot website, it says the tote is 15.9″ deep x 23.9″ wide x 8.7″ high. It sells for just under $8.00
Hi! I’m trying to look at the plans but everytime I click on the plans it’s just blank! Is there a way you could email me the plans?
I believe the site where the plans are linked to is down at the moment. If it is not back up by tomorrow, I’ll be sure to get them to you.
Cant wait to build this!! Plan to use this as a wedding gift for many couples this year :)))
Will make sure to tag you!
I would love it if you did, Mary! Thank you for stopping by!
Anybody building and selling ?
I’m not sure if someone is building and selling any, but you can check Pine + Main to find a local seller in your area and see if they would be willing to build this. It is FAR cheaper than shipping it:)
This is great! I’m getting ready to make this. Plan on making a drawer that slides out. Does the 30lbs bag fill the 10 gal Rubbermaid to the top?
Yes, it does, but you are still able to fit the lid on just fine:)
I’m not sure I’d be able to do this myself, but it’s definitely a project I’ll invest on. Thank you for the idea.
love love love this idea,next project to do for my 2 labs
How much did the materials cost?
I’d say around $75 for materials. You’ll end up using just over half of the sheet of plywood, so the leftovers can be used for additional projects.
Do you have stwp by step plans for one to hold a 50lb bag of dog food?
I don’t. Are you looking for the dog food station to be taller or longer?
Please BEWARE – raised food bowls have been proven to be conducive to BLOAT!
Very nice build and fantastic idea that is needed for my new home. The only issue I see would be slobbered water around the water bowl going under the bowl rim into the dog food under and inside the box. I keep my water bowl inside my home on a tray to catch the slobbering & dripped water. Putting a raised rim around the hole to rest the bowl on would eliminate any water going under the bowl into the box. As well a raised rim around the food bowl would keep particles of broken dry food or other from going under that rim as well. That isn’t a big change tho it would keep the food under inside the box from moisture or foreign matter.
STILL LIKE THIS BOX IDEA & WILL BUILD ONE SOON WHILE BUILDING MY HOME!
Because there is a lid on the dog food tote, we have never had issues with water getting into the food. Some dog food does make it’s way into the wooden box, but I occasionally just vacuum it out.
AHHH I needed this yesterday! Probably need to adjust the dimensions for my lab since she’s a tad shorter, but that should be too hard. Mama needs a good excuse to invest in some better clamps! buying the plans now.
Erin Devine recently posted…Ikea Kallax Hack: DIY Shelf Dividers
I’m sure you’ll love it! You can definitely adjust the height of it to better suit your dog. I’ve had readers adjust it to be taller for Great Danes and shorter for their smaller dogs:)
Very cool, I have been searching for dog dish ideas for days.. well mostly thinking about looking but you get the picture.