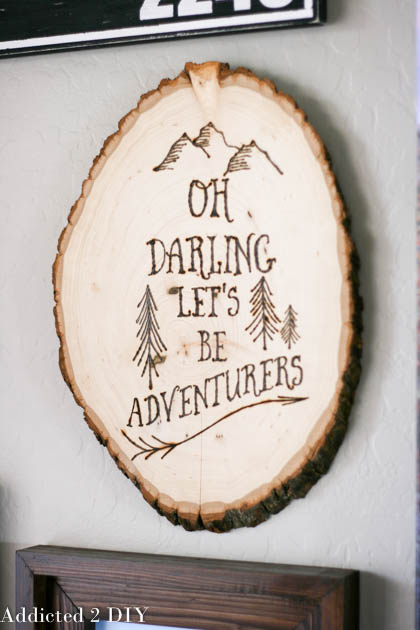
Have you ever used a wood burner? It’s something I’ve wanted to do for as long as I can remember. Why it took me so long is still a mystery to me. There are so many cool things you can create with a wood burner. I decided it was finally time to take the plunge and bought a wood burning kit from Hobby Lobby. For my first design, I probably could have picked a less ambitious design, but where’s the fun in that? My family and I LOVE to travel, so the quote “Oh darling, let’s be adventurers” fits us so well. I made it to go on the gallery wall I just created for our den, which I’ll be sharing all of the details on very soon.
Here’s what you need to create this project for yourself!
Supplies:
- 1 wood slice (I bought mine at Hobby Lobby)
- woodburner kit
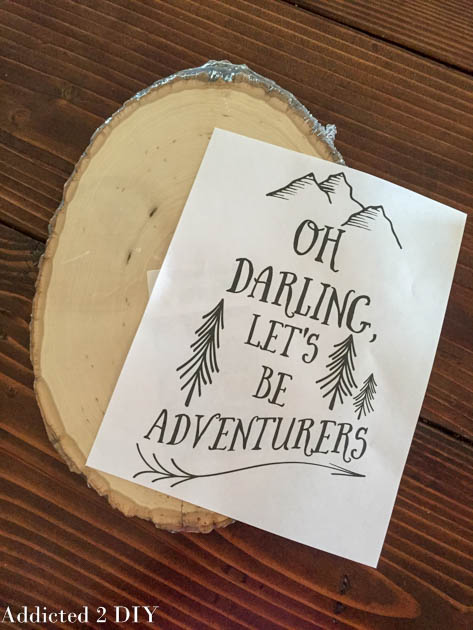
- Let’s Be Adventurers design (for personal use only)
- Pencil
- sandpaper (just in case)
Print your design out on a standard sheet of copy paper.
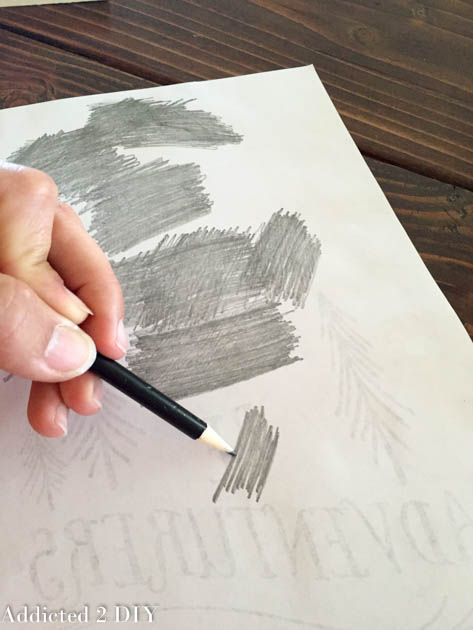
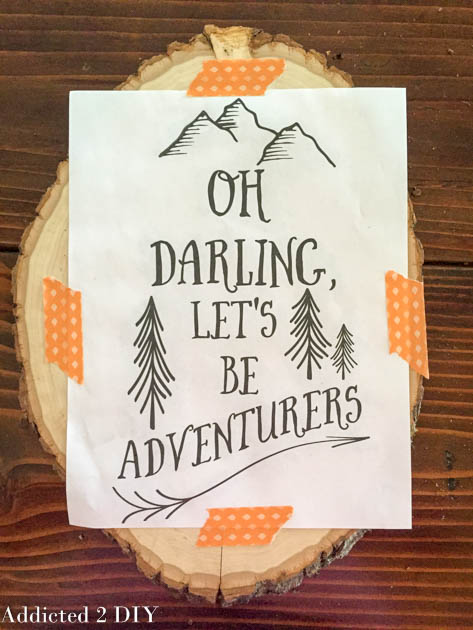
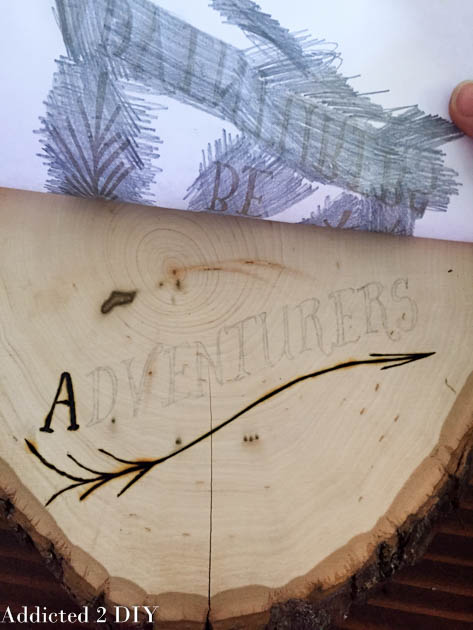
With medium pressure, trace over the design with your pencil. This will transfer it onto the wood slice. I tested this small area before I got too far into the tracing. I probably should have been a bit more confident, but you just never know!
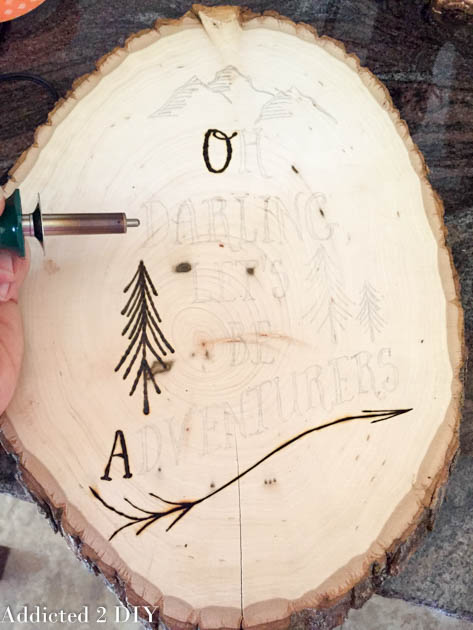
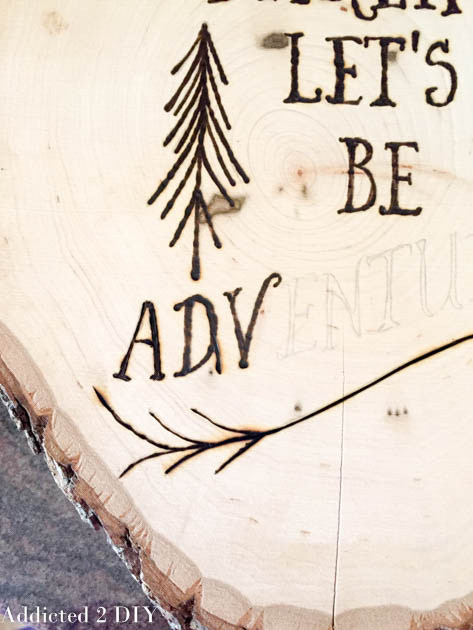
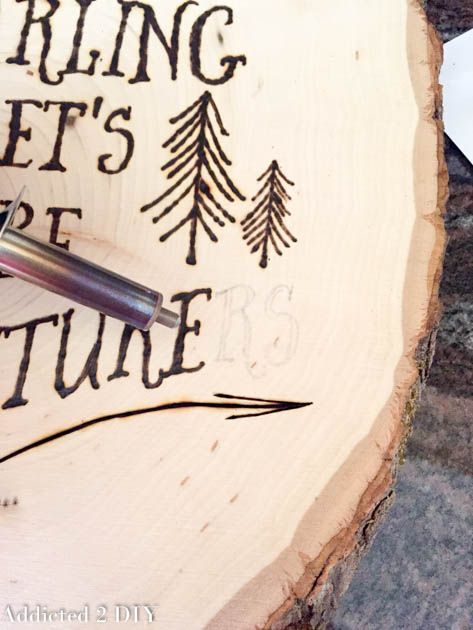
Once the entire design was stenciled, I started burning it into the wood using the rounded tip. It takes a little bit of playing around to find the perfect pressure, but it’s really not too hard. I traced the outline of the letters and then filled them in.
The only downside is some of the smoke got in my eyes and at one point when I was rubbing my eyes, I accidentally touched the burner to the wood. No project ever goes perfectly, so I can’t say it was a surprise that I had this little goof, but thankfully I figured out how I could fix it!
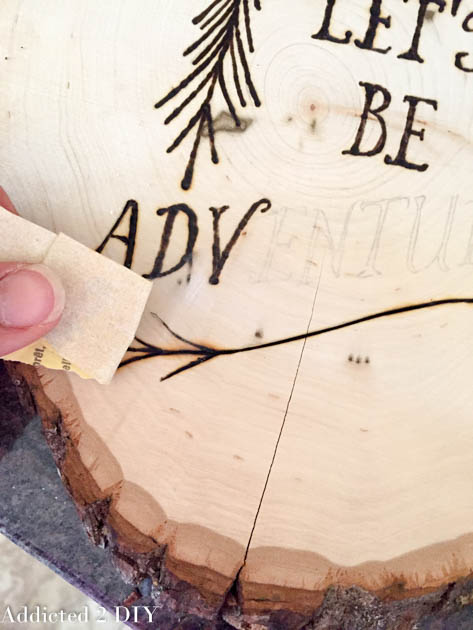
I grabbed a small piece of sandpaper and carefully sanded my mistake away. It is rustic afterall, so a little divot in the wood slice doesn’t really matter. And now you can’t even tell it even happened!
I finished off my design and touched up any areas that seemed a little light.
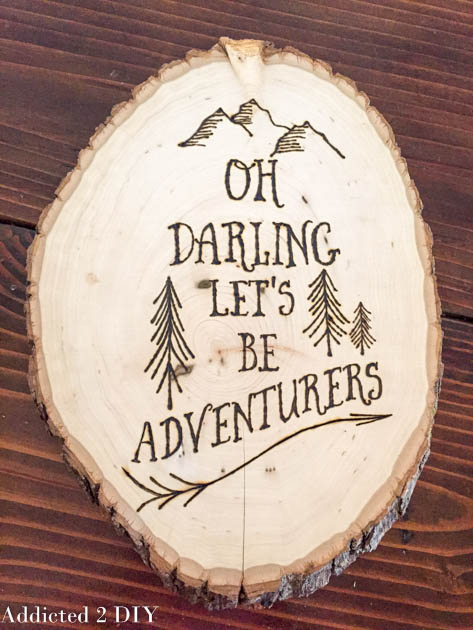
UPDATE: You can now find this wood burned art and many other items my Etsy shop!
DISCLOSURE: this post contains affiliate links. If you purchase an item from these links, I will receive a commission at no extra cost to you.

This is really fantastic. You did a good job. I loved the way you corrected the mistakes. Many thanks for sharing this. have a nice weekend
Sweet,
Sweet recently posted…6 Easy Tips to avoid getting mad in the kitchen
What is the size of the wood slice you used?
Thanks!
The wood slices vary in size, but this was about 15″ x 11″.
What font is used?
It’s called Butcher and Block.