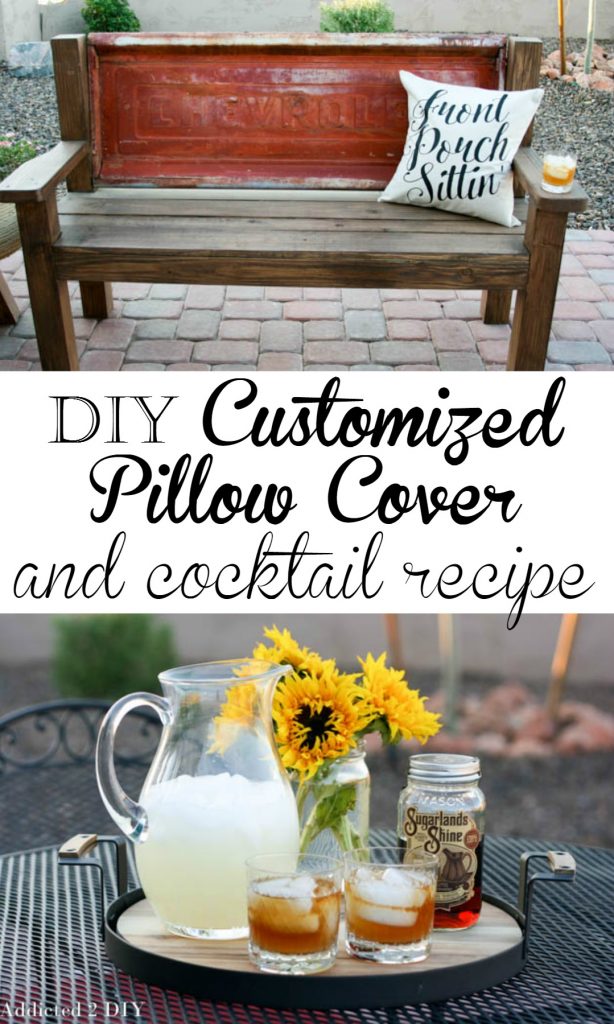
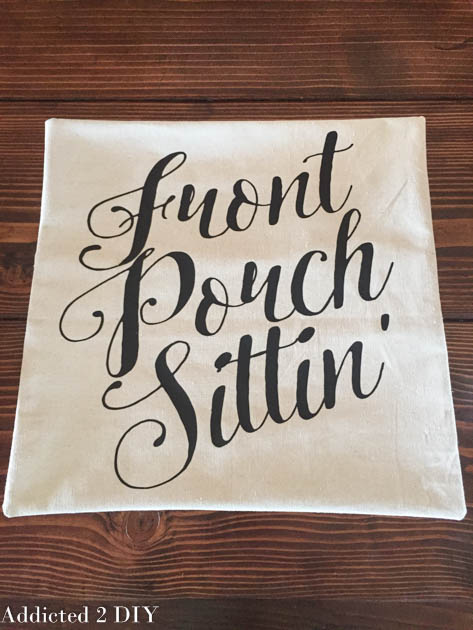
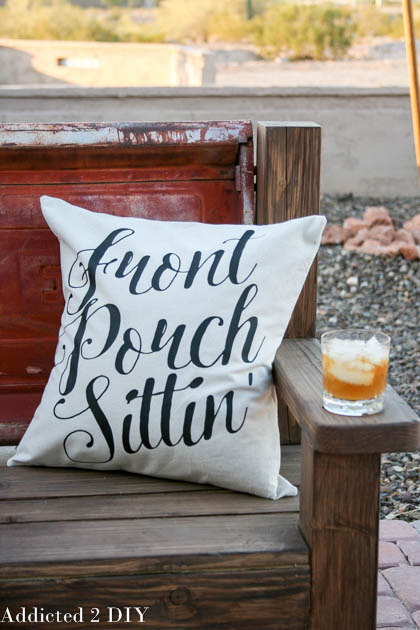
For me, I want to make our front porch a relaxing place that people will enjoy. We’ve got such a beautiful view off of our front porch and the evenings out there are so pretty. I recently built this fun tailgate bench to sit on our front porch and I’ll be sharing the tutorial for that this week. It needed a little something added to it though, so I decided a pillow or two would be perfect. I love the idea of making pillow covers out of canvas dropcloth. Not only are they durable, but they are cheap! You can paint them, or customize them in so many ways. I created this custom design and I’ll share the link to download the SVG file for you to create your own! I’ve also got a seriously yummy cocktail recipe to share at the end of this post, so stick around for that!
Here’s what you’ll need:
- canvas dropcloth
- 12×24″ sheet of heat transfer vinyl
- Front Porch Sittin’ cut file
- die cutting machine (I have a Silhouette CAMEO)
- sewing machine
- iron or heat press
- pillow form in desired size
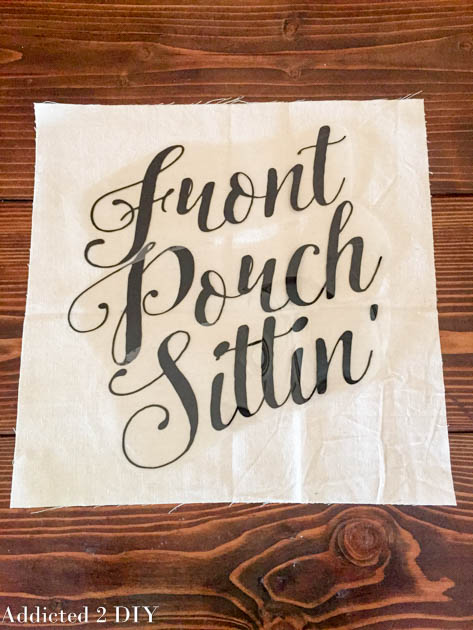
Start by cutting your fabric. This is an envelope pillow cover, so you’ll have one front piece and two back pieces. You want to cut your fabric 1″ larger than the pillow form your using. I used an 18″ pillow form, so my fabric square was cut at 19″. For the back of the pillow, divide your pillow length in half, in my case that is 9 inches. You’ll want your back pieces to overlap by about four inches or so. It doesn’t have to be exact. I cut mine at 19″ wide and 14″ long. I cut my design out of heat transfer vinyl and then cut/separated the words from the transfer material. Arrange them on the front of the pillow cover however you like.
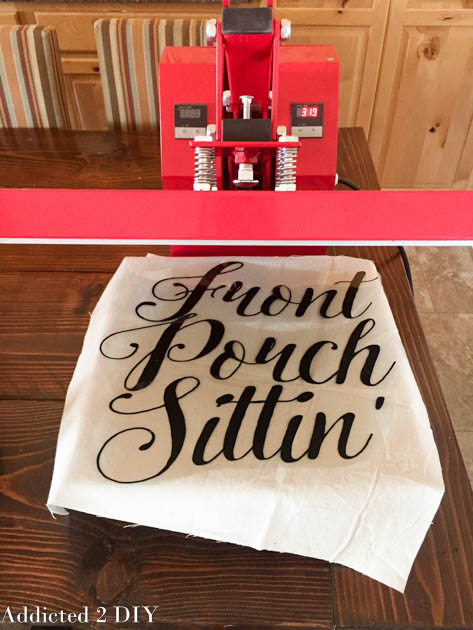
Next, iron the design onto the pillow cover. I own this heat press, which I absolutely love. What used to take me several minutes with an iron now takes me seconds! If you use heat transfer vinyl a lot, like I do, then this is so worth the investment!
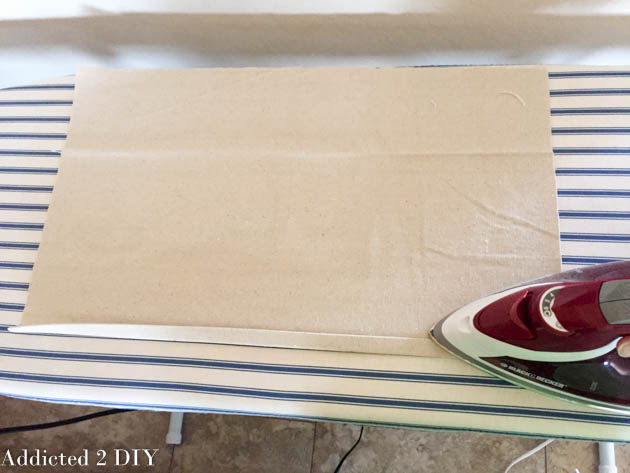
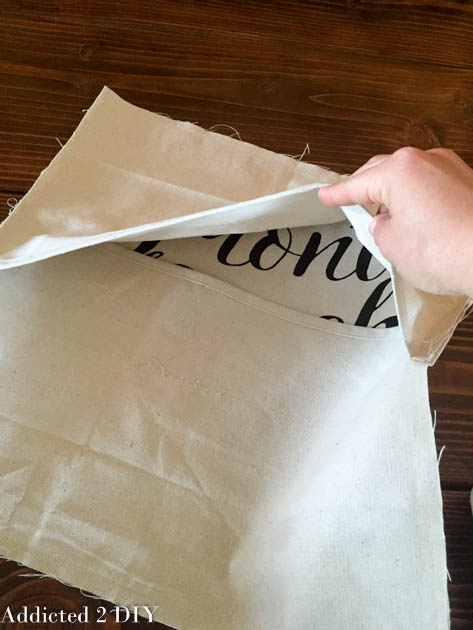
For the backing, iron a 1/2″ hem on one side of each piece. Fold the end over by 1/2″ and iron, then fold and iron again. I just eyeball it, but you can grab the ruler out if you want to be exact. Sew across the hem you created to secure it in place.
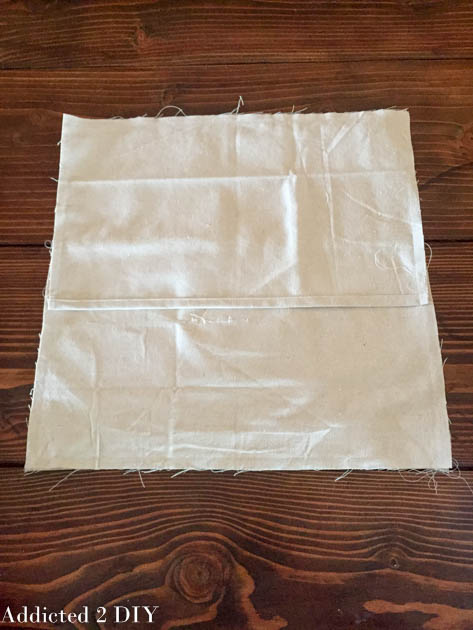
Your pillow cover should look like this when you’re done sewing it.
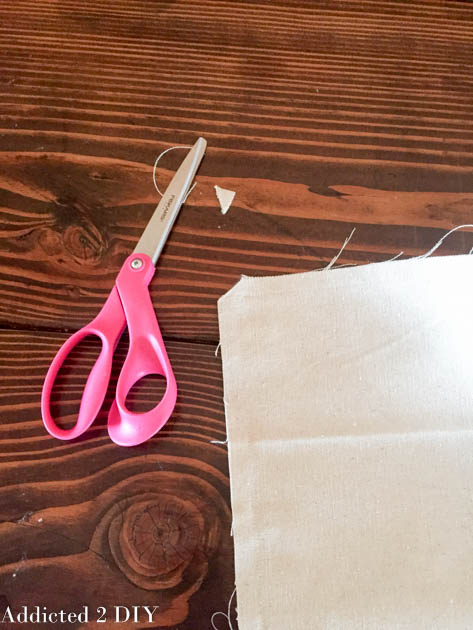
Turn your pillow cover right side out and use your scissors to push the corners out to a point.
Stuff the cover with your pillow form and you’re done!
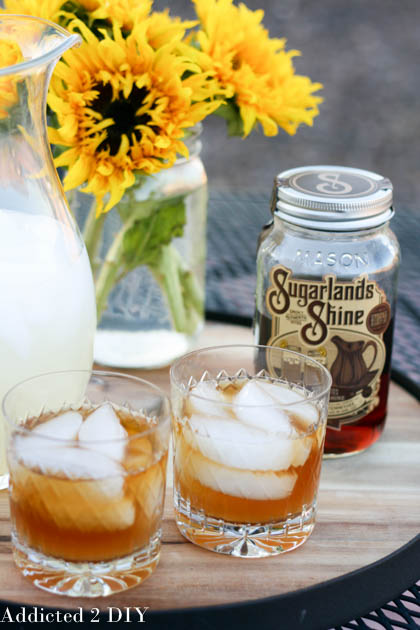
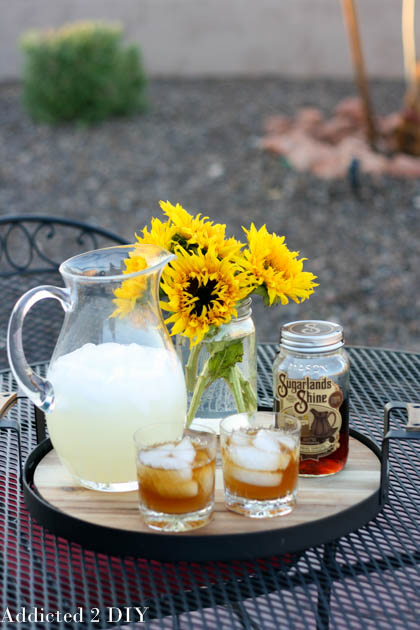
Now, “front porch sittin'” isn’t really complete without a delicious drink to go with it. My family and I love sweet tea lemonade (aka an Arnold Palmer), so when Sugarlands Distilling sent me some samples of their delicious sweet tea moonshine, I knew just what I would make with it. It’s good enough to drink straight from the jar, but I love mixing it with lemonade.
Just mix equal parts lemonade and Sugarlands sweet tea shine in an ice-filled glass and enjoy! Just remember to shine responsibly. I can’t wait to try their other delicious flavors. Especially when they start selling it here in Arizona later this year.
DISCLOSURE: this post contains affiliate links. If you purchase an item from one of these links, I will receive a commission at no extra cost to you.

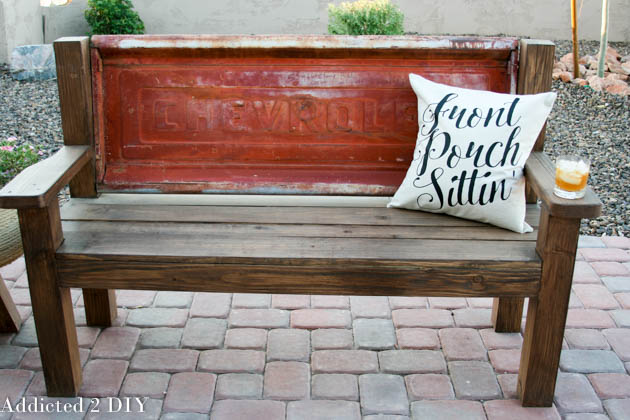
I love the front porch pillow idea. Unfortunately I do not have a die cutting machine. However I would like to know where you purchased your front porch bench or did you build it. That is something I have been looking for.
Please let me know. Thanks you so much!
Susan
Thank you so much! I built it myself.