I’ve been decorating my house like crazy over the past few weeks and I’m loving these latest projects! I had the pleasure of trying out some of the brand new stencil designs from Royal Design Studio Stencils. I’ve used their stencils before on the industrial crate toy box I built for my oldest son. I love their stencils and I was so excited to get to try these Christmas stencils out.
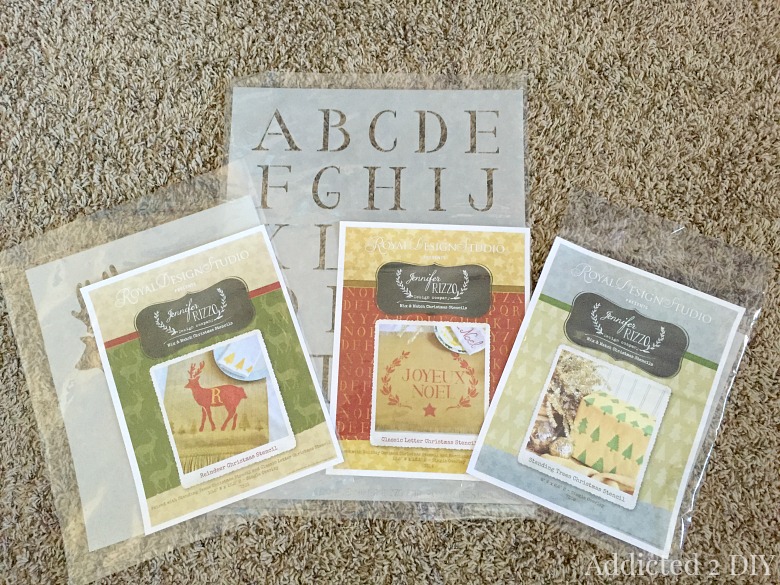
The ever talented Jennifer Rizzo designed these stencils for Royal Design Studio and I just love them! I got the Standing Trees Christmas Stencil, Reindeer Christmas Stencil, and the Classic Letter Christmas Stencil. I hadn’t narrowed down a project for the standing trees stencil yet, but that will be coming soon:)
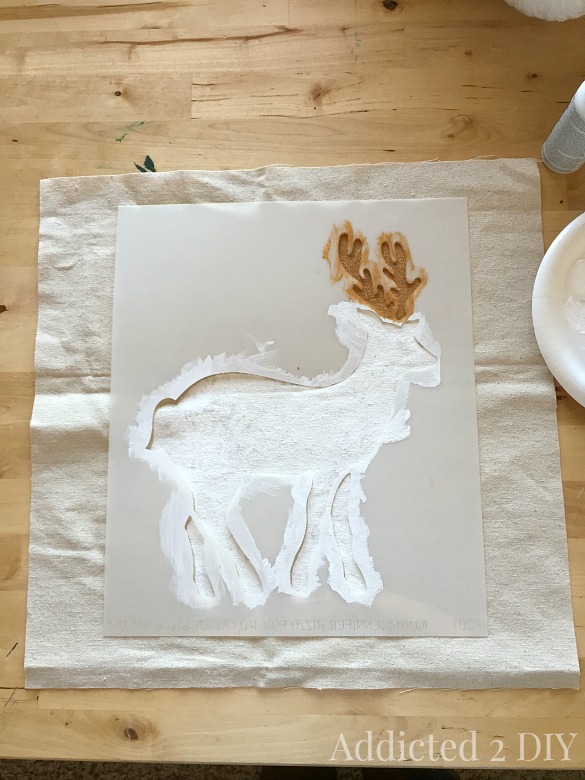
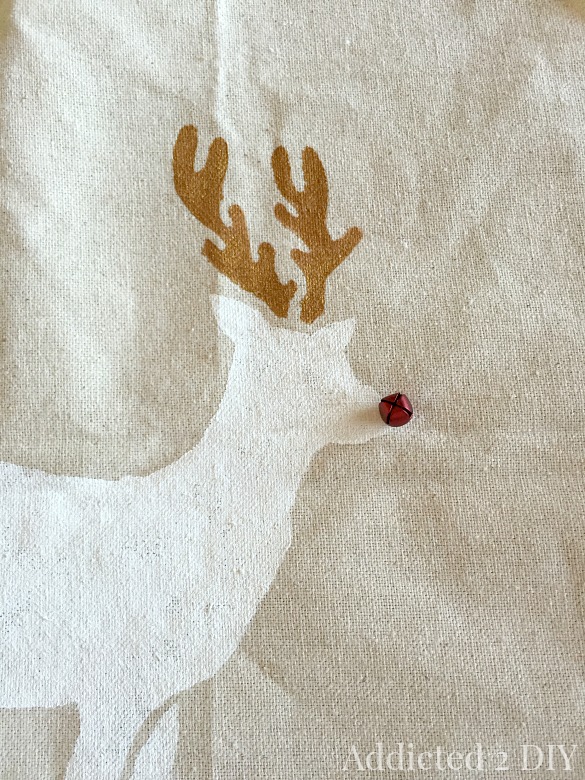
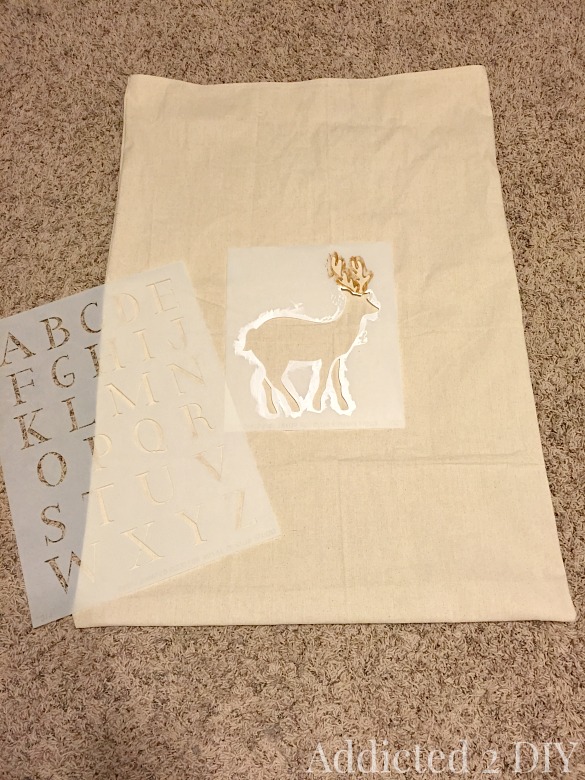
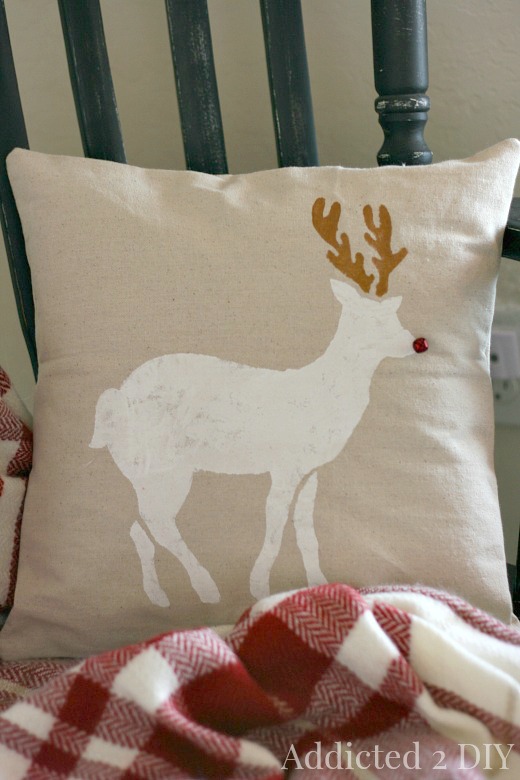
I decided to start with a pillow using the reindeer stencil. I grabbed my leftover stash of drop cloth and cut my pillow front to size. This was 15″. I used white acrylic multi-surface paint for the body of the reindeer and gold acrylic paint for the antlers.
He still felt like he was missing something. I thought about painting a red dot on his nose, but grabbed a red pompom to see how it would look. Then I remember that I had tiny Christmas jingle bells and it was perfect! I used embroidery floss and sewed the bell on. Once my reindeer was finished. I used the same envelope pillow method that I used for my Home Alone Christmas pillow. It literally takes just minutes to put together, which I love!
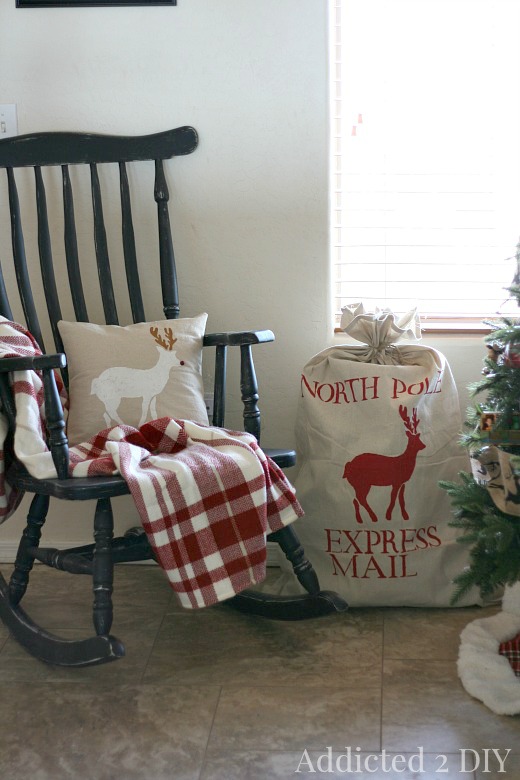
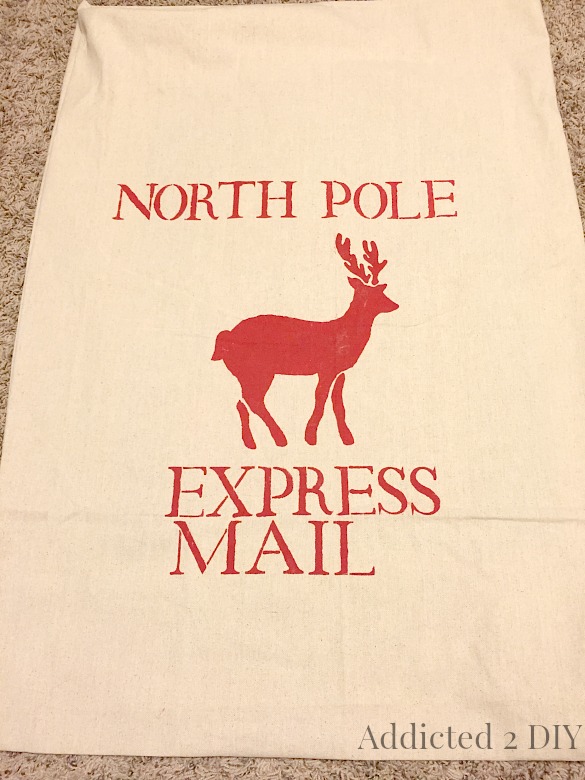
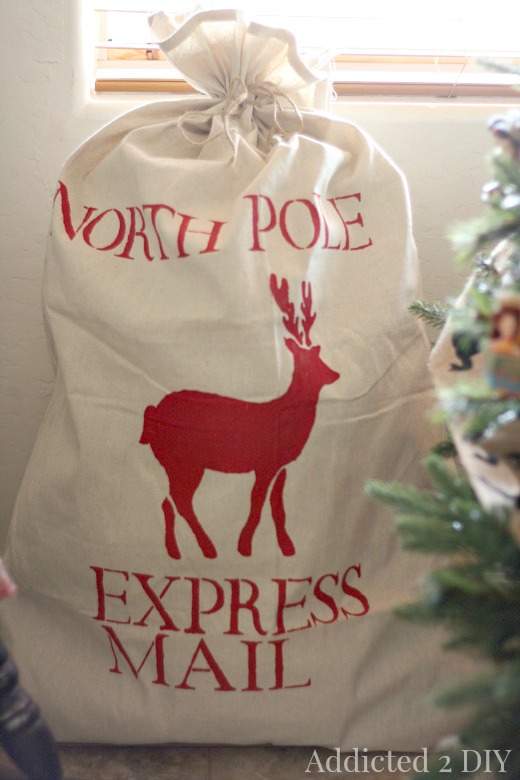
For my Santa sack, I grabbed my remaining drop cloth and it happened to be just the right size to fold in half and turn into a sack. Literally just two straight lines and it was done! I used my reindeer stencil again and some red acrylic paint mixed with fabric medium. I placed my cutting pad inside the bag to prevent any bleed through with the paint.
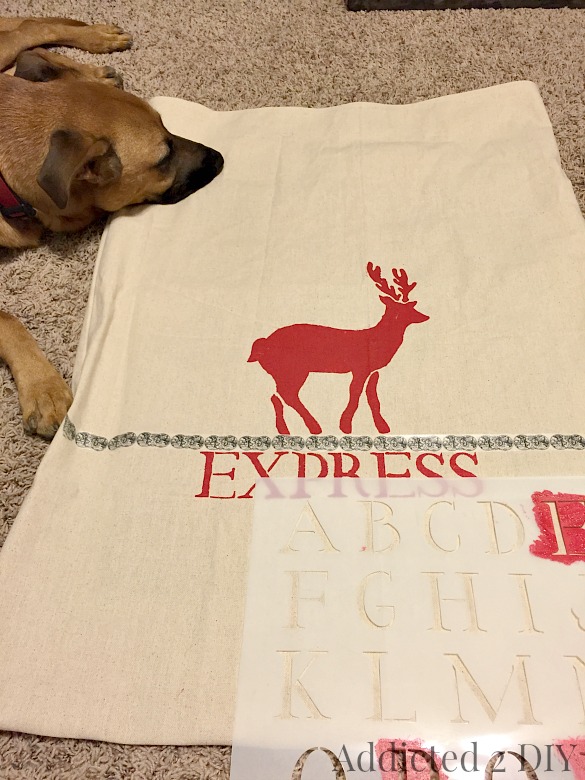
When it was time to stencil the letters, I used some Washi tape to mark my straight line to follow and did my best to center the words. For “Express”, I centered the R onto the bag and then finished it off with the letters on each side. Dakota helped by holding the bag steady for me.
I did my best to center “Mail” underneath “Express”, but I forgot to take into account the width of the letters, which caused it to be slightly off center. I thought about making a new sack, but since my decorating theme is rustic, I figured this fit right in!
The pillow and Santa sack turned out so cute and I love them next to our tree! My boys have enjoyed pretending to be Santa these past few days too;) These stencils are so great and versatile. I’m going to use them on several other little projects around the house too, which I’ll probably be sharing with you soon.
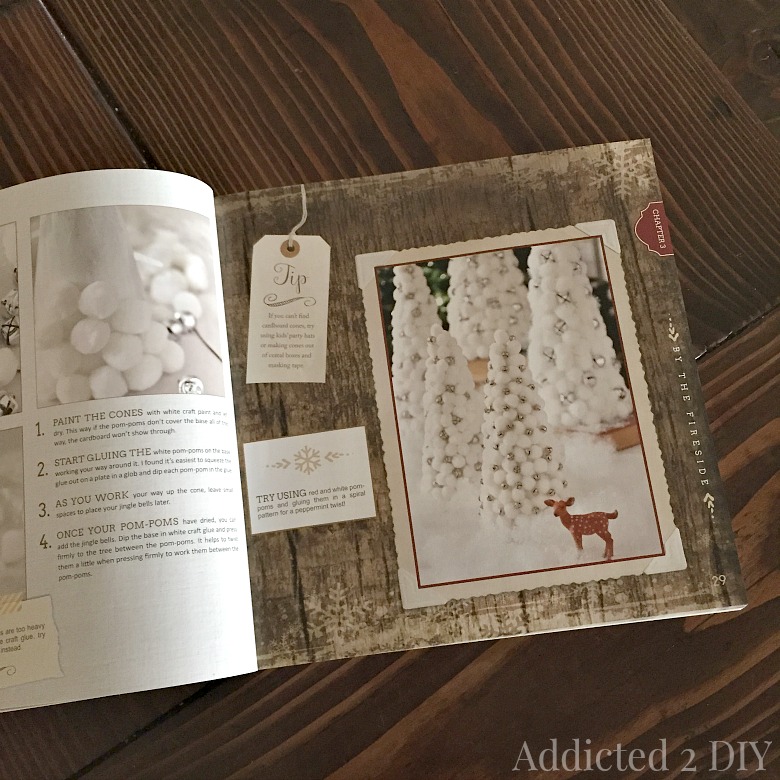
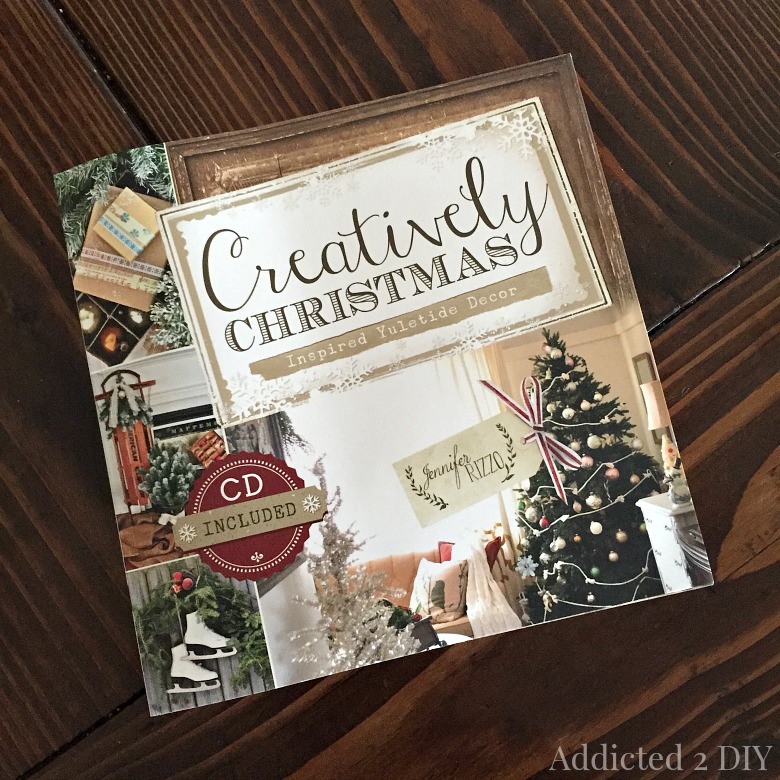
(affiliate link). This book is some serious eye candy. It’s filled with tons of crafts and decor inspiration and it was so hard to read it and not make it all for my house! My husband probably wouldn’t like that too much;) If you’re looking for some great inspiration for your home, these books are now back in stock, but they’ll probably go fast!
Tomorrow I’ll be sharing my Christmas home tour that I’m taking part in with 30+ other bloggers. Be sure to check back tomorrow morning to see the rest of my house!
DISCLOSURE: I was provided products for this post; however, all opinions and ideas are 100% my own.

pinned. I love it!!! Christine from Little Brags
Christine recently posted…My First Annie Sloan Chalk Paint Project
What a wonderful project! Absolutely going to give this one a try for gift packaging this year. Thank you so much for sharing and wishing you a very Merry Christmas!!
Thanks so much Stefanie! I’m planning to use the stencils on some packaging as well!
Love the stenciled Santa Sack idea! Thank you for reviewing our Jennifer Rizzo Christmas Stencils!
When you paint the stencil letters onto the bag did you have to wait for the previous letter to dry before starting the next letter? I have a stencil page and I’m afraid if I am painting the stenciled letters black and go right to the next letter it may drag paint or smudge the previous letter. Thank you in advance! Love this tutorial!
Yes, I let them dry for a few minutes before starting on the next one:)
What type of material did you use for the cloth?
I used a drop cloth, purchased at Home Depot:)