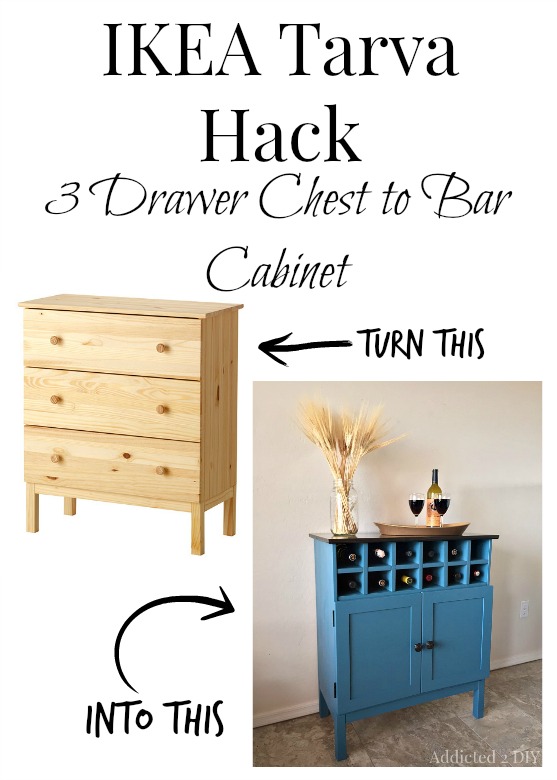
Happy Monday! I am so, so excited to share my latest project with you all today. This month, 4 other talented bloggers and I were challenged by HomeRight to turn an ordinary IKEA Tarva 3 Drawer Chest into something extraordinary. I was overjoyed when they drew 5 names out of a hat and mine was one of them! I’ve only done one other IKEA hack before and it was this quick little lamp makeover. To add to the fun, I’m also giving away a HomeRight Finish Max Pro at the end of this post, so stick around!
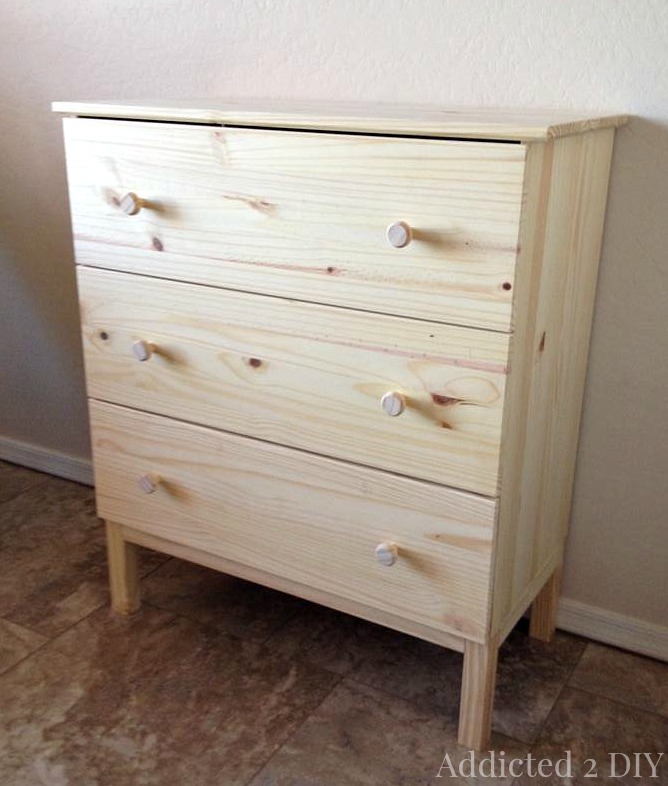
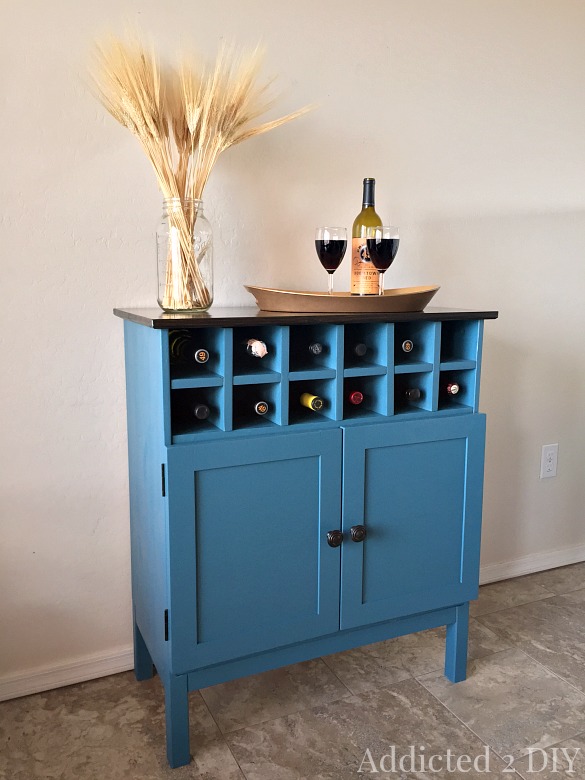
A few days after our names were drawn for the challenge, the lovely, flat box from IKEA showed up at my door. I assembled the chest so I could take some time and come up with a solid plan. I decided to turn it into a bar cabinet, and started sketching out the picture I had in my head. I also wanted to challenge myself to use as much of the wood from the chest and my scrap pile as possible.
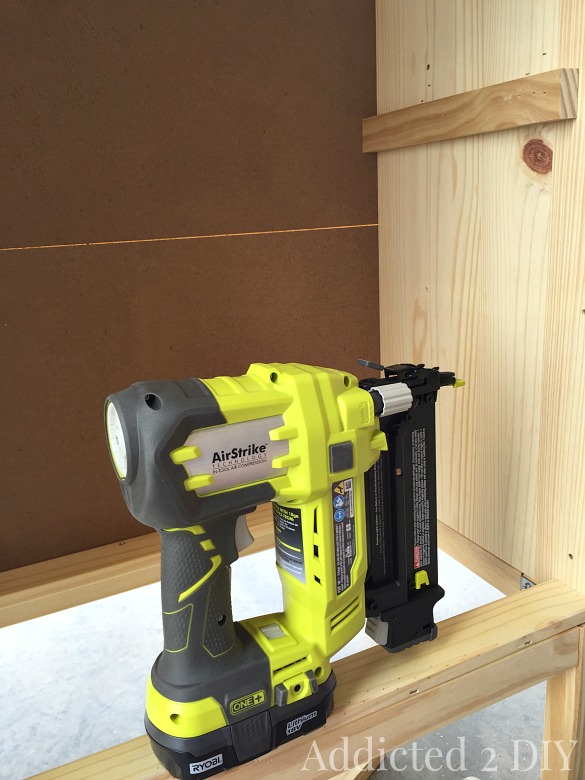
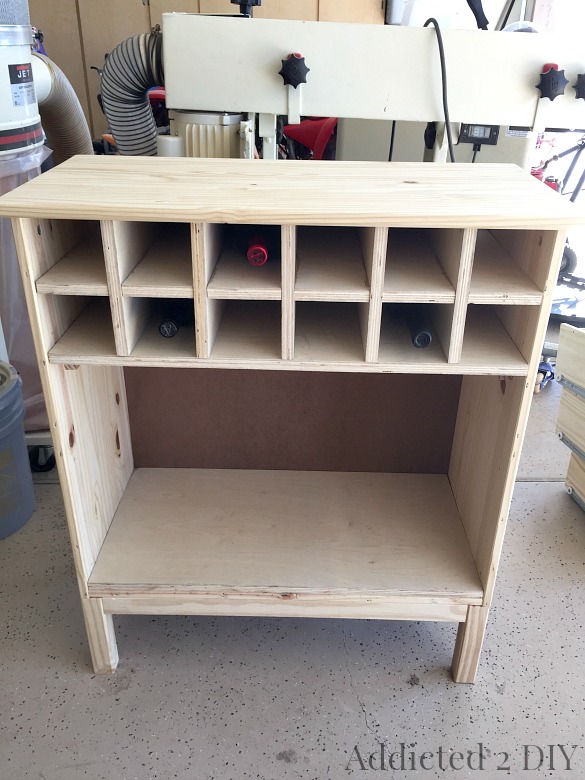
I started by taking the drawers and sliders off. I wanted to have a shelf for wine at the top of the cabinet, so I cut some scrap 1×2 pieces and used my brad nailer and wood glue to attach them. I needed the shelf to have an 8″ opening, so I attached my supports 8 3/4″ from the top.
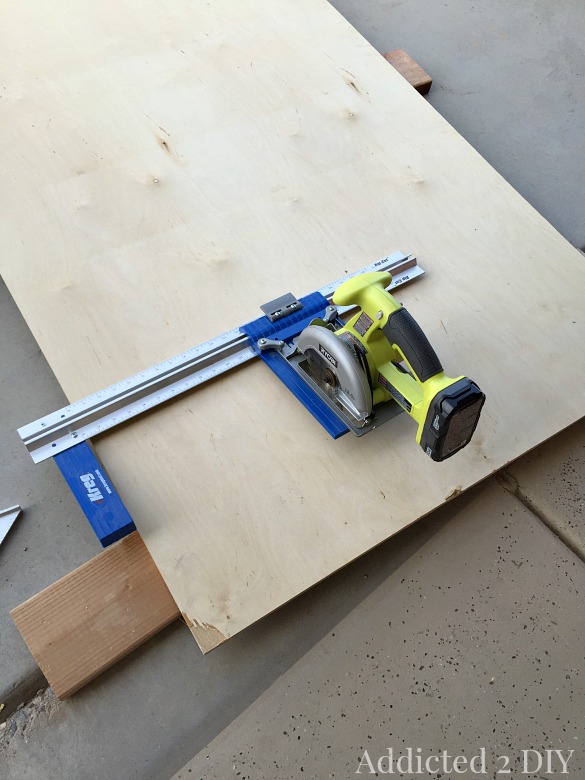
We had some leftover 3/4″ birch veneer plywood leftover from a previous project, so I used my Kreg Rip-Cut to cut down the pieces for my shelves (affiliate link).
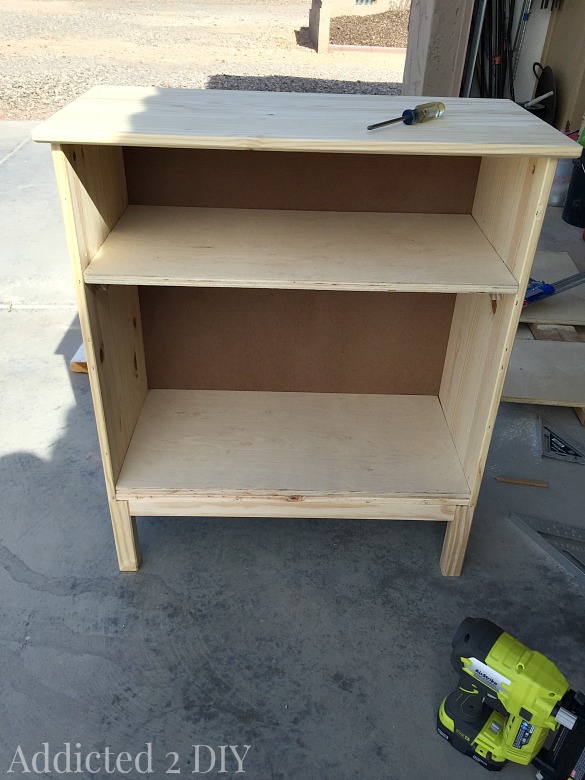
I fitted my shelves and glued and nailed the bottom shelf in. The top shelf had more that would be added to it, so I held off on nailing that in.
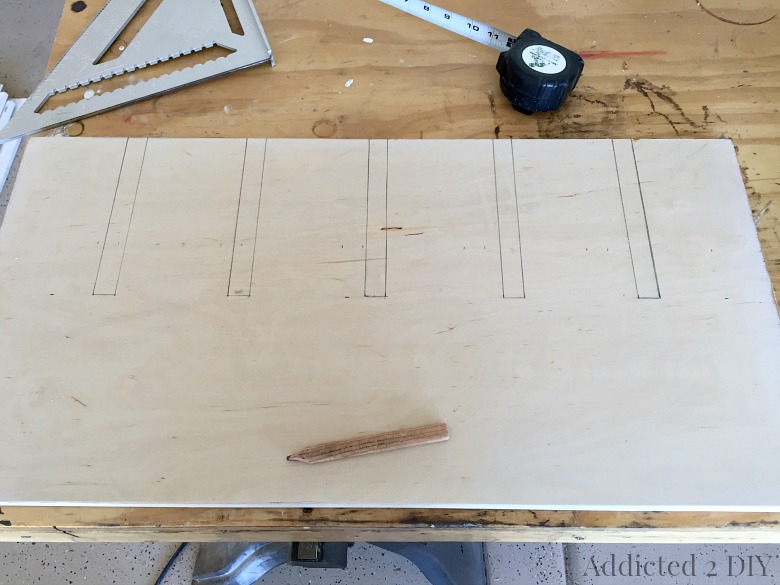
I wanted the top of the cabinet to hold wine bottles and I decided to make square cubbies. I had never done anything like this before, but decided it couldn’t be that hard to do. Thankfully, it was actually really easy! The whole thing needed to fit together like a puzzle, so I had to notch out the plywood. I marked out the sizes that I wanted the cubbies to be, making sure to factor in the 3/4″ thickness of the plywood I was using. The cubbies ended up being about 3 3/4″ square. The notches are also cut to the center of the shelf, so that they would fit flush together. The shelf itself is about 28 1/8″ long and 14 1/4″ deep. I cut the 5 vertical pieces at 8″ tall and 14 1/4″ deep.
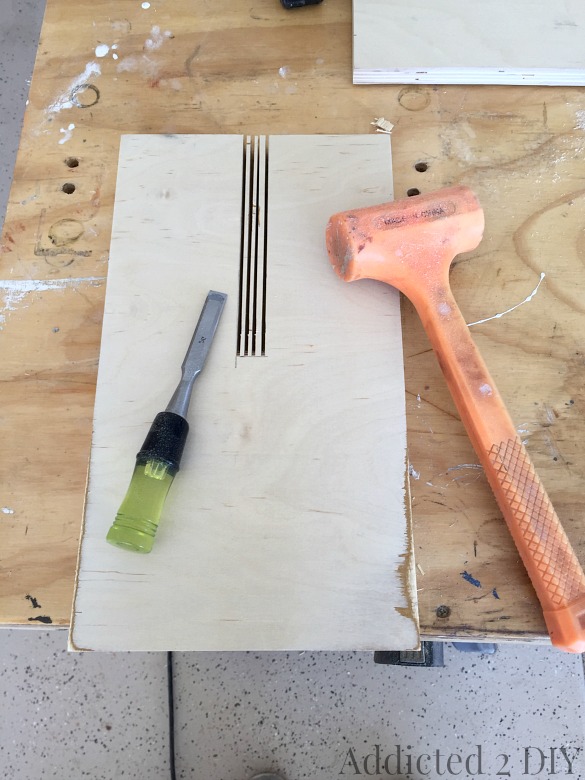
To make the notches, I used my compound sliding miter saw and made several cuts inside my pencil lines. I took a chisel and chiseled out the wood until I had a nice notch.
Once all of my notches were chiseled out. I sanded them a bit to clean them up and then put the whole thing together. I fit a few wine bottles in there just to see how it would look.
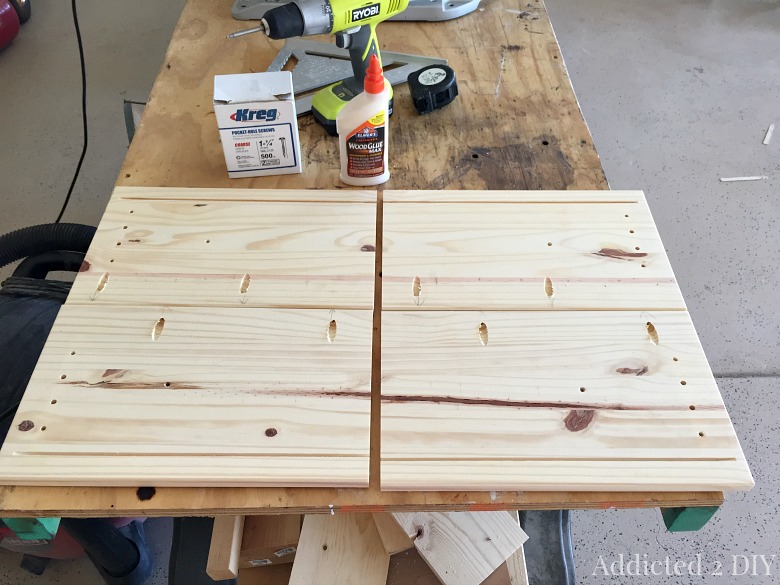
I used two of the drawer fronts for the cabinet doors. I cut them in half and then used my Kreg Jig to drill pocket holes (affiliate link). I used wood glue and pocket screws to attach the two pieces to form the cabinet doors. You can see that there are a lot of holes to fill, so I used a bunch of wood putty to fill them all in to make it look like one solid piece of wood.
For the door trim, I grabbed some scrap pieces of 1/4″ veneer plywood and ripped them down to 2″ wide on the table saw.
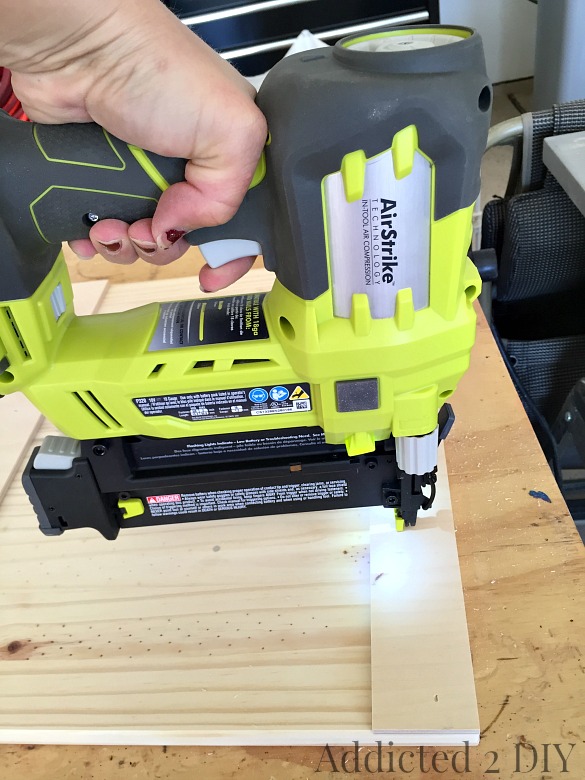
I cut them down to size and glued and nailed them onto the door fronts.
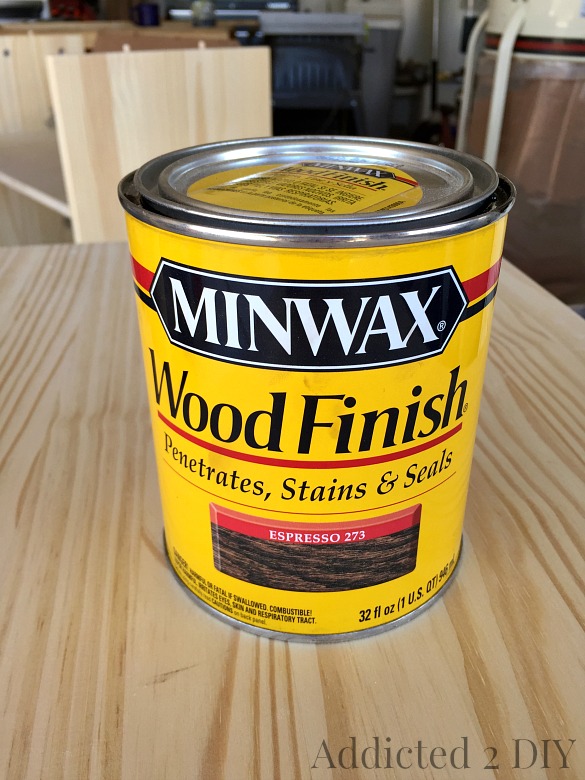
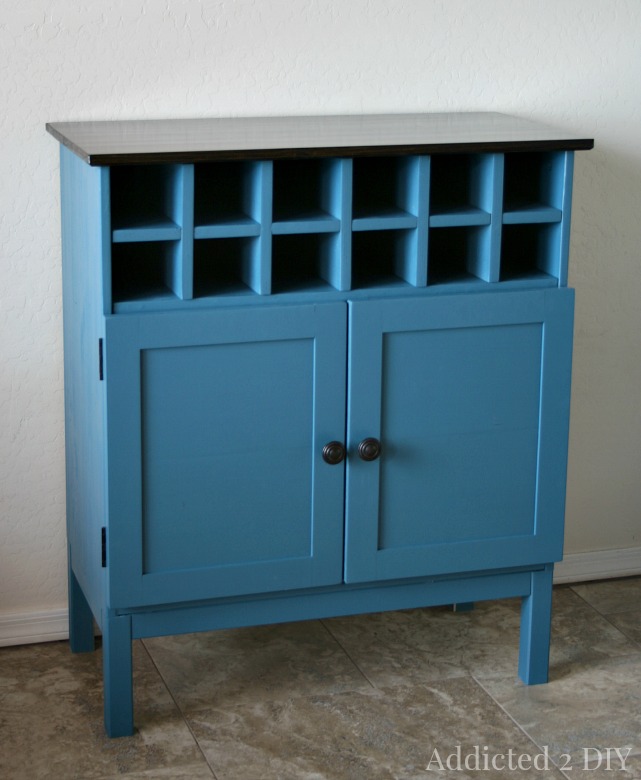
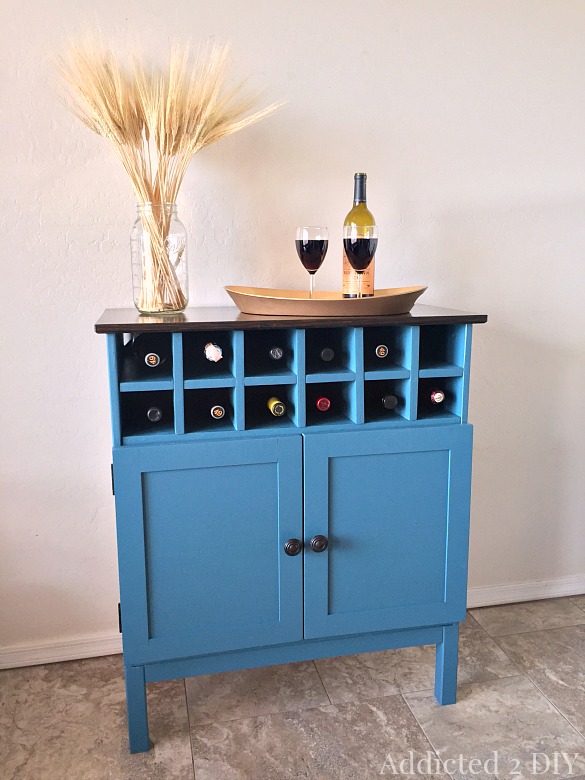
I wanted the cabinet to have a two tone look, so I stained the top a dark, rich color. I used Minwax stain in Espresso. I followed that with two coats of polyurethane.
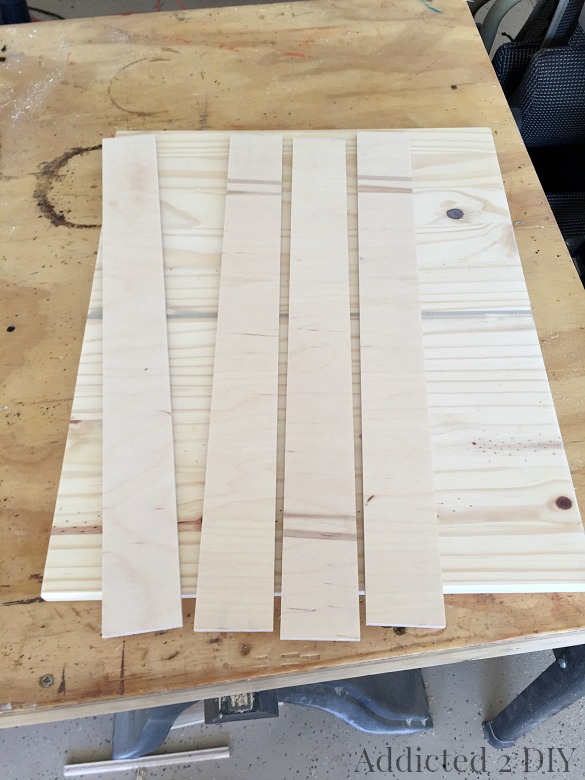
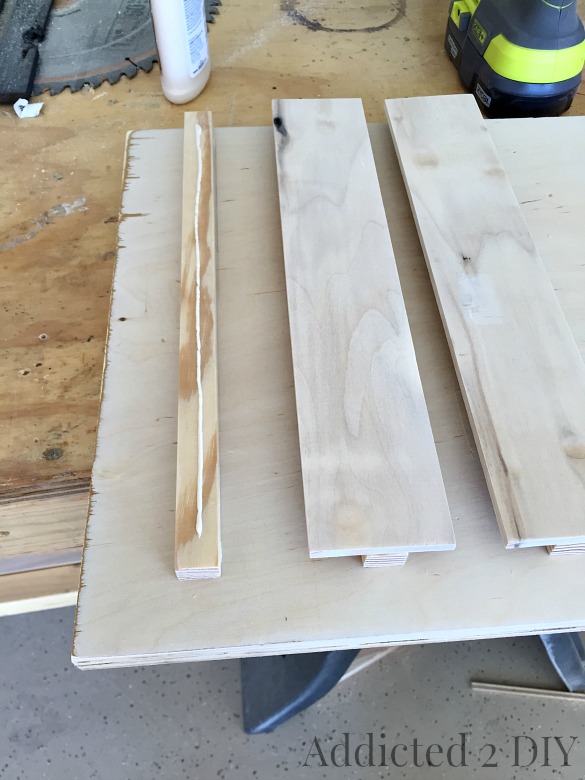
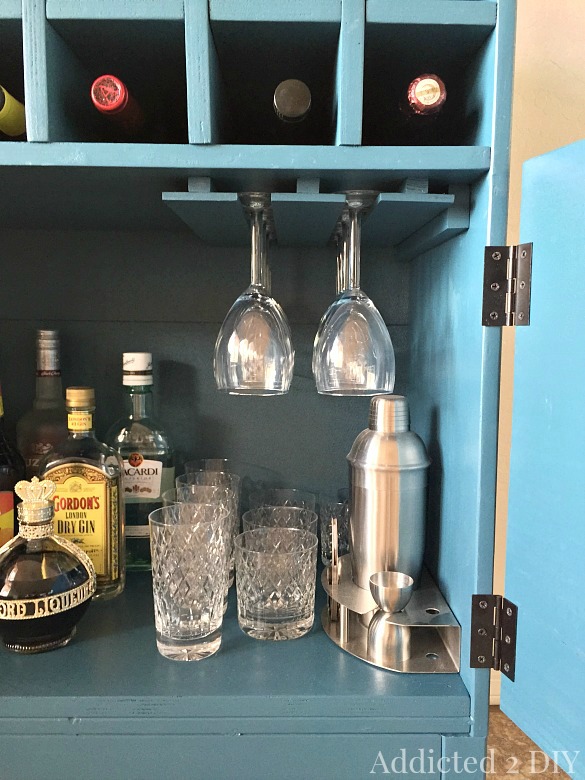
I wanted the cabinet to have something that would take it up a notch, so I made a rack to hold wine glasses. I used 1×1/2″ trim pieces and 2 1/2″ poplar strips to make the rack. I had to make sure to space them out enough to allow the wine glasses to fit, so I grabbed a glass to make sure everything was spaced properly. Then I glued and nailed them to the underside of the top shelf.
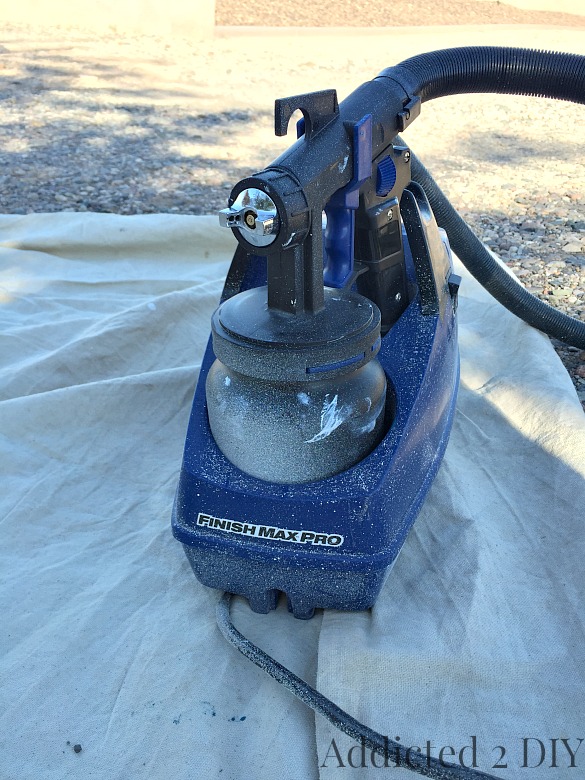
It was finally time to paint everything and I grabbed my favorite tool for the job, my HomeRight Finish Max Pro. There are still times when I will pick up a brush for a small painting or staining project, but I use my paint sprayers for just about everything now. The amount of time they save me, combined with the quality finish is priceless!
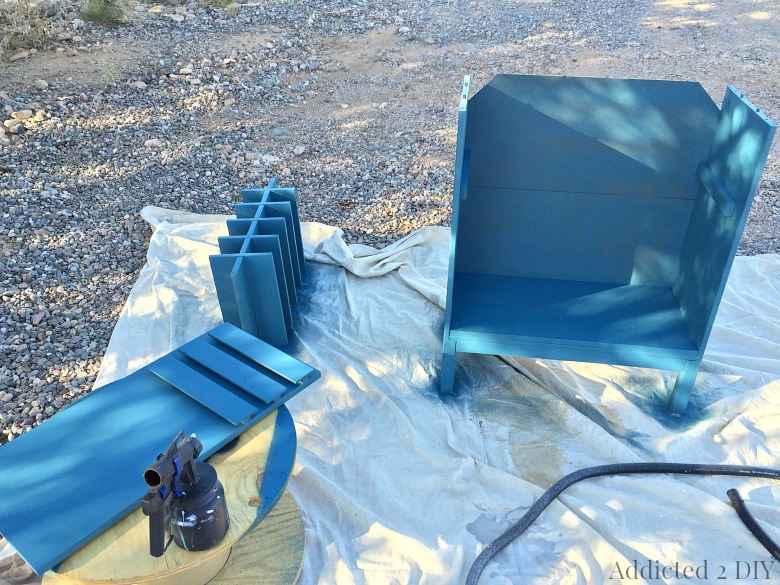
I used Behr satin enamel paint and primer in Cathedral. I had an internal debate with myself for a while about what color to paint it, and I decided that I really wanted a rich pop of color that would also compliment the dark stained top.
Once the paint was dry and the top was done, I attached all of the hinges and hardware. I used basic 2 1/2″ hinges for the doors.
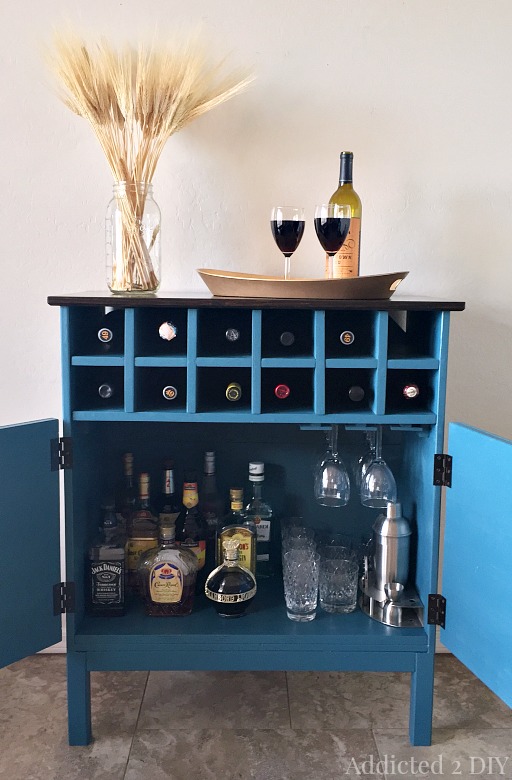
I had to buy a few more bottles of wine to hold my new wine cubbies (darn!), and then filled the inside with glasses and our liquor bottles. The cool thing is that the wine cubbies are big enough to hold champagne bottles too!
I am so happy with how functional it all is. The wine glasses are at a perfect height where I can also fit our pretty crystal glasses underneath. I just love these glasses. My husband’s grandparents gave them to us as a wedding gift. I feel pretty fancy when I drink out of them;)
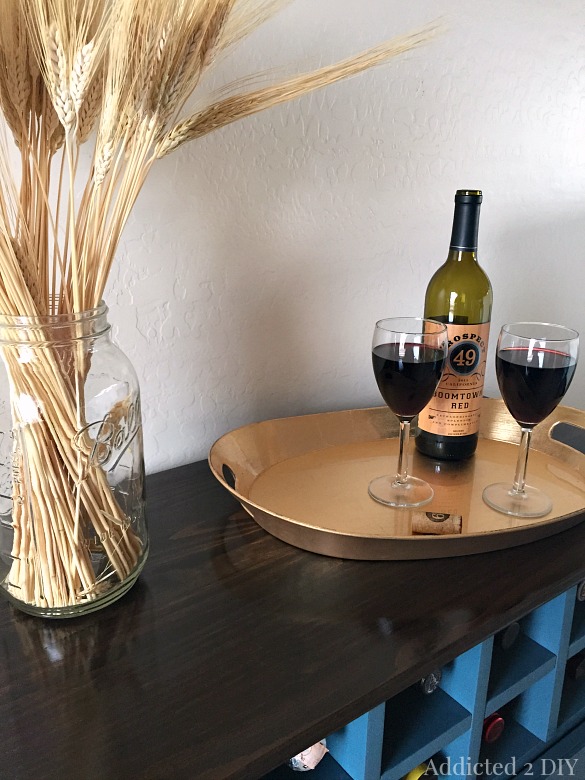
I couldn’t be happier with how this turned out. I love being challenged to think outside the box, and this project definitely made me do that. By the way, remember when I said there were four other bloggers who took this challenge? Be sure to scroll to the bottom to find links to their beautiful IKEA hacks. I’ll be adding more as they are posted.
Now for the fun part! One lucky winner is going to win a HomeRight Finish Max Pro paint sprayer! Just enter using the Rafflecopter widget below. This giveaway is open to U.S. Residents 18 and over. Void in Alaska and Hawaii.
a Rafflecopter giveaway
Check out the other amazing IKEA Tarva Hacks in this HomeRight Challenge!
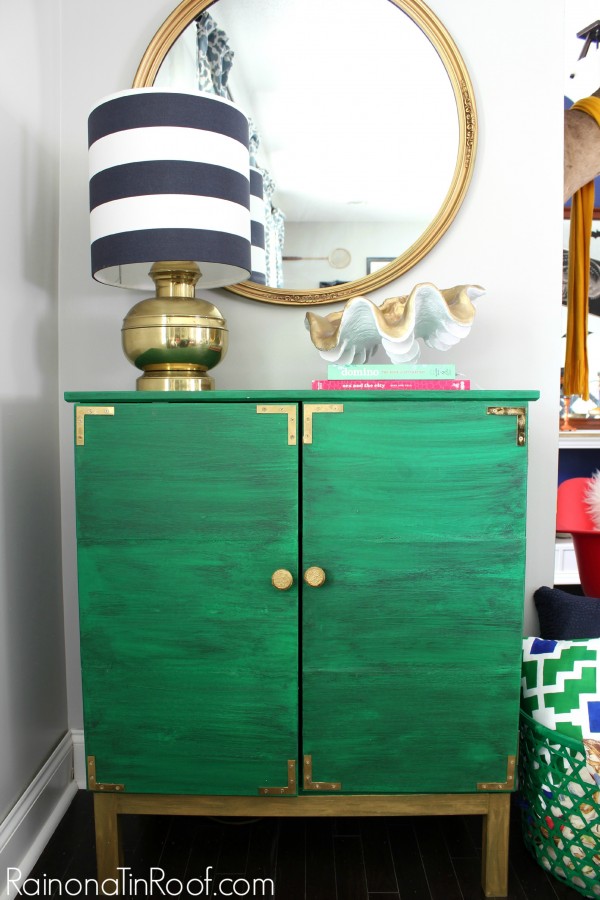
IKEA Tarva Hack Drink Bar by Rain on a Tin Roof
IKEA Tarva Hack Dresser to Hutch by My Repurposed Life
DISCLOSURE: I am a brand ambassador for HomeRight. I was compensated and/or given product for this post; however, all ideas and opinions are 100% my own. For more information, please see my disclosure policy.
Linking up at these parties:


I would love the pro. I have been looking into getting a nice pro quality sprayer since we are remodeling my parents house for them.
the pro of course
W.O.W. You are amazing! Yes, I would love the pro quality sprayer to paint my kitchen cupboards
I love this idea!!!!
I would love to try the Finish Max Pro.
The Max Pro, of course! It will get lots of work in my house…all those projects I’ve been putting off…and the winter is coming…this looks so fun!
Beautiful transformation! Love it!
Debbie
Debbie recently posted…Inspiration Monday – Recipes and Fun Projects
Wow, that was an amazing idea! You would never guess it was supposed to be a dresser! This is another great piece from this challenge that I absolutely love! Awesome job!
So going to make one of these and when I do, I sure would love to have the Finish Max Pro to get the paint job done perfectly!
Would love to win. All of these projects look amazing! Jen
Oh my gosh, I would die for a paint sprayer!
This hack is brilliant! I live just a few minutes from an IKEA and I am practicing great restraint by not going there right now!
I forgot to say that The Finish Max Pro would be an amazing thing to win. My hubby and I have been talking about getting a paint sprayer for sometime now and winning one would allow us to use the money we saved for that Kreg Jig I’ve been dreaming of.
You did an AMAZING job! Love it 😉
Thanks for the chance to win this AWESOME prize!!!!!!
Tori recently posted…NewAir WCD-110SS Water Dispenser Review
Amazing work. Think I may have to borrow this idea.
I do many refinishing and repair projects. Boy, would this max pro make a quick job for me! I already have my kregg jig, so now what I need is the pro sprayer to make painting easier on my hands!
I love this Ikea hack, it would be perfect for my kitchen! I’ve been wanting a HomeRight sprayer for months! To take my refinishing to the next level.
It’s amazing how you’ve changed the piece into totally for totally different uses.
I would love to have ‘the Pro”. Many projects just waiting for it!
I don’t have a sprayer but I know of a handful of project right now.
I would appreciate whatever sprayer would be given to me. 0:)
This is pure awesomeness right here!!!! You did a great job. LURVE this!!!!
Blessings,
Beth
I’d love the pro… it’d be perfect for painting the loft bed I’m planning for my son.
I have a dresser that I’m planning on painting for our nursery and have been eyeing the Finish Max Pro. I would love to win it!
I have a dresser in our nursery that I am planning to paint and have been eyeing the Finish Max Pro. I would love to win it!
Girl, you are amazing! This looks nothing like it did before. I love that you stained the top and painted the rest a fun blue color. Great job! I would love for you to link up to Your Designs This Time, the party goes live every Monday at 8:00!
Katie @ Little House of Four recently posted…{Mudroom Progress} Whitewashed Brick
I like the HomeRight Finish Max Pro. You got great results and I am a diy beginner so this would help me a bunch. Thanks for the giveaway. Good luck everyone.
Such a great hack, Katie- I love it!!
Krista @the happy housie recently posted…Coconut Curry Crockpot Pumpkin Soup {with salty roasted pumpkin seeds}
I’d love the finish pro!
Sarah recently posted…Basement Progress: DIY Planked Walls
Winning the HomeRight Finish Max Pro paint sprayer would make my projects perfect! I have so many unfinished projects that would win from this!!
A girl can dream!
Im always making something…would have loved to have this sprayer while building some of my Halloween decorations! Not sure what my next project will be…will just have to see what comes to mind!You may use these HTML tags and attributes:
I would love to be so creative…I am so impressed with your design and skill with your tools!
Love this transformation, we have a new IKEA near us so I need to go do some shopping!
Finish Max Pro
Either would be great. My little “Critter” just bit the dust and I am looking for a new one.
The Finish Max Pro! I paint and stain, so this would be a wonderful tool for my collection!
I would love the Finish Max Pro, I have lots of areas in the house that it would be ideal for.
beautiful. ..
Thank you for giving us more than just the how to! Thank you for your thought process and letting us know what you like about your peice.
I would love a Home Right Finish Max Pro to make it easier and faster to paint projects around the house.
Very imaginative and great finished product. Well done!
Beautiful hack! Yours is my fave and I must say I am impressed with how little “extra” you used, while still managing to get it to look completely different. You made me want to make a bar, just like that, of my own! 😀
Thanks so much, Zarah!
I love all your ideas for the Ikea dresser, Of course I would love to win the spray painter, hope i’m lucky!
I really don’t get this… sorry!
I really love a clever hack, but this makes no sense at all…
And I see people saying this makes them want to run to Ikea to buy one and do the same… seriously?? Why? why change a drawer chest into a door cabinet? I mean… There are so many cabinets with doors to choose from! And you can also hack them as you like!
This particular hack was a challenge to get creative with a piece of furniture from IKEA. I wanted to change things up from just keeping it a 3 drawer chest, so I turned it into a cabinet.