Recently, I decided it was time to repaint our master bedroom. On top of that, I also decided that it would be the perfect time to replace the old 2″ baseboards with the nice 3″ baseboards we had bought when we first bought and remodeled our house almost 4 years ago. Nothing like a little procrastination, right? The only reason we had bought new baseboards to begin with is because we had accidentally flooded half of our house while we were remodeling.
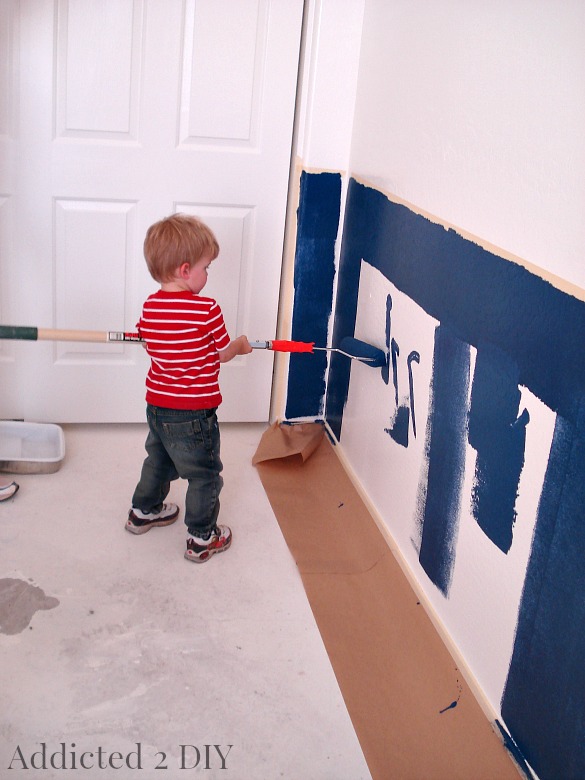
I wish I could find the pictures of the gigantic 3’x4′ hole cut in the wall of my youngest’s room, followed by the 12″ of drywall they cut out of his and his older brother’s room, but you’ll just have to settle for the cuteness of my baby (then 2) painting his bedroom–pre flood. You see, we put chair rails in their bedrooms and when my husband was nailing the chair railing in, our stud finder marked the stud, but the water main to the house was right next to it. We had finished installing the chair railing and then the next day my husband started his 48 hour shift at the fire station. The morning he got home, we went to the house to do some more remodeling and what I heard when I opened the door was the sound of a raging waterfall, half of the house flooded, and a bubble in the newly painted wall the size of a basketball. It was awesome.
So back to the baseboards. I was a bit gun-shy about removing the baseboards because I was afraid of damaging the walls. When SERVPRO came to clean up the mess of our flooded house, there were a few dents in the walls where they had only removed baseboards (rather than all of the drywall). I was determined to not do that!
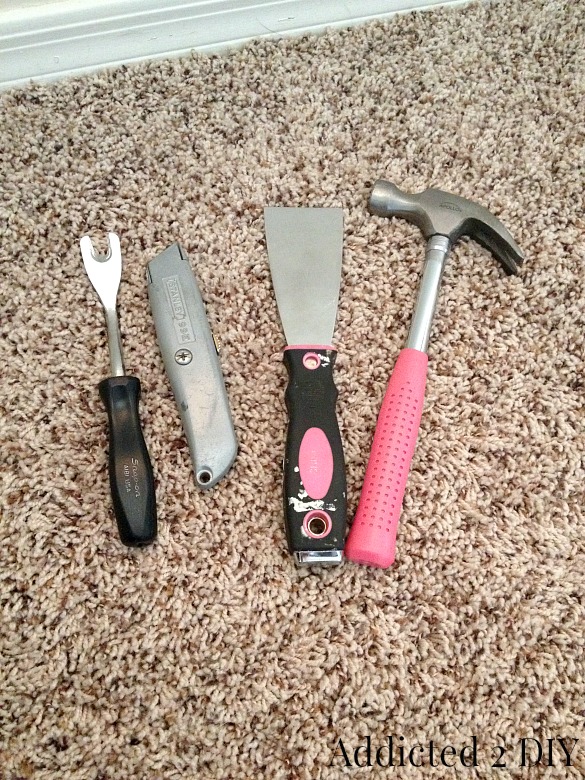
I grabbed some tools that I thought would be helpful: A razor knife, a hammer, a putty knife, and a prying tool. Yes, I know this is an automotive trim panel remover, but guess what? It can remove trim in the house too! 😉
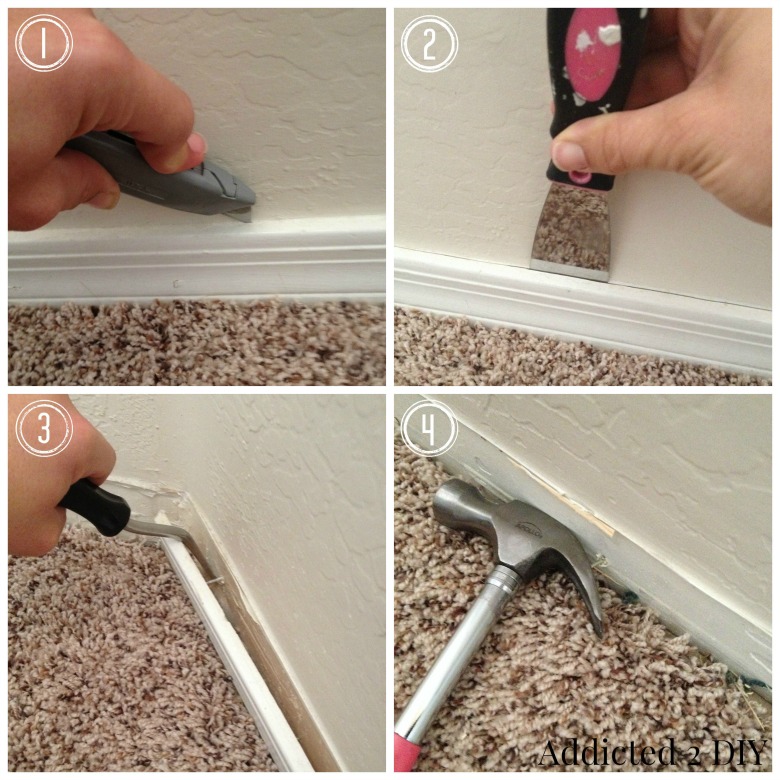
To get started, I cut the caulking along the top of the baseboards with the razor knife. I then took my hammer and tapped the putty knife in between the baseboards and wall to allow a space for the trim remover to fit. I used the hammer to tap the trim remover in and lightly pried the baseboards away from the wall. I would work in about 5′ sections and then pry the baseboards further from the wall until a large section came off. Some nails were left behind, which I removed with the hammer. One of the most important things to remember when prying is to not push the prying tool towards the wall, but pull away. If you were to push the prying tool towards the wall, you’d end up with dents. This is also why I didn’t use the hammer to pry the baseboards off.
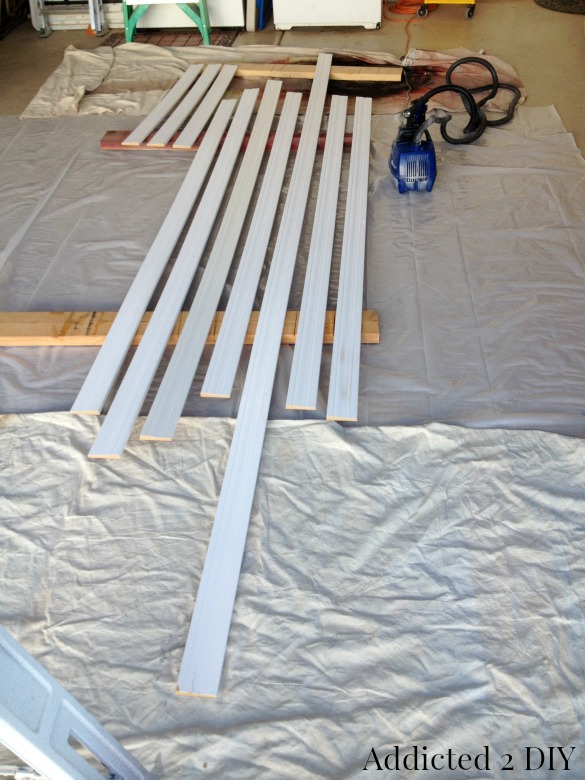
I laid my new baseboards out on the floor in my garage and gave them a shiny new coat of paint using my HomeRight Finish Max Pro paint sprayer.
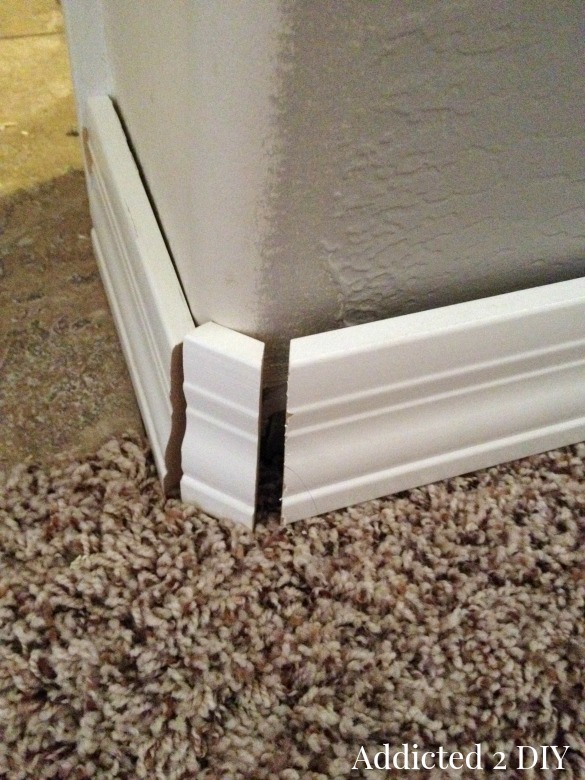
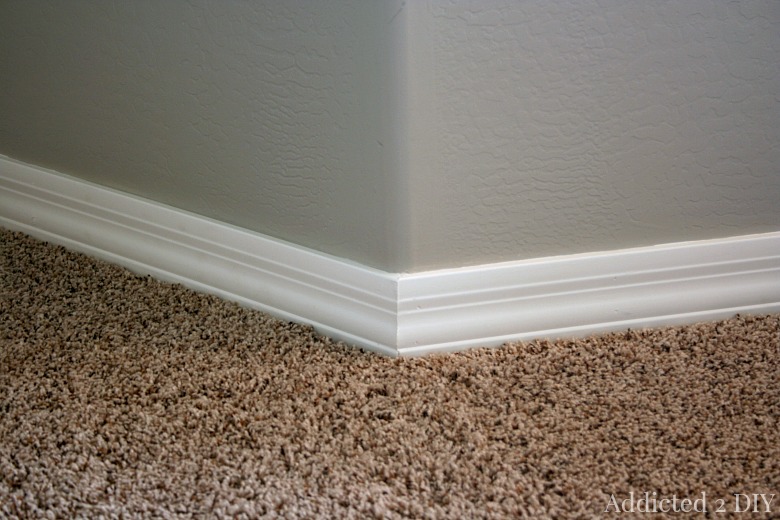
From then on it was all about measuring and cutting the baseboards down to size. We have rounded corners in our house, which means there are some tricky cuts involved. The corners need a cap on them to allow everything to fit nicely. The cap and the baseboards on each side of it are cut at a 22.5 degree angle. When my husband was replacing the baseboards in the boys’ bedrooms, he had figured out that the inside length of the cap is 3/4″ and it gives you a perfectly sized piece for corner caps. We had some other funky angles because of our bay window, which meant one side was cut at 18 degrees and the other side was cut at 31 degrees. The easiest thing to do in that instance is grab a few scrap pieces and keep adjusting the angles of the cuts until they all fit nicely together.
It’s also easier to do with two people. My husband brought the miter saw into our master bathroom (not my favorite choice) and he would make a cut and slide the baseboard across the room to me to attach it or send it back if it was a tad too long. It made the process go so much faster.
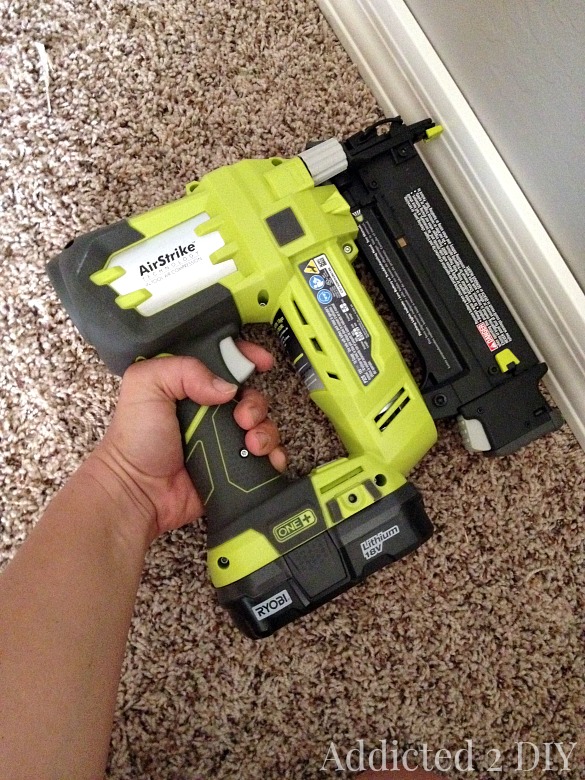
When it was time to nail the baseboards in, I finally got a chance to use my brand new RYOBI 18v ONE+ Brad Nailer! We have a pneumatic brad nailer, but to drag our gigantic air compressor from one side of the garage to the other, then to drag the dirty air hose through the house is just not ideal. I know, first world problems. This RYOBI nailer was the best thing ever when it came to nailing in the baseboards. It is a bit heavy compared to our pneumatic nailer, but I’ll take that any day over getting tangled up in an air hose while I’m crawling between the walls and furniture to attach baseboards. I used my stud finder to find all of the studs in the room and 2″ brad nails to attach the baseboards.
The last step was applying the caulking. I had tried using a tool to smooth out the bead of caulk, but it was not working well at all. Using my finger to smooth it out was the best method for me.
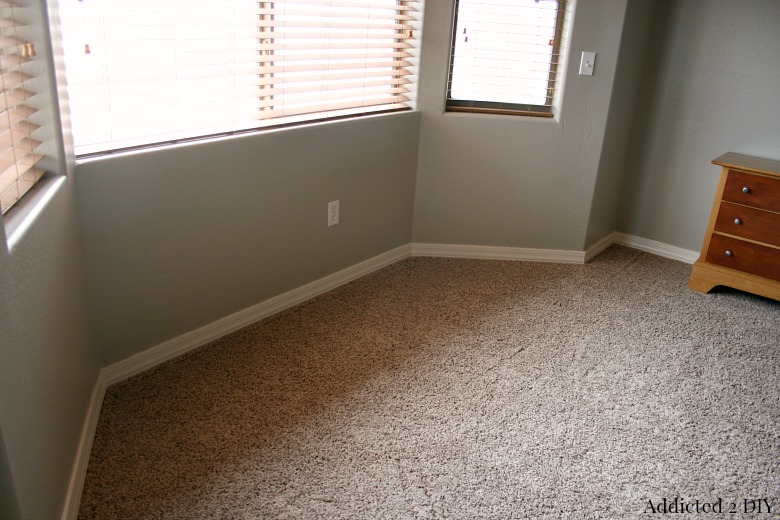
I am so happy with how our master bedroom looks now. The color of the walls, paired with the pretty new baseboards is so amazing. I still comment to my husband almost daily about how much I love how our bedroom looks now. He’s probably getting a bit tired of that;)
Do you have some baseboards that you have been meaning to replace? I promise it is easier than it seems and you will love the end result! I’m ready to get started on the remainder of our house now:)
DISCOSURE: RYOBI Power Tools sent me the 18v ONE+ brad nailer to review; however, all opinions of this tool are 100% my own. I love it!


I’ve only removed a small amount of trim thus far, but I’ve used a kitchen cutting board against the wall, between the wall and the prying tool, to prevent making holes in the drywall.
That’s also a great idea to provide a solid surface to pry against!
Or you can just use a Zenith Trim Puller, sold at HD for example.