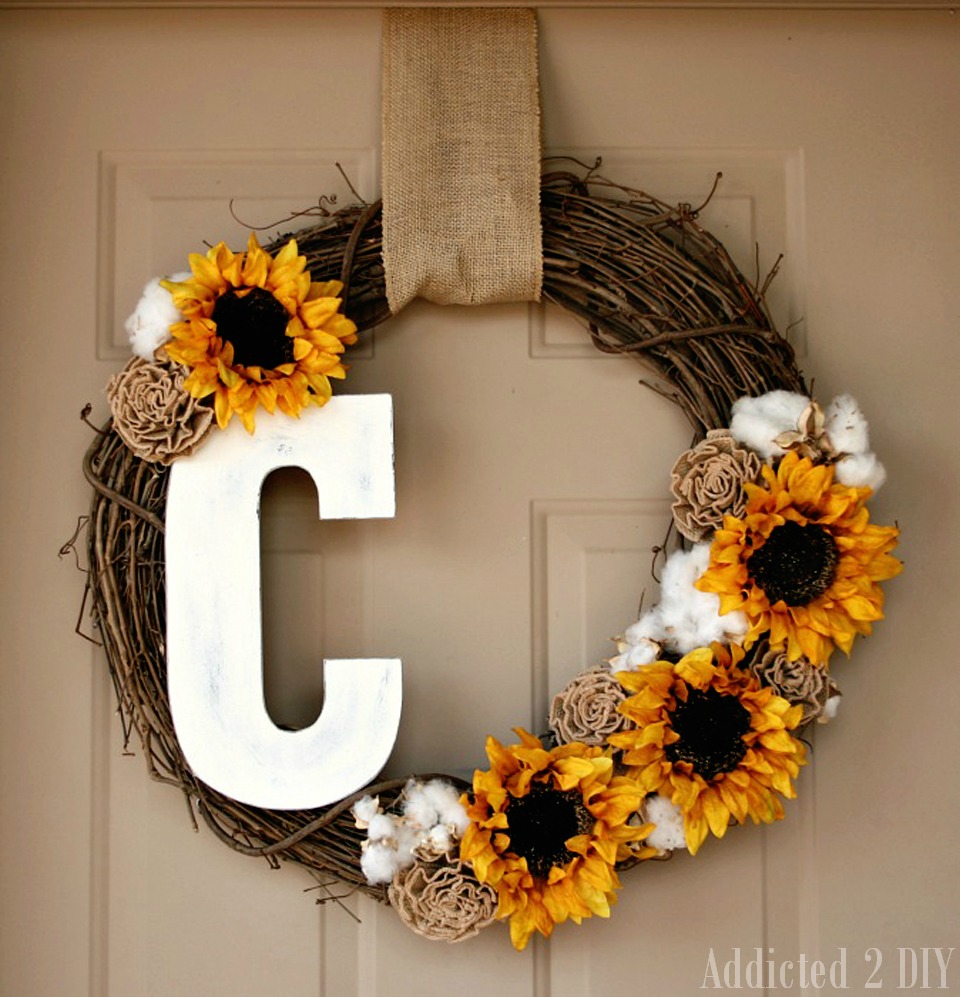
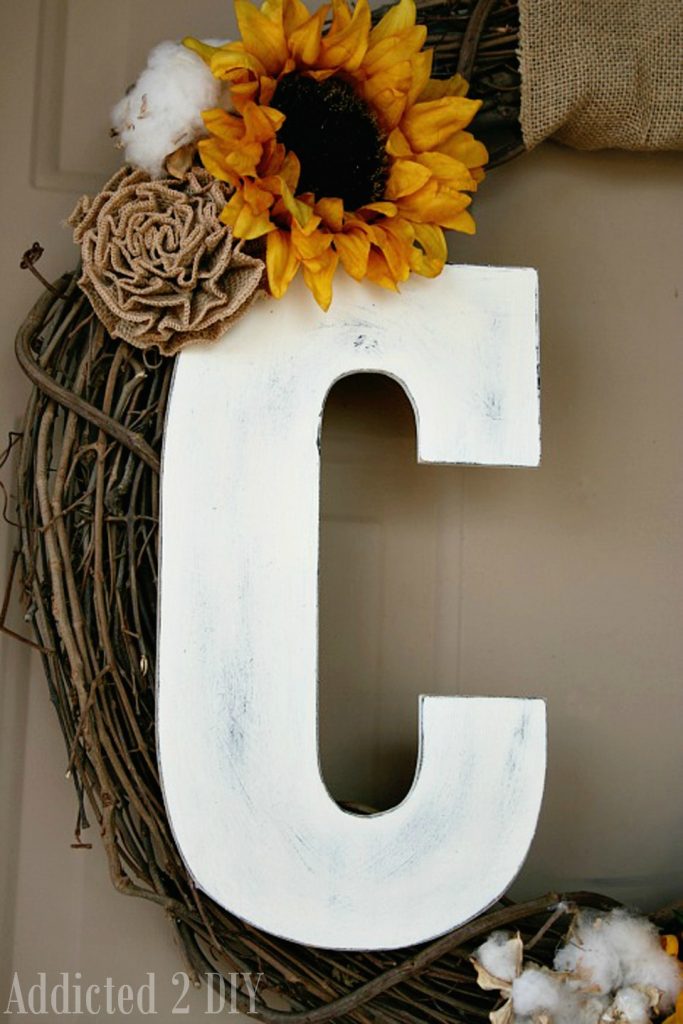
Fall is just around the corner, and today I’m sharing with you my very first fall post of the season! I am so in love with how this fall monogram wreath turned out and it was really simple to make. It also has a bit of a sentimental meaning behind it, which is part of the reason why I love it so much.
A few weeks ago, I was in Hobby Lobby stocking up on supplies for all of my upcoming fall projects. I happened to be in the floral aisle with their natural stems and saw branches of cotton. I started to tear up a bit, because cotton was always something my Grandma O’Day used to use in her crafts. I remember times where we’d be passing cotton fields and she’d yell at my grandpa to stop the car. He’d barely have the car stopped by the field before she was jumping out to grab a few branches of cotton for her crafts. I feel like a lot of my creativity comes from her and when I saw the branches of cotton, I knew I absolutely had to honor her memory and include them in some of my fall projects. She and I were always so close. Probably due to the fact that she was a mother of four boys, and I was her one and only granddaughter. Girls are pretty rare on my dad’s side of the family. Up until 2 1/2 years ago, I held the title of “favorite granddaughter.” I now have competition thanks to my uncle breaking the 30+ year streak of all boys.
Here’s how I made the wreath.
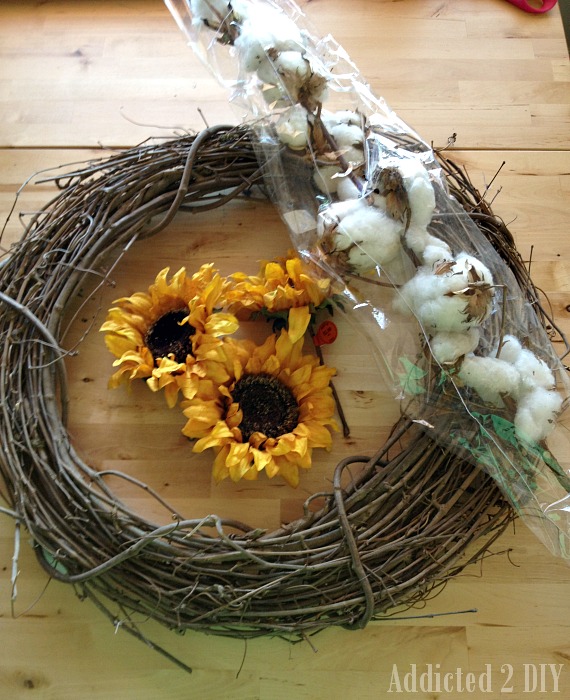
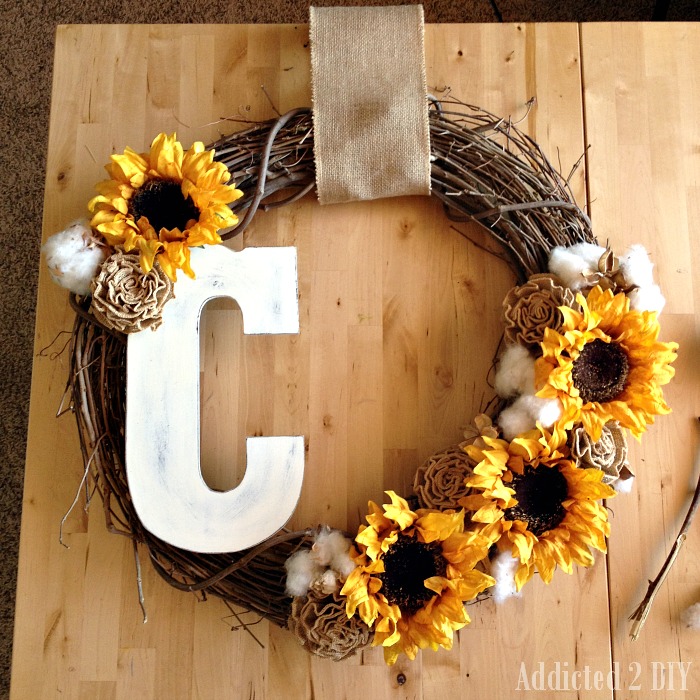
I purchased the sunflowers and cotton from Hobby Lobby. The 18″ grapevine wreath came from Michaels.
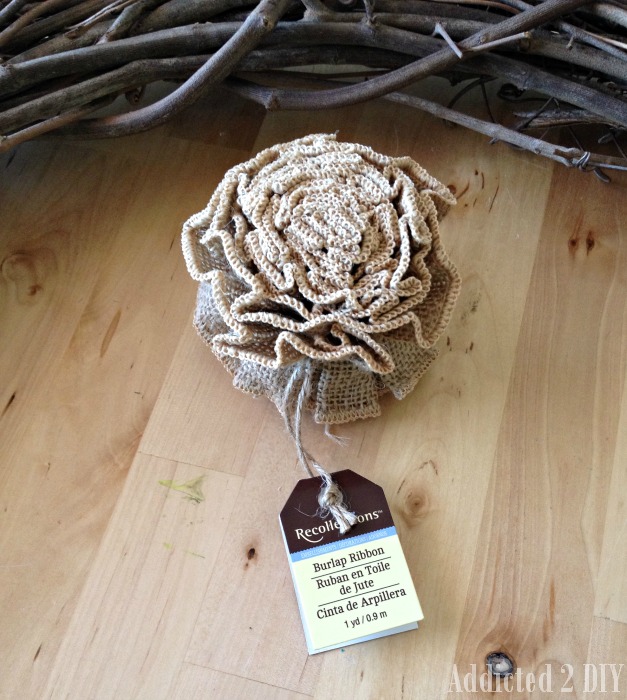
I also made burlap rosettes with this ribbon from Michaels. You can find my tutorial for these super simple rosettes here.
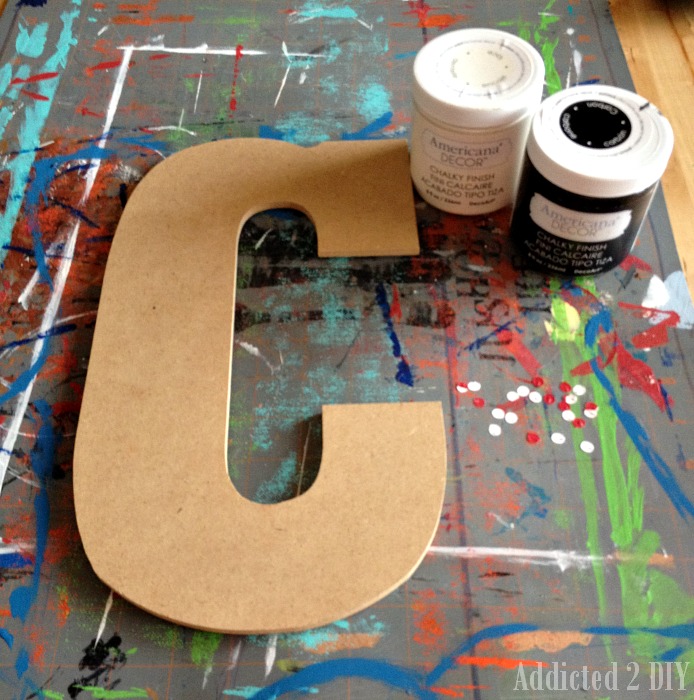
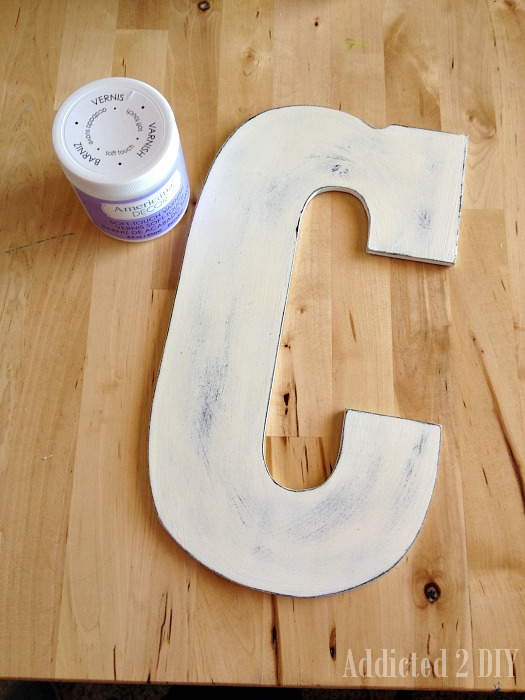
I’ve had this wooden C lying around for ages and it was perfect for this wreath. I painted it with a coat of Americana Decor Chalky Finish paint in Carbon, followed by two coats of Lace.
Once the paint was dry, I distressed the letter with 220 grit sandpaper. Since this is being hung outside, it’s recommended to use varnish on the chalk paint, rather than wax. I brushed on two coats of Americana Decor Soft Touch Varnish.
I broke the bulbs of cotton off the branches, and made my burlap rosettes. I placed everything on the wreath and played around with the look until I was happy. I’ve only ever made one other wreath before, so styling one is pretty new to me. It took me a while to come up with a look that felt just right. Once I was happy with everything, I grabbed my hot glue gun and glued everything in place.
I’ve got tons of other fall projects planned and I am so excited to share them all with you in the coming weeks! I’ll also be participating in a fall home tour next month with a bunch of other bloggers, so stay tuned for that!
Linking up at these parties:
I Heart Naptime, Tiny Sidekick, Confessions of a Serial DIYer

So pretty! the sunflowers are georgeous. I am so excited to make a fall wreath. I just ca’t decide what to do though.
This is lovely! I need to make a new fall wreath. The birds picked at mine last year. lol
Julie at Being Home recently posted…Building a Garden Bench – Partial Tutorial
I love the rosettes, and it’s so sweet that you have something on the front door to remind you of your grandma all fall long!
Melissa @ A Prudent Life recently posted…Thursday STYLE Link Party #35
Katie, I LOVE how this wreath turned out! The colors and texture are so perfect for fall! Pinned 🙂
katie @ Upcycled TreasurES recently posted…The Makers Link Party #32
Thanks Katie!
I’m new to DIY and anything crafty. You say you painted the letter C with one coat of paint and followed with 2 coats of Lace. Is that a color of the same paint or something else entirely?
Hi Kathy, Lace was the color of the paint. Sorry about the confusion!