Hey everyone! I’m back from the Haven conference in Atlanta and working on trying to make up on sleep! I can’t even begin to explain how fun and amazing the conference was. I’m planning to share a recap of the whole thing later this week.
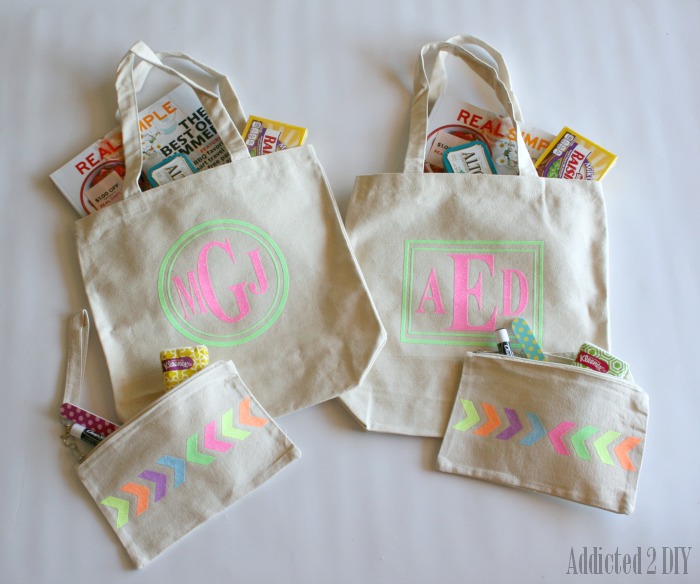
My favorite part of the entire trip was getting to finally meet some amazing girlfriends in person. Especially my amazing friends and link party co-hosts Melissa (A Prudent Life) and Angela (Life In Velvet)! I wanted to make them some special gifts for when we finally met and I thought some monogrammed totes would be a fun gift. I’ve worked with Expressions Vinyl a few times and they asked me to create something fun with their new neon glitter heat-transfer vinyl. I knew it would be perfect for these bags!
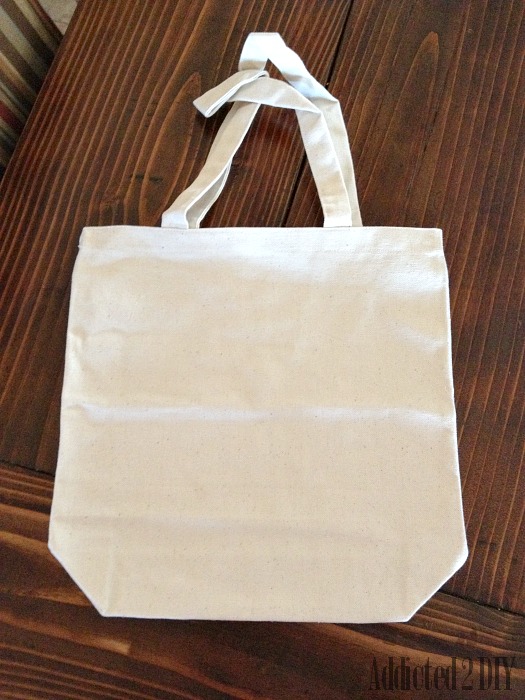
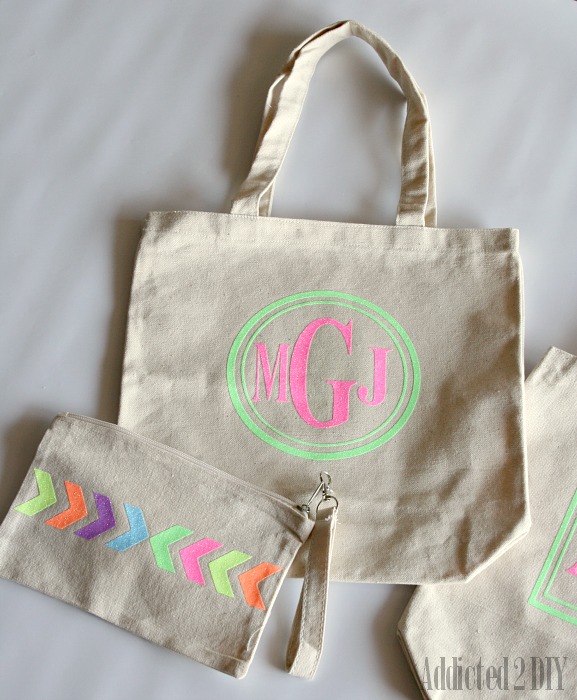
I bought a few of these canvas bags from Hobby Lobby. I even picked up a few canvas pouches to put some fun things in.
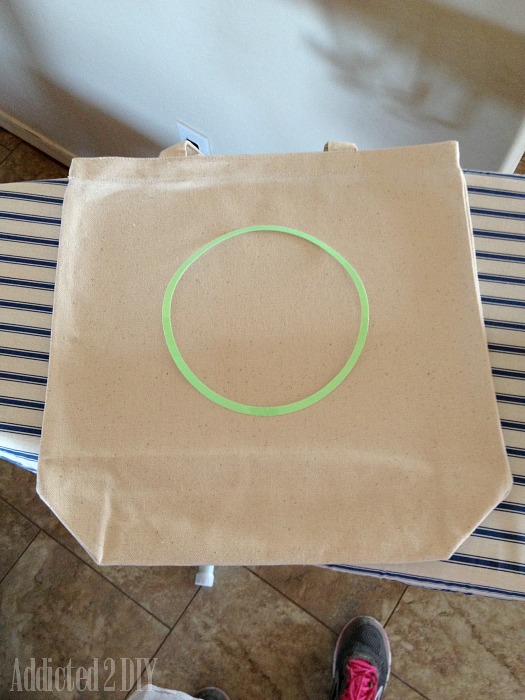
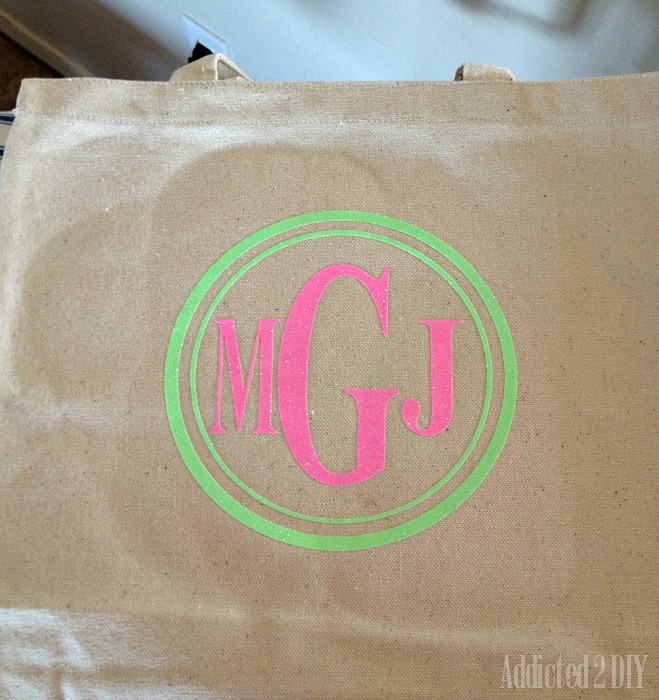
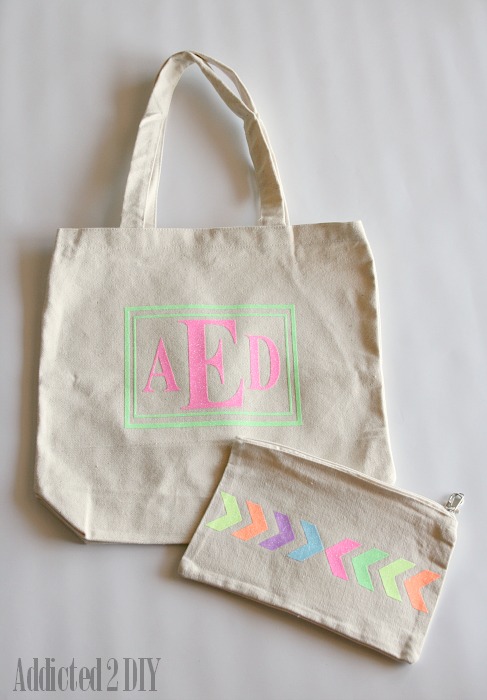
I created the custom monograms on my cricut with the neon pink and neon green vinyl. I set my iron to the highest setting and then ironed the pieces onto the bags starting with the outside circle on the monogram design and working my way in. That way I could ensure that everything was in its proper place. I set my iron to the linen setting and used a thin towel in between the iron and the vinyl. I held the iron on the vinyl for about 10-15 seconds in several spots until the entire piece was ironed down.
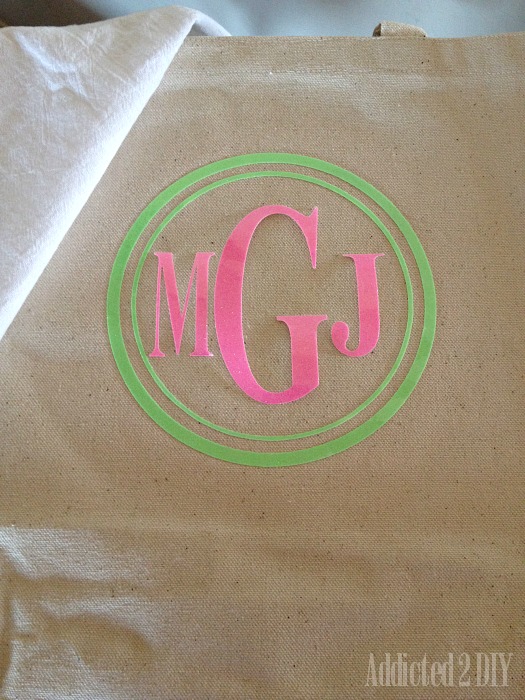
After I had the outer and inner circles ironed on, I carefully placed my monogram letters. I had to be sort of sneaky and ask Melissa and Angela what their middle initials were, but that I couldn’t tell them why. I did at least promise not to sell their information to telemarketers;)
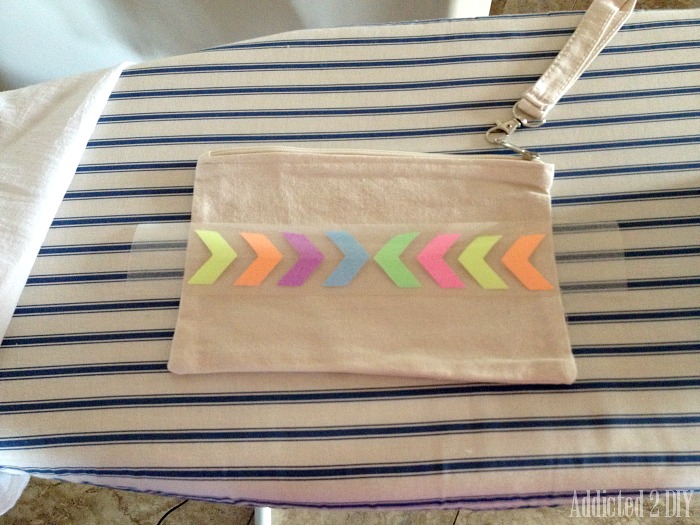
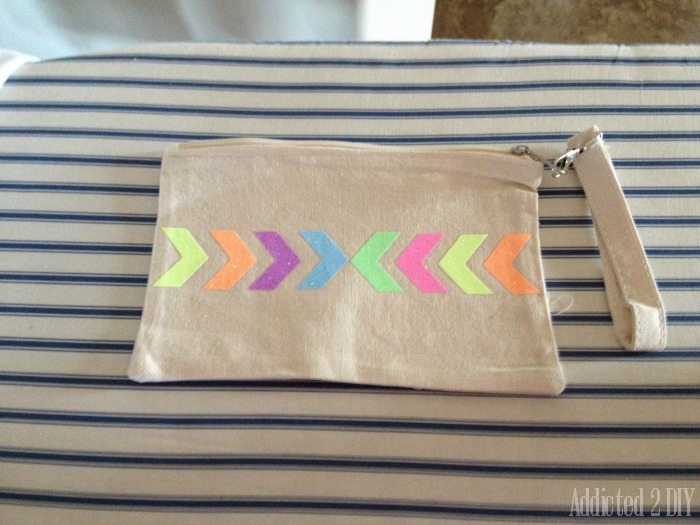
Since I had a bunch of other vinyl colors in my neon vinyl pack, I decided to use them on the little pouches to go in the totes. Arrows and chevron are still such a fun trend, so I cut some out in each color. The transfer sheet that comes with the vinyl is sticky, so I carefully lined up my arrows and stuck them to the transfer sheet. Then I was able to iron all of the pieces on at once. I could have done that with the monograms, but sometimes I just like to work harder rather than smarter.
I once again held the iron on the vinyl for about 15 seconds or so with the flour sack towel over the pouch. I peeled the transfer sheet up and everything was ironed on beautifully.
I made the gift totes slightly different for each of the girls, so I used rectangles as the border for Angela’s monogram. I was so excited with how they turned out once I had finished making them.
I wasn’t sure what to expect from the Haven conference, but I wanted to sort of create a little conference survival kit. I filled the bags with some tissues, emery boards, chapstick, candy, Altoids, and a magazine. I couldn’t wait to give them to Angela and Melissa and they both loved them! I’m kind of upset with myself for not making my own, but I’ve got some vinyl left over, so a personalized tote and pouch may be in my near future too.
If you’ve never tried glitter heat-transfer vinyl before, or any heat-transfer vinyl, you totally should. It’s such a great way to make a personalized gift like this. Or you could make a little something for yourself! The glitter heat-transfer vinyl cannot be layered on top of each other, but it can be layered over regular-heat transfer vinyl. That means even more ways to create a custom look! You can find this as well as many other colors and types of heat-transfer vinyl at Expressions Vinyl.
What would you create with glitter heat-transfer vinyl?
I love it when you make, share, and pin my tutorials, so feel free to do so!
Katie
DISCLOSURE: Expressions Vinyl compensated and/or sent me product for this post. All opinions and ideas for this project; however, are my own. You can check out my disclosure statement for more information.
Linking up to these parties:

Stopping by from Link Party Palooza. Katie, I love the colors on the canvas. It’s a subtle pop of color without it being too neon. Thanks for sharing! Pinning 🙂
Melinda @Home.Made.Interest recently posted…Blackberry Lemonade Popsicles
Thank you, Melinda! I agree. I like that it’s not too crazy with the colors:)
Thank you, Courtney!