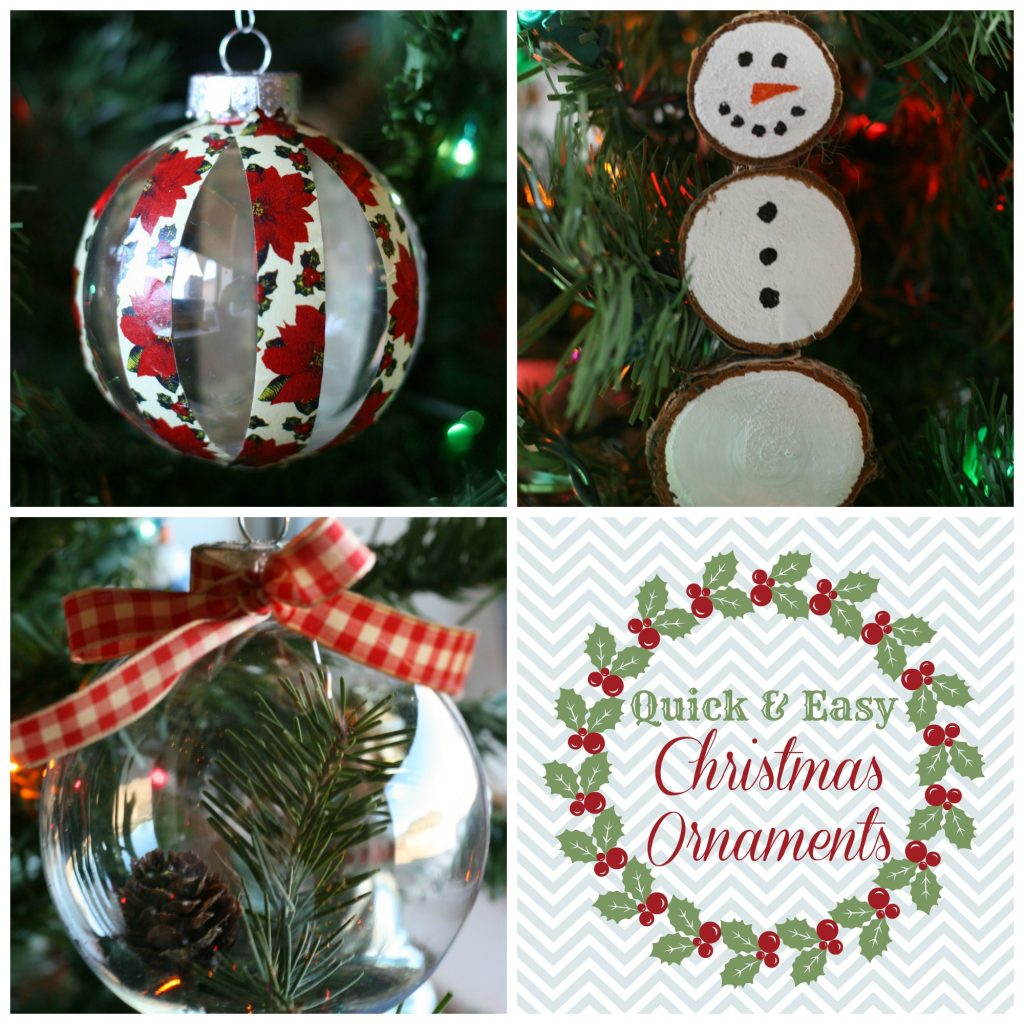
I love pulling out Christmas ornaments every year and having a memory for each one. Especially watching the evolution of the ornaments from my husband’s and my first Christmas as a married couple, to having a personalized ornament for our family of three to now our family of four.
DIY ornaments are no different. They can hold a special memory or they can add that custom touch to your Christmas tree. Today, I’m sharing three quick and easy ornament ideas that you can whip up in a snap. These can also make great gifts alone or to tie onto the packaging of a larger gift.
The first ornament I’ll show you is a Washi tape ornament. I absolutely love Washi tape and will take any excuse to use some of my stockpile:)
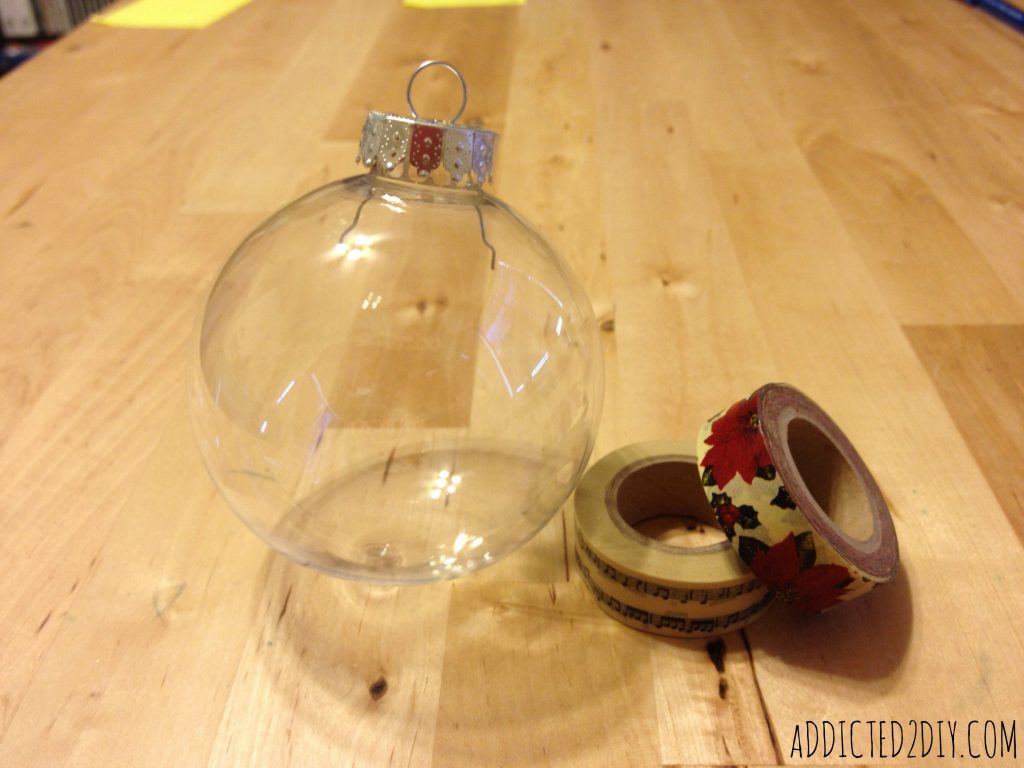
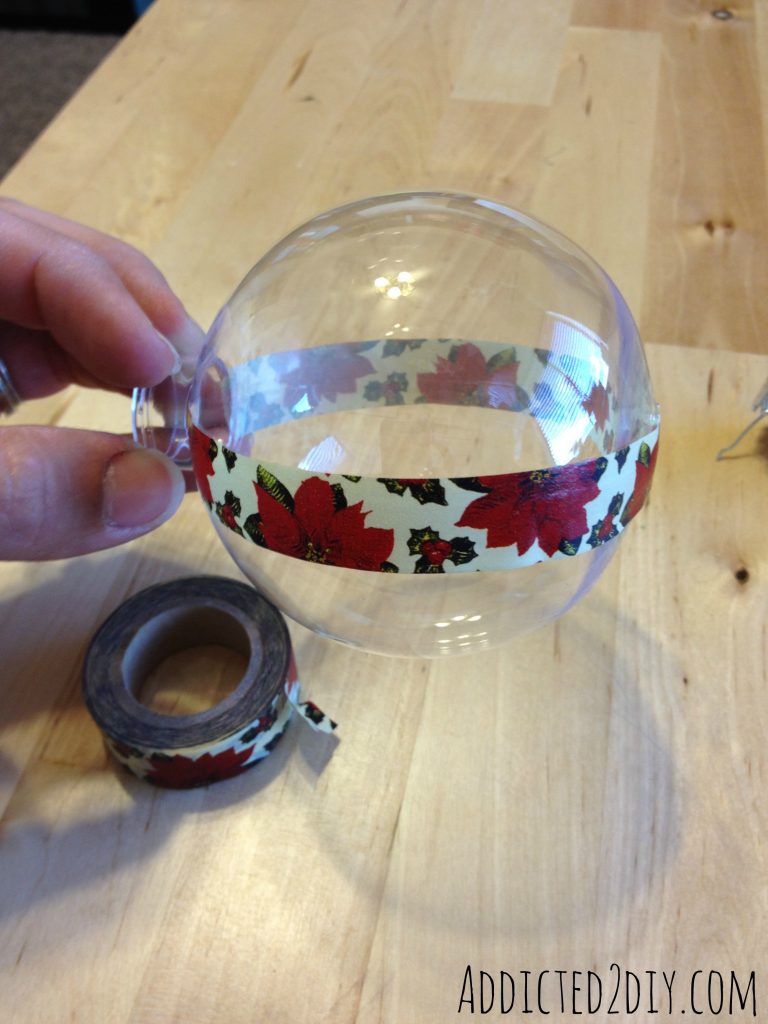
Start with a clear plastic ball ornament and the Washi tape of your choice. I chose the poinsettia tape for this one.
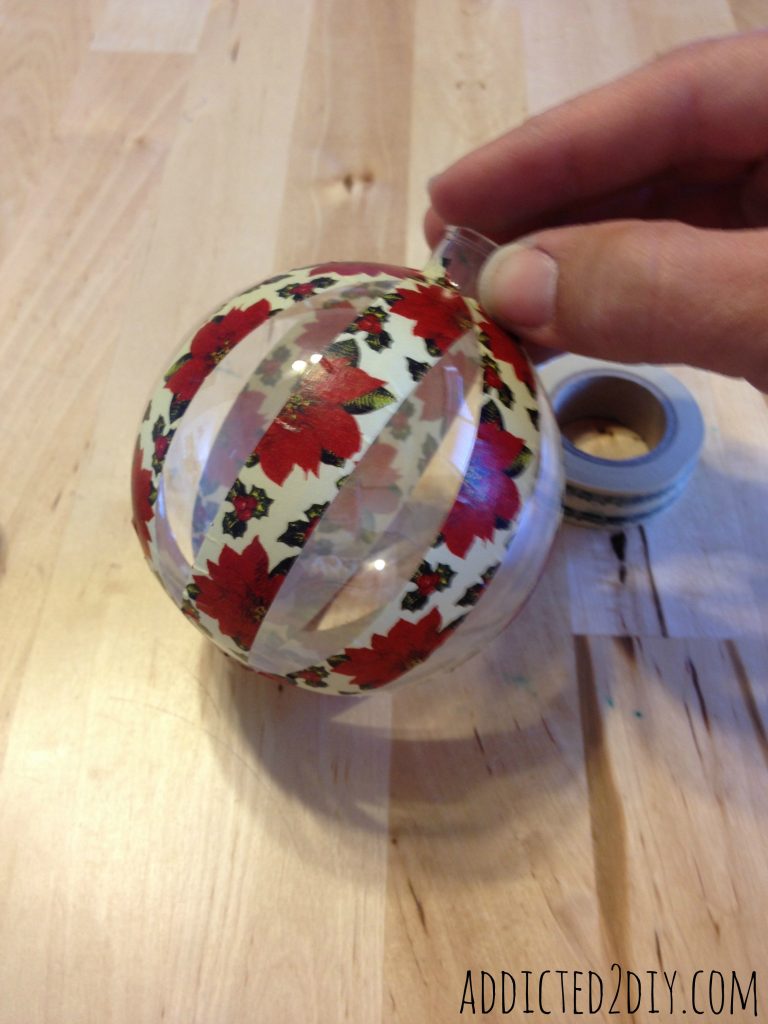
Just take off the little silver cap and then starting at the top of the ornament, tape one strip of Washi tape in a straight line all of the way around the ornament until you reach the top of the other side. Basically divide the ornament in half.
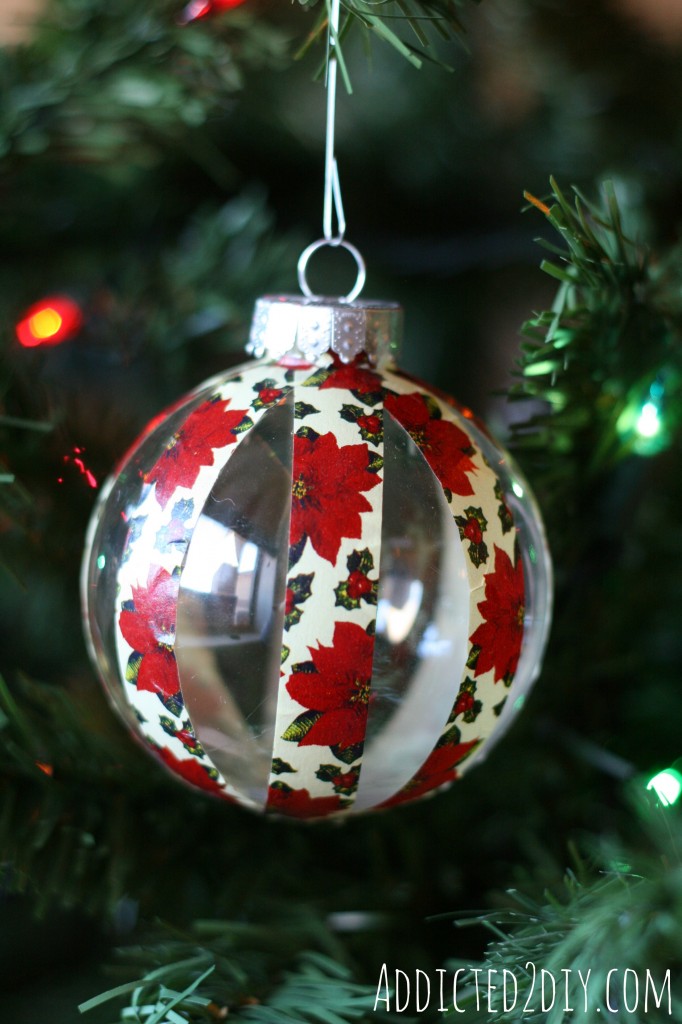
For the second tape line, rotate your ornament 90 degrees and place another tape line around the ornament so that you have now divided the ornament into quarters. For the remainder of the ornament, I divided the ornament into eighths by placing a strip of tape in between the first two tape lines.
Just place the cap back on over the neck of the ornament and you’re done! It’s a super simple, yet pretty ornament that just takes minutes to make.
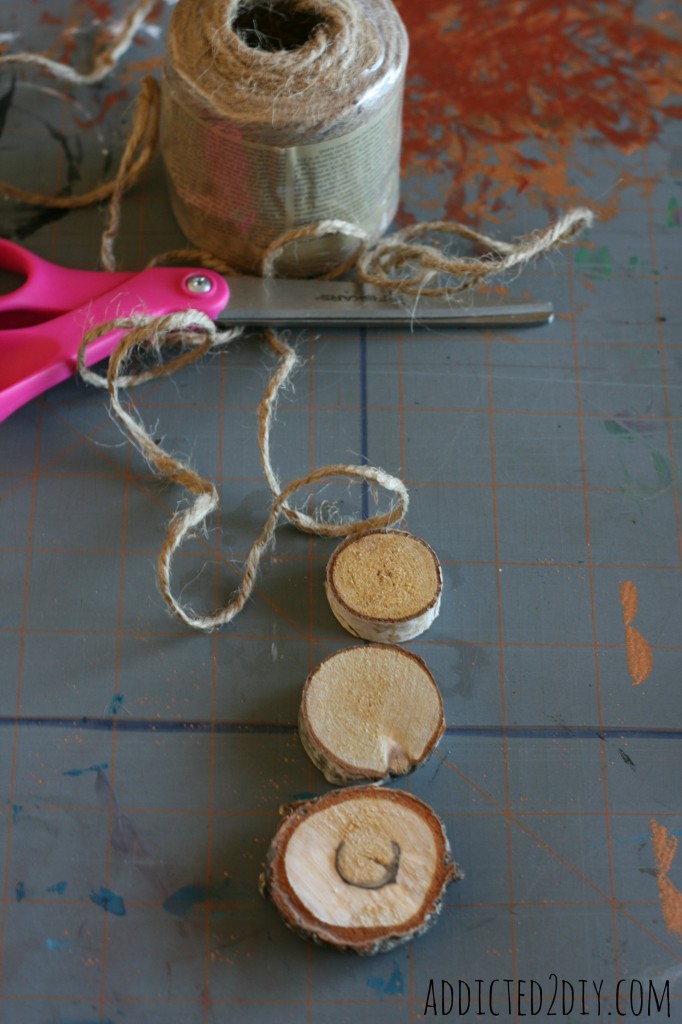
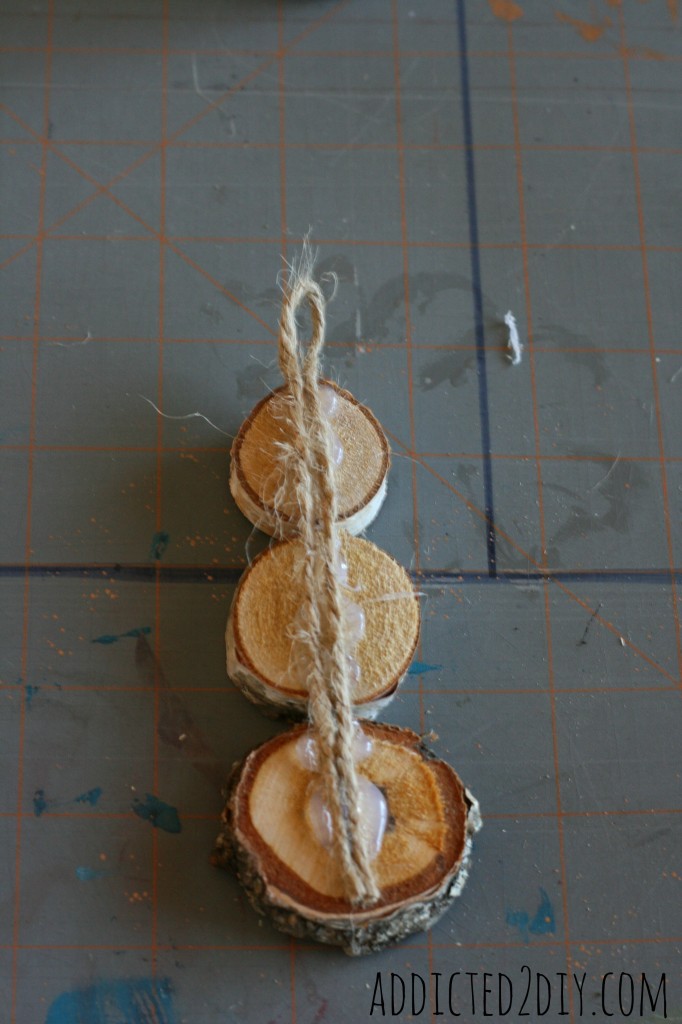
For my next ornament, I made a simple, rustic snowman. I purchased some birch wood slices from Michael’s for this. The bag came with 20 pieces of birch ranging from 1″ to about 2″ in diameter. I’m thinking of using the rest to make fun gift tags:)
I glued a piece of jute twin to the birch slices with hot glue, making sure to leave a loop at the top for the ornament hook.
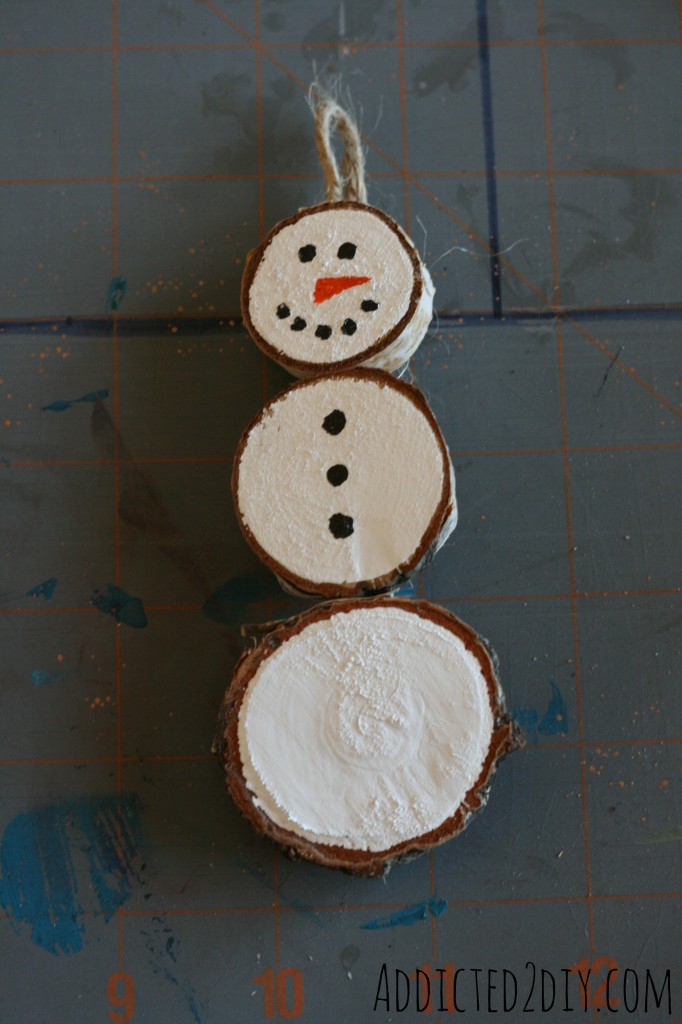
I used acrylic paint to paint all of his details on and was done!
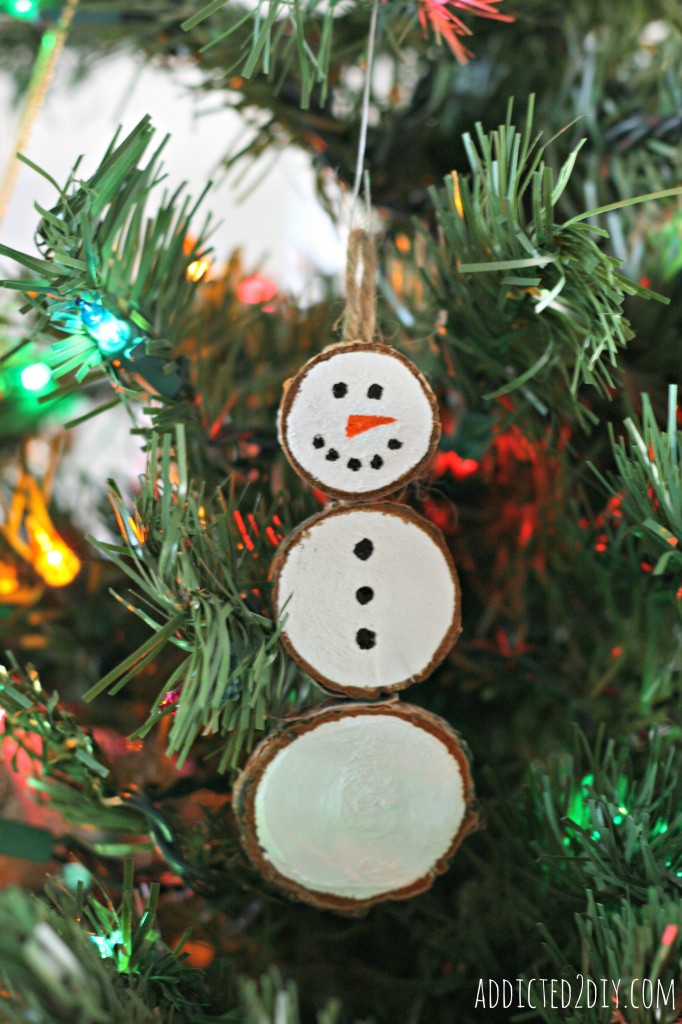
He looks so cute on the Christmas tree.
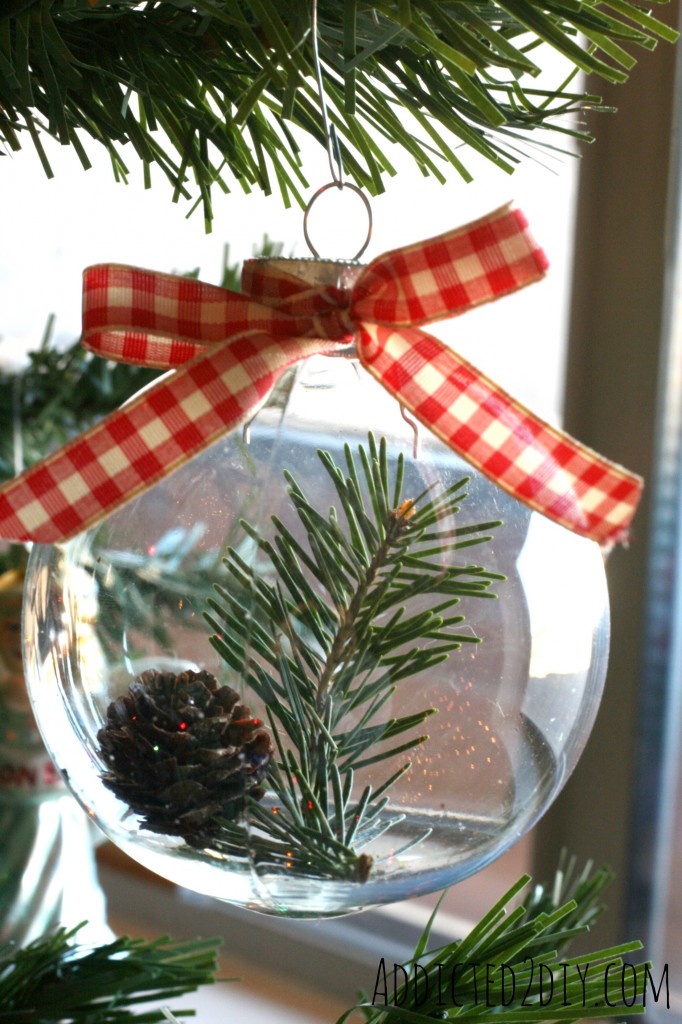
For my last ornament, I put it together without taking any pictures. That’s how quick it was. We have an artificial Christmas tree, but I had some pine branch trimmings from my mom’s Christmas tree, so I clipped a piece and stuck it inside another clear plastic ornament. I had some tiny leftover pine cones from my centerpiece project, so I stuffed one of those little guys in there with the pine branch. I tied a bow around the top was done! What’s great about this is that you can make it sentimental by using the branch from your first Christmas tree, or your baby’s first Christmas tree. Whatever you like!
Like I said, these ornaments come together so quickly, so they are great for gifts, ornament exchanges, or just to adorn your own tree. You can even add a cute little tag to them with the year that they were made. I may even add that to mine:)
~Katie
Melissa @ aprudentlife says
You make me want to drop what I’m doing and washi an ornament! Actually, all three look great!
Addicted 2 DIY says
Lol! Thanks:)
Amanda Michelle says
Super cute! I love how natural the pine looks in the clear ornament and the snowman is “melting” my heart! I second Melissa’s washi tape comment. 🙂
Addicted 2 DIY says
Thanks, Amanda:)
Christy@Confessions of a Serial Do-it-Yourselfer says
Would you beleive I’ve never used washi tape? I love how it dresses up this ornament! Love the snowman too! Thanks so much for partying with us…it’s all about handmade gifts tonight. I hope you’ll be joining us again! 🙂
XO,
Christy
Addicted 2 DIY says
I originally started buying it for scrapbooking, but there are so many different ways to use it. I just made some Peach Pie Moonshine yesterday that I am giving away as a gift. Is that okay to link up to your party? Thanks for stopping by!